
3D Printing Bone Models with Slicer and Paraview

Now that we have made progress training with our first and second 3D printers,
we can venture into more advanced an interesting projects.
For example,
3D printing bone models extracted from medical images:
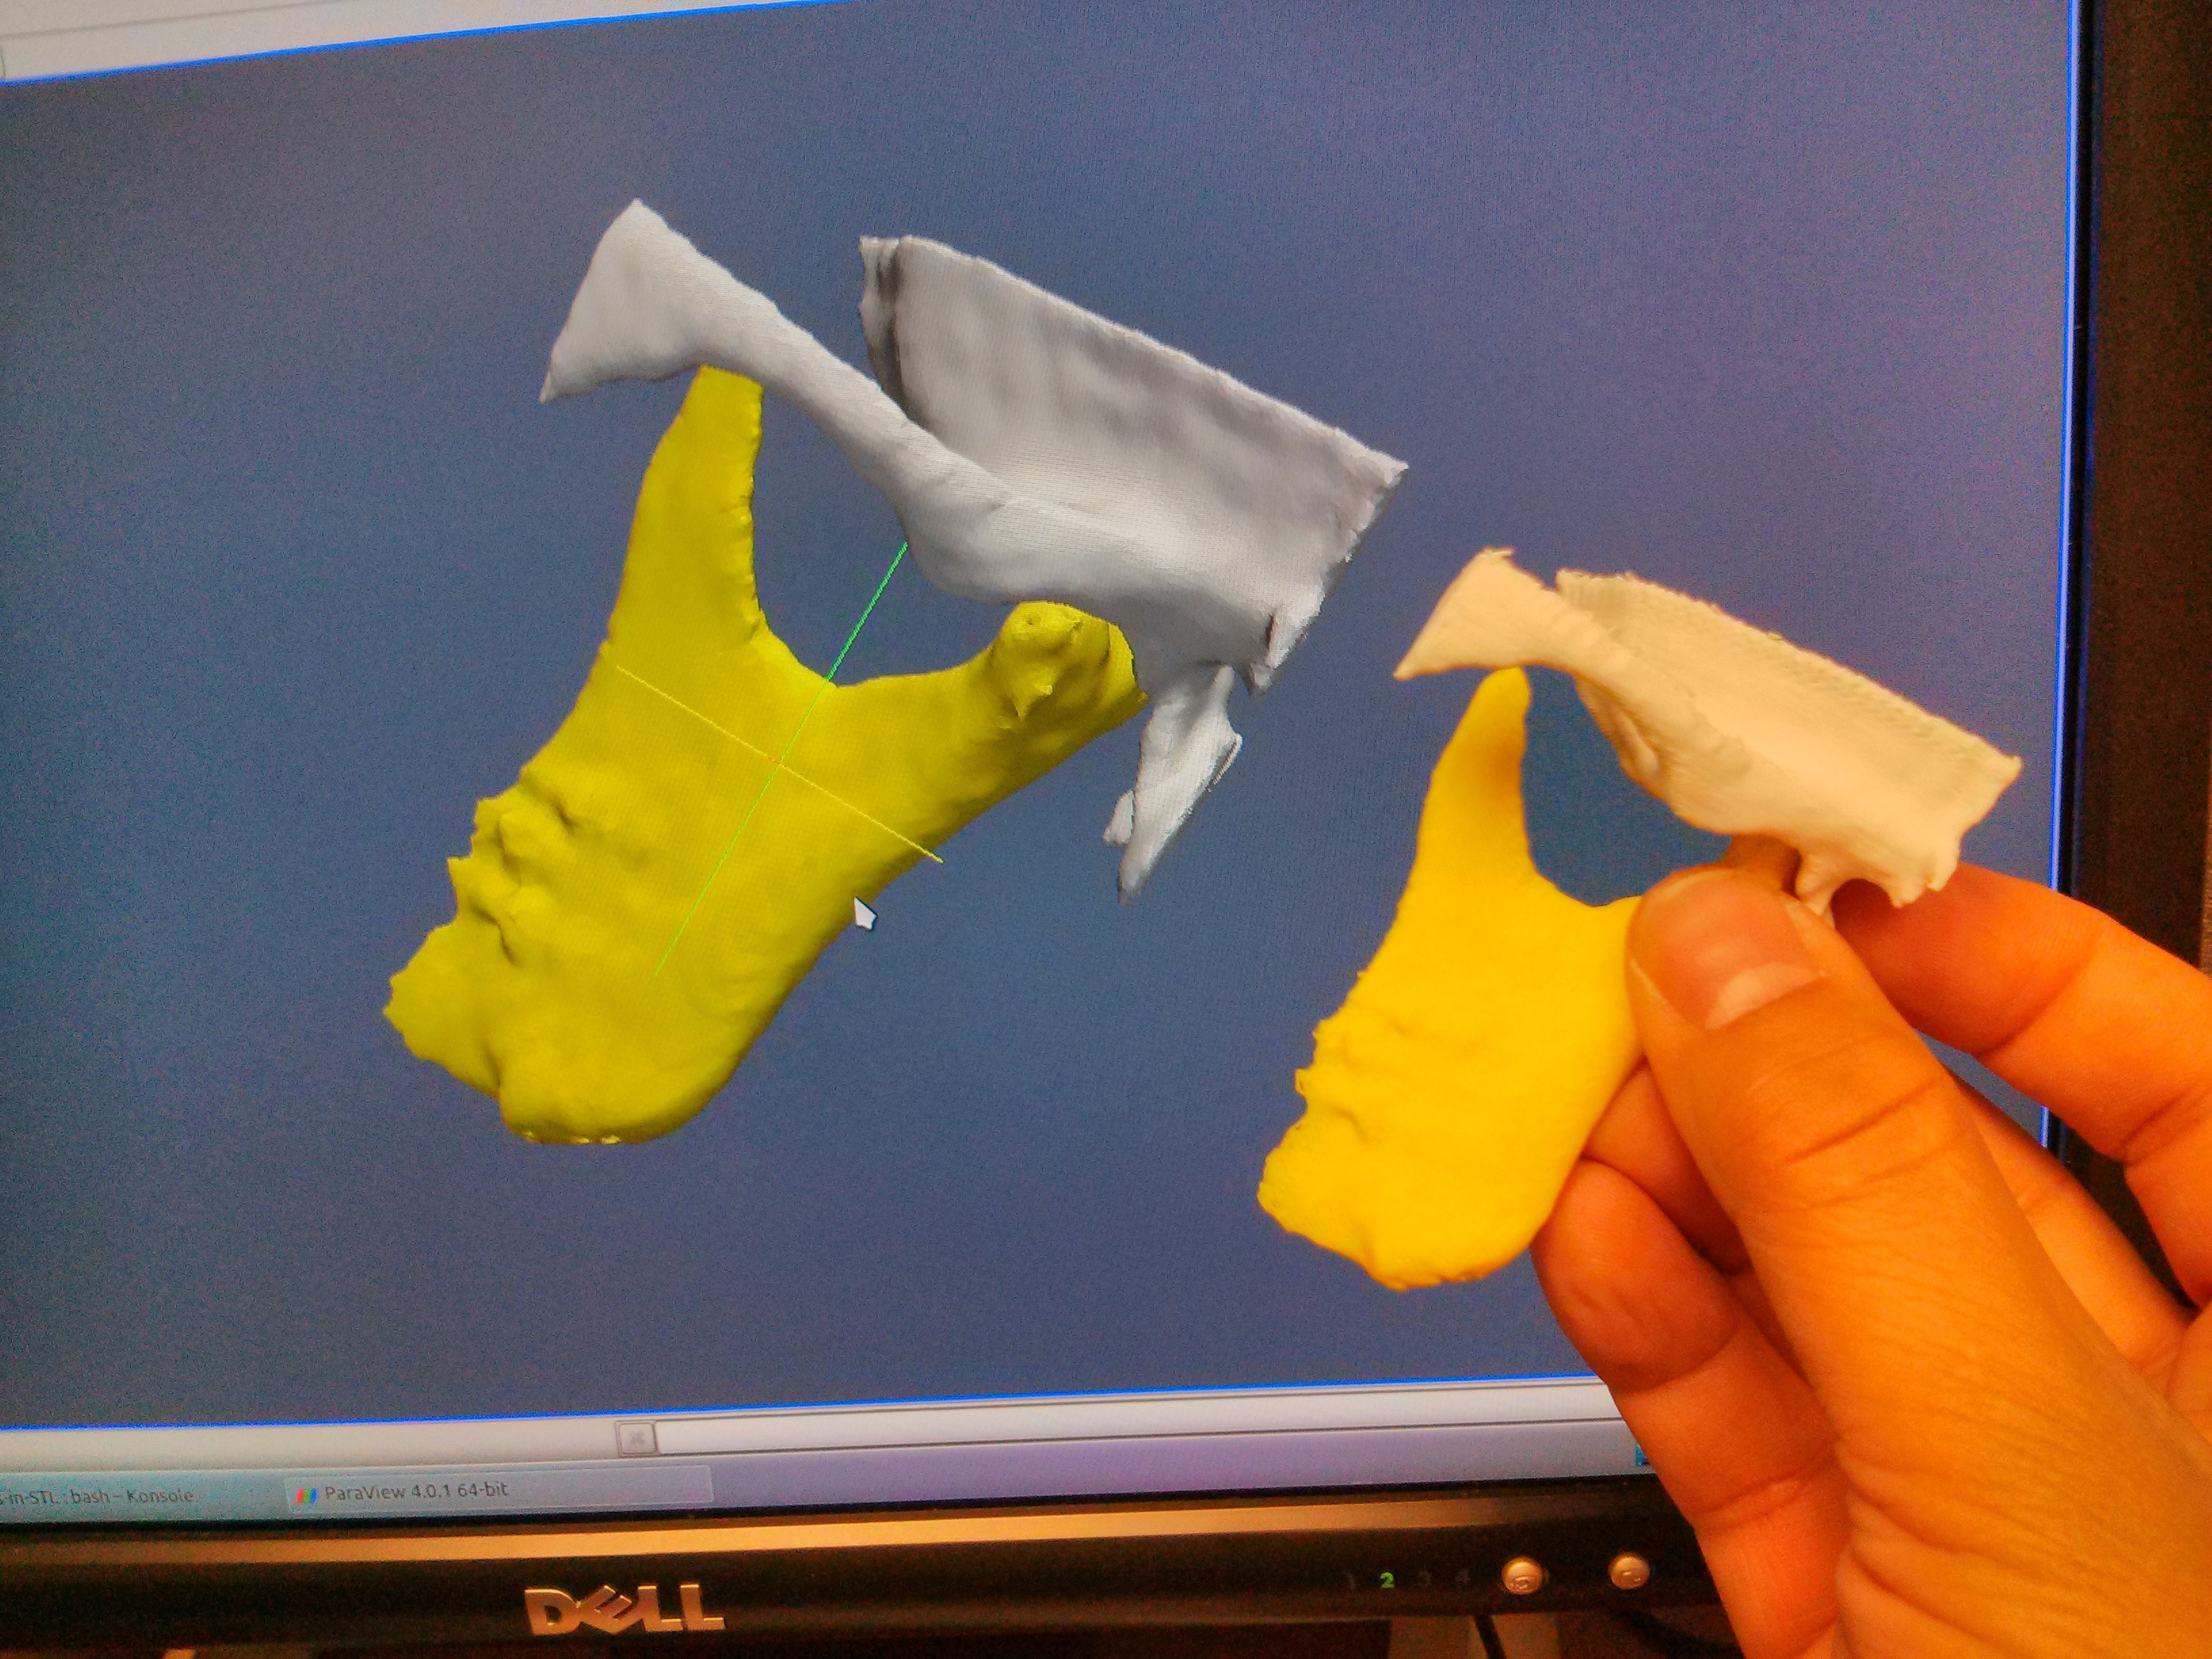 |
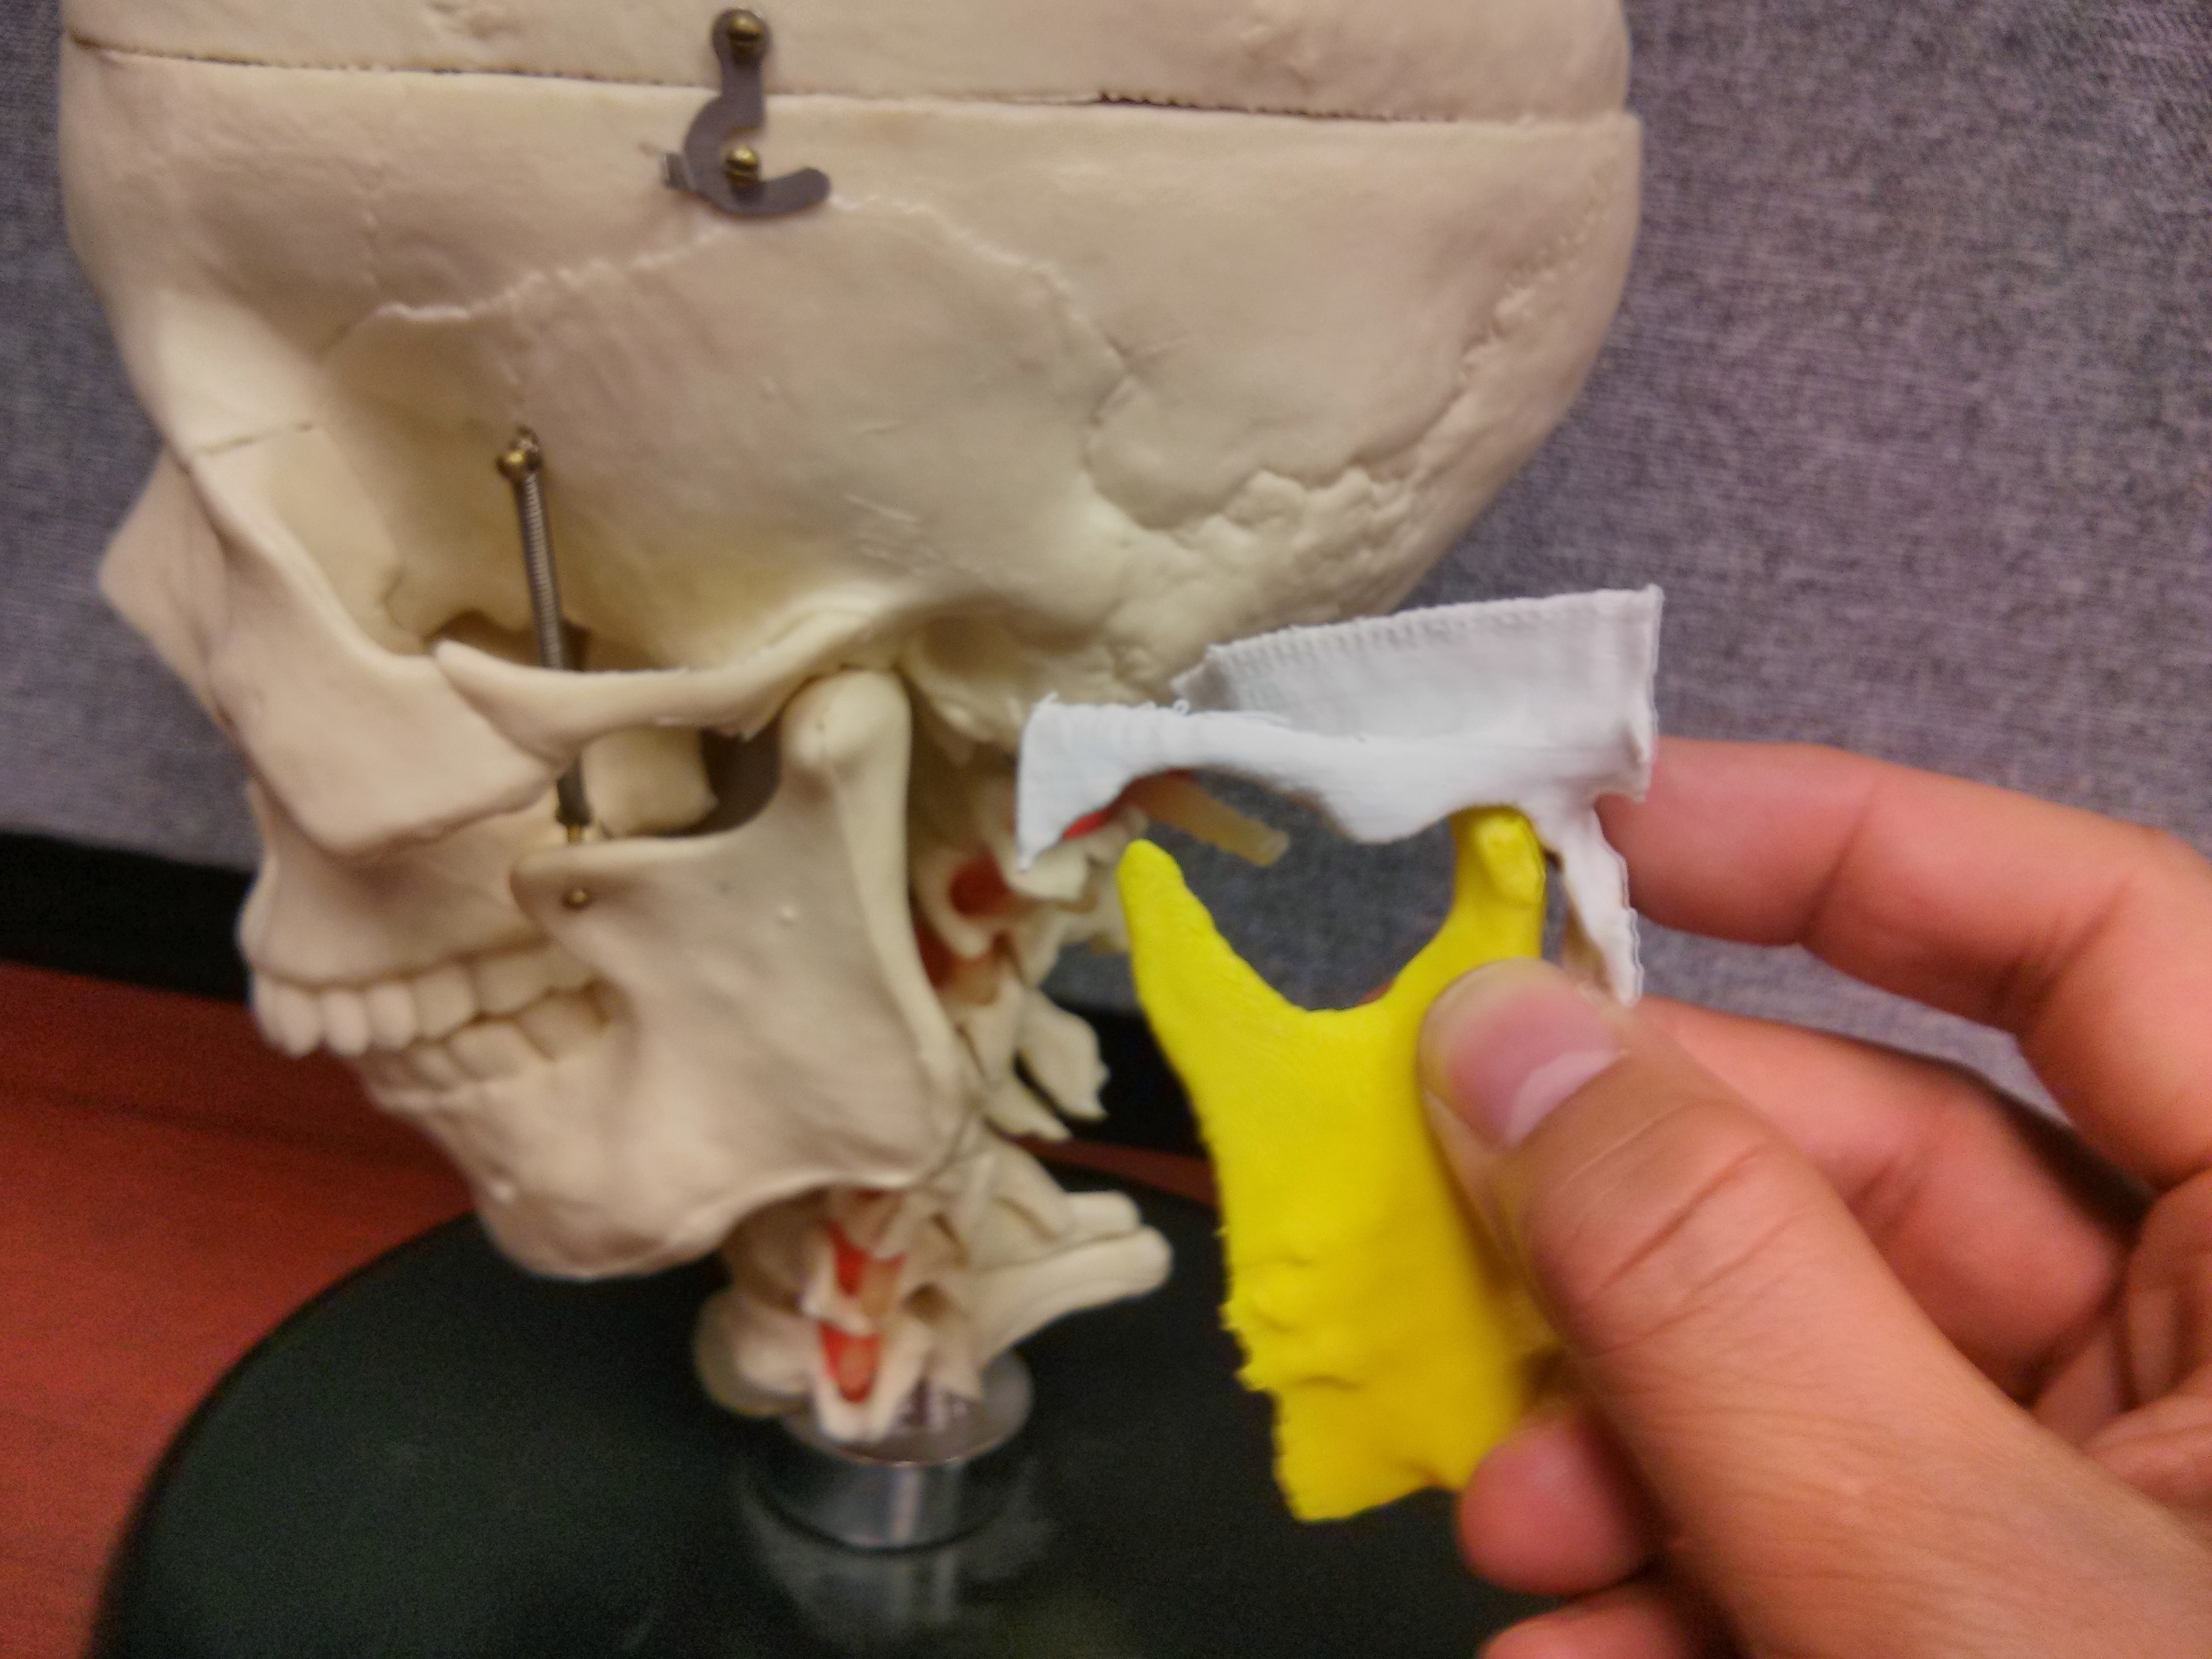
In this particular case, these are portions of the Mandibular bone and the Temporal bone:
 |
 |
The models were generated by Nabgha Farhat, as part of a tutorial that she has prepared on the topic of using Slicer to create models for 3D printing.
The full tutorial, that Nabgha created as part of NAMIC‘s dissemination efforts can be seen here:
Nabgha segmented these structures from a Cone-Bean CT Scan acquired for a dental procedure. She was very kind to share with us the STL files resulting from an image segmentation process in Slicer, and here is what we did to 3D print them.
Position the Model
Given that 3D printers (the two models we have) deposit material layer by layer, the printing process is in between 2.5 D and 3D printing. In practice, this means that the printing goes easier if we position the models in such a way that their largest surface is at the base of the printing platform, and their details become smaller as you move up, away from the base platform. In short, a Pyramid or a Cone would be the ideal models to 3D print.
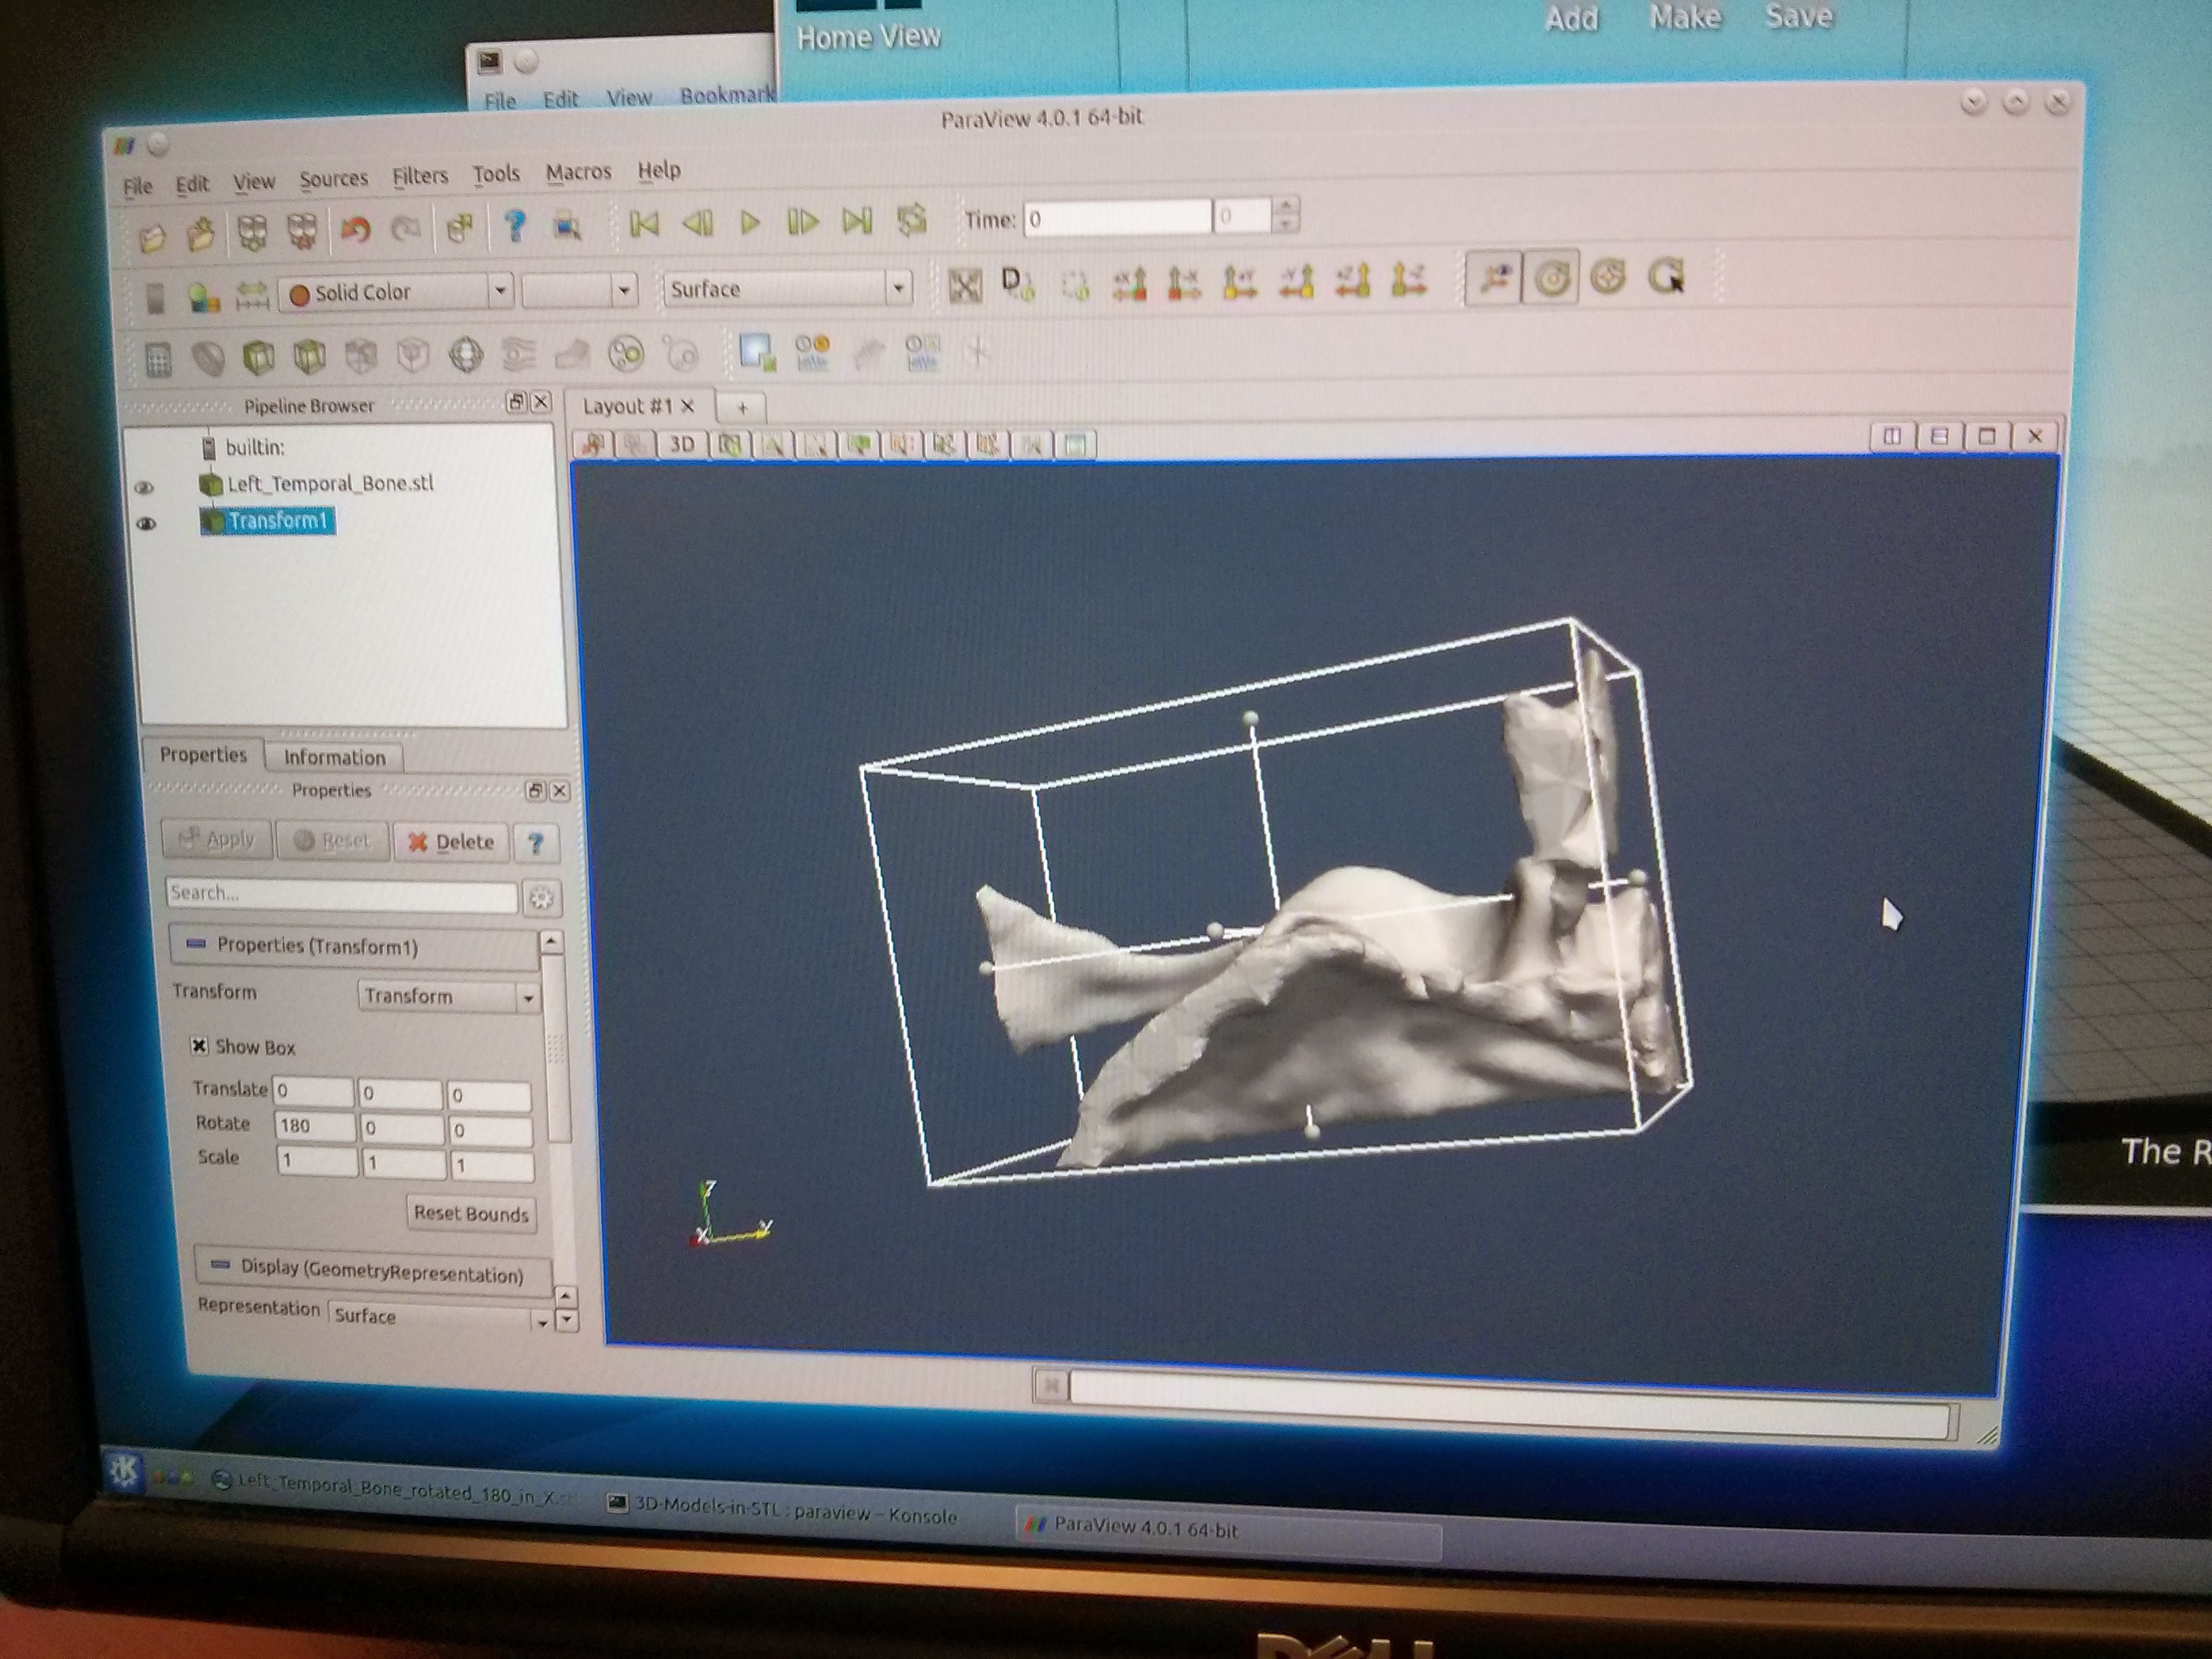
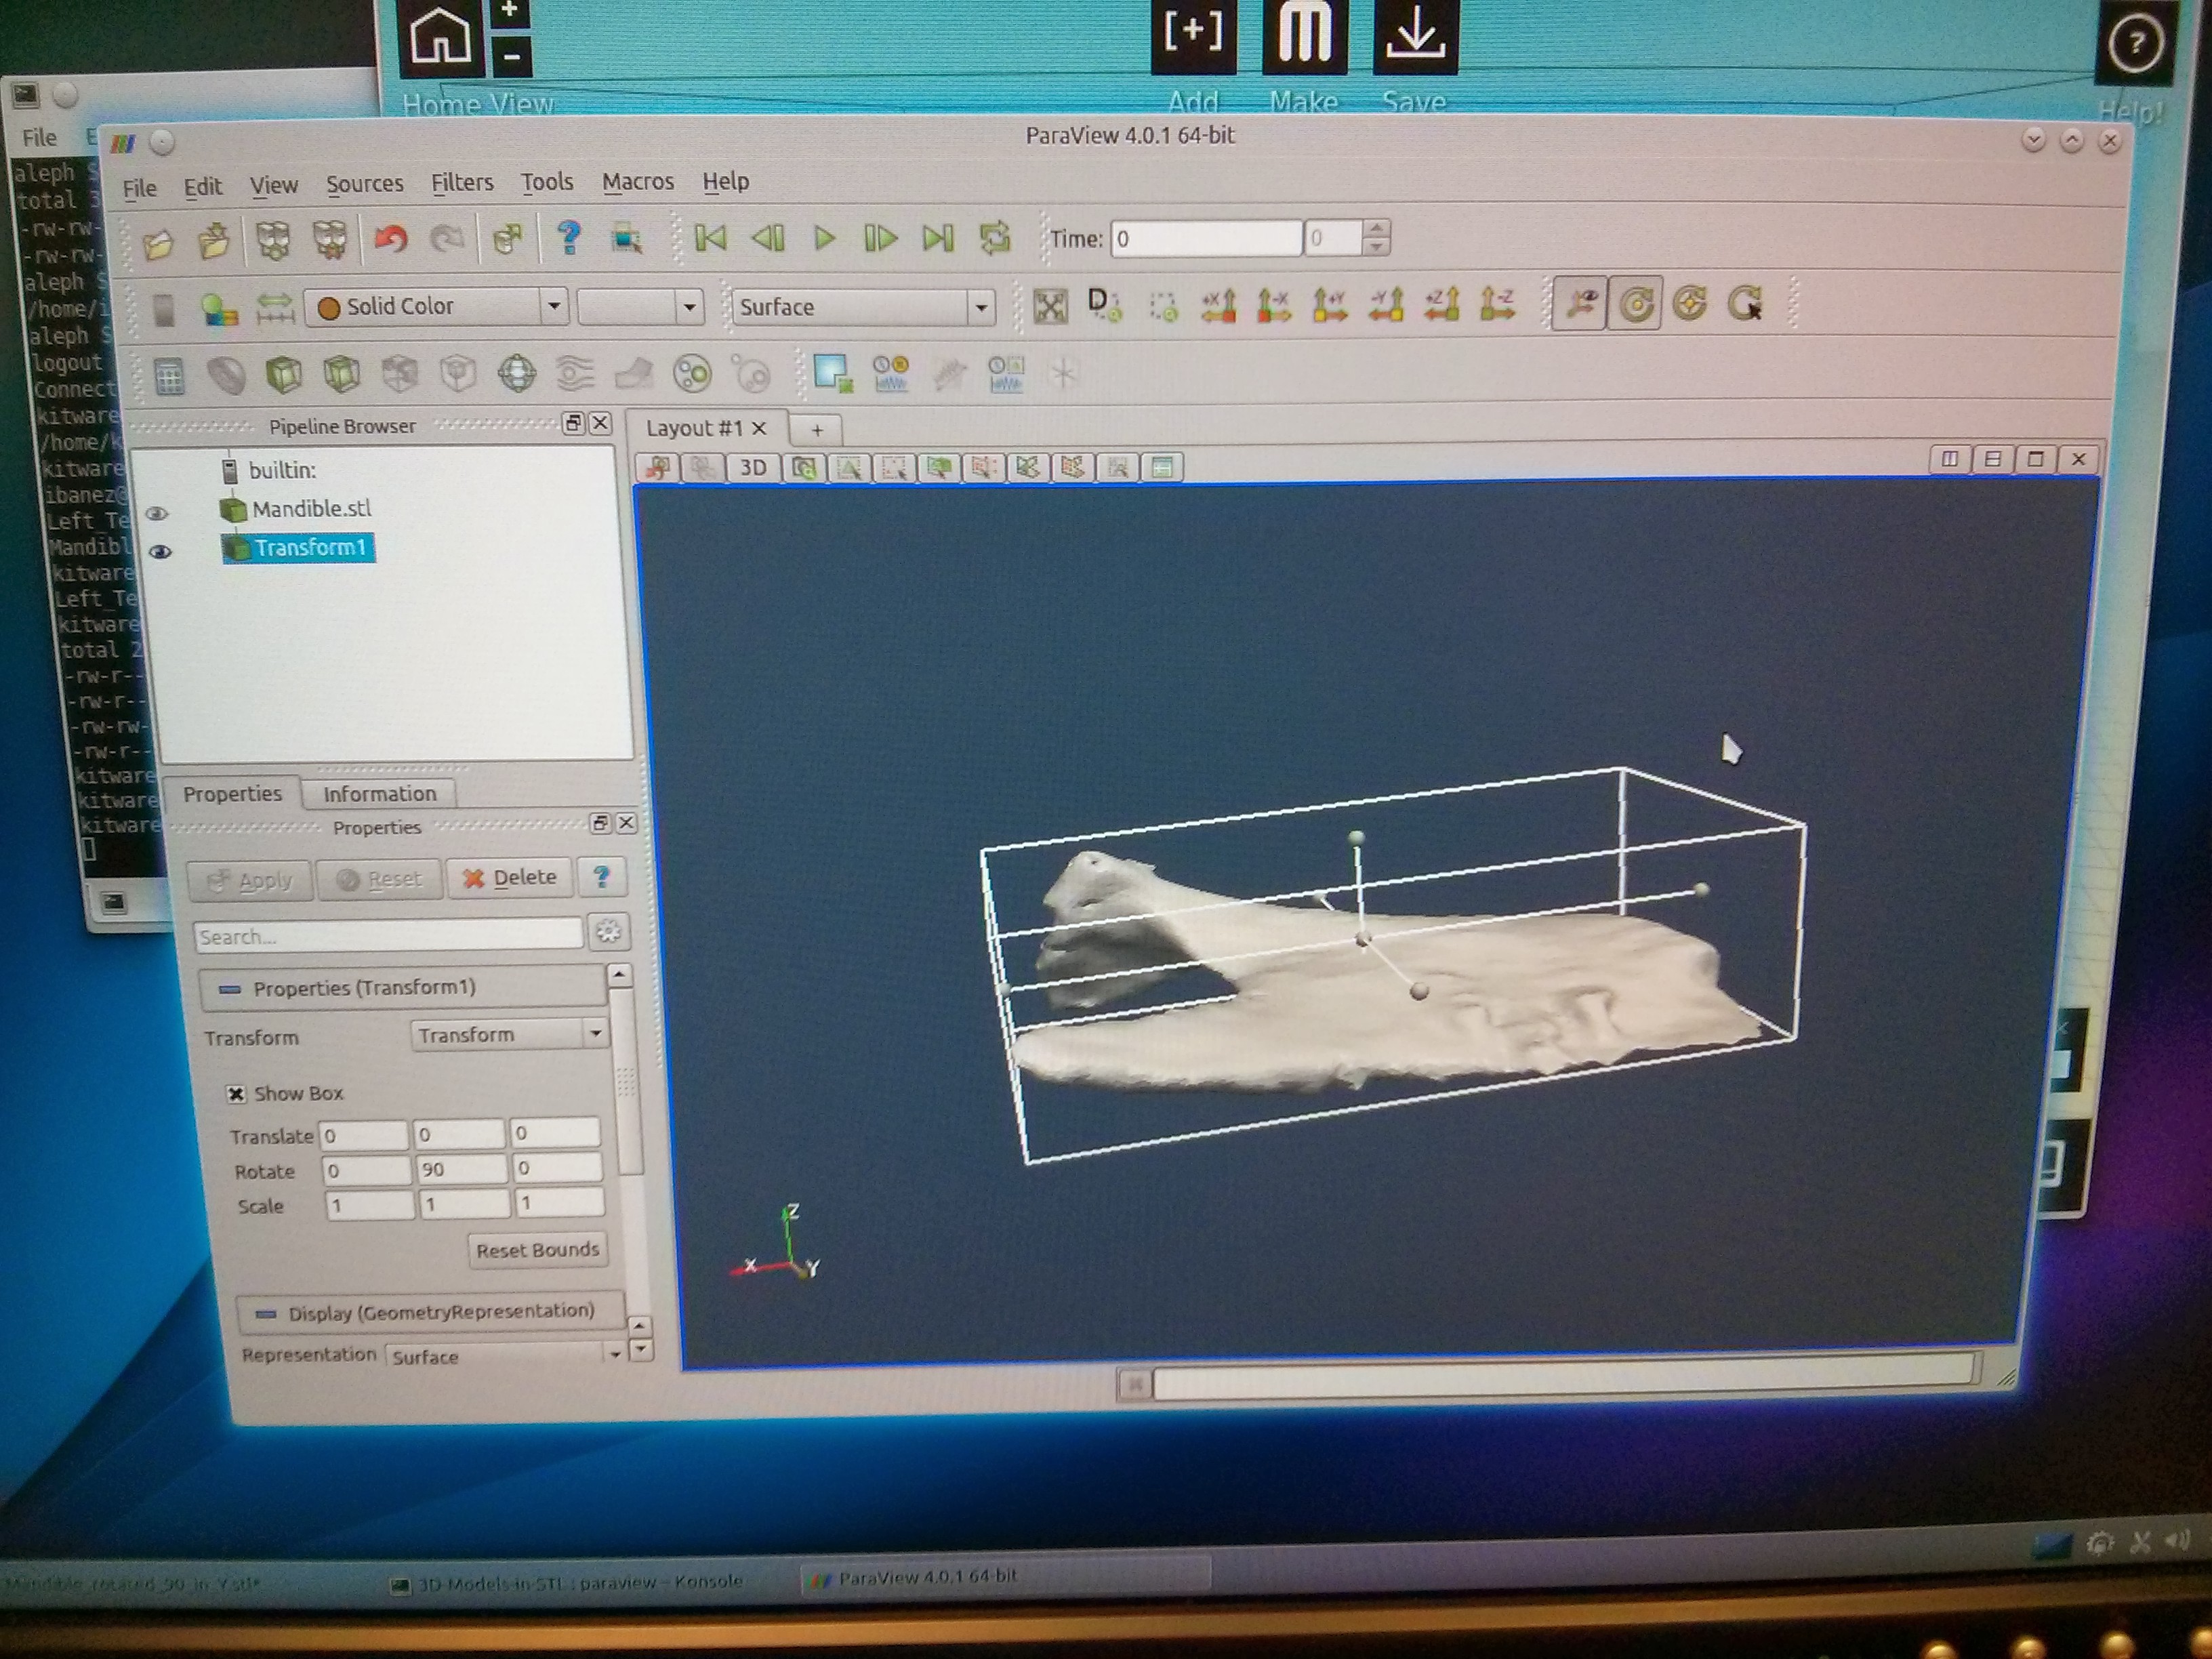
In the case of the bone models, that implied that we needed to rotate the models in 3D, to get the largest, and flattest surface, against the printer’s bed platform.
 |
 |
 |
 |
We did this transformation in Paraview:
- Loaded into Paraview the STL model created in Slicer
- Used the Transform filter to rotate it.
- Saved the transformed model as an STL file.
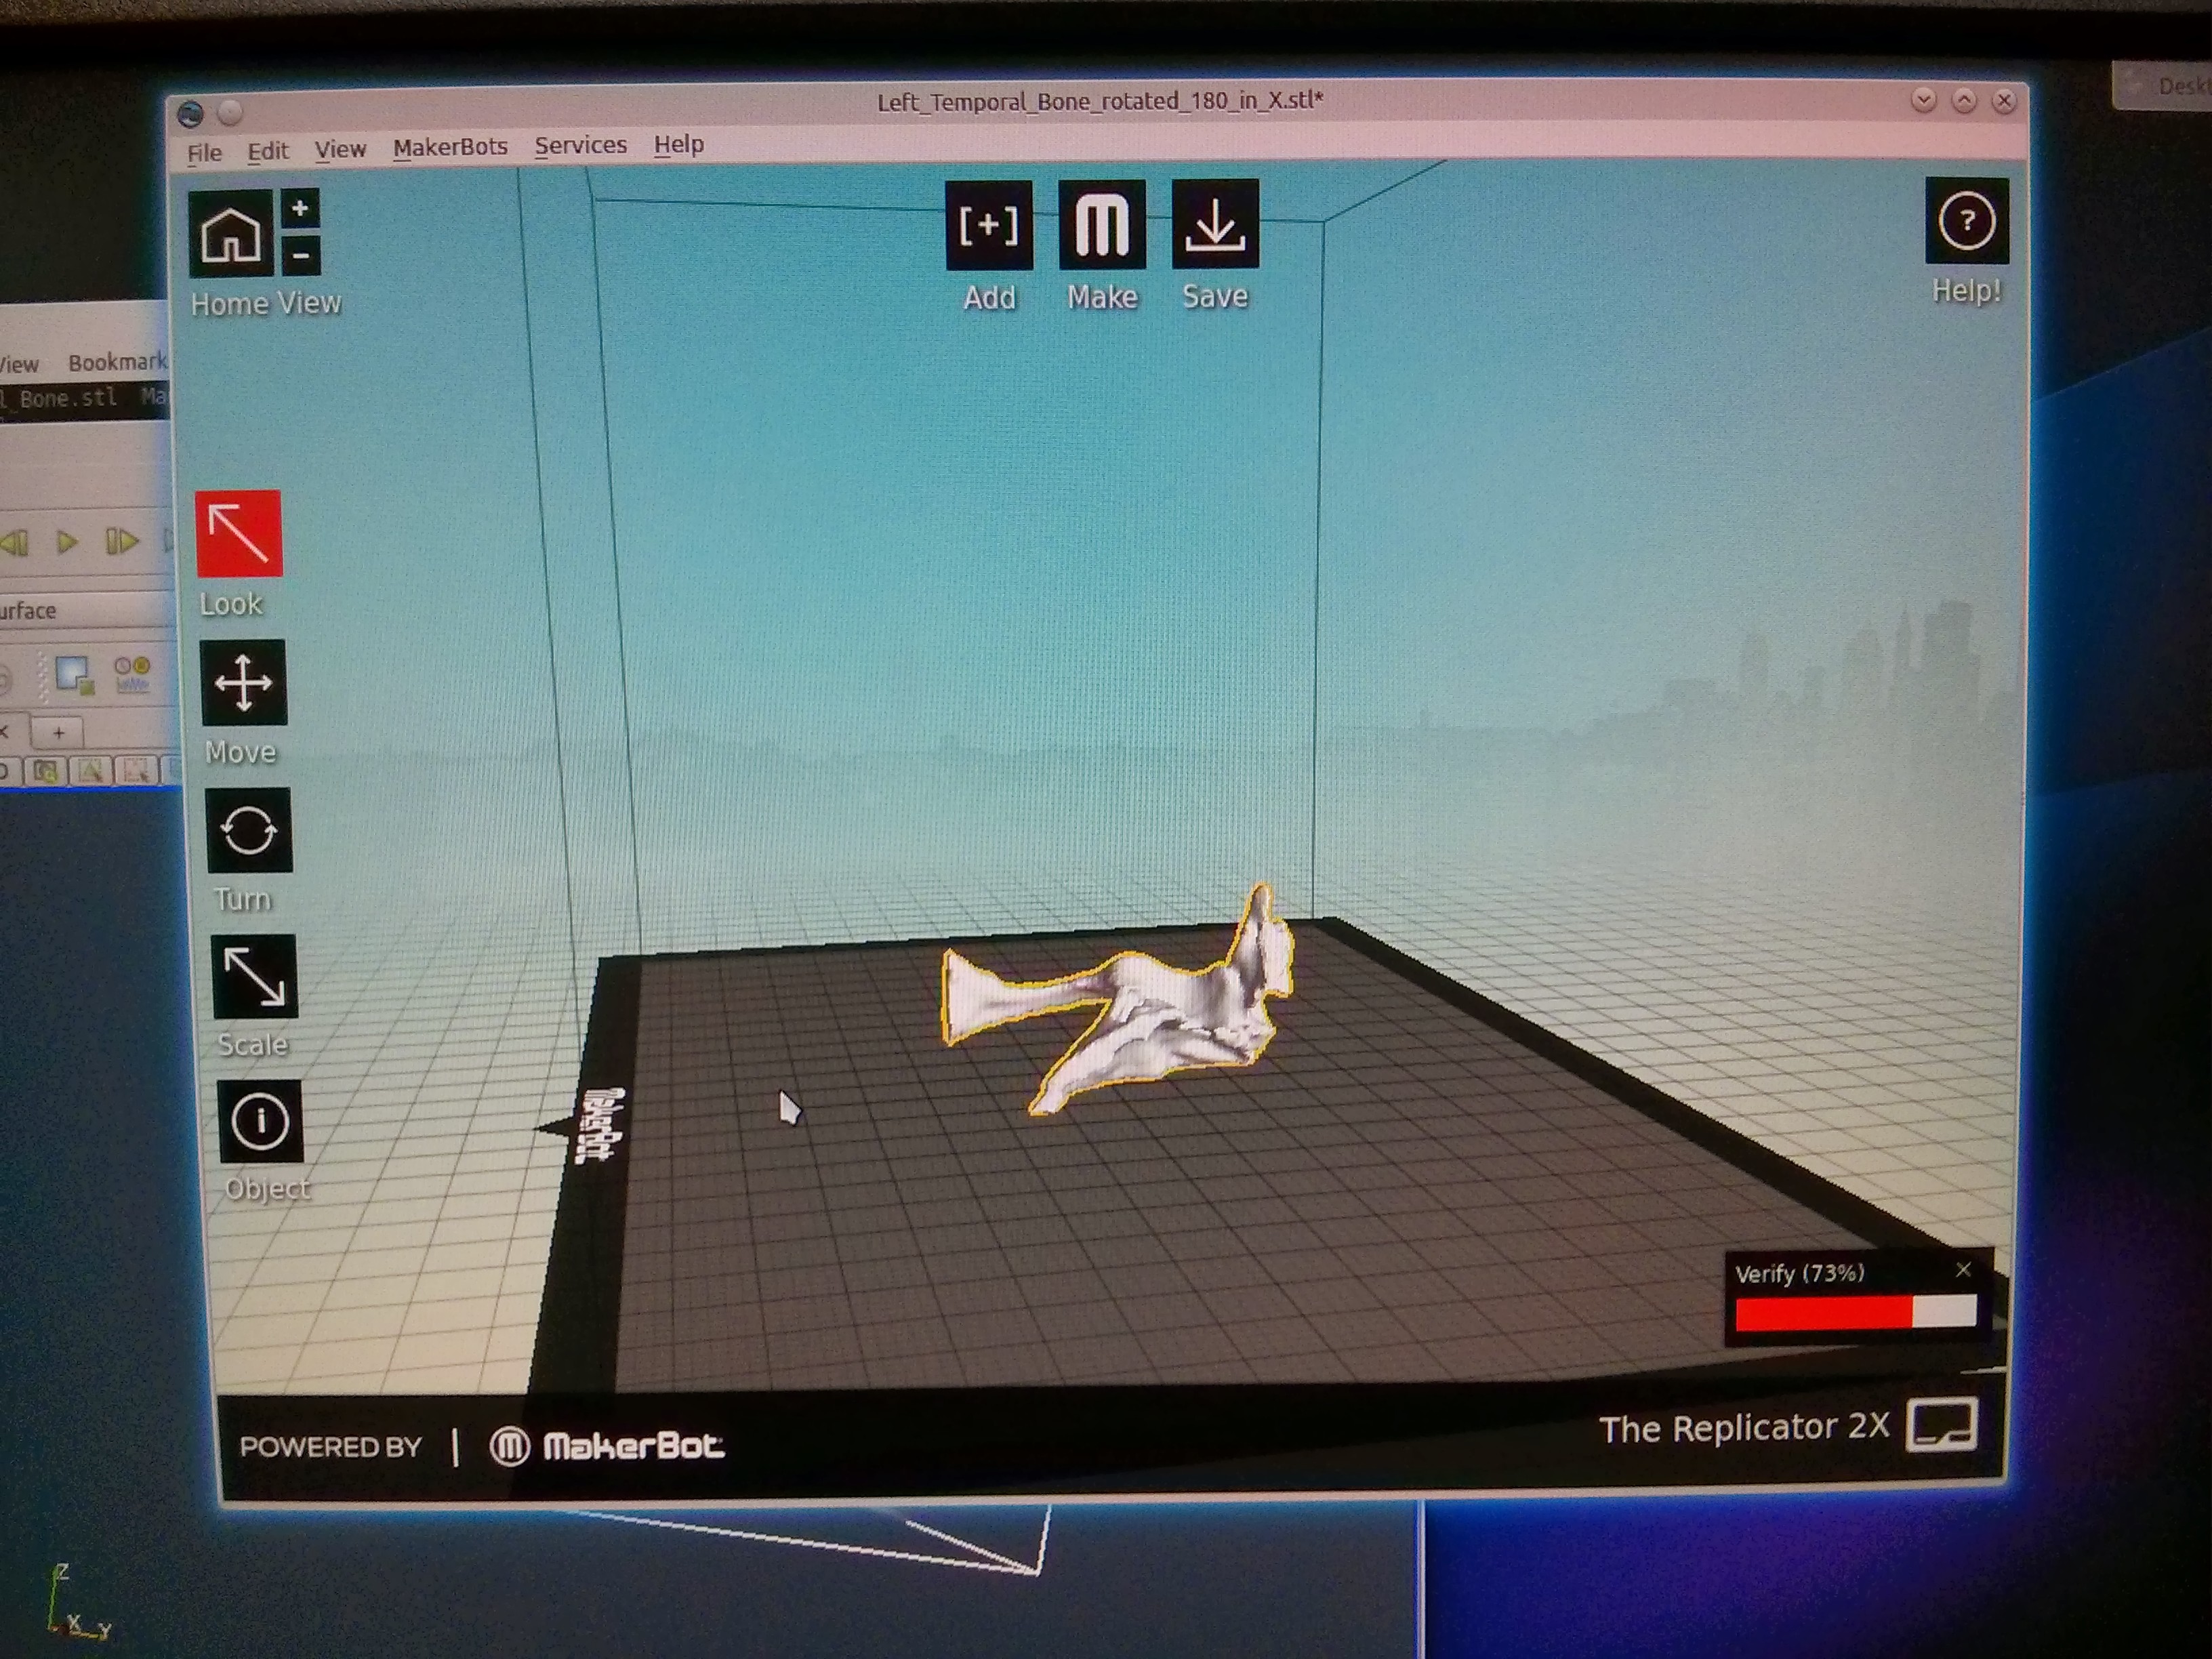
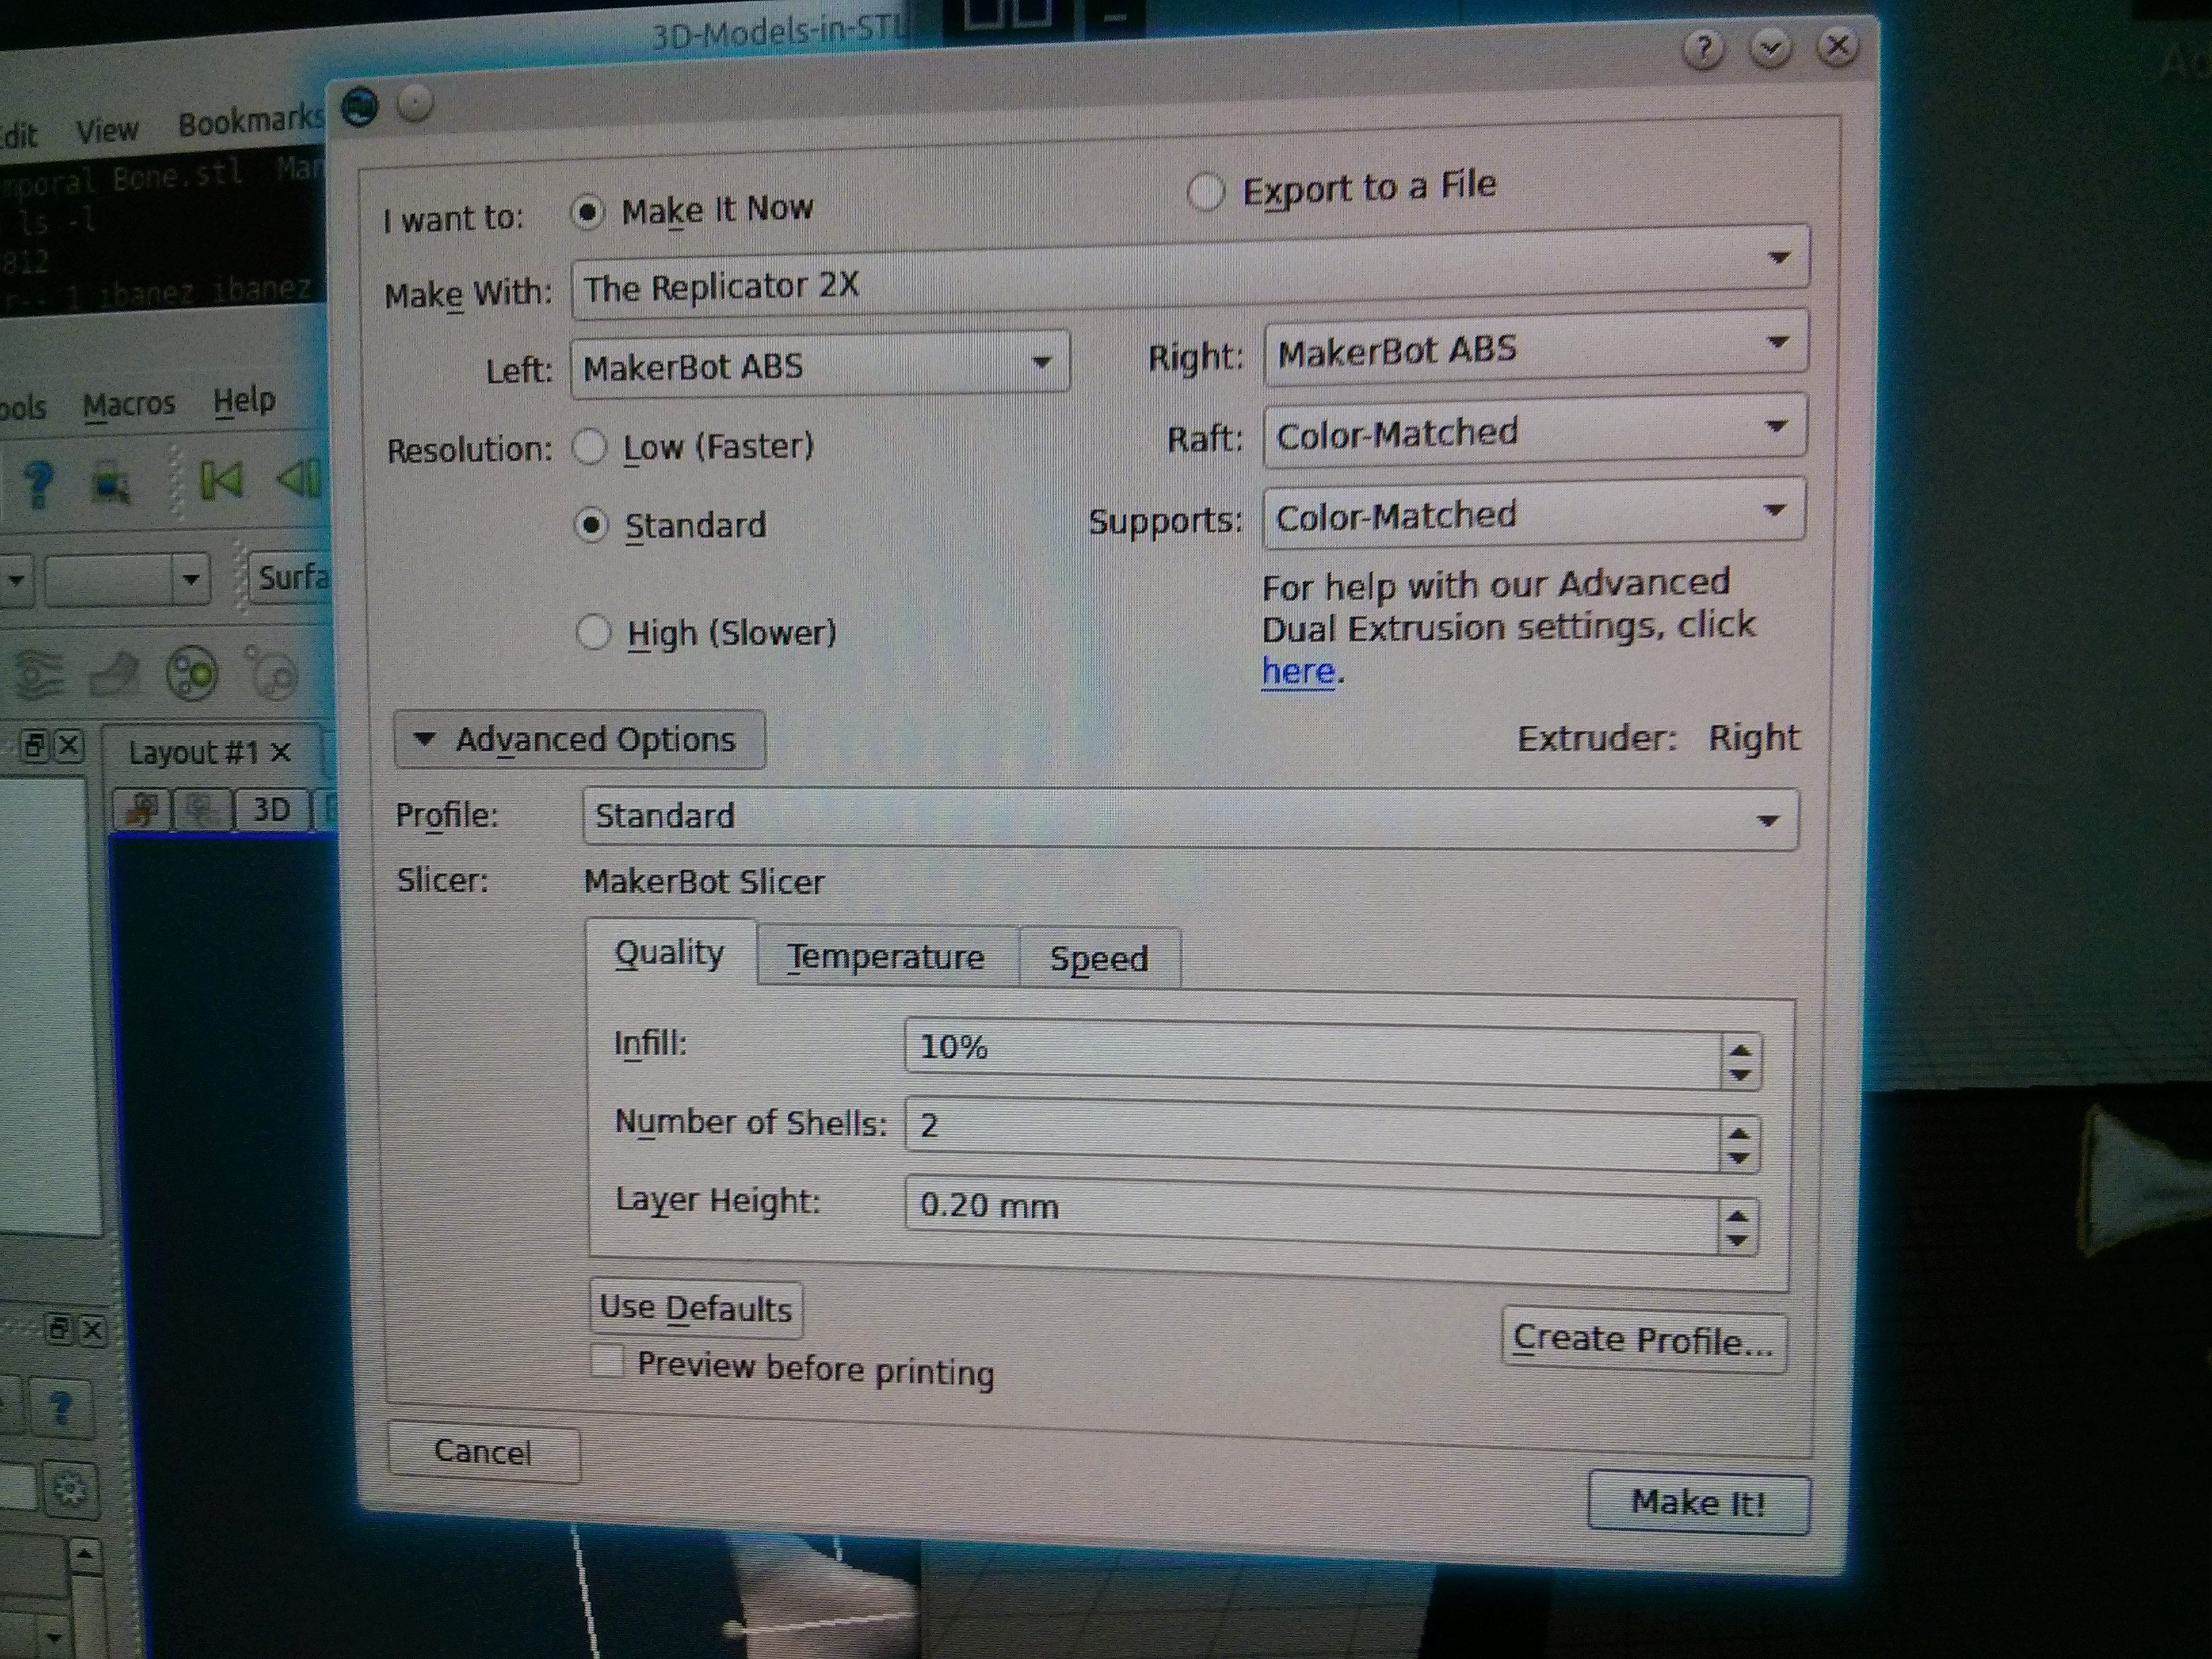
- Loaded the transformed STL model in the MakerWare software, that drives the printing process.
- Selected 3D printing parameters:
- Standard quality of 0.2 mm Layer Thickness
- Adding a raft (a base) to support the model
- Adding supports, that help to hold pieces of the model in place during the printing process.
Then launched the 3D printing process, which starts with generating G-Code, describing the path that the printer heads should follow to draw the object layer by layer.
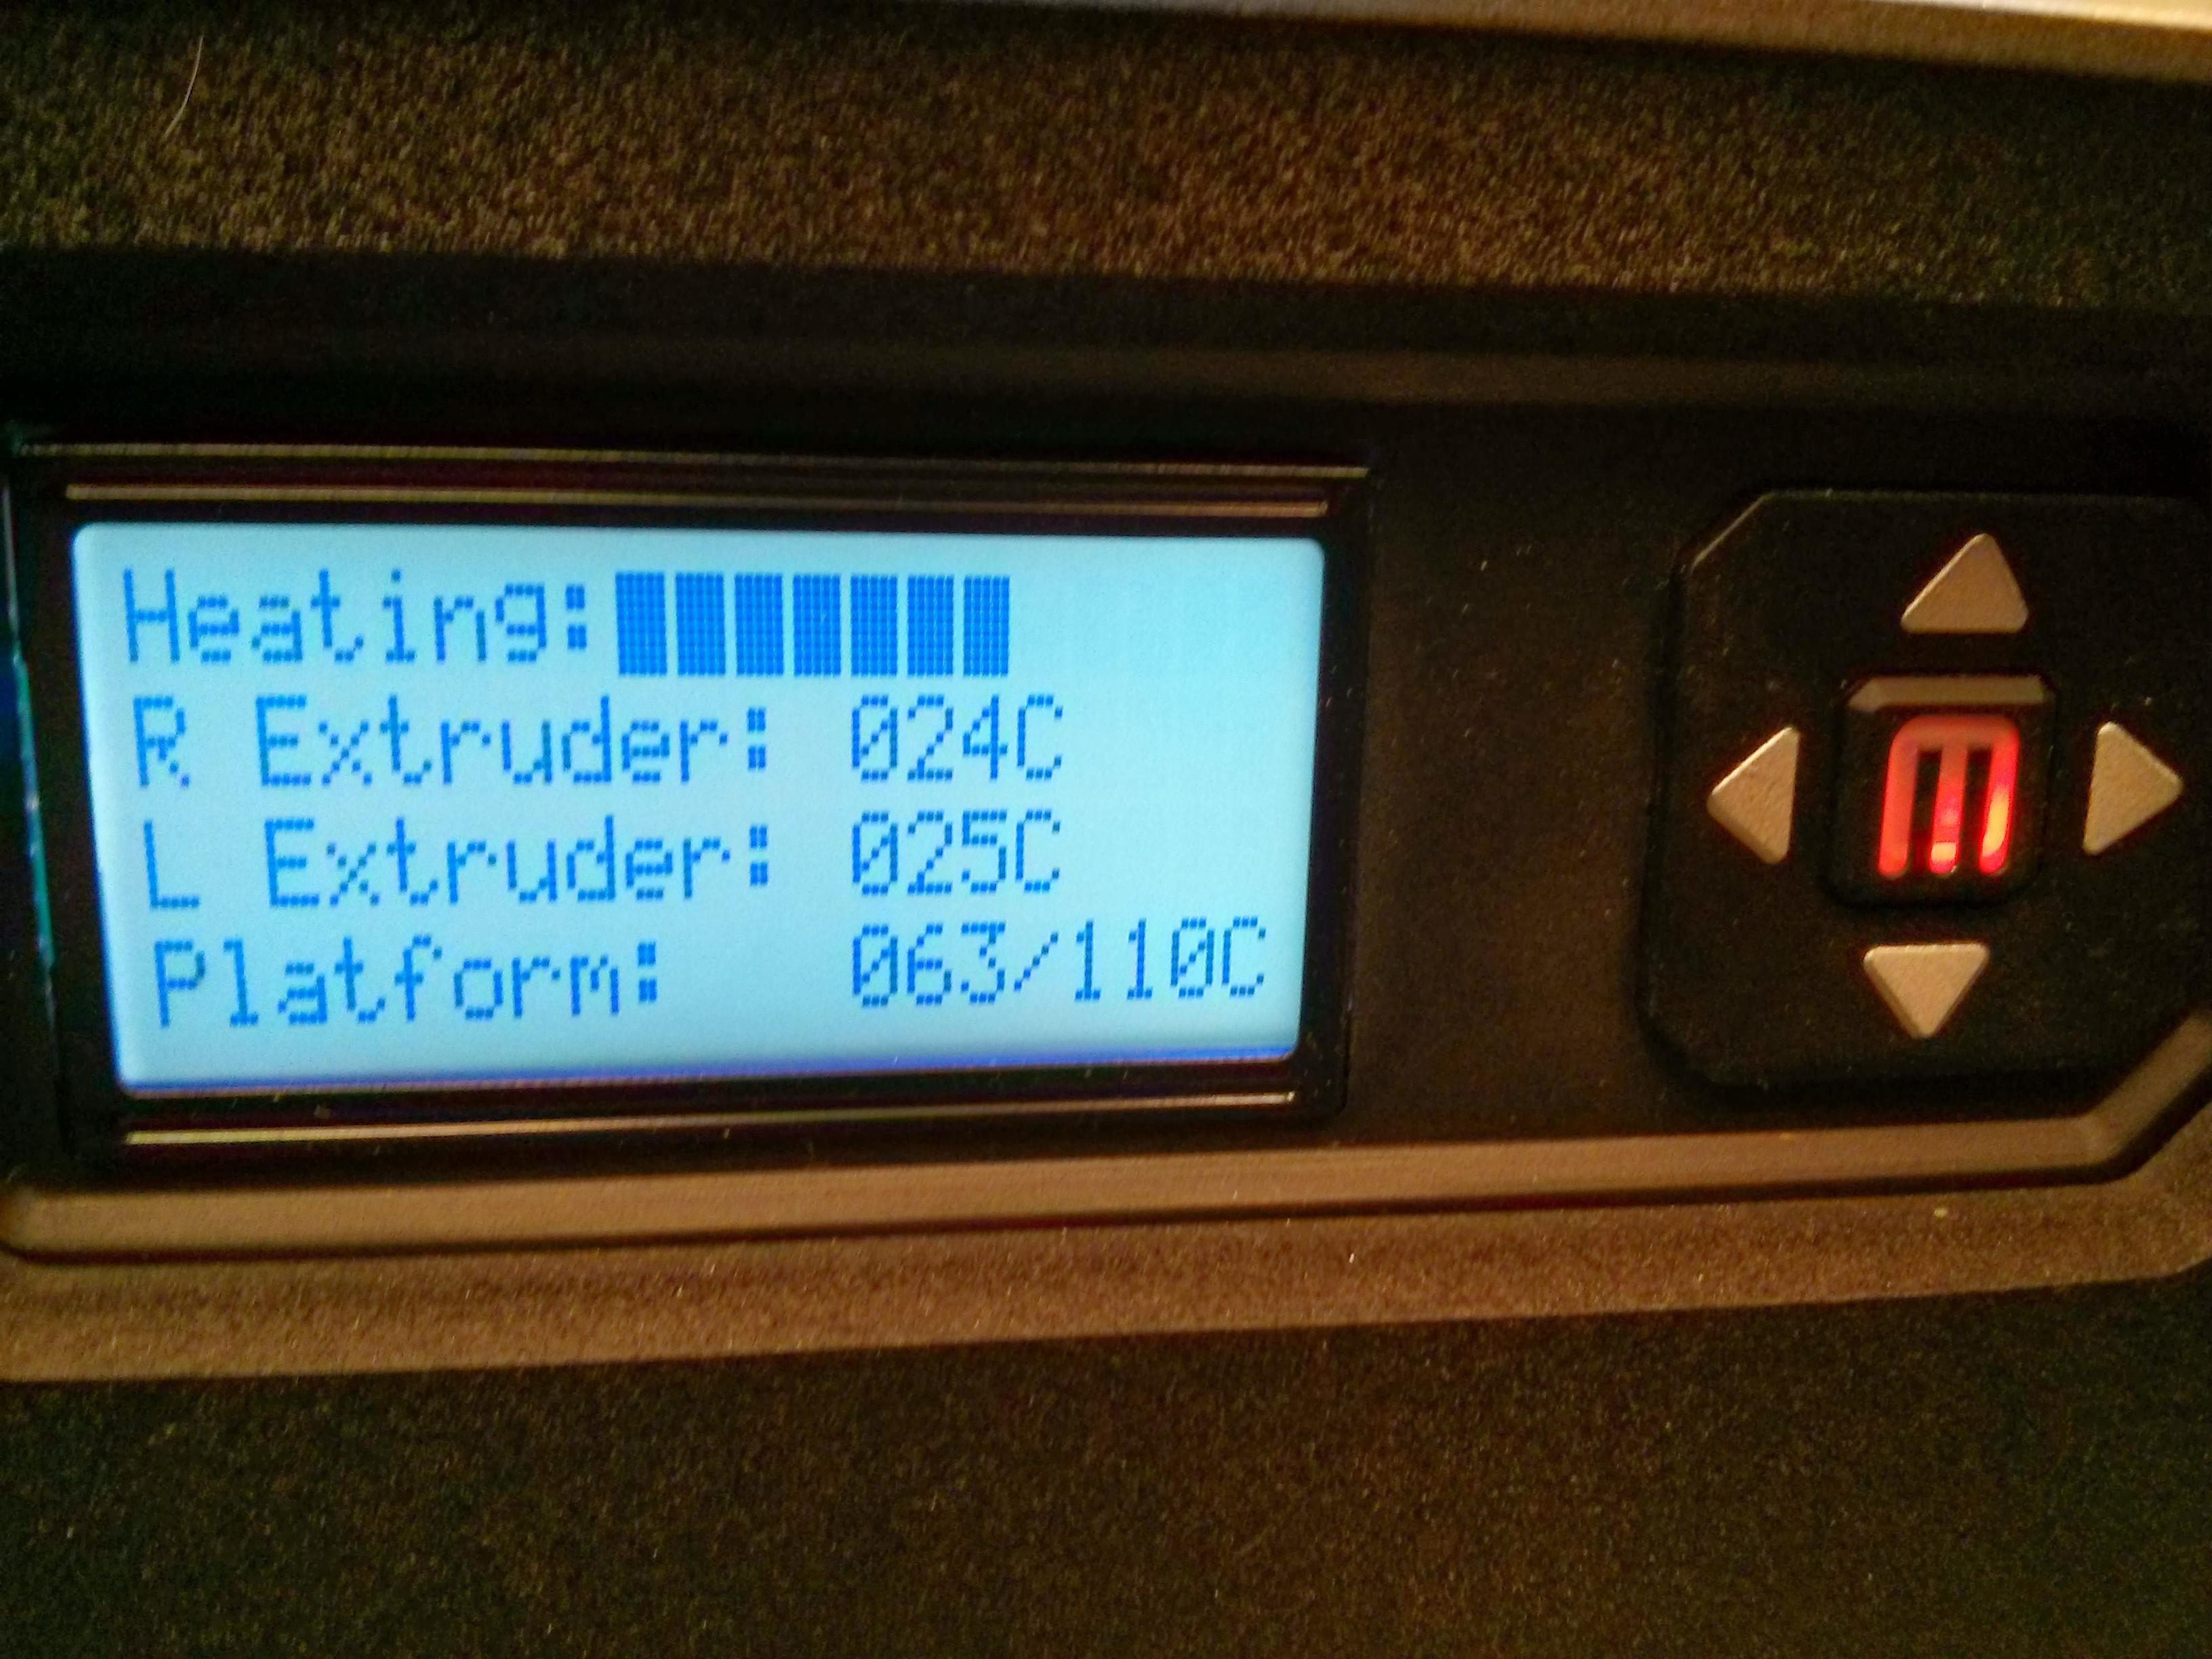
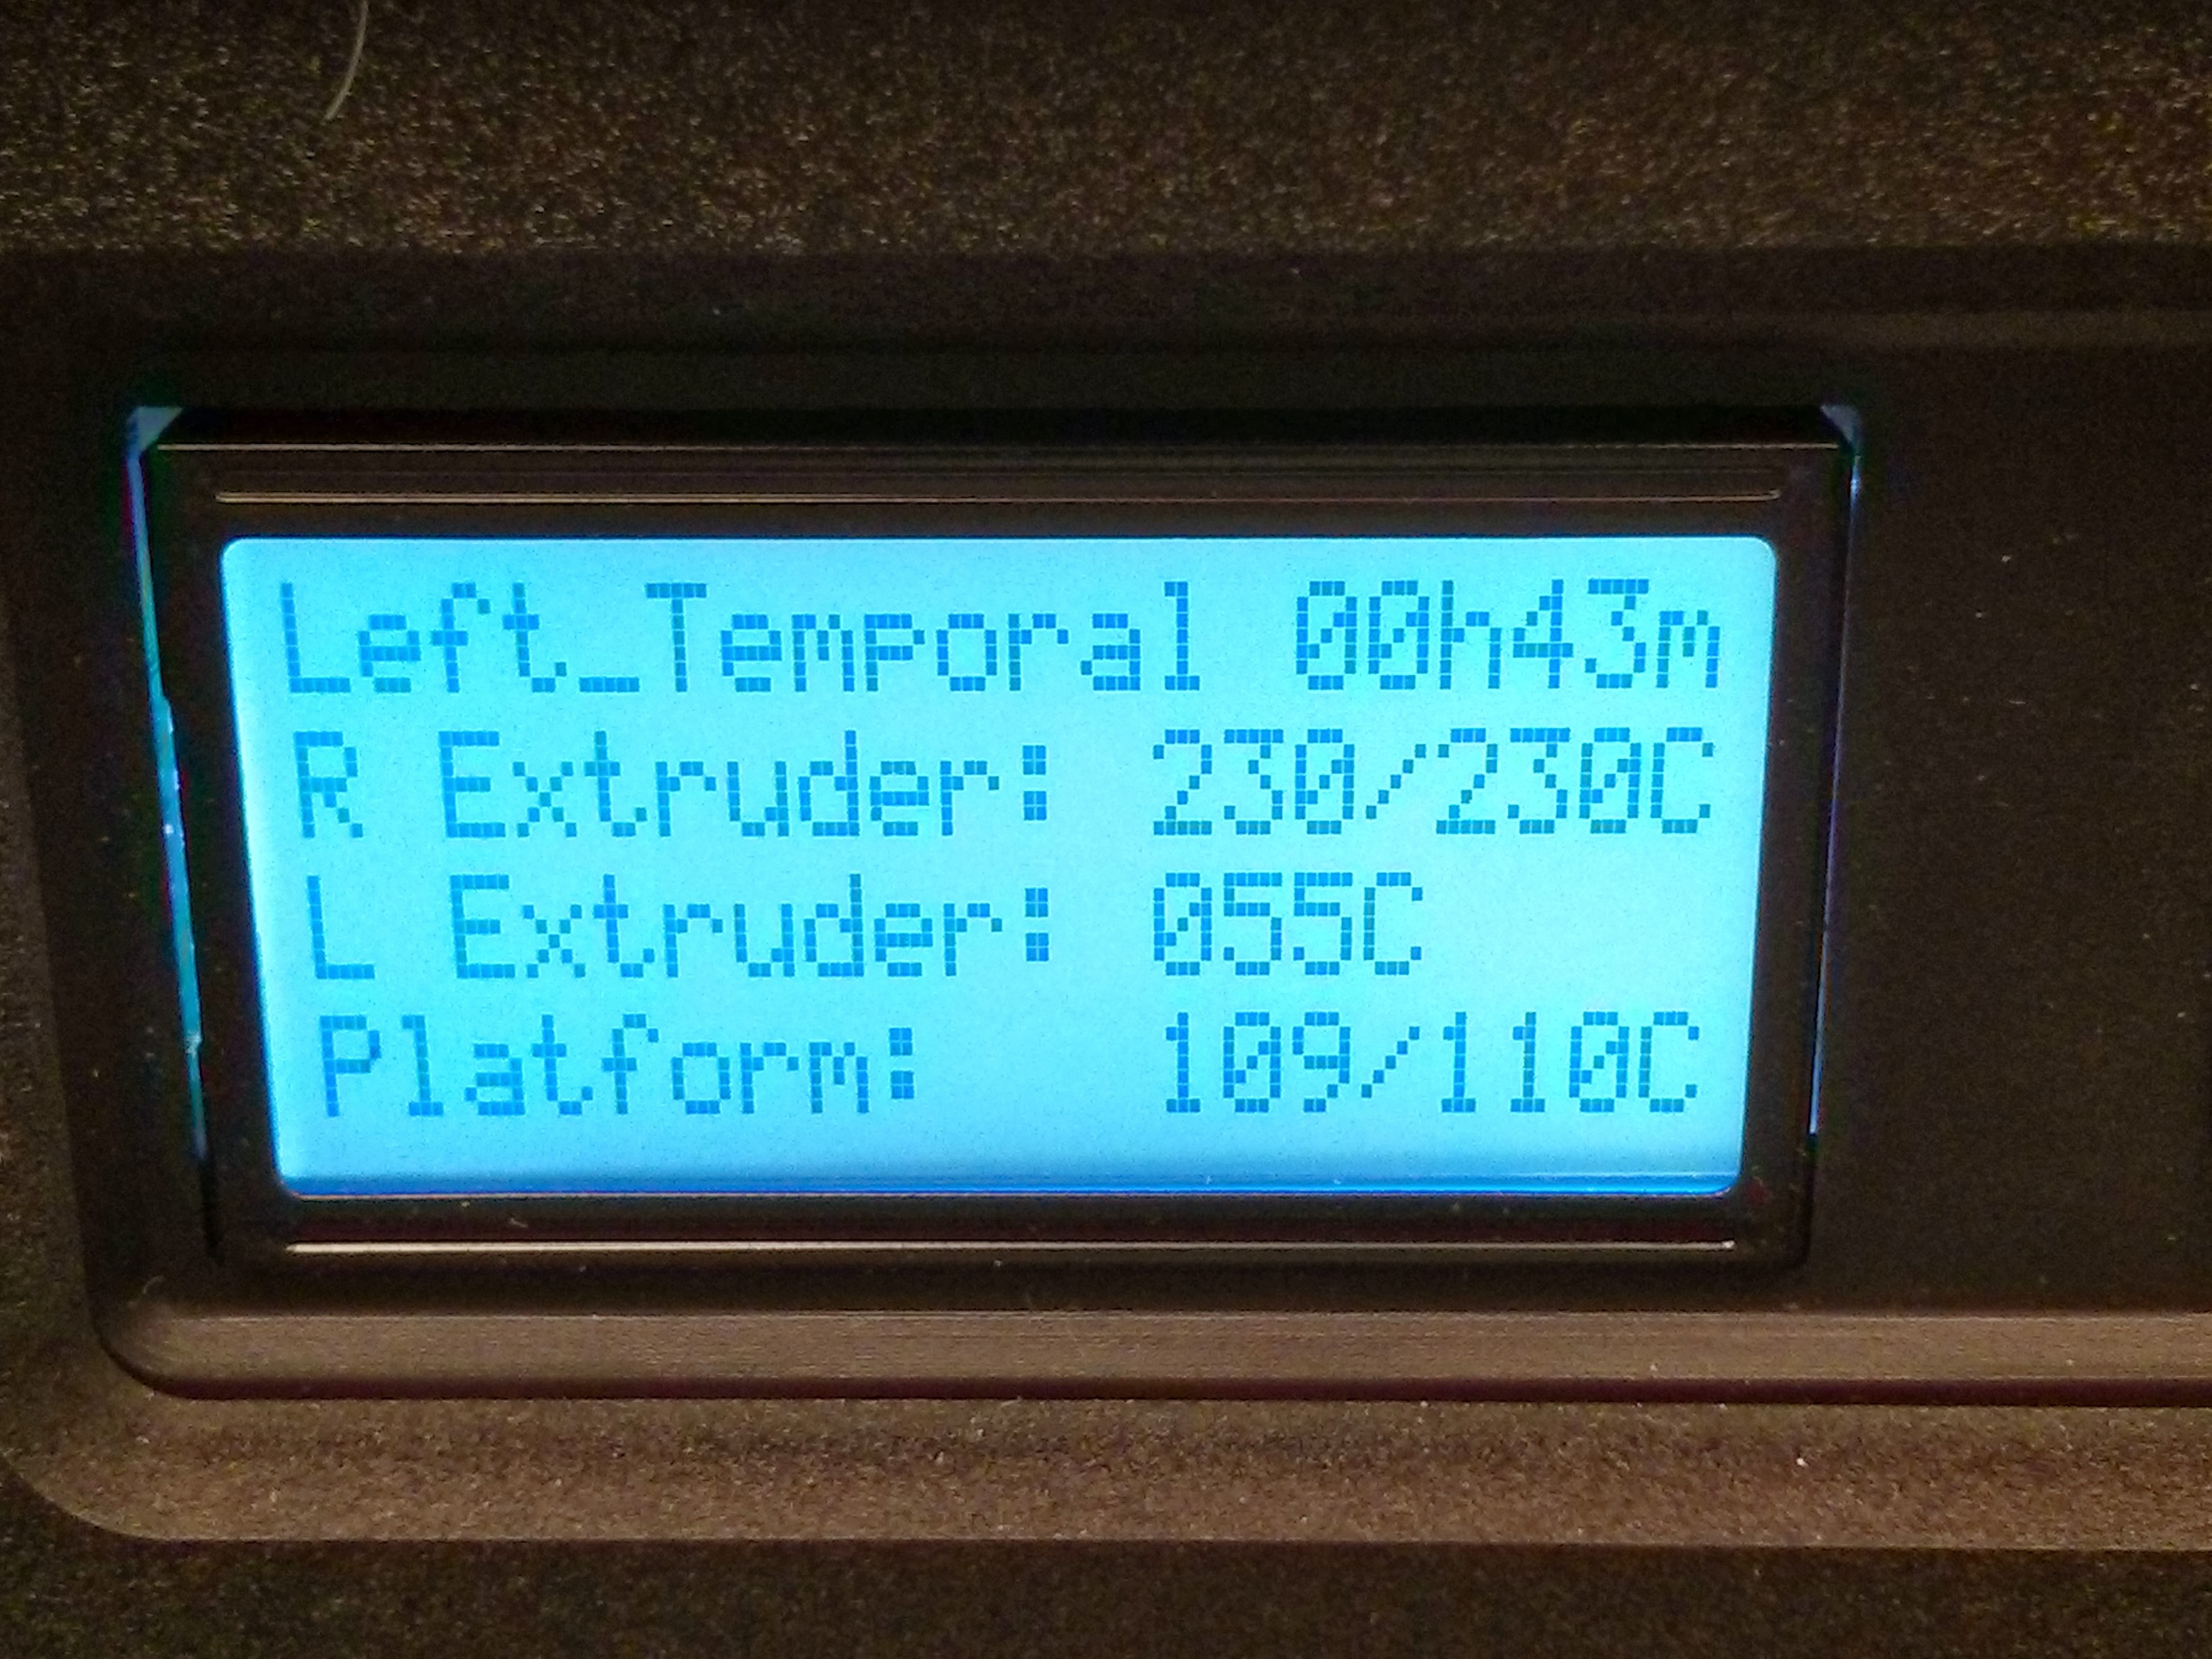
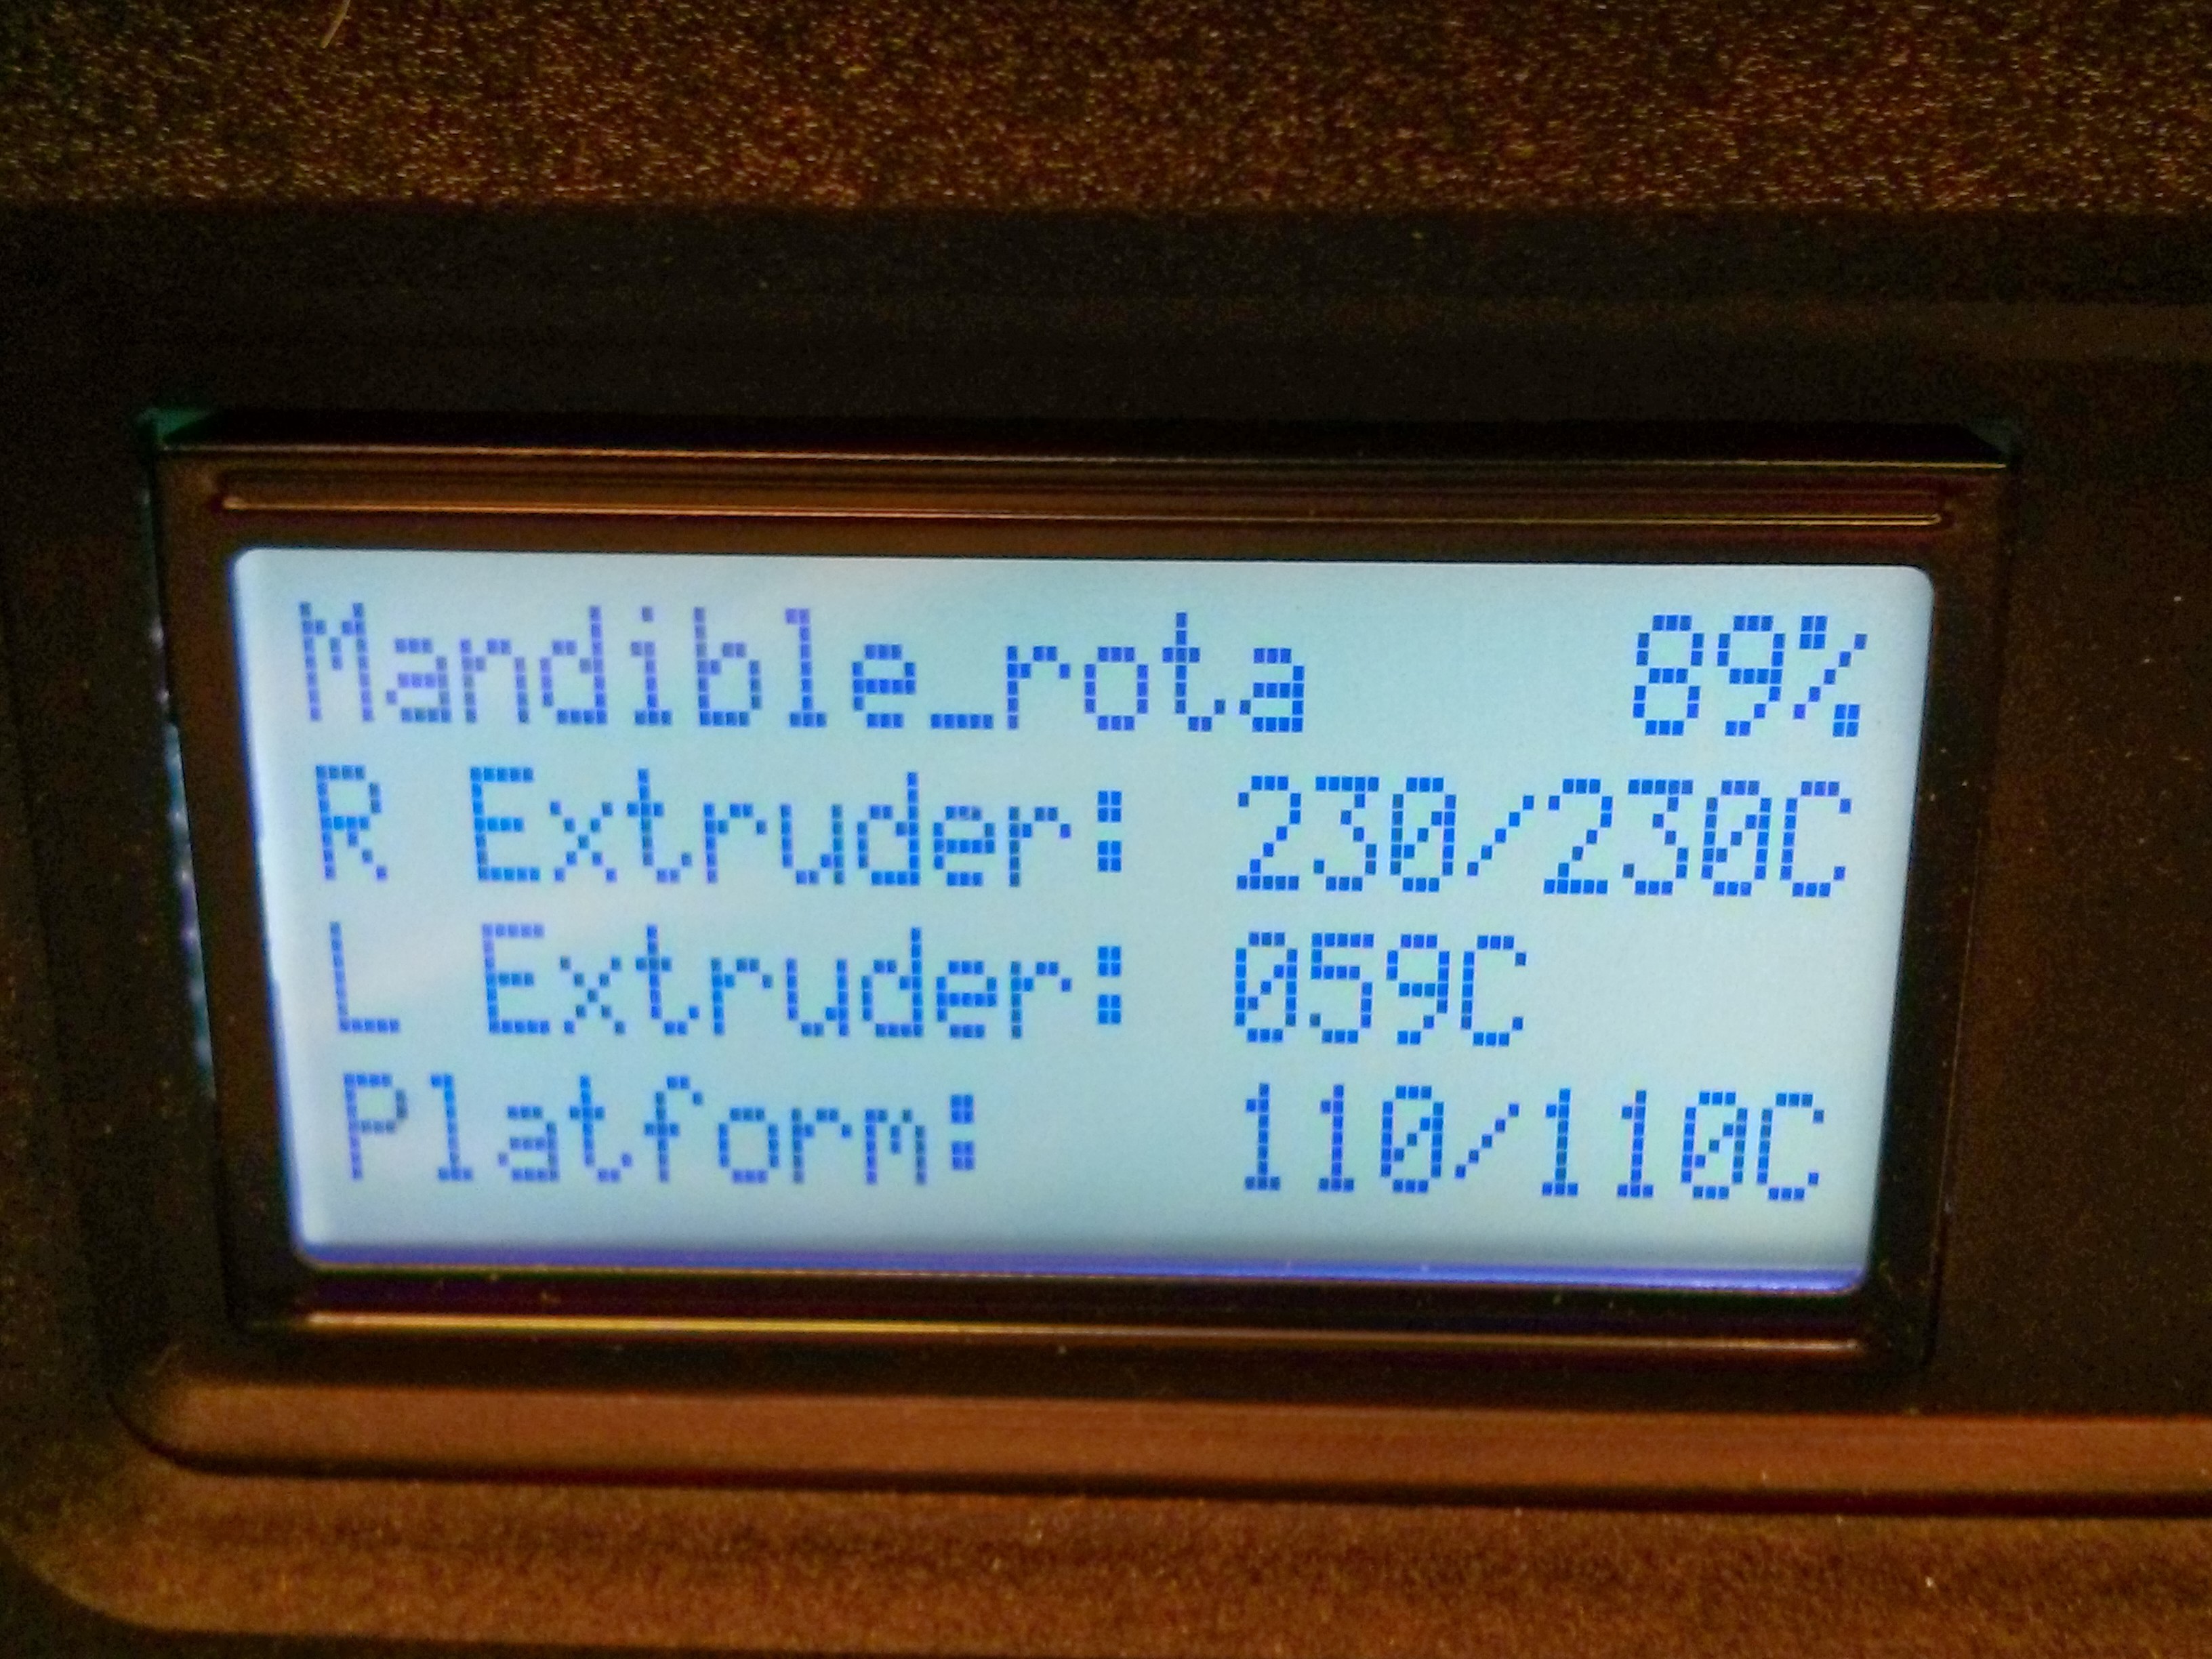
Bring up the heat
Then, the printer heats up the bed platform (to 100 Celsius) and the extruder (which is attached to the printer head) (to 230 Celsius):
 |
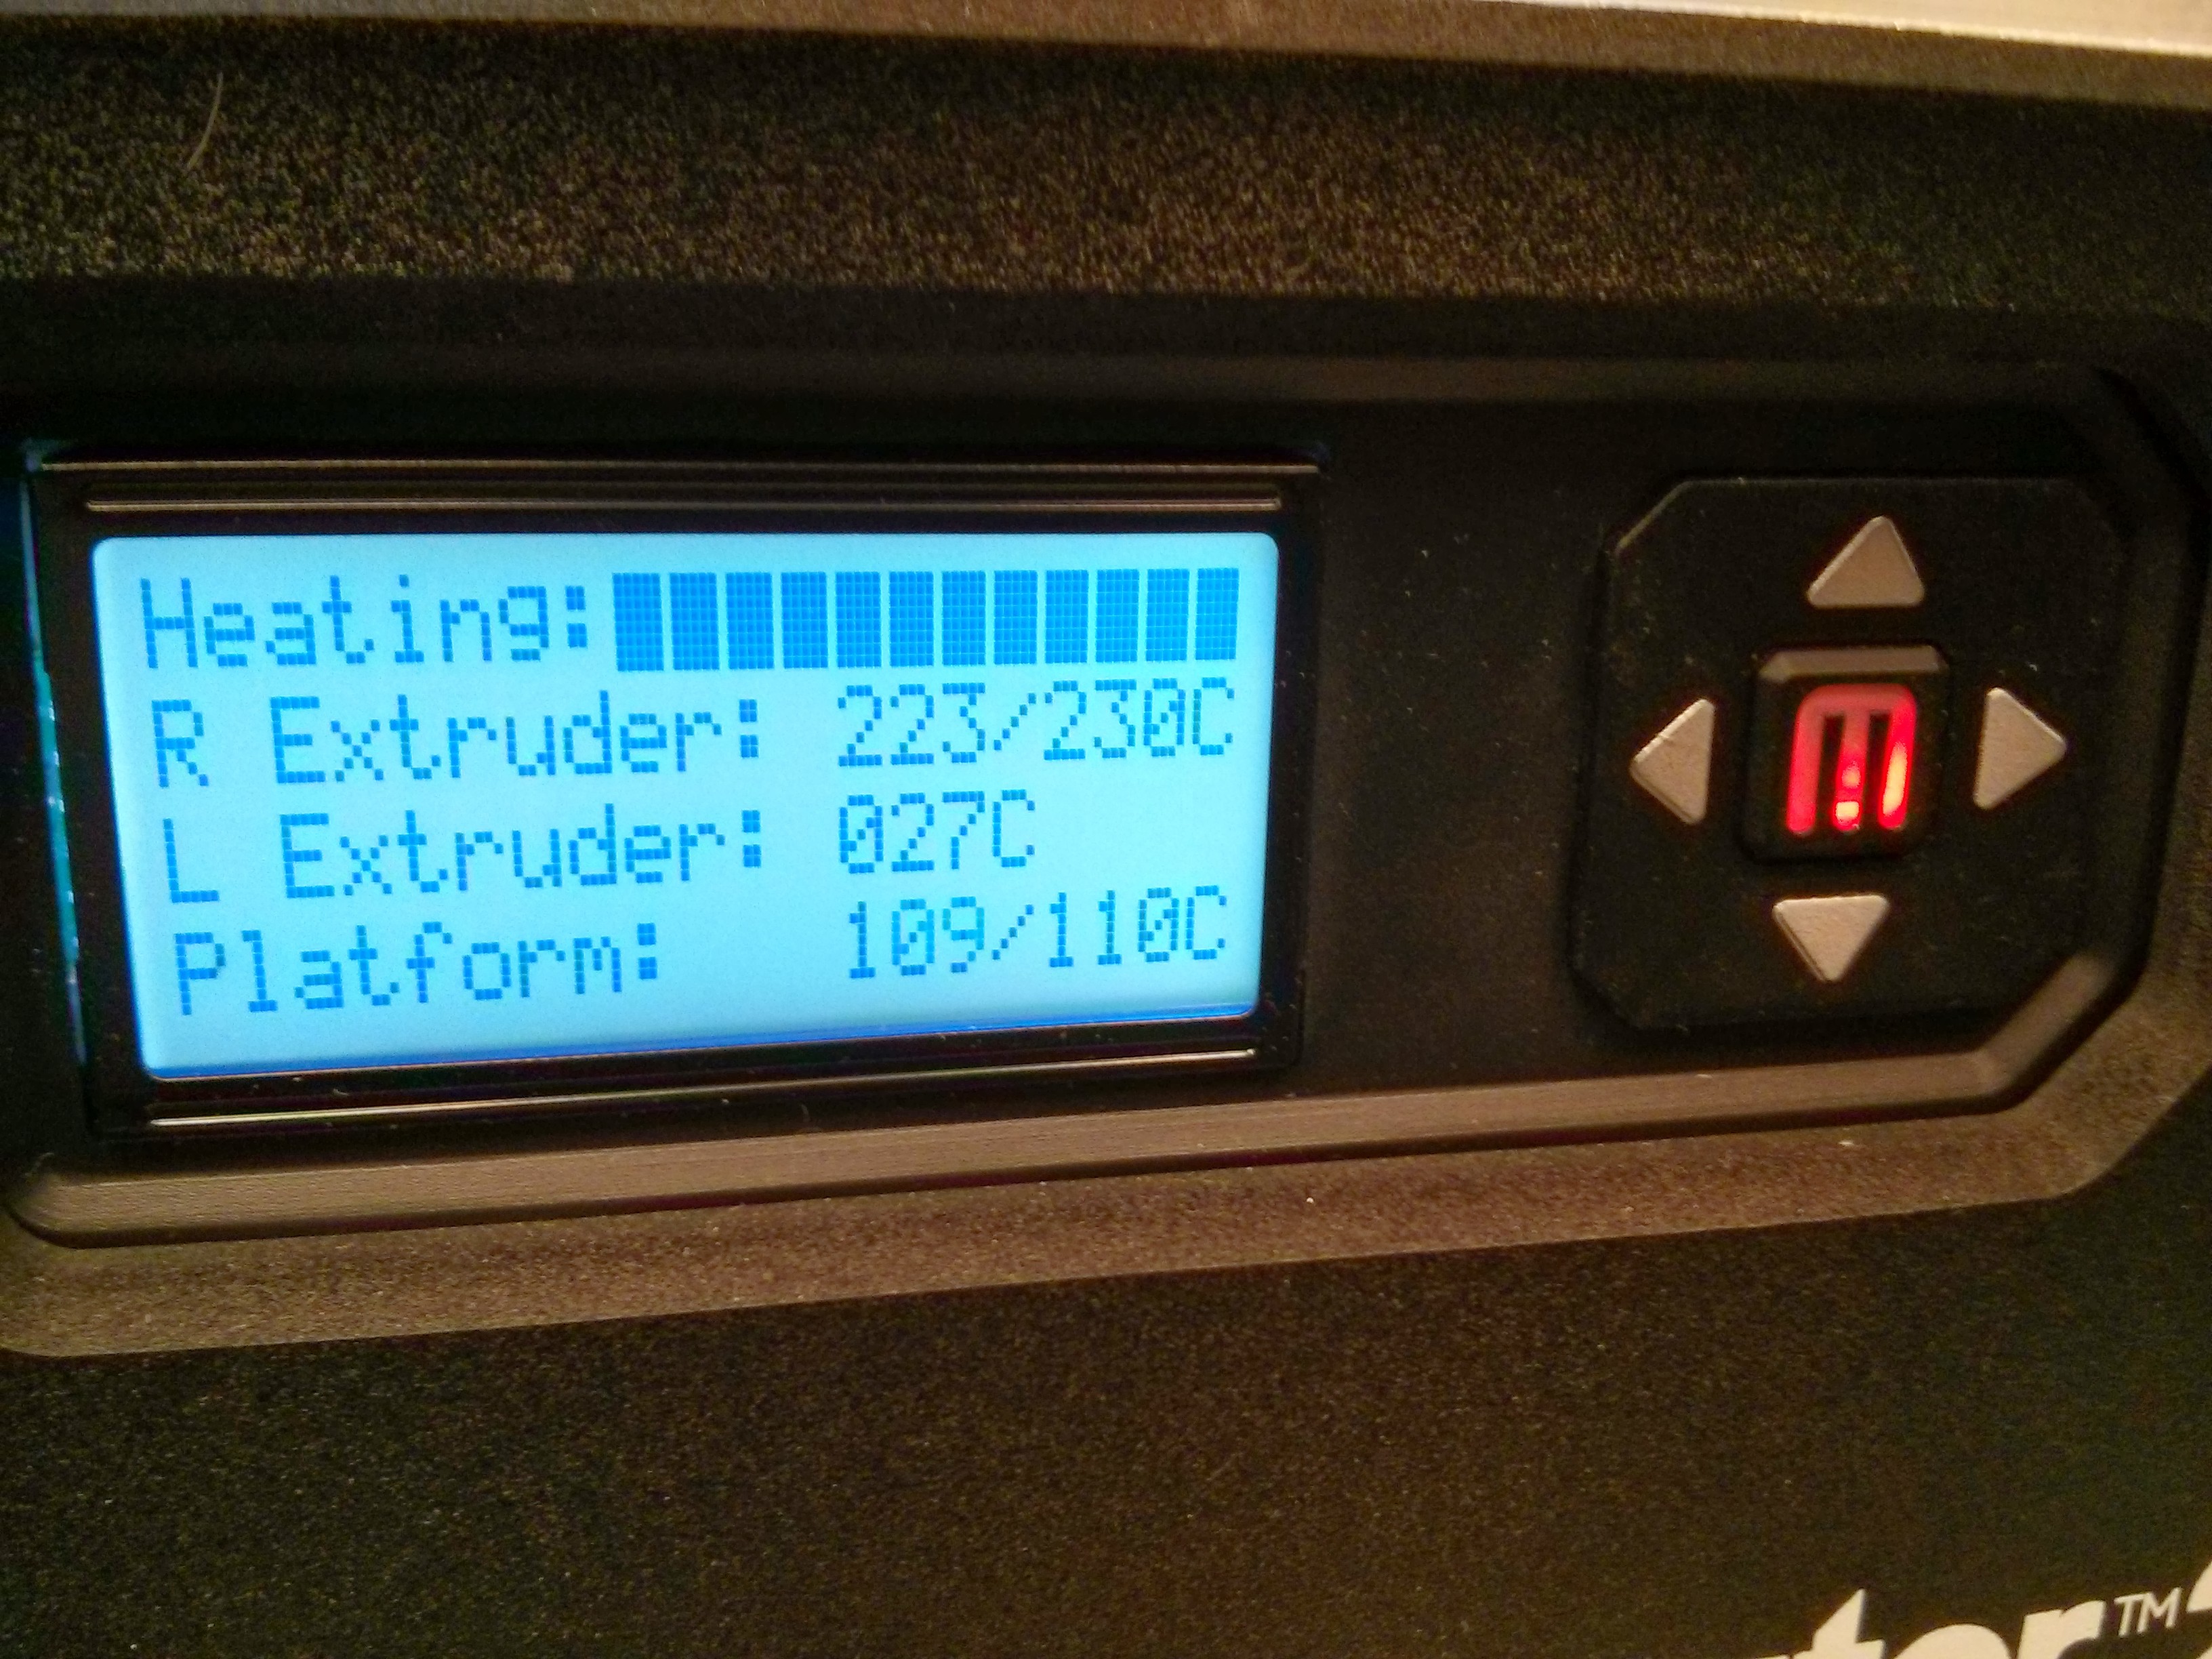 |
The Makerbot Replicator 2X has two extruders, but in this case we are using only the one on the right side of the printing head.
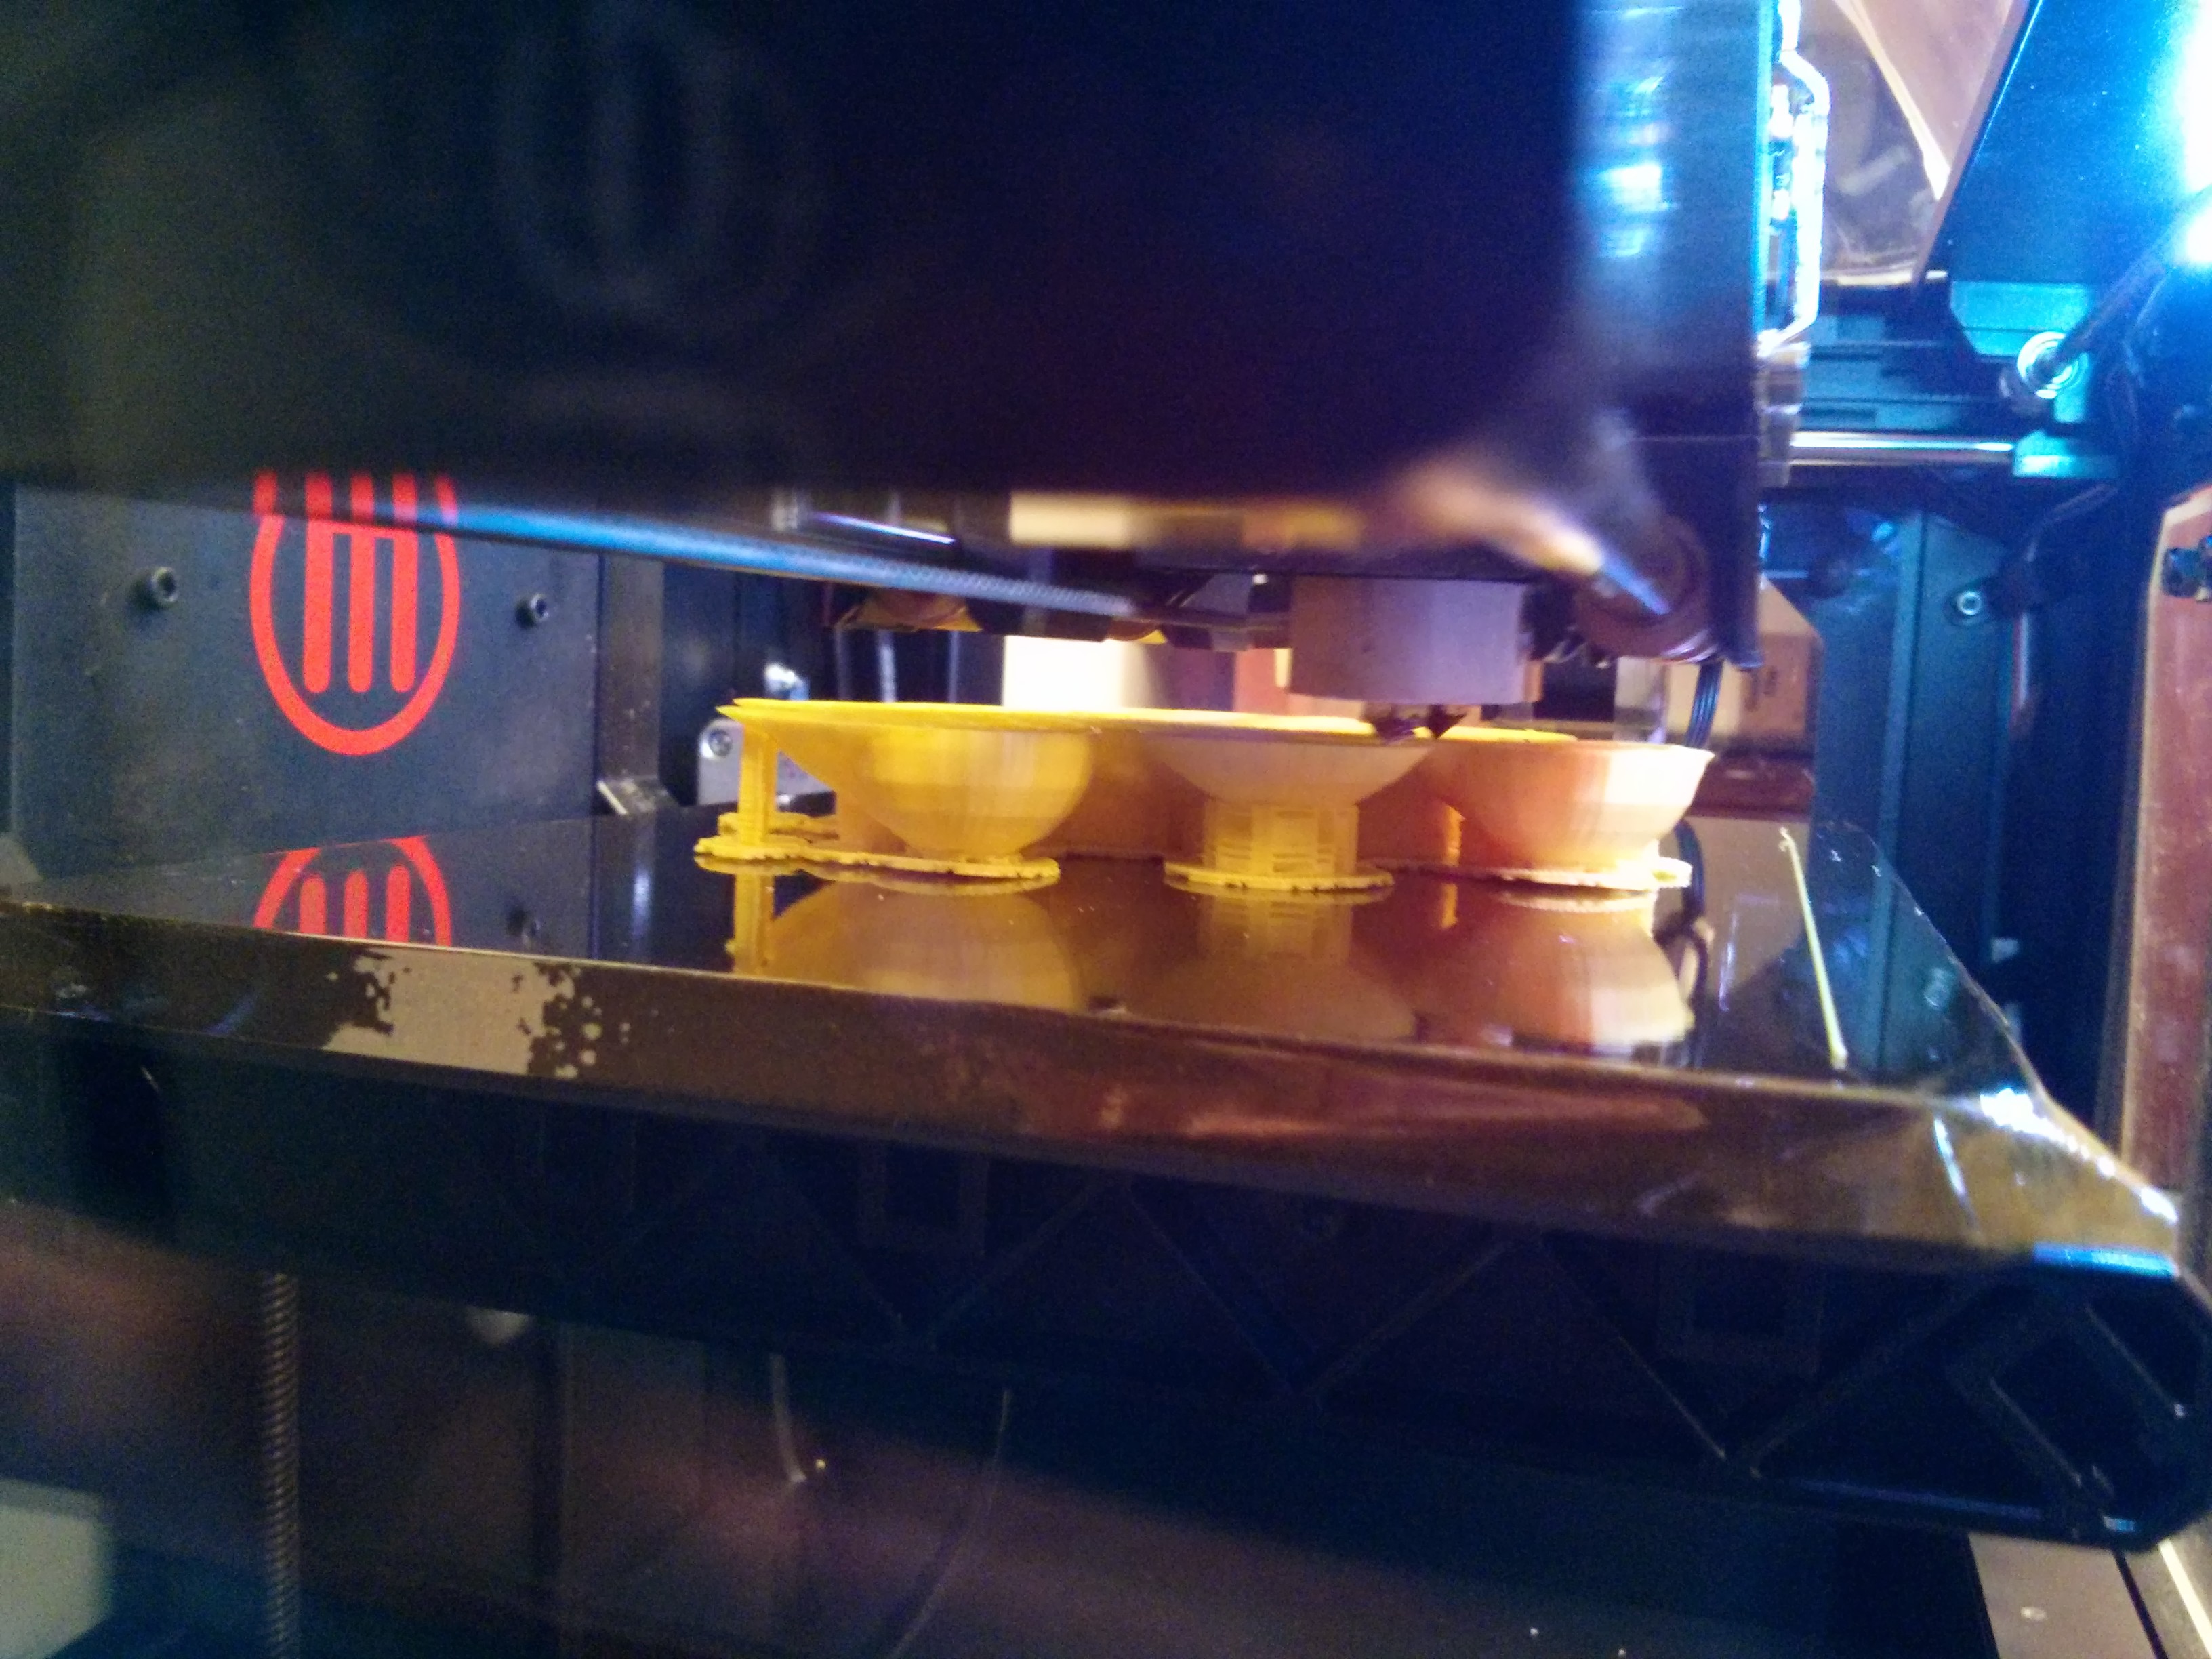
Print Layer by Layer
Since we choose to add a raft and supports, the printer first draws a low resolution layer to be the base of the raft:
 |
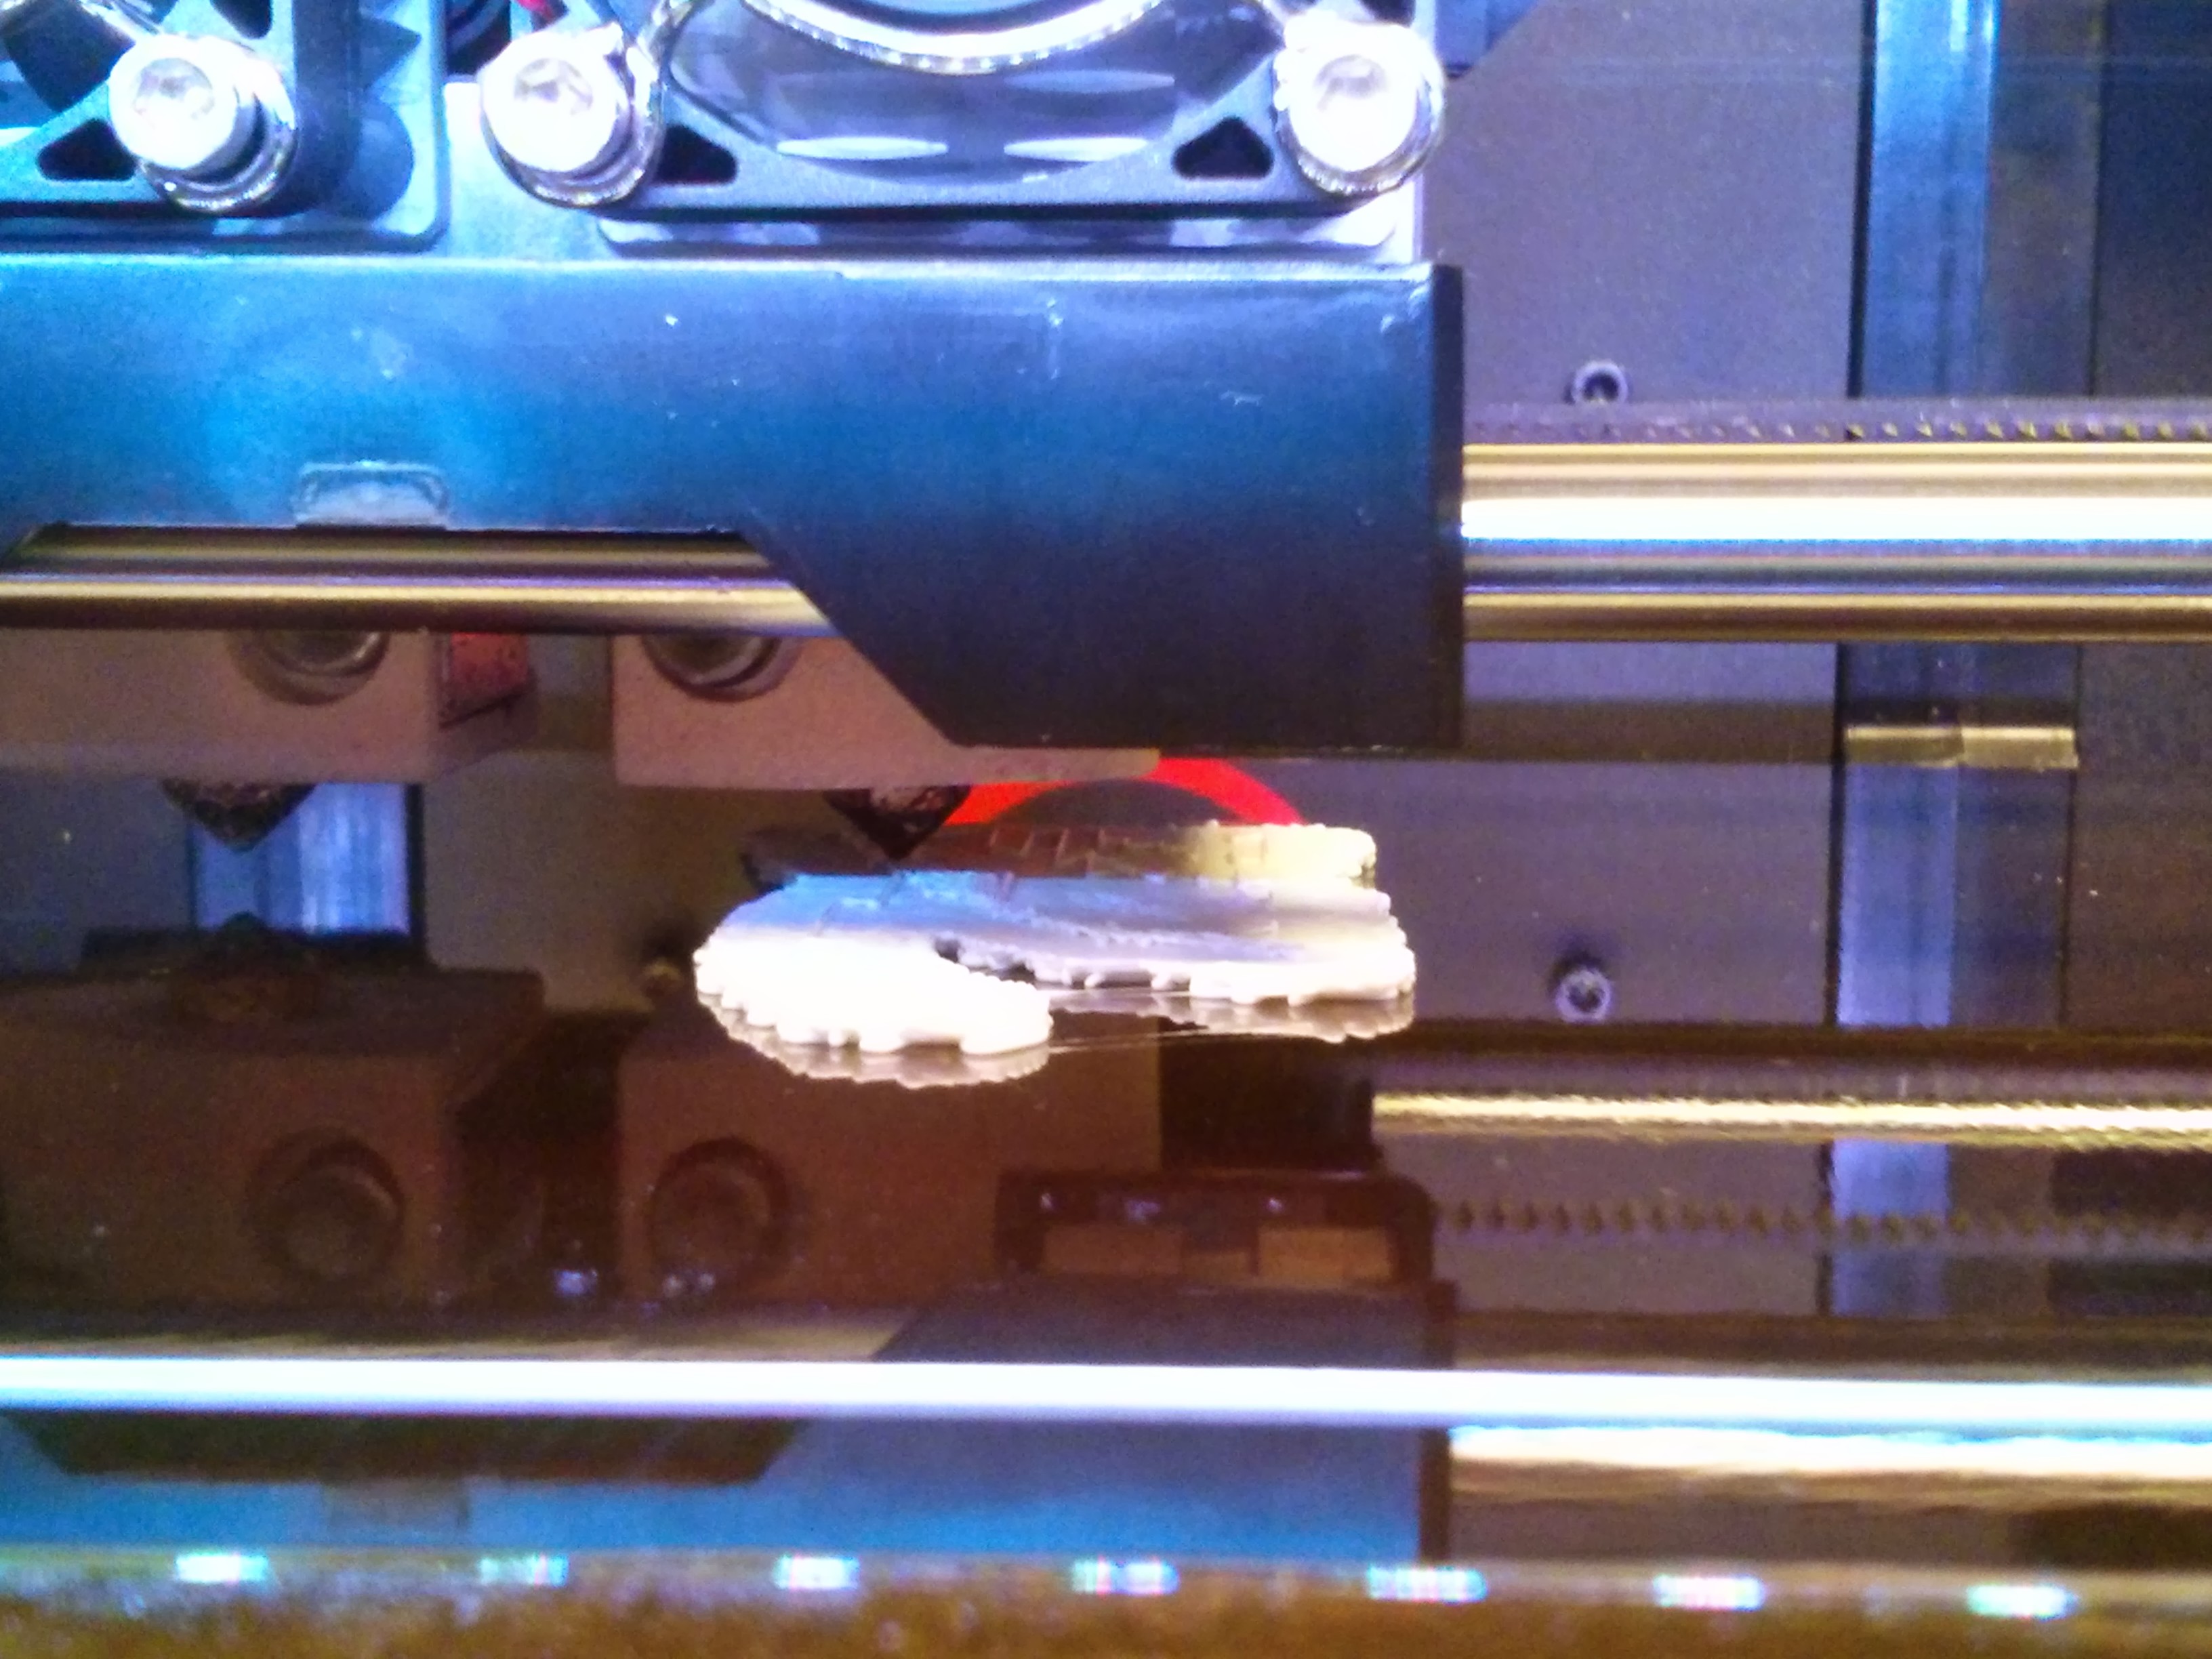 |
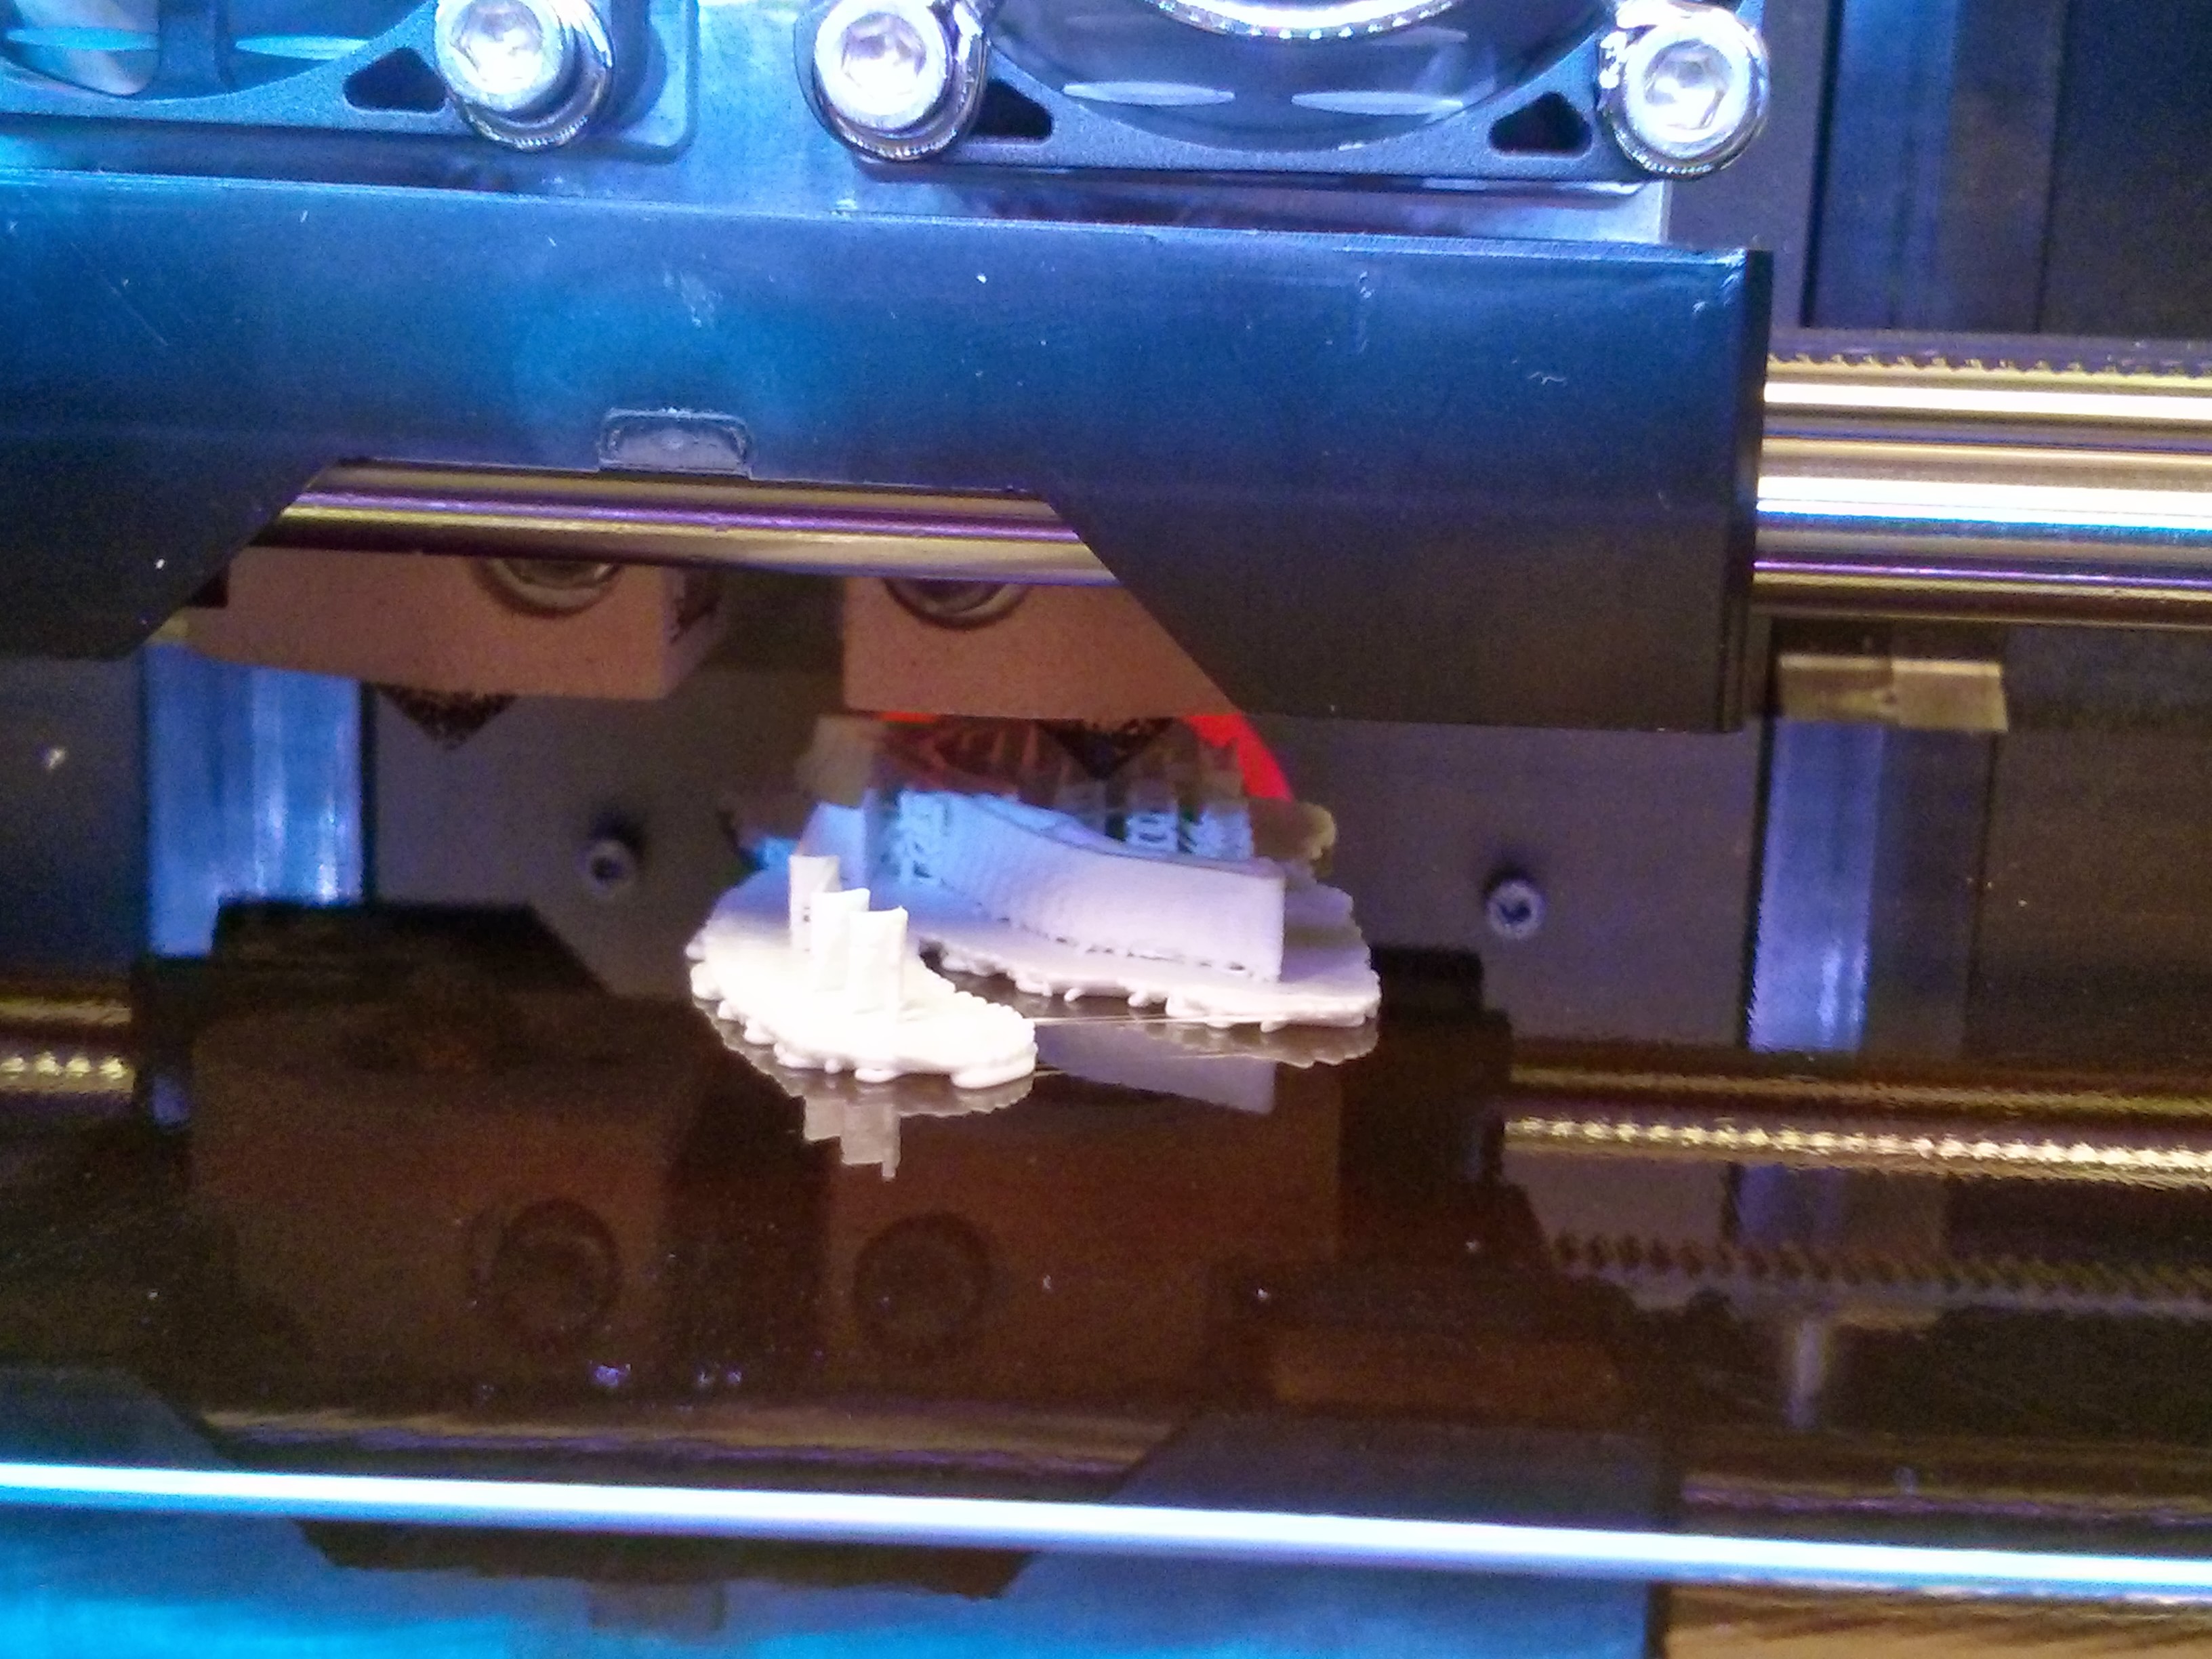
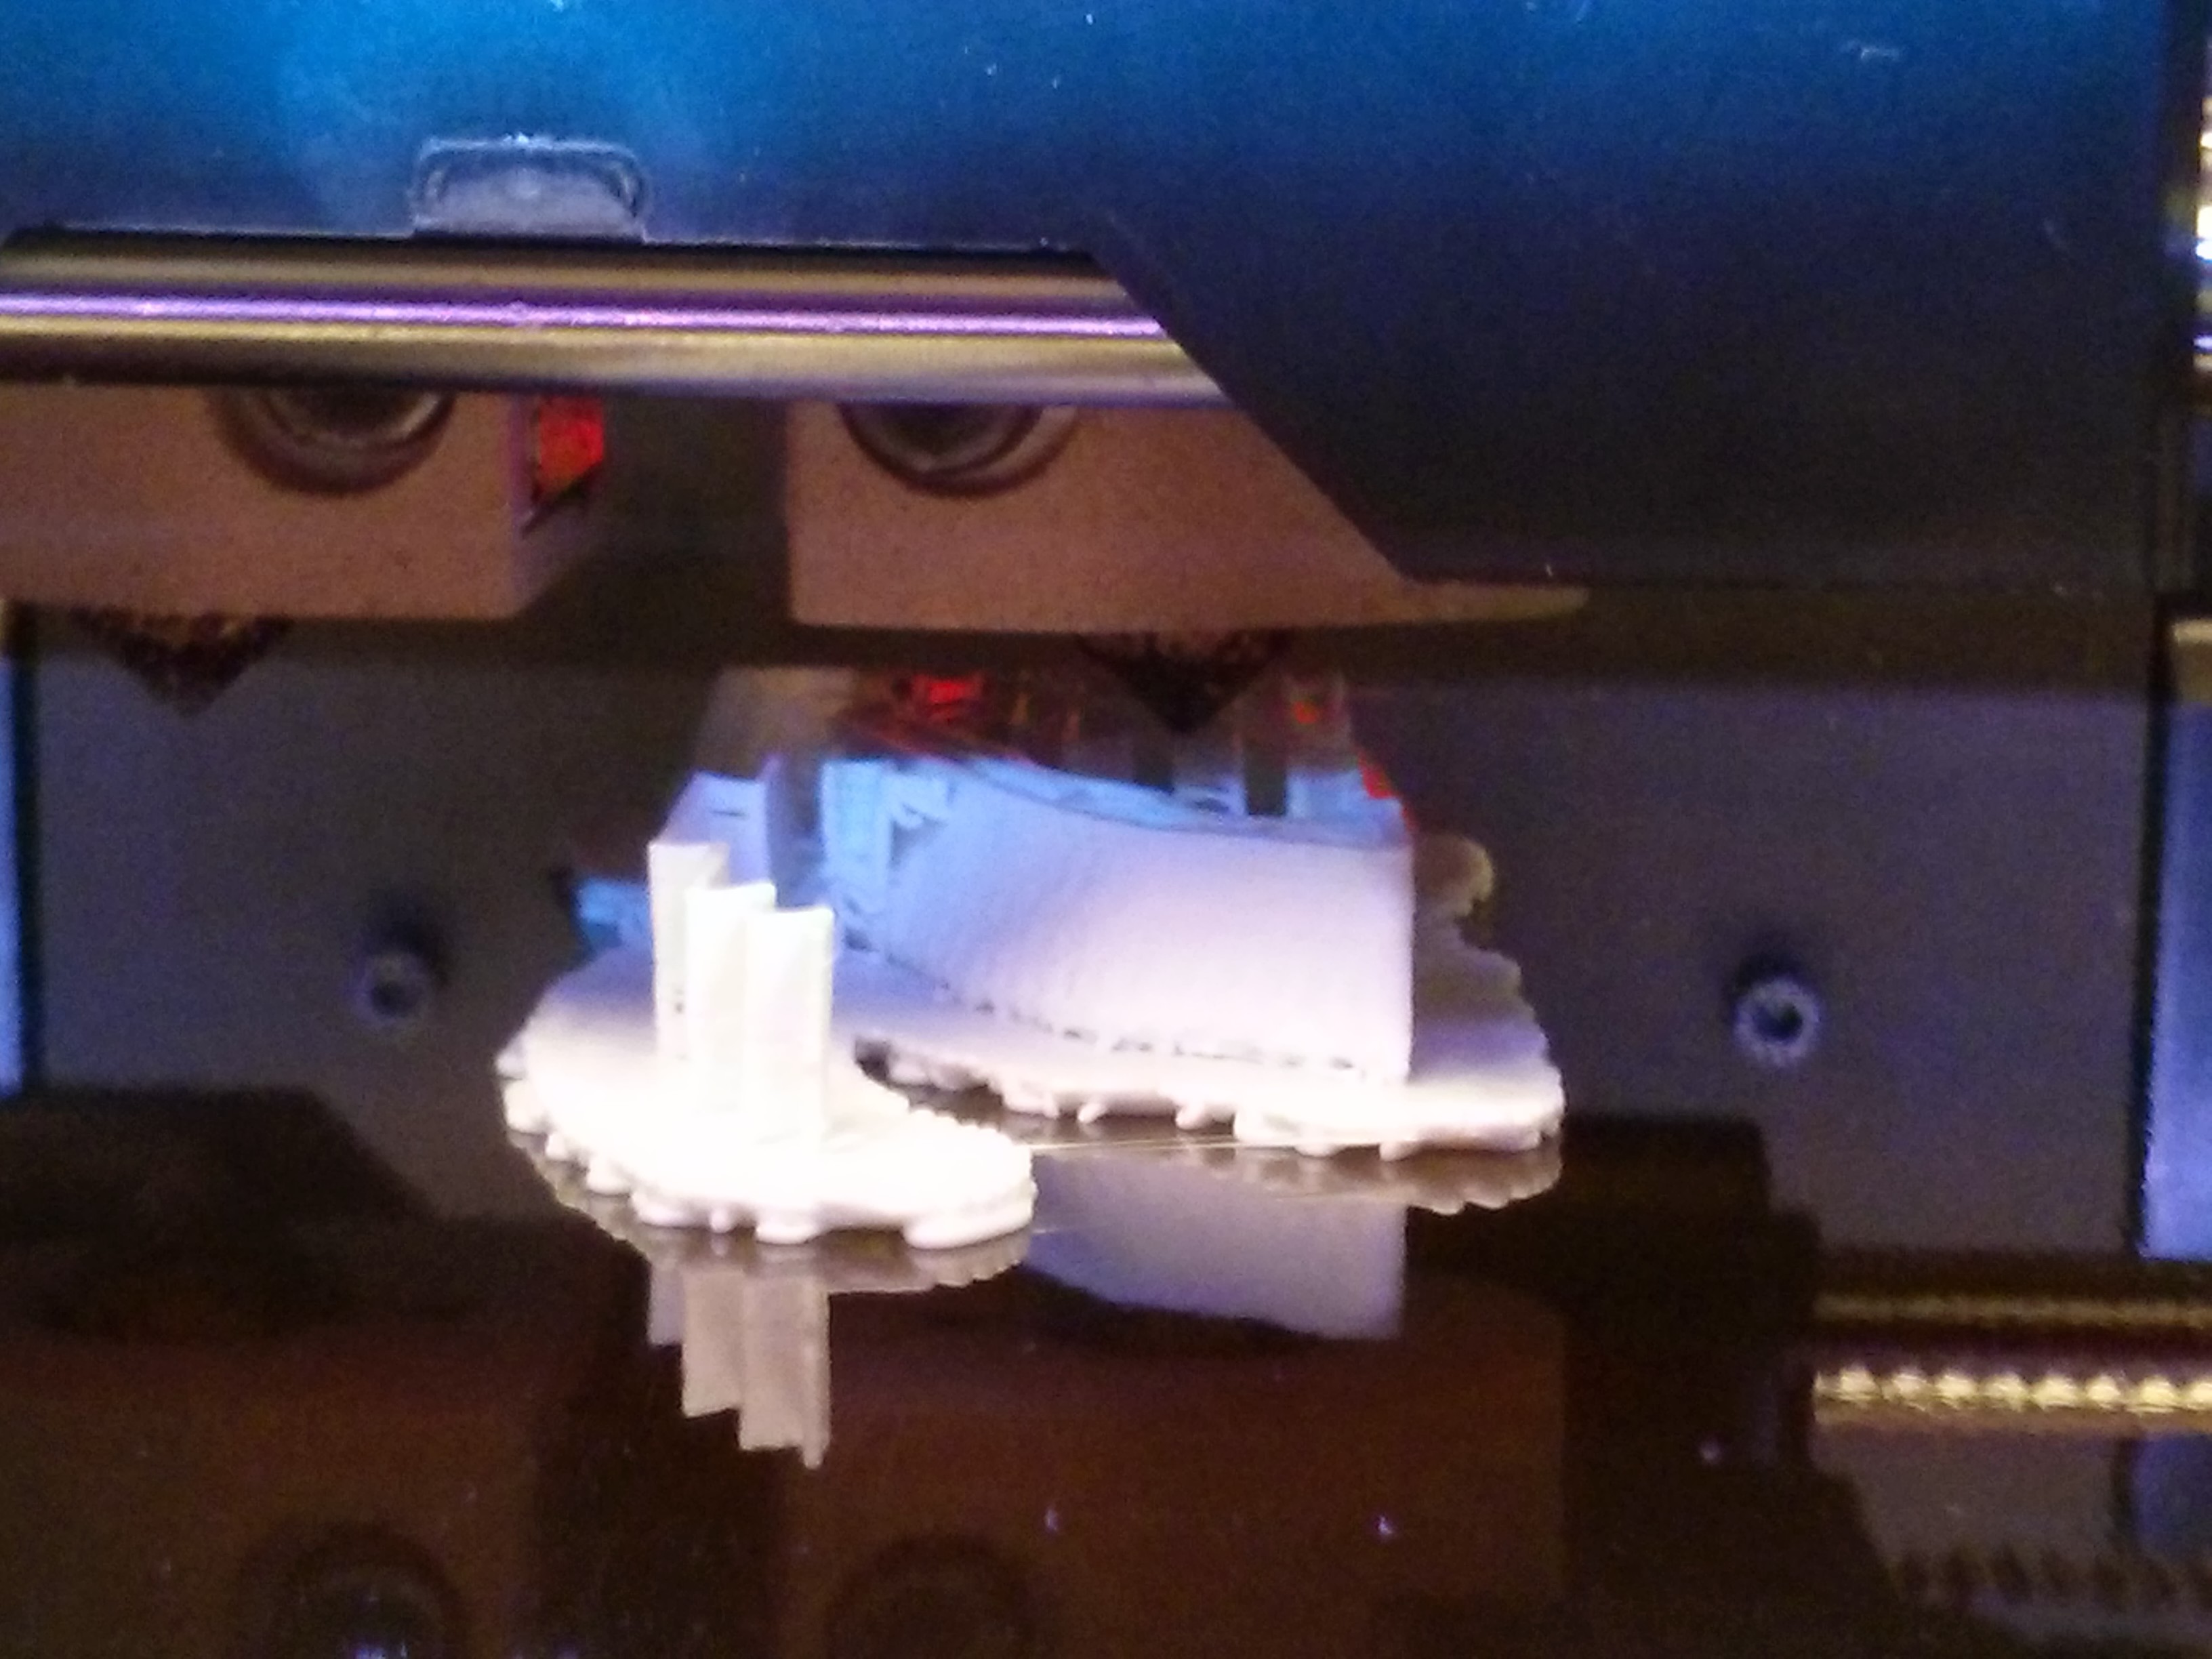
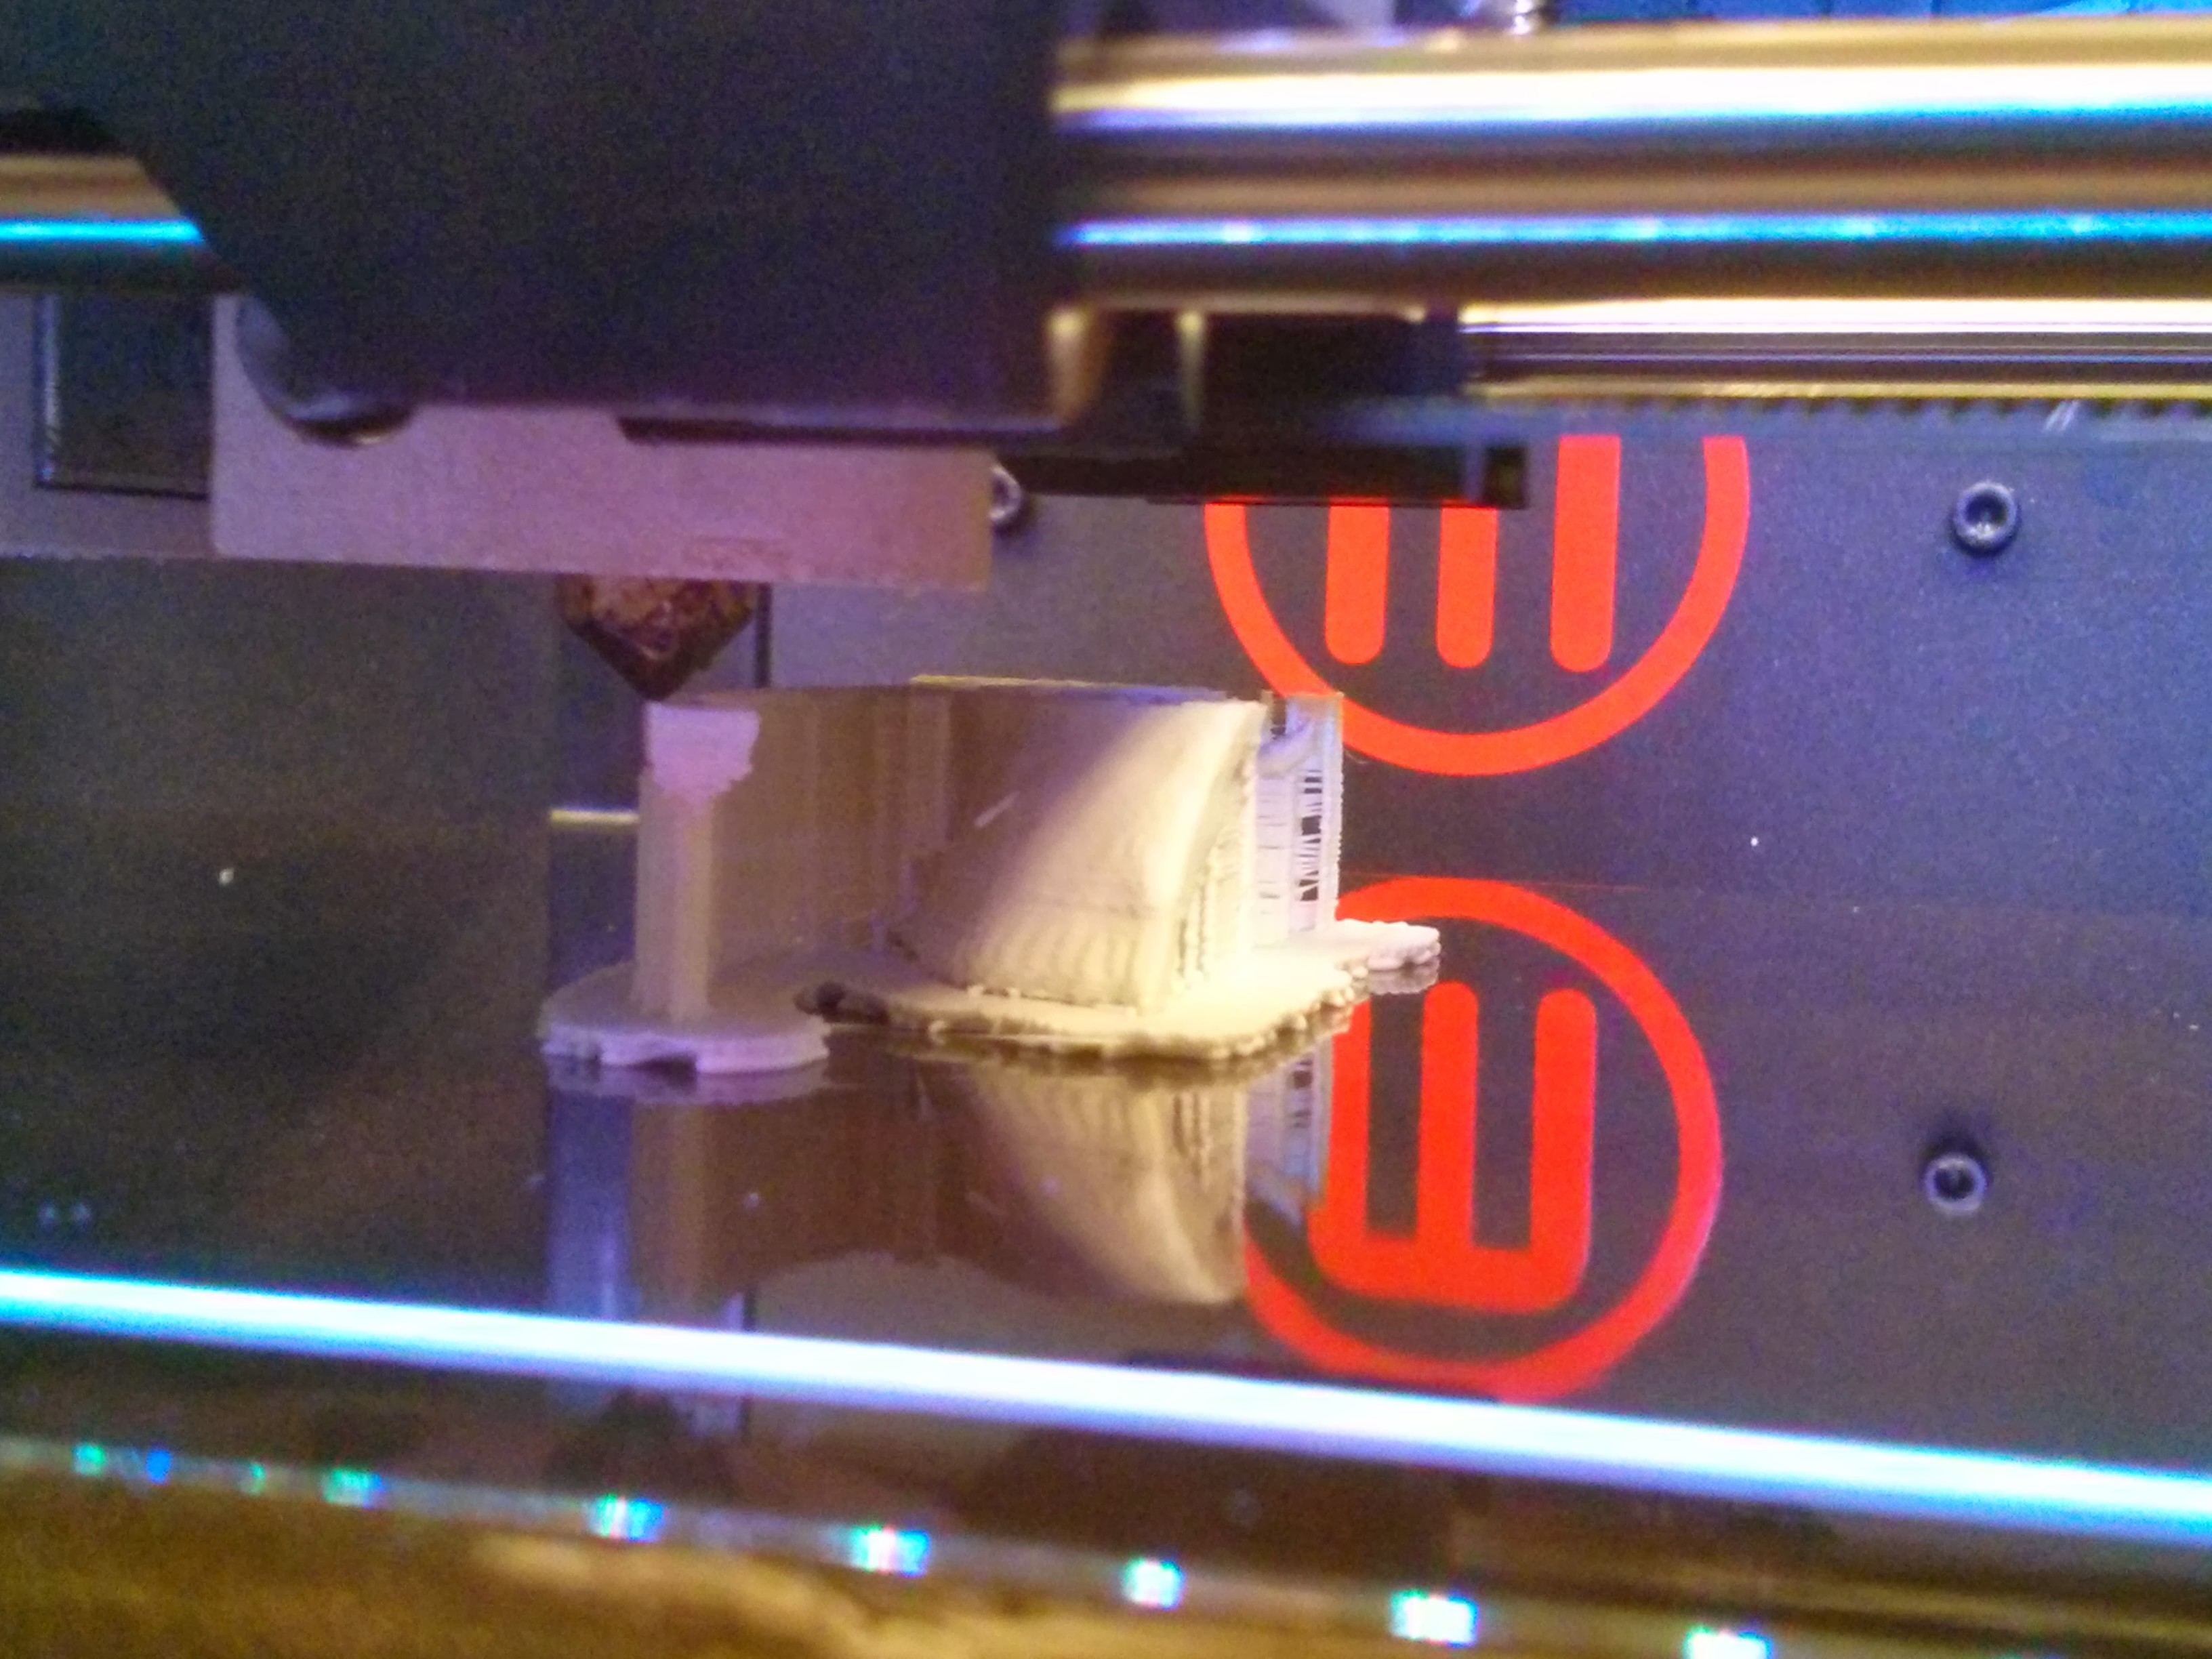
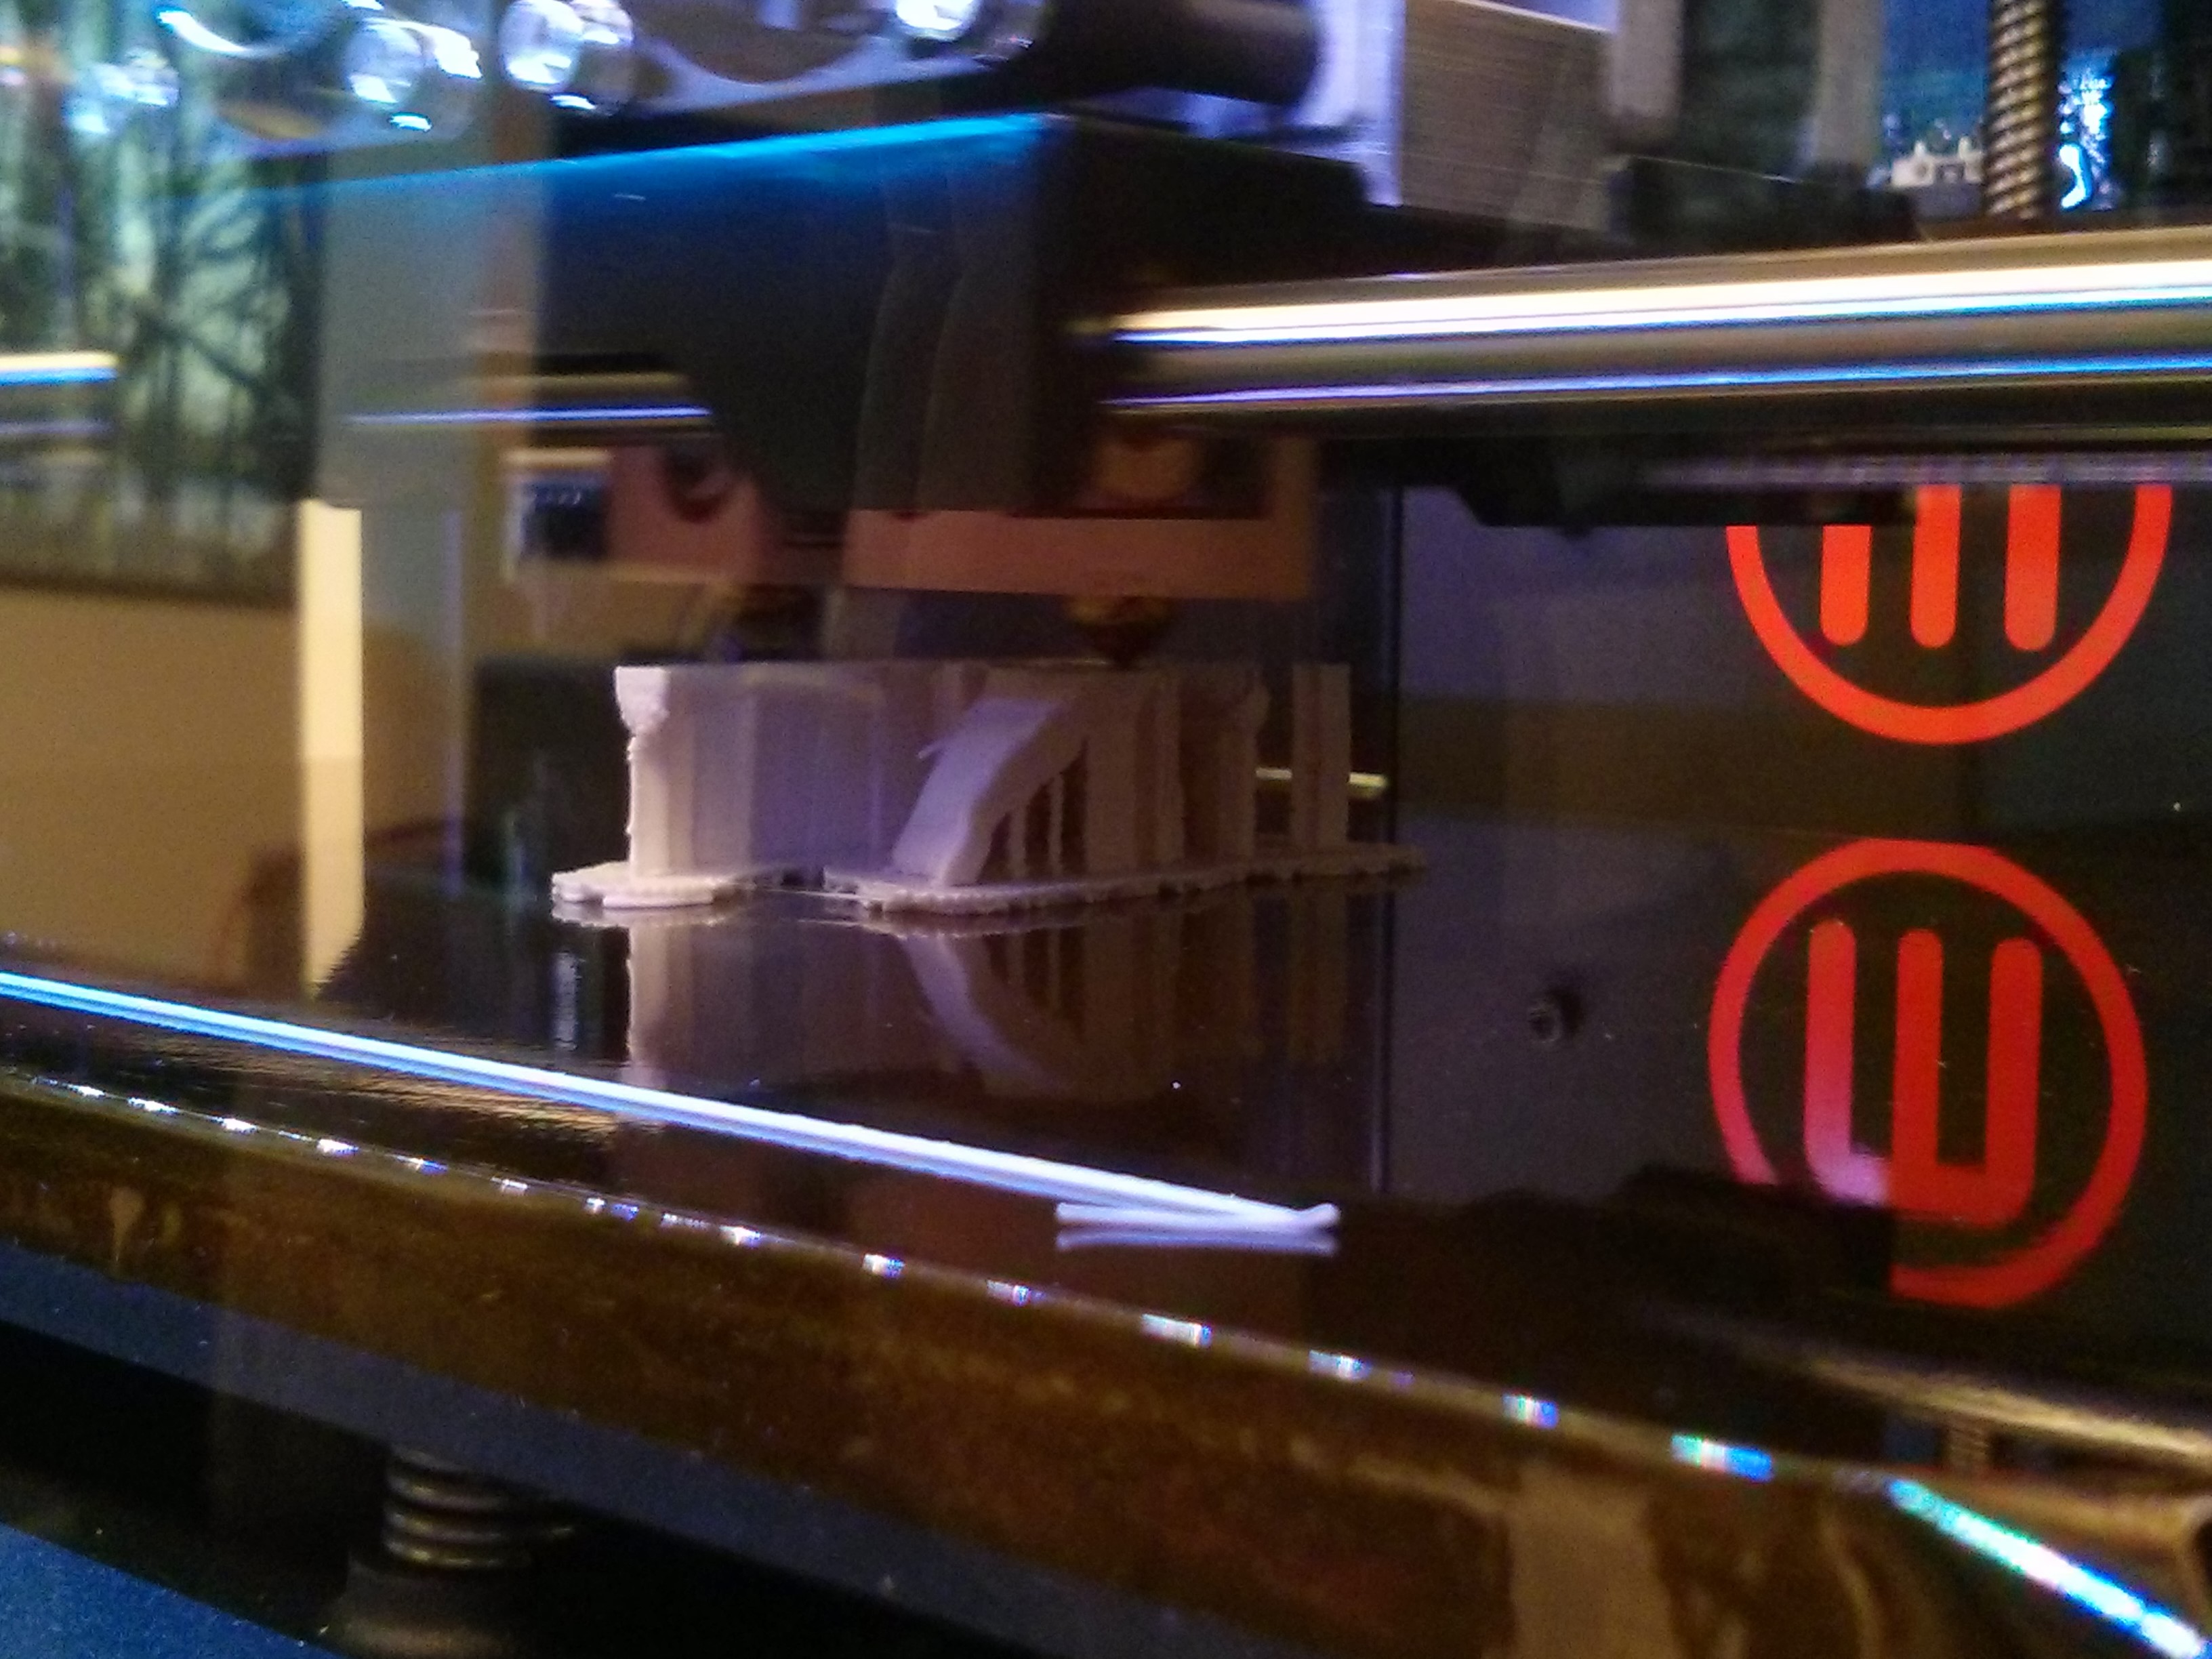
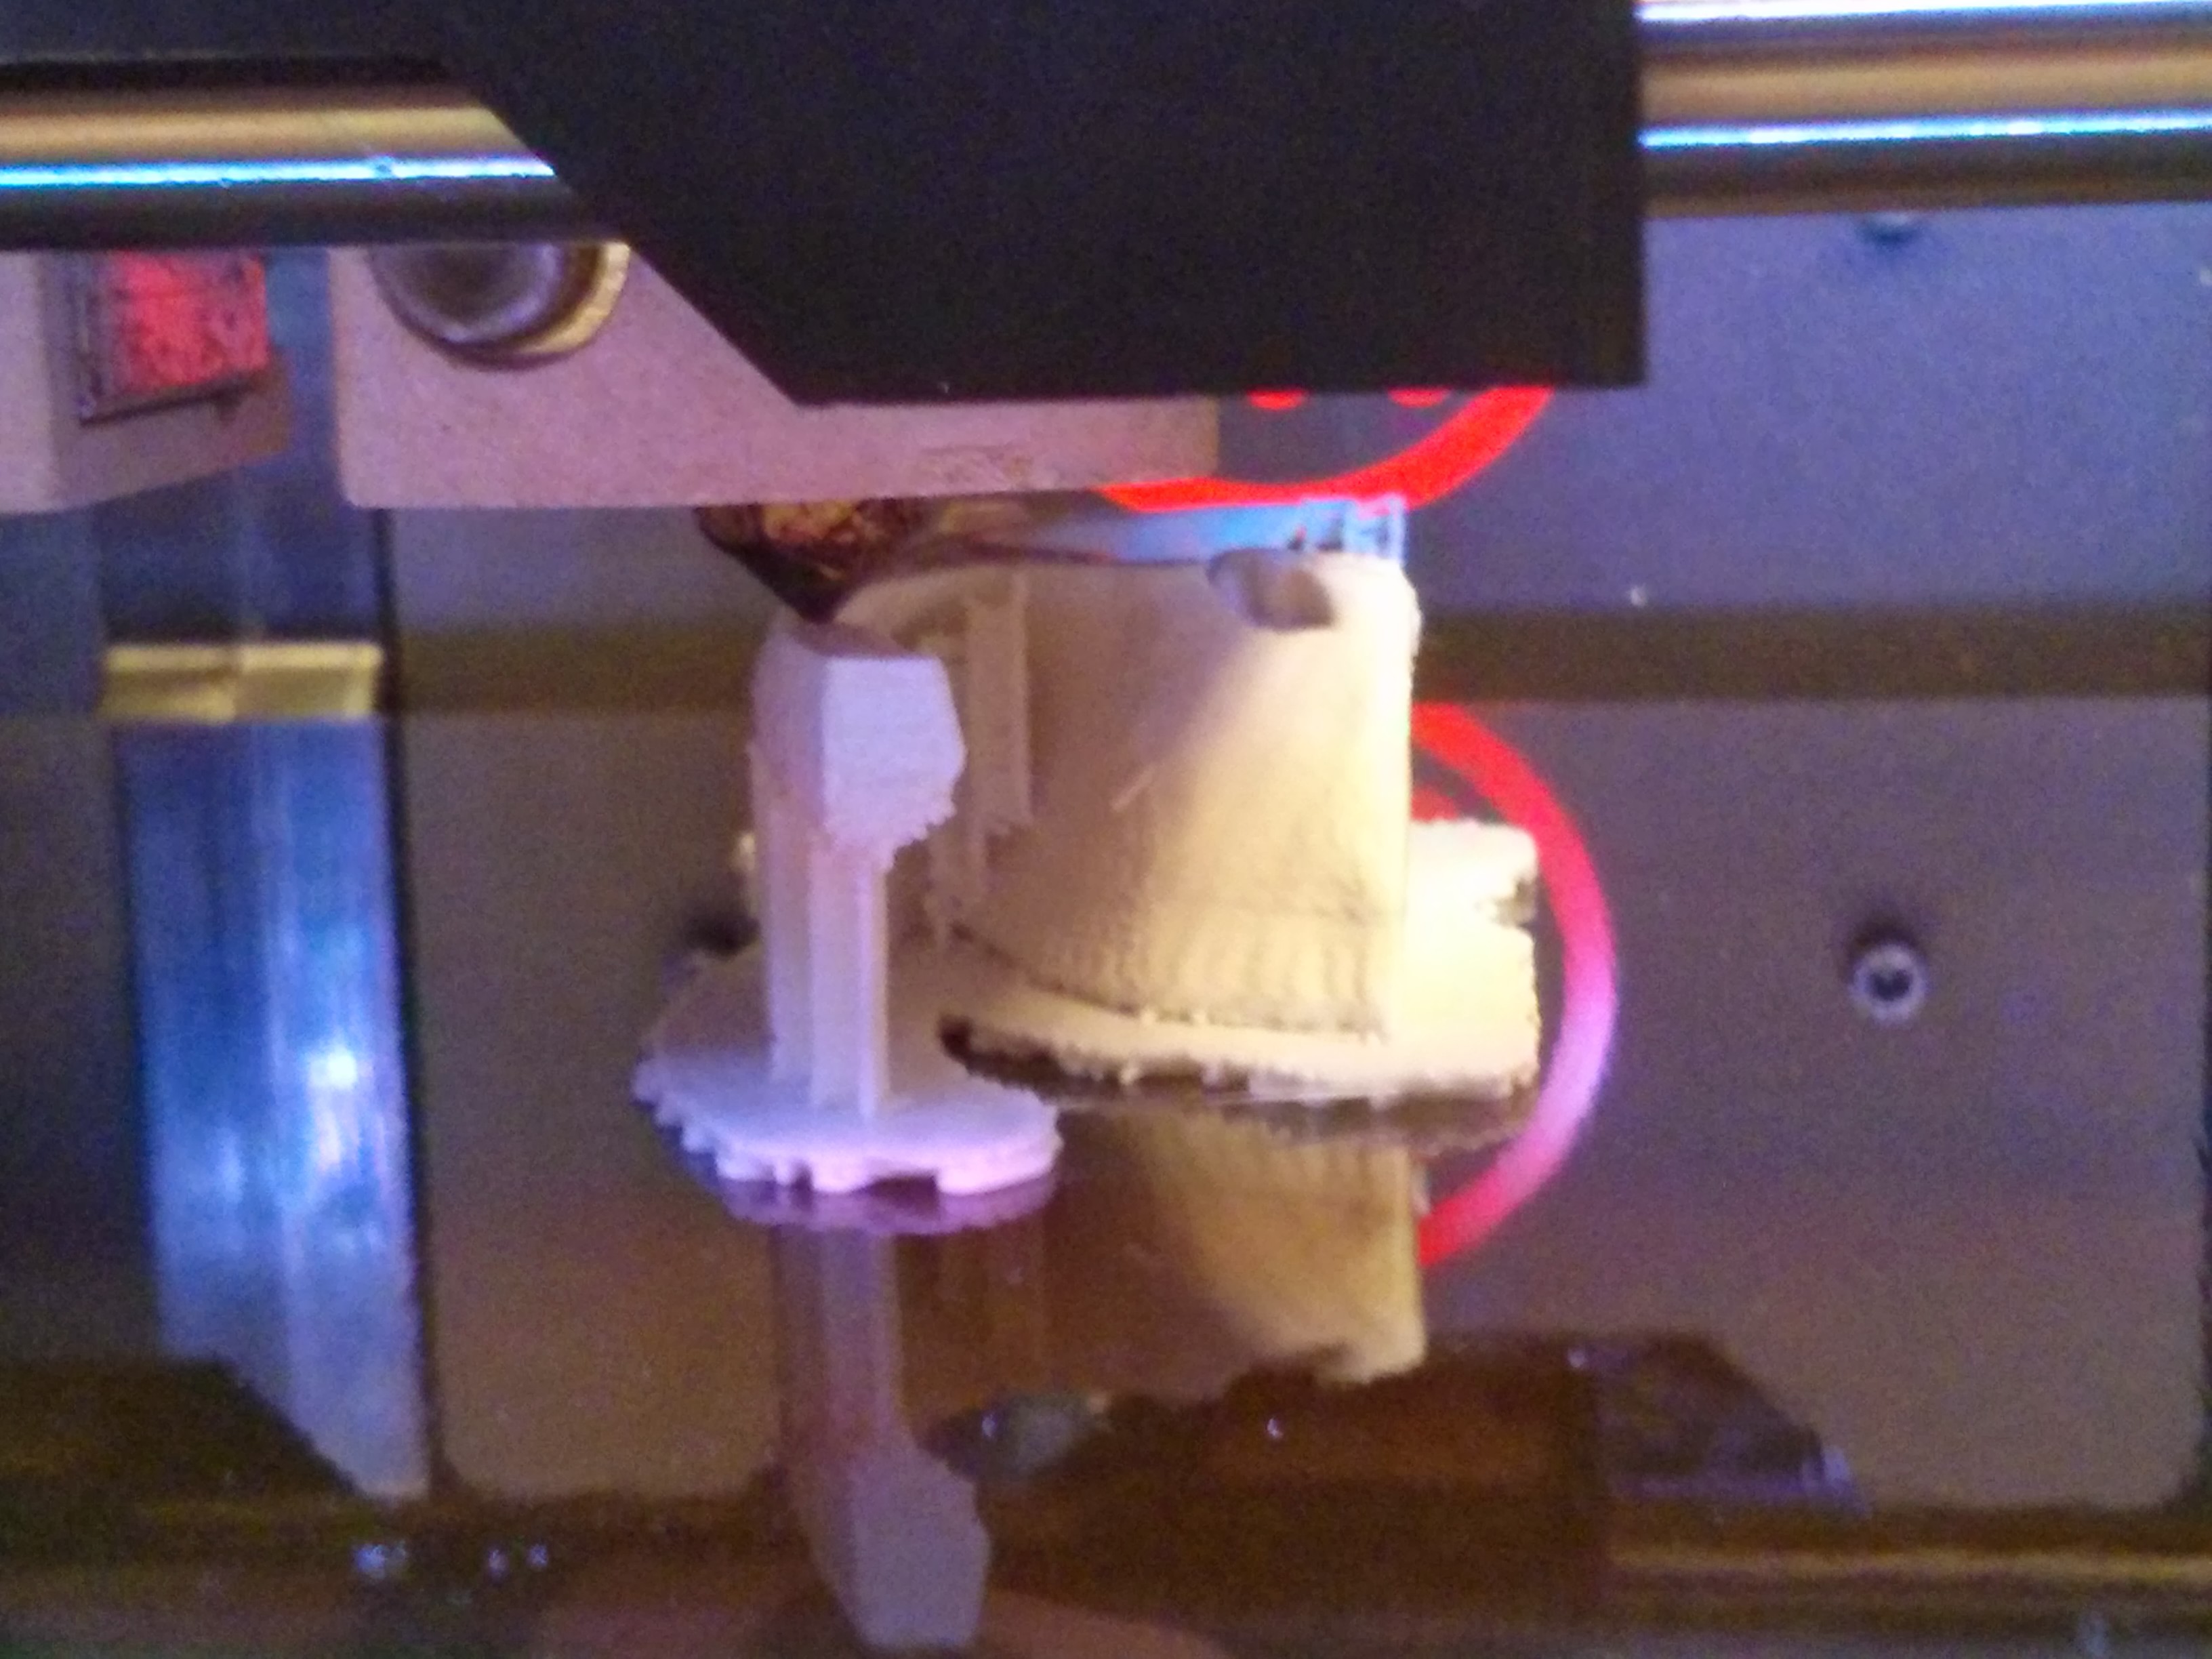
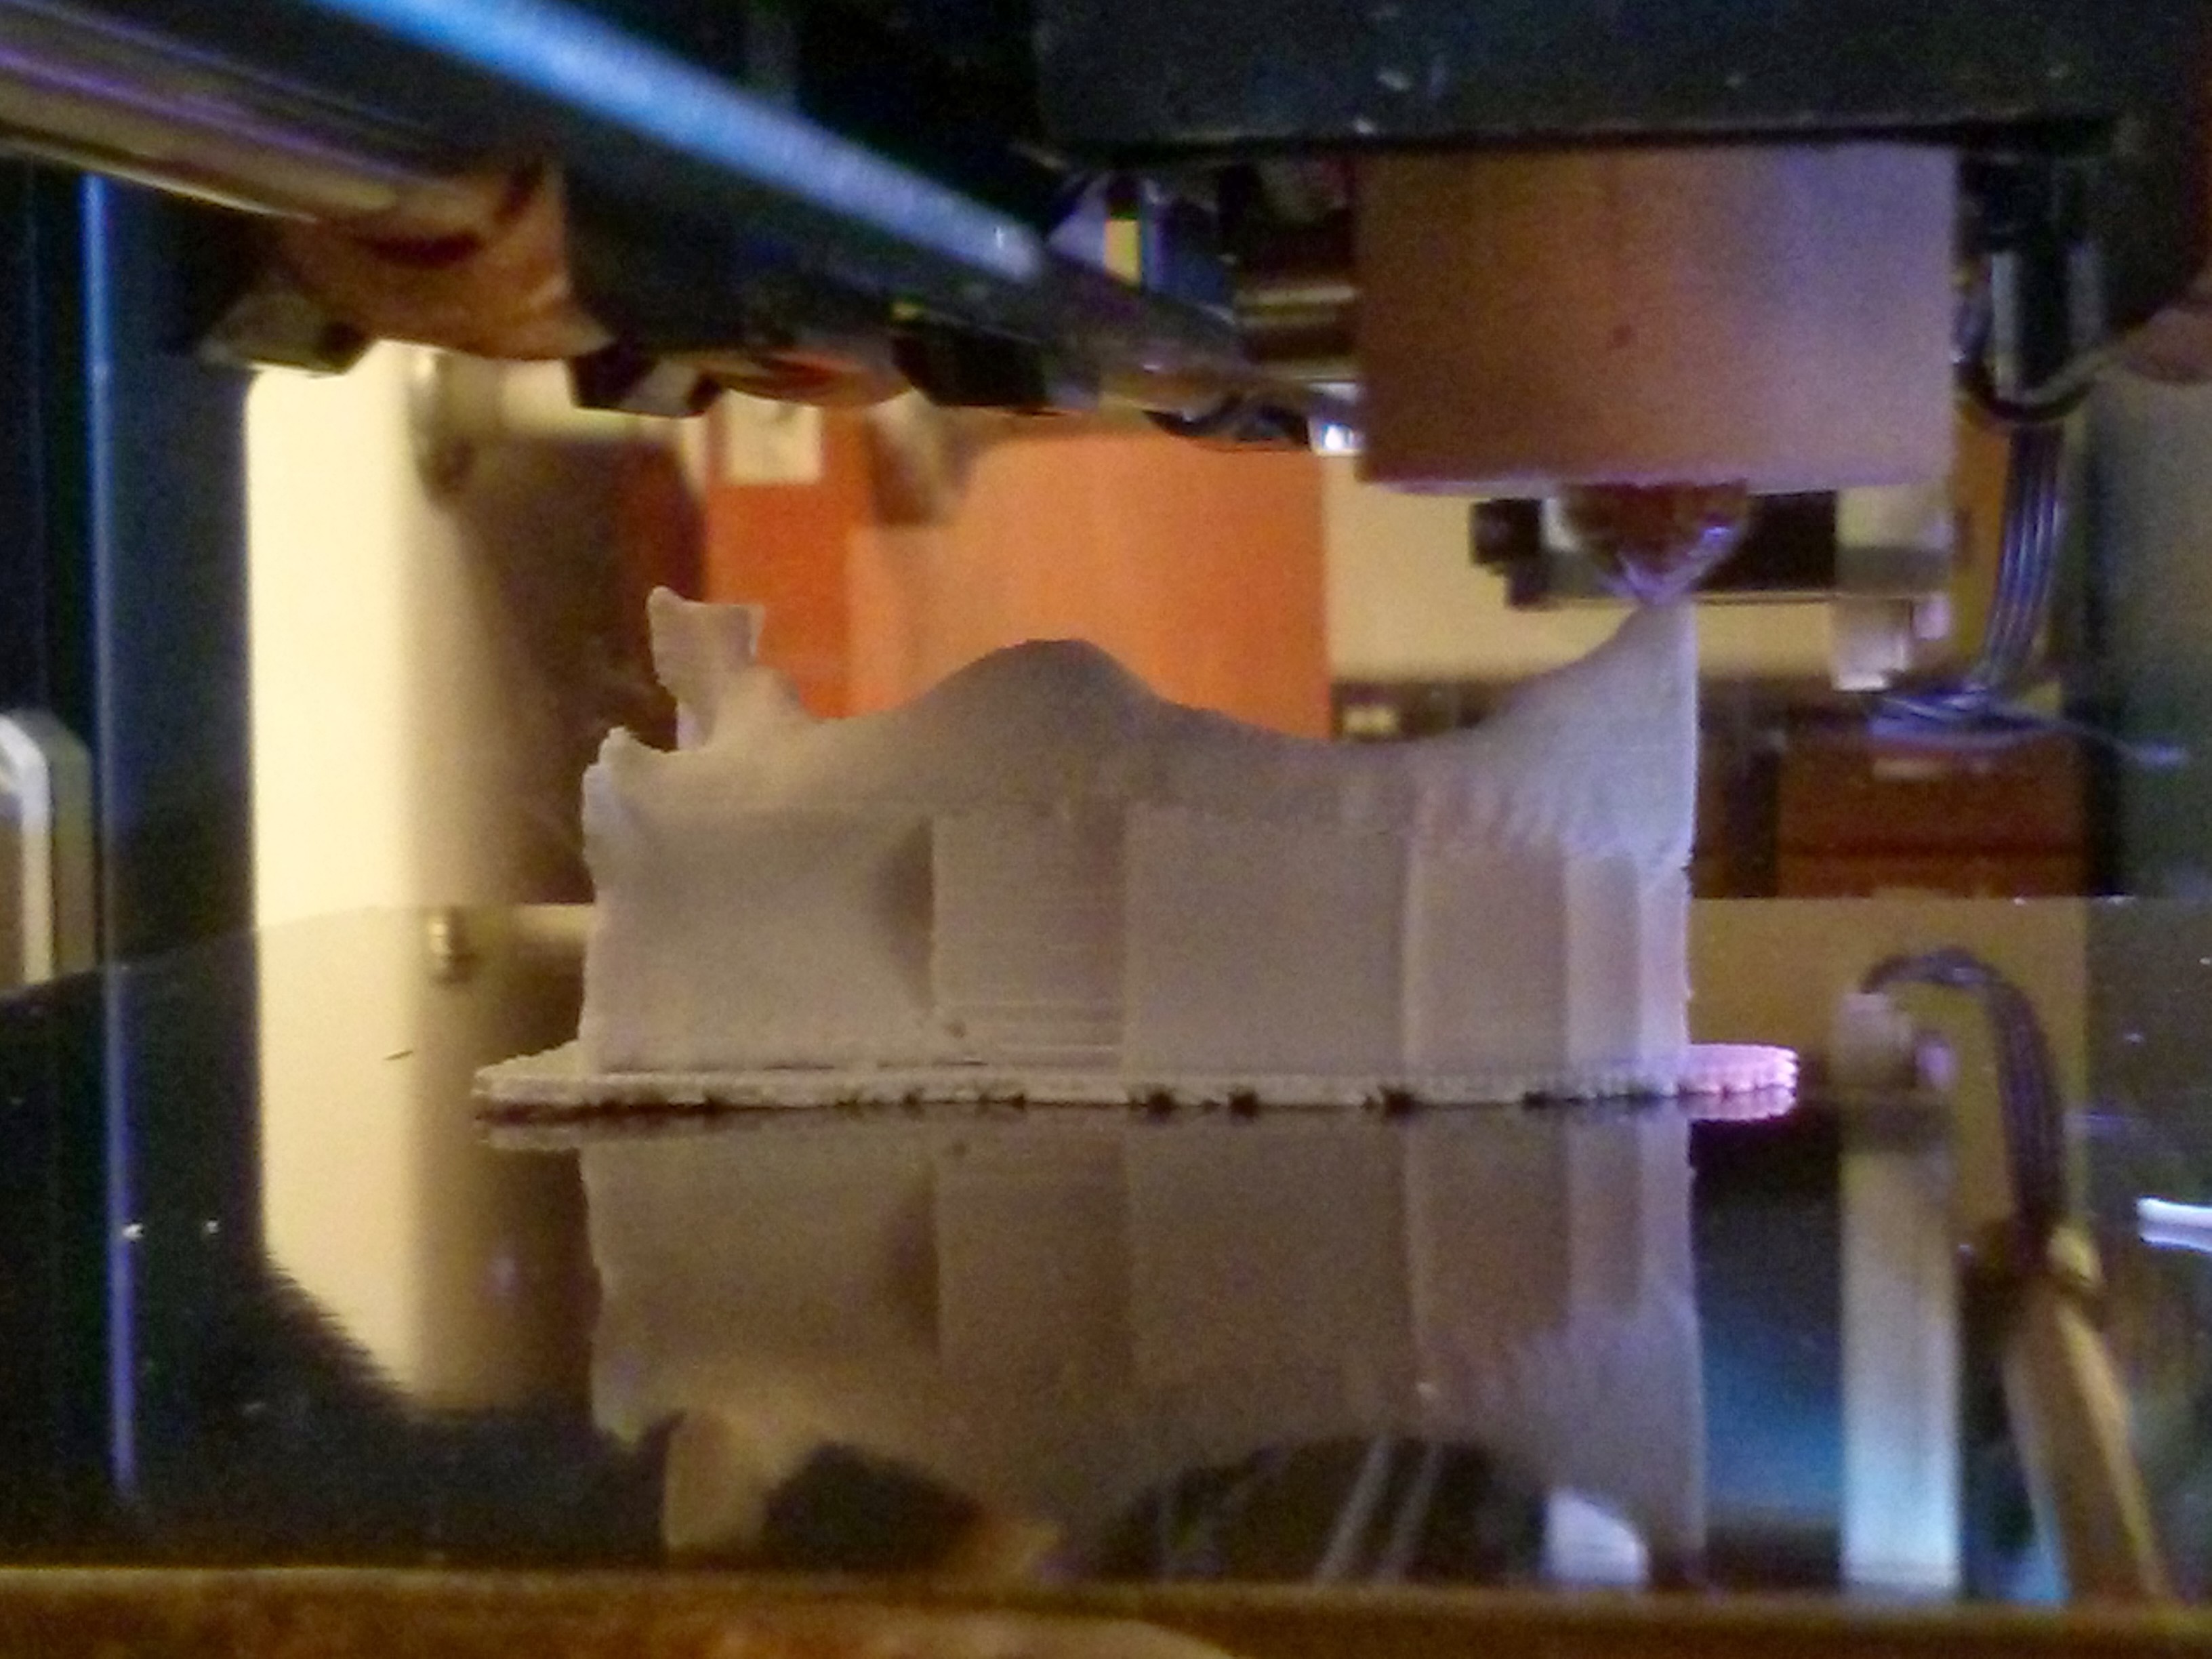
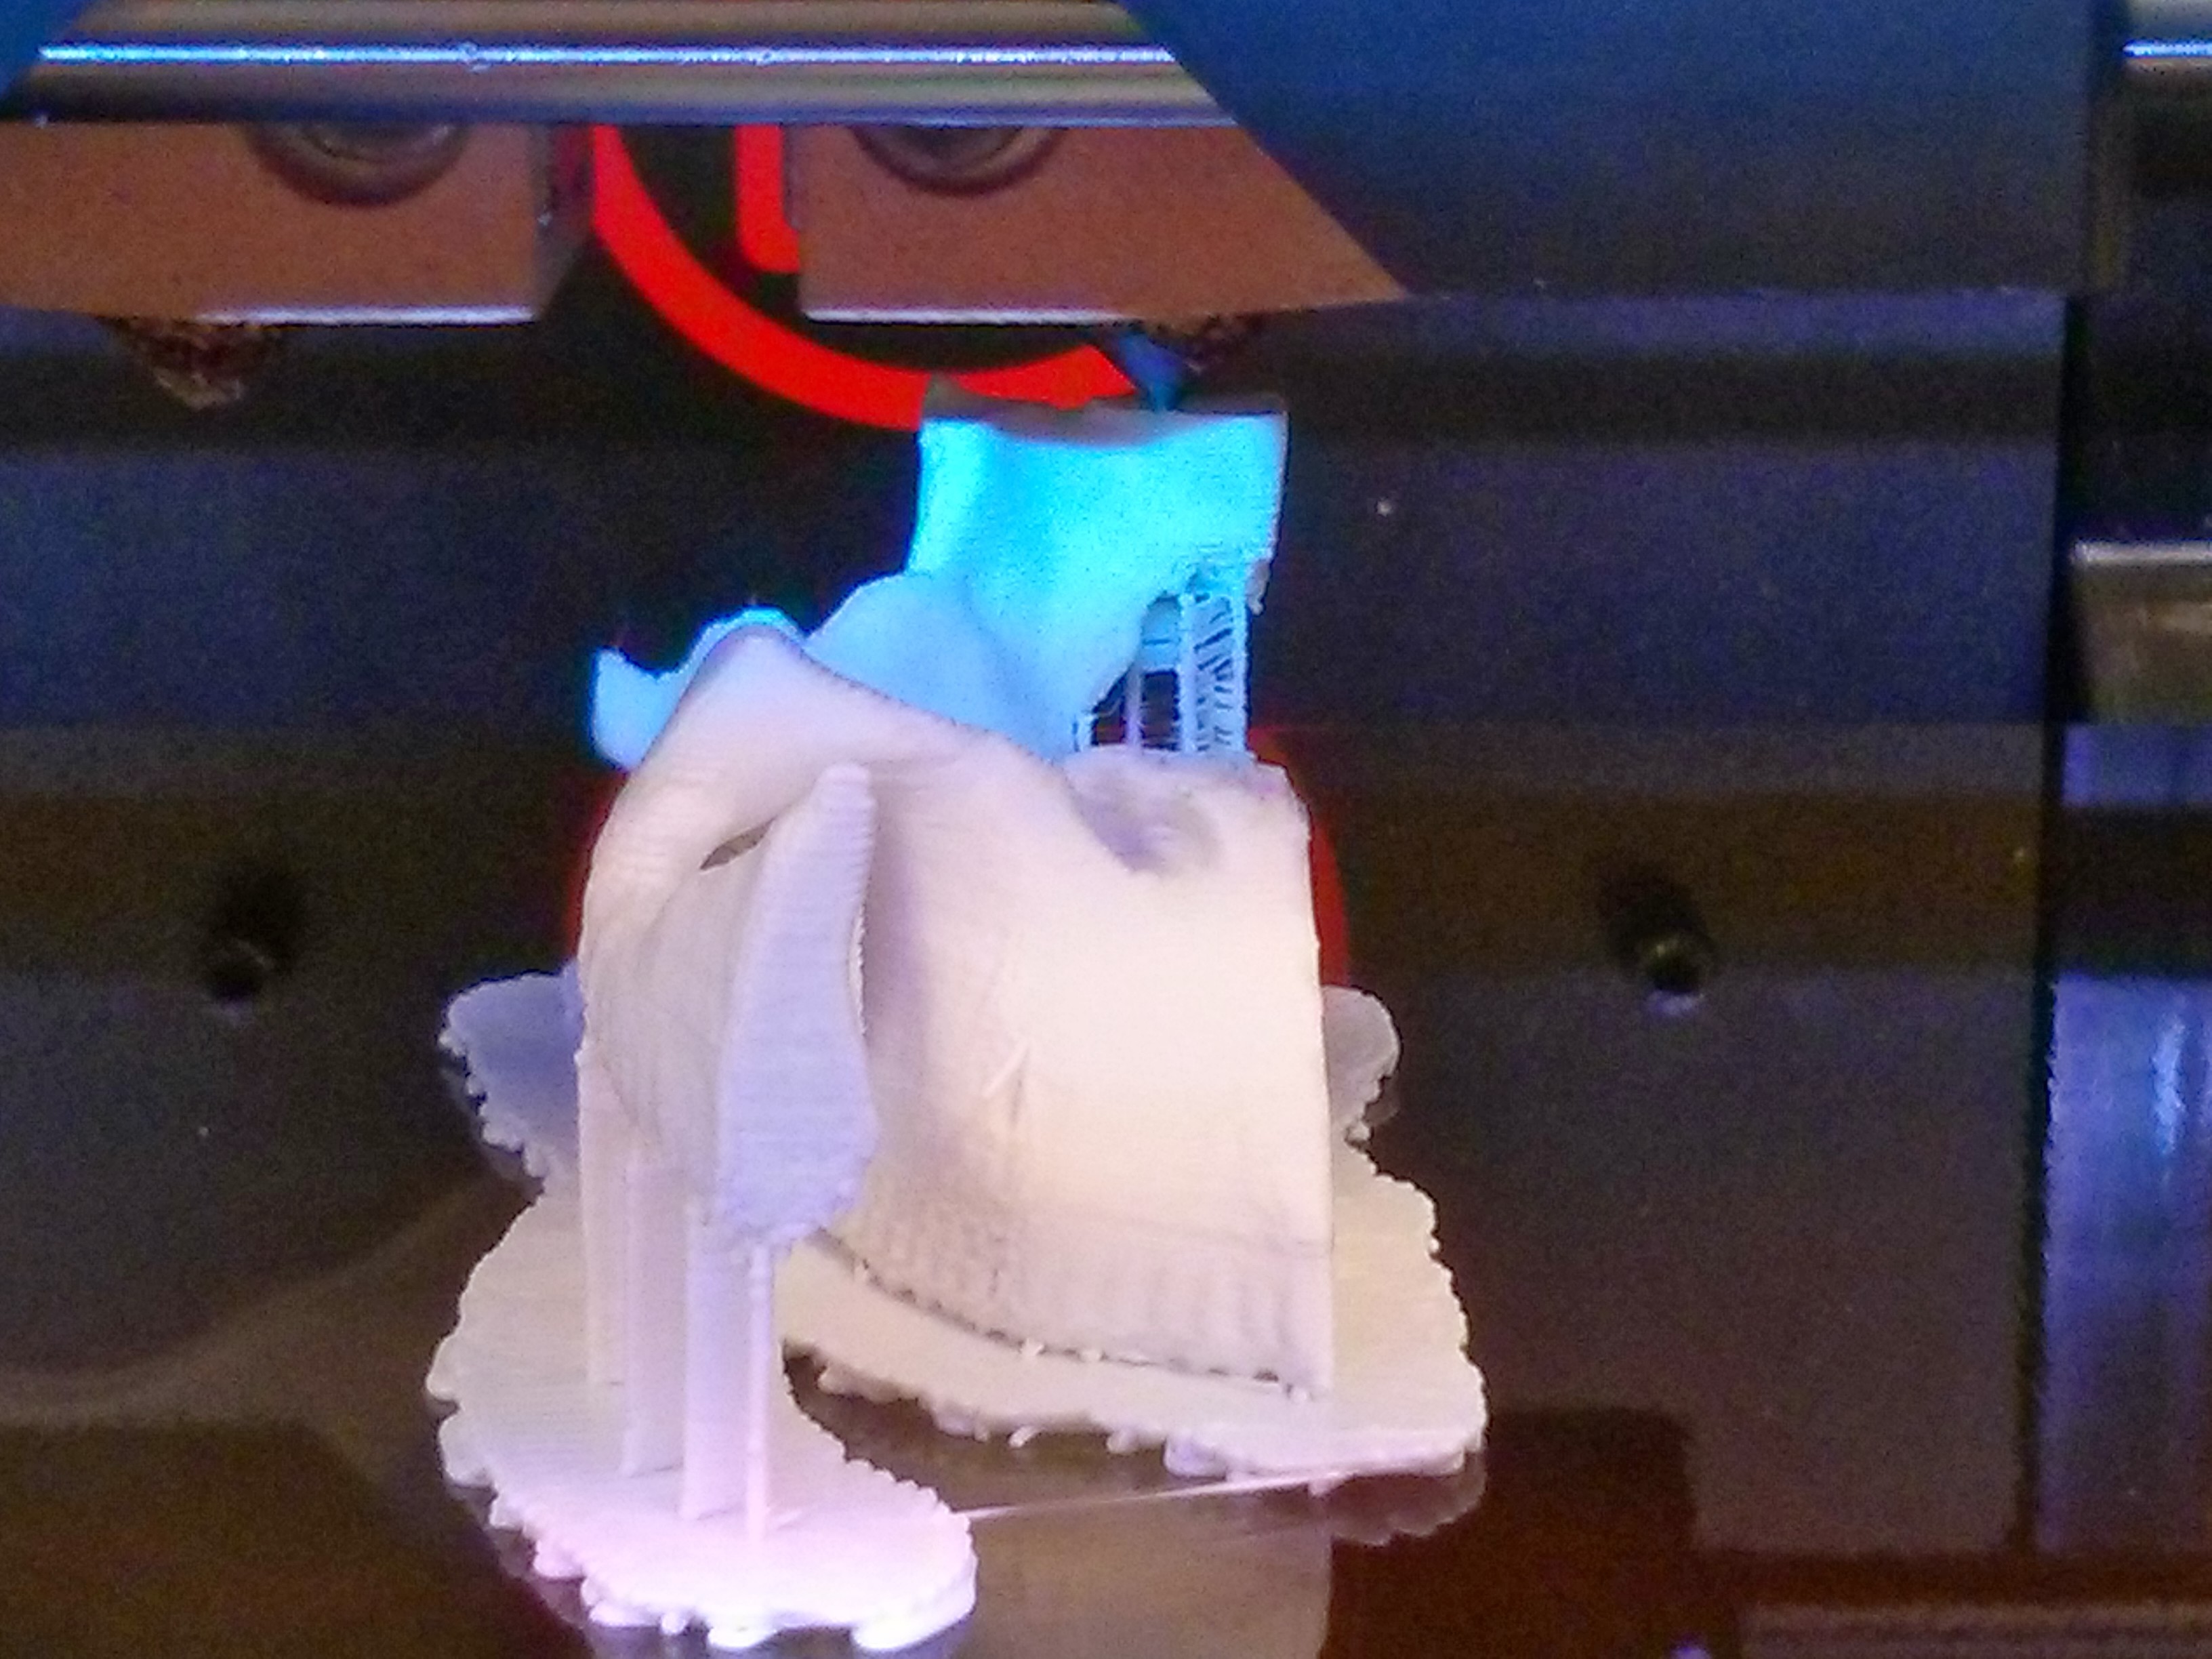
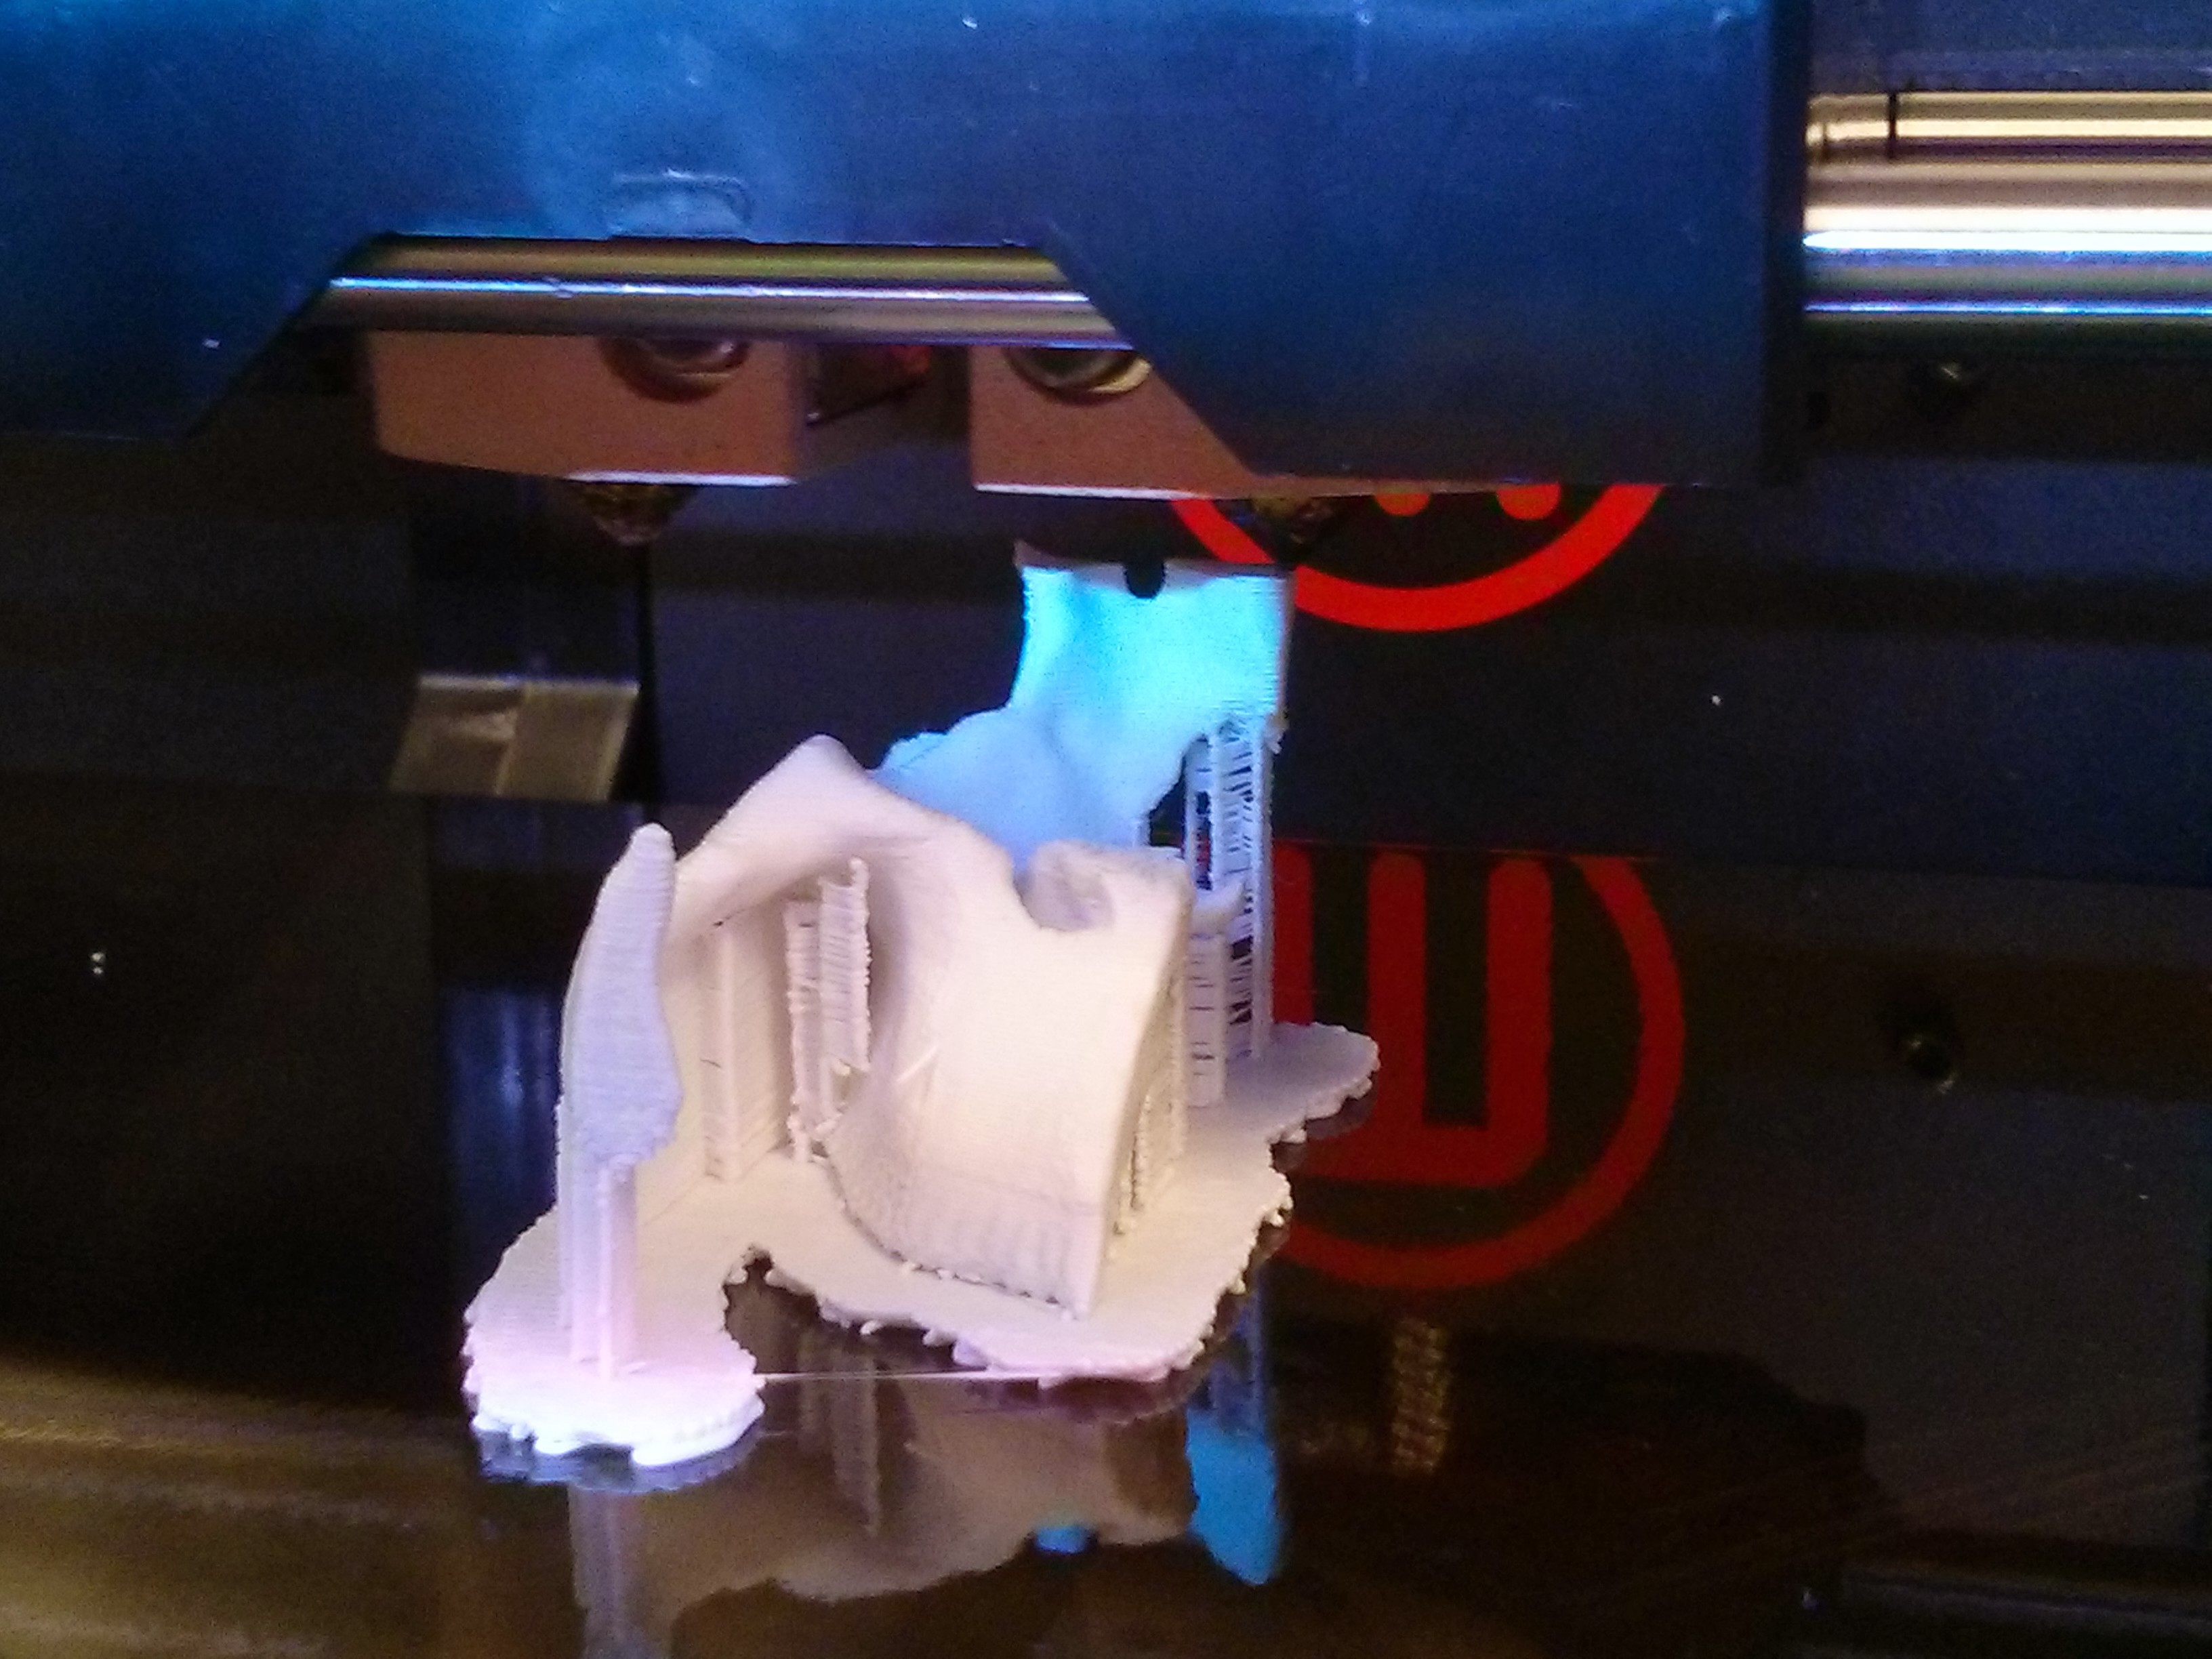
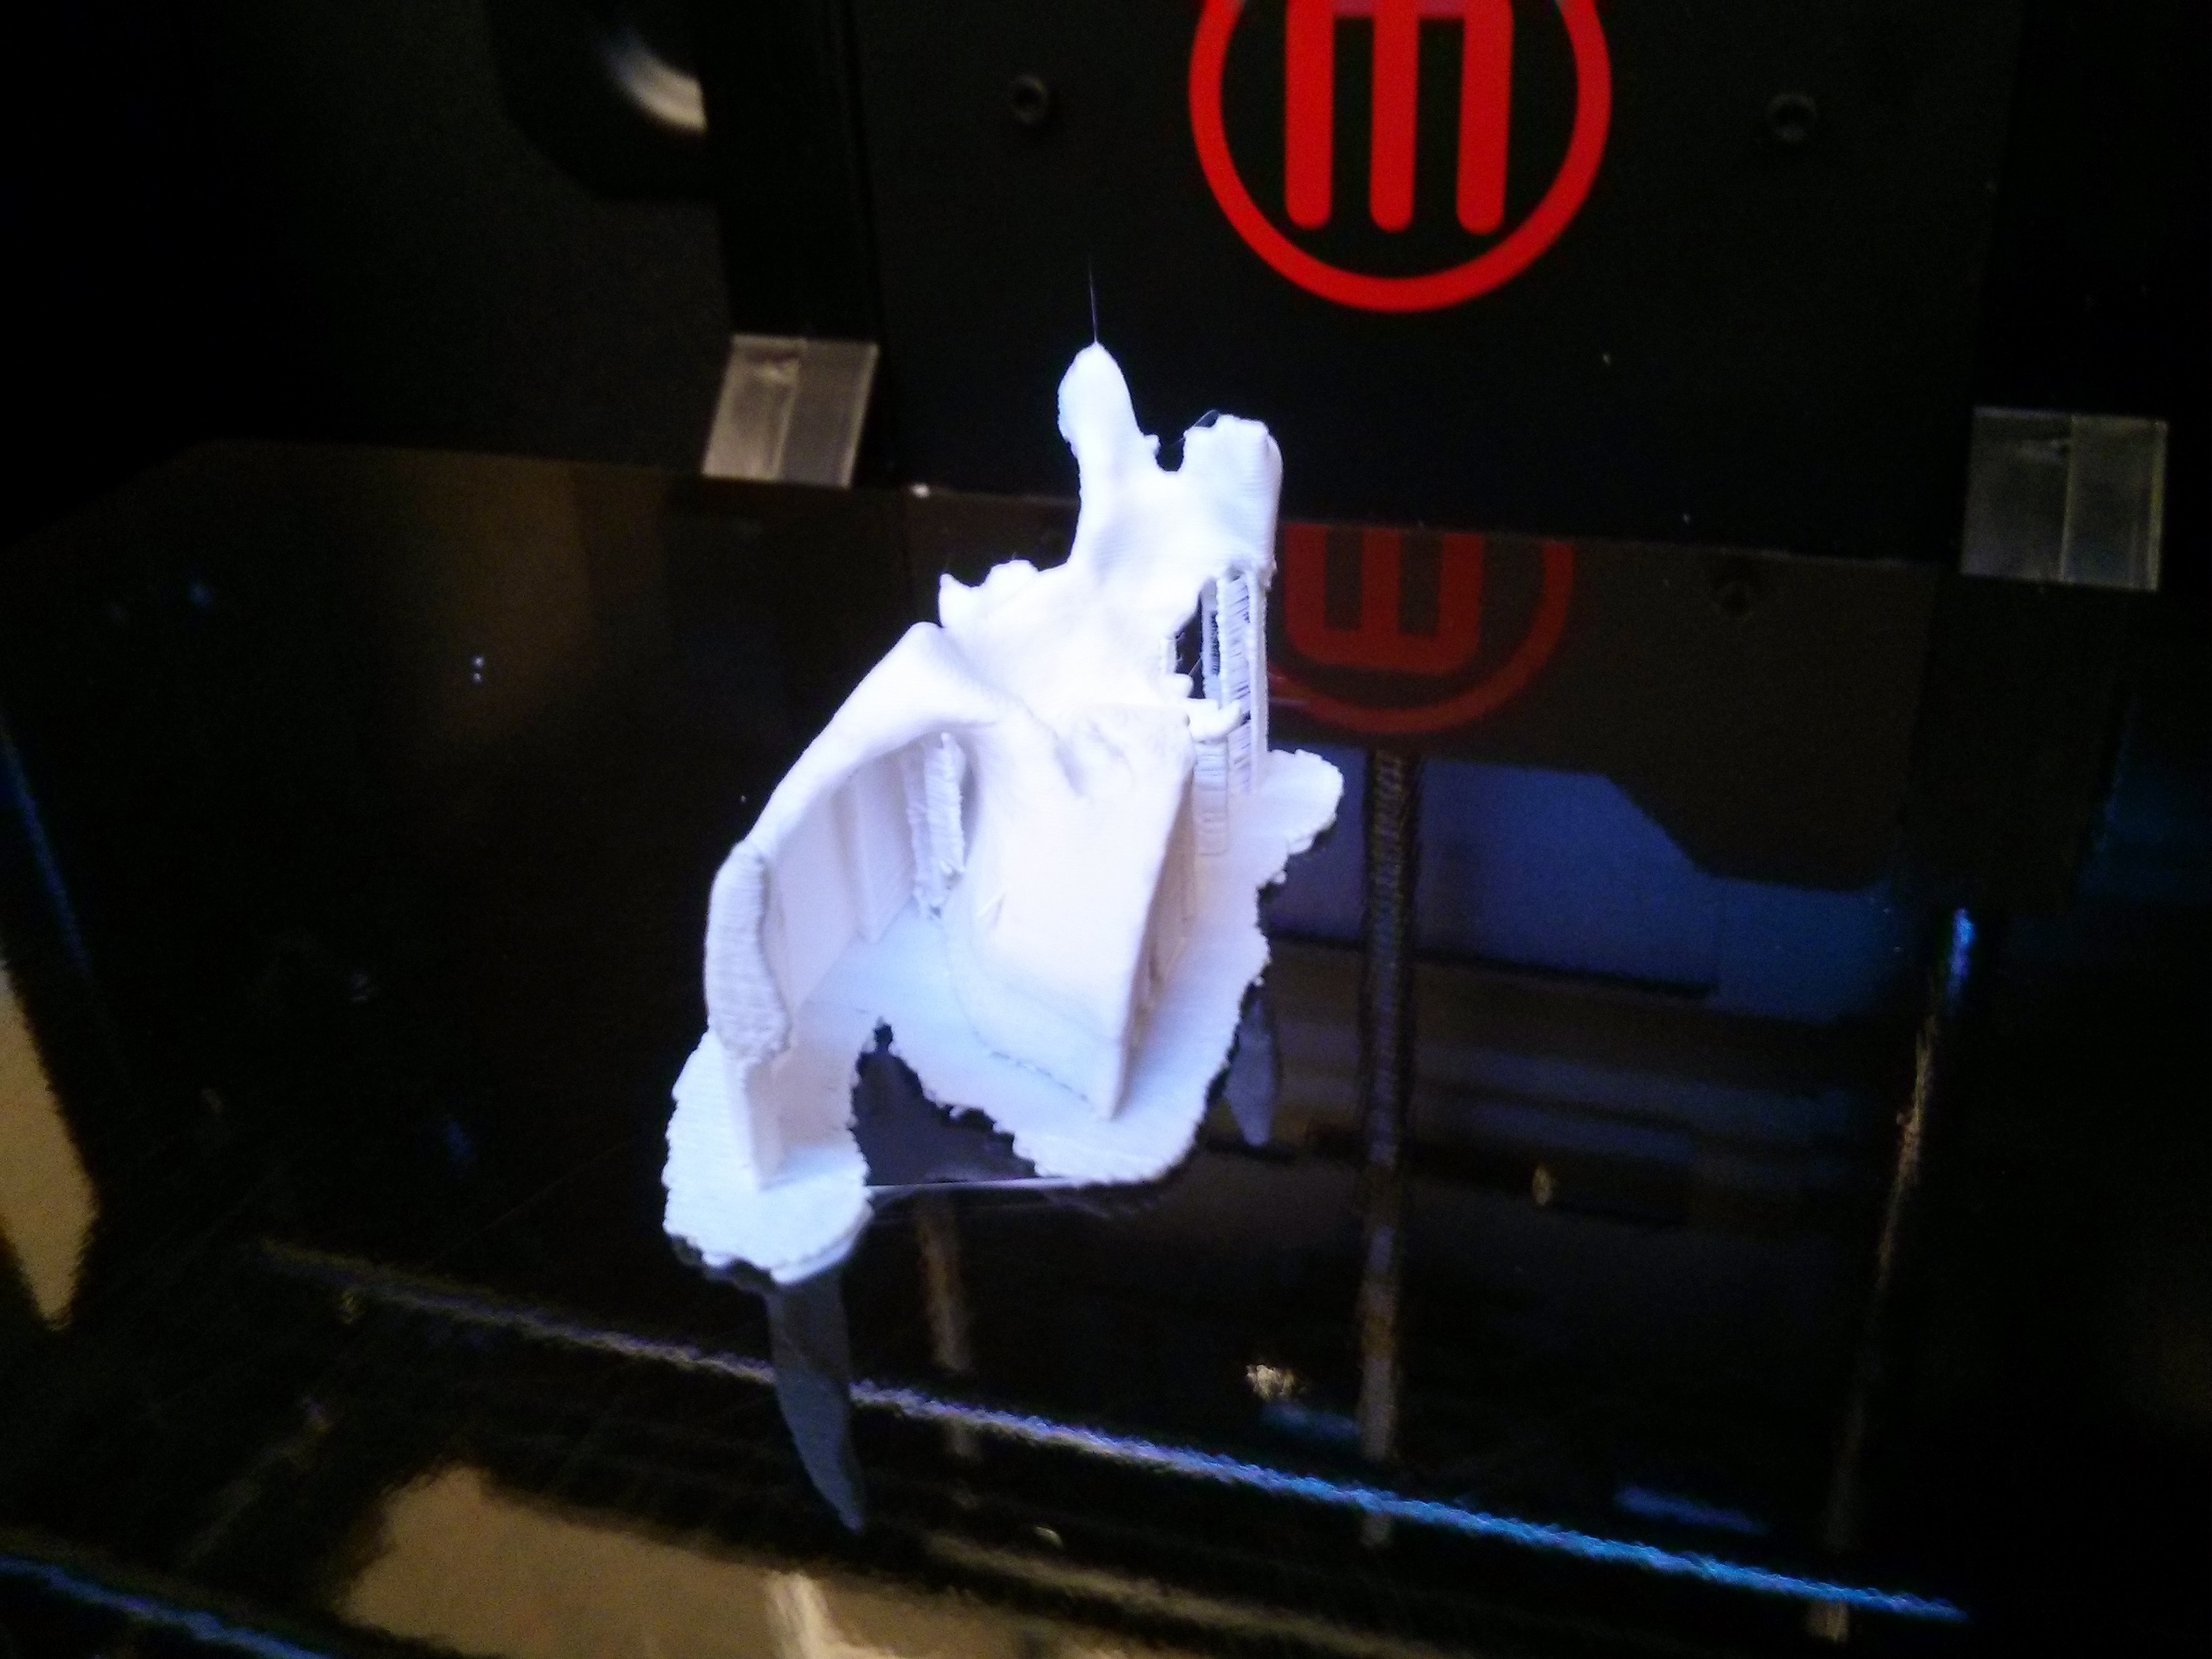
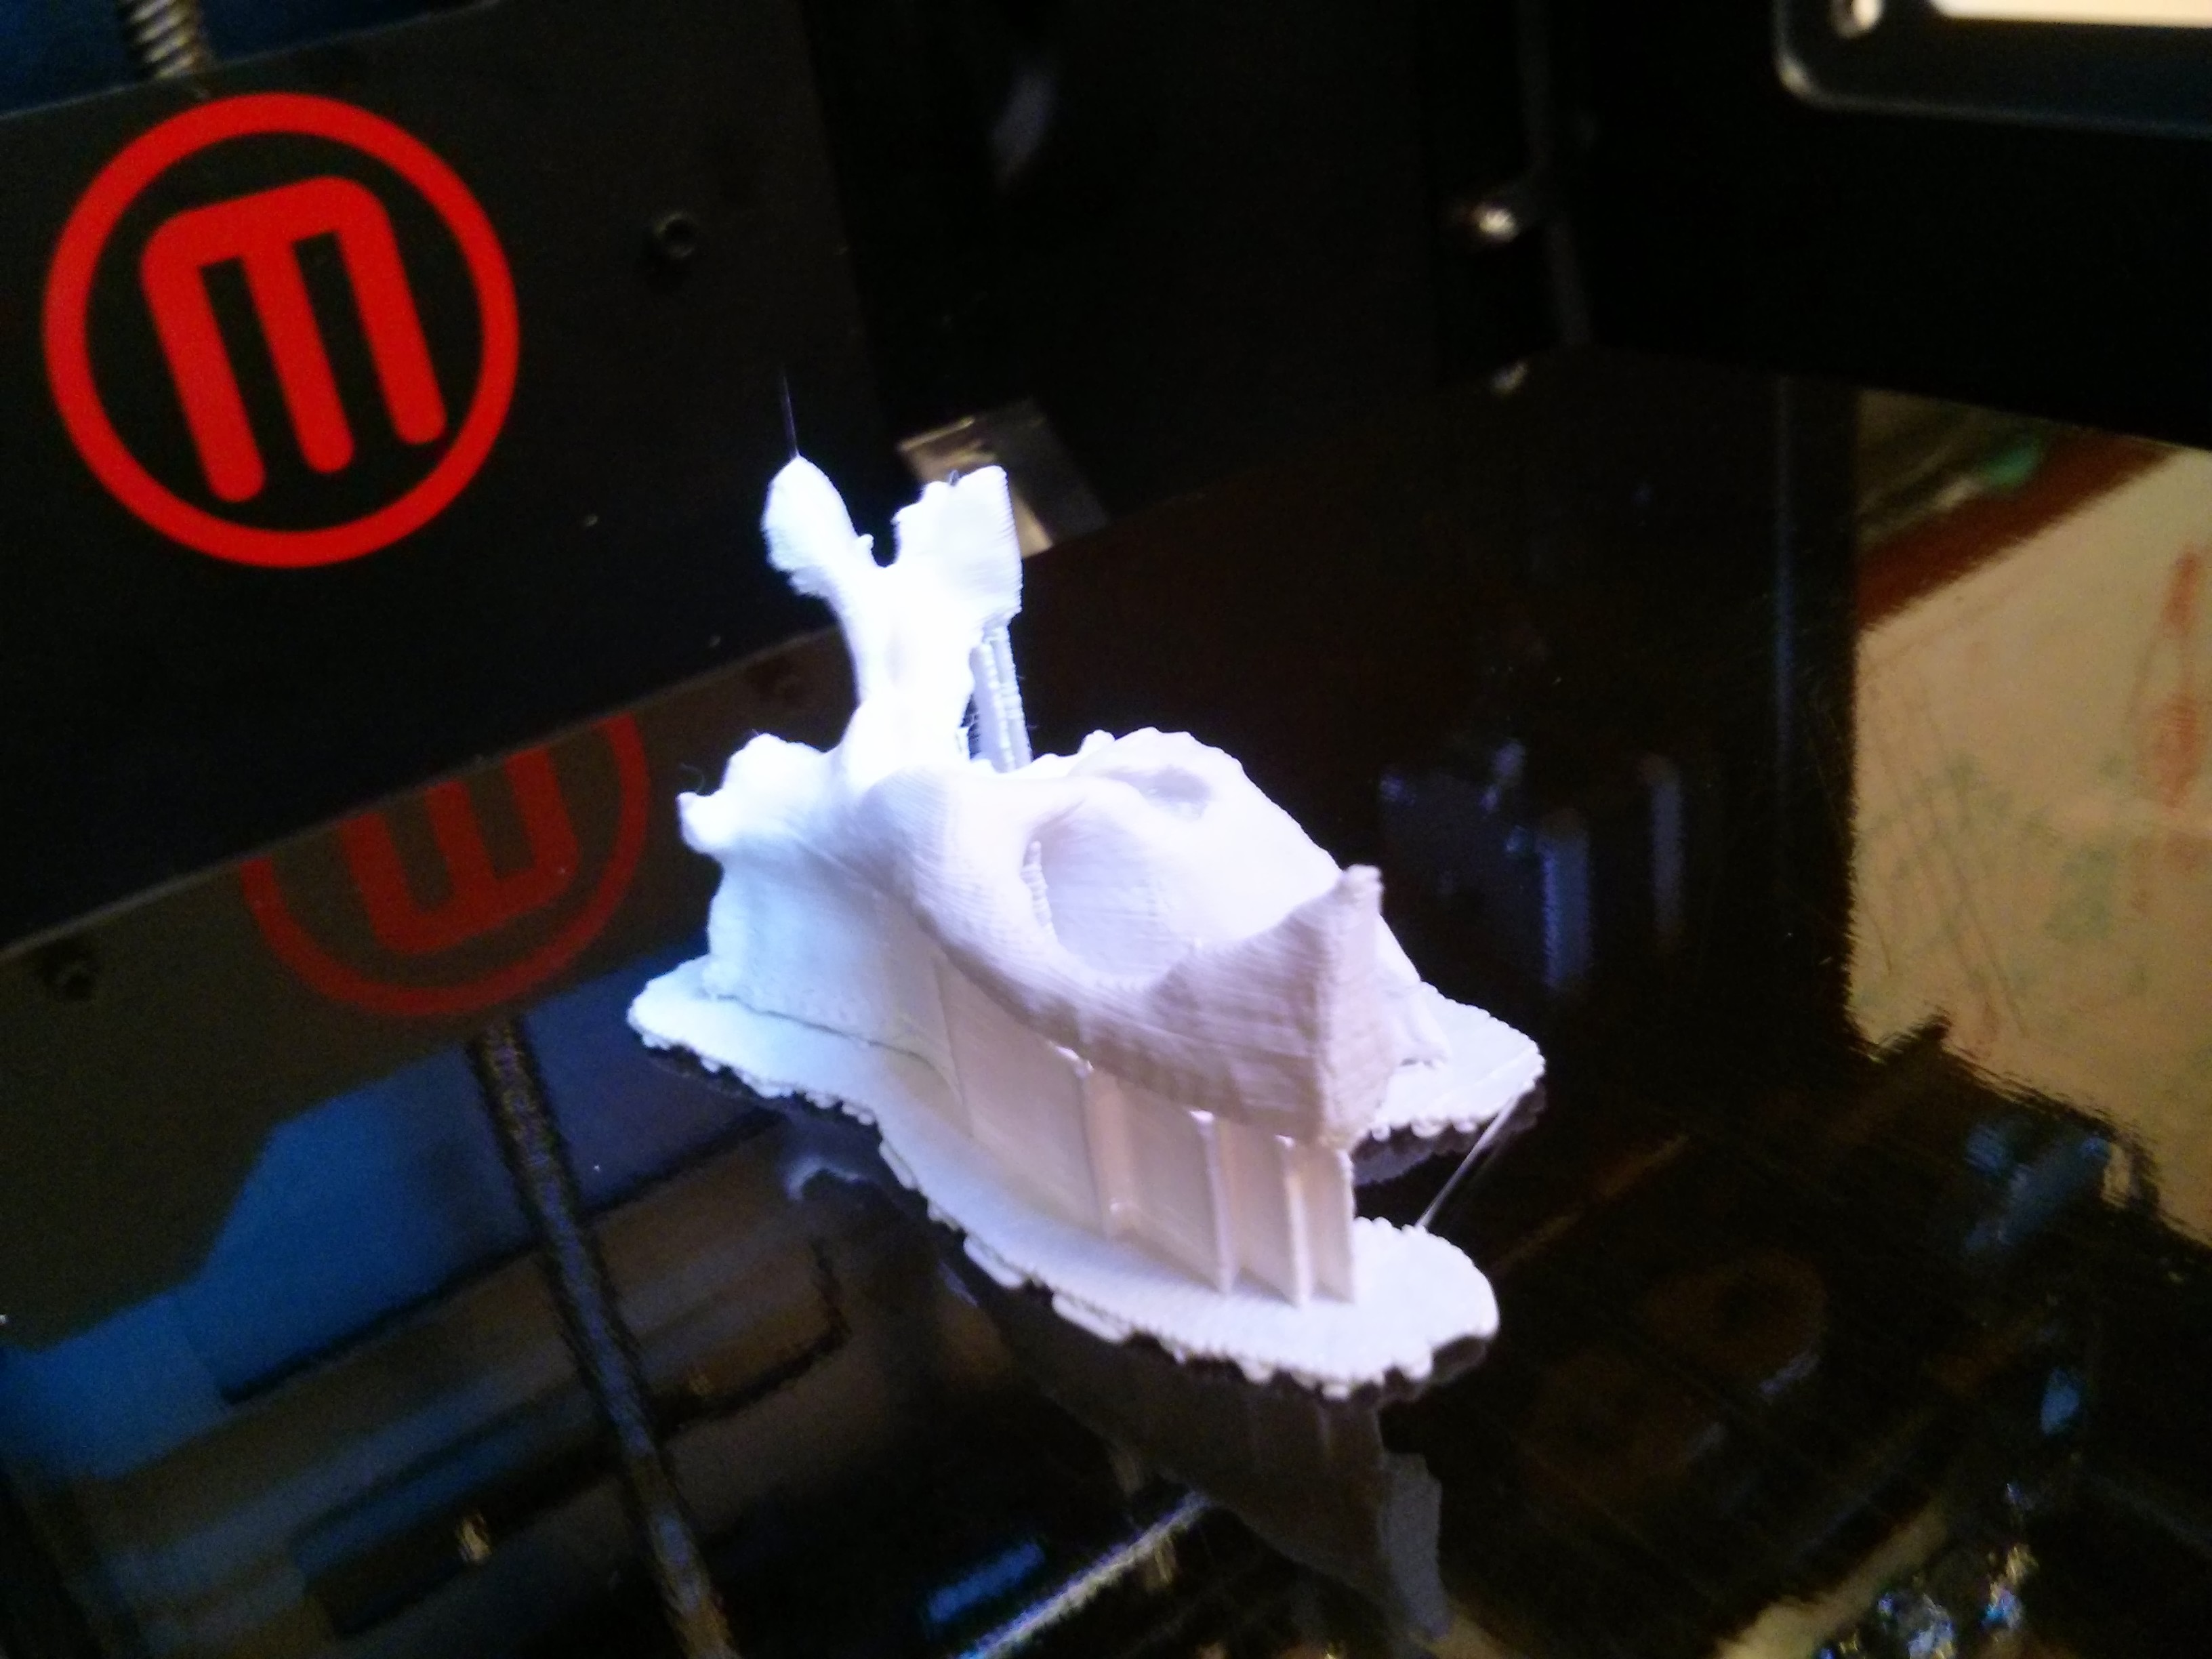
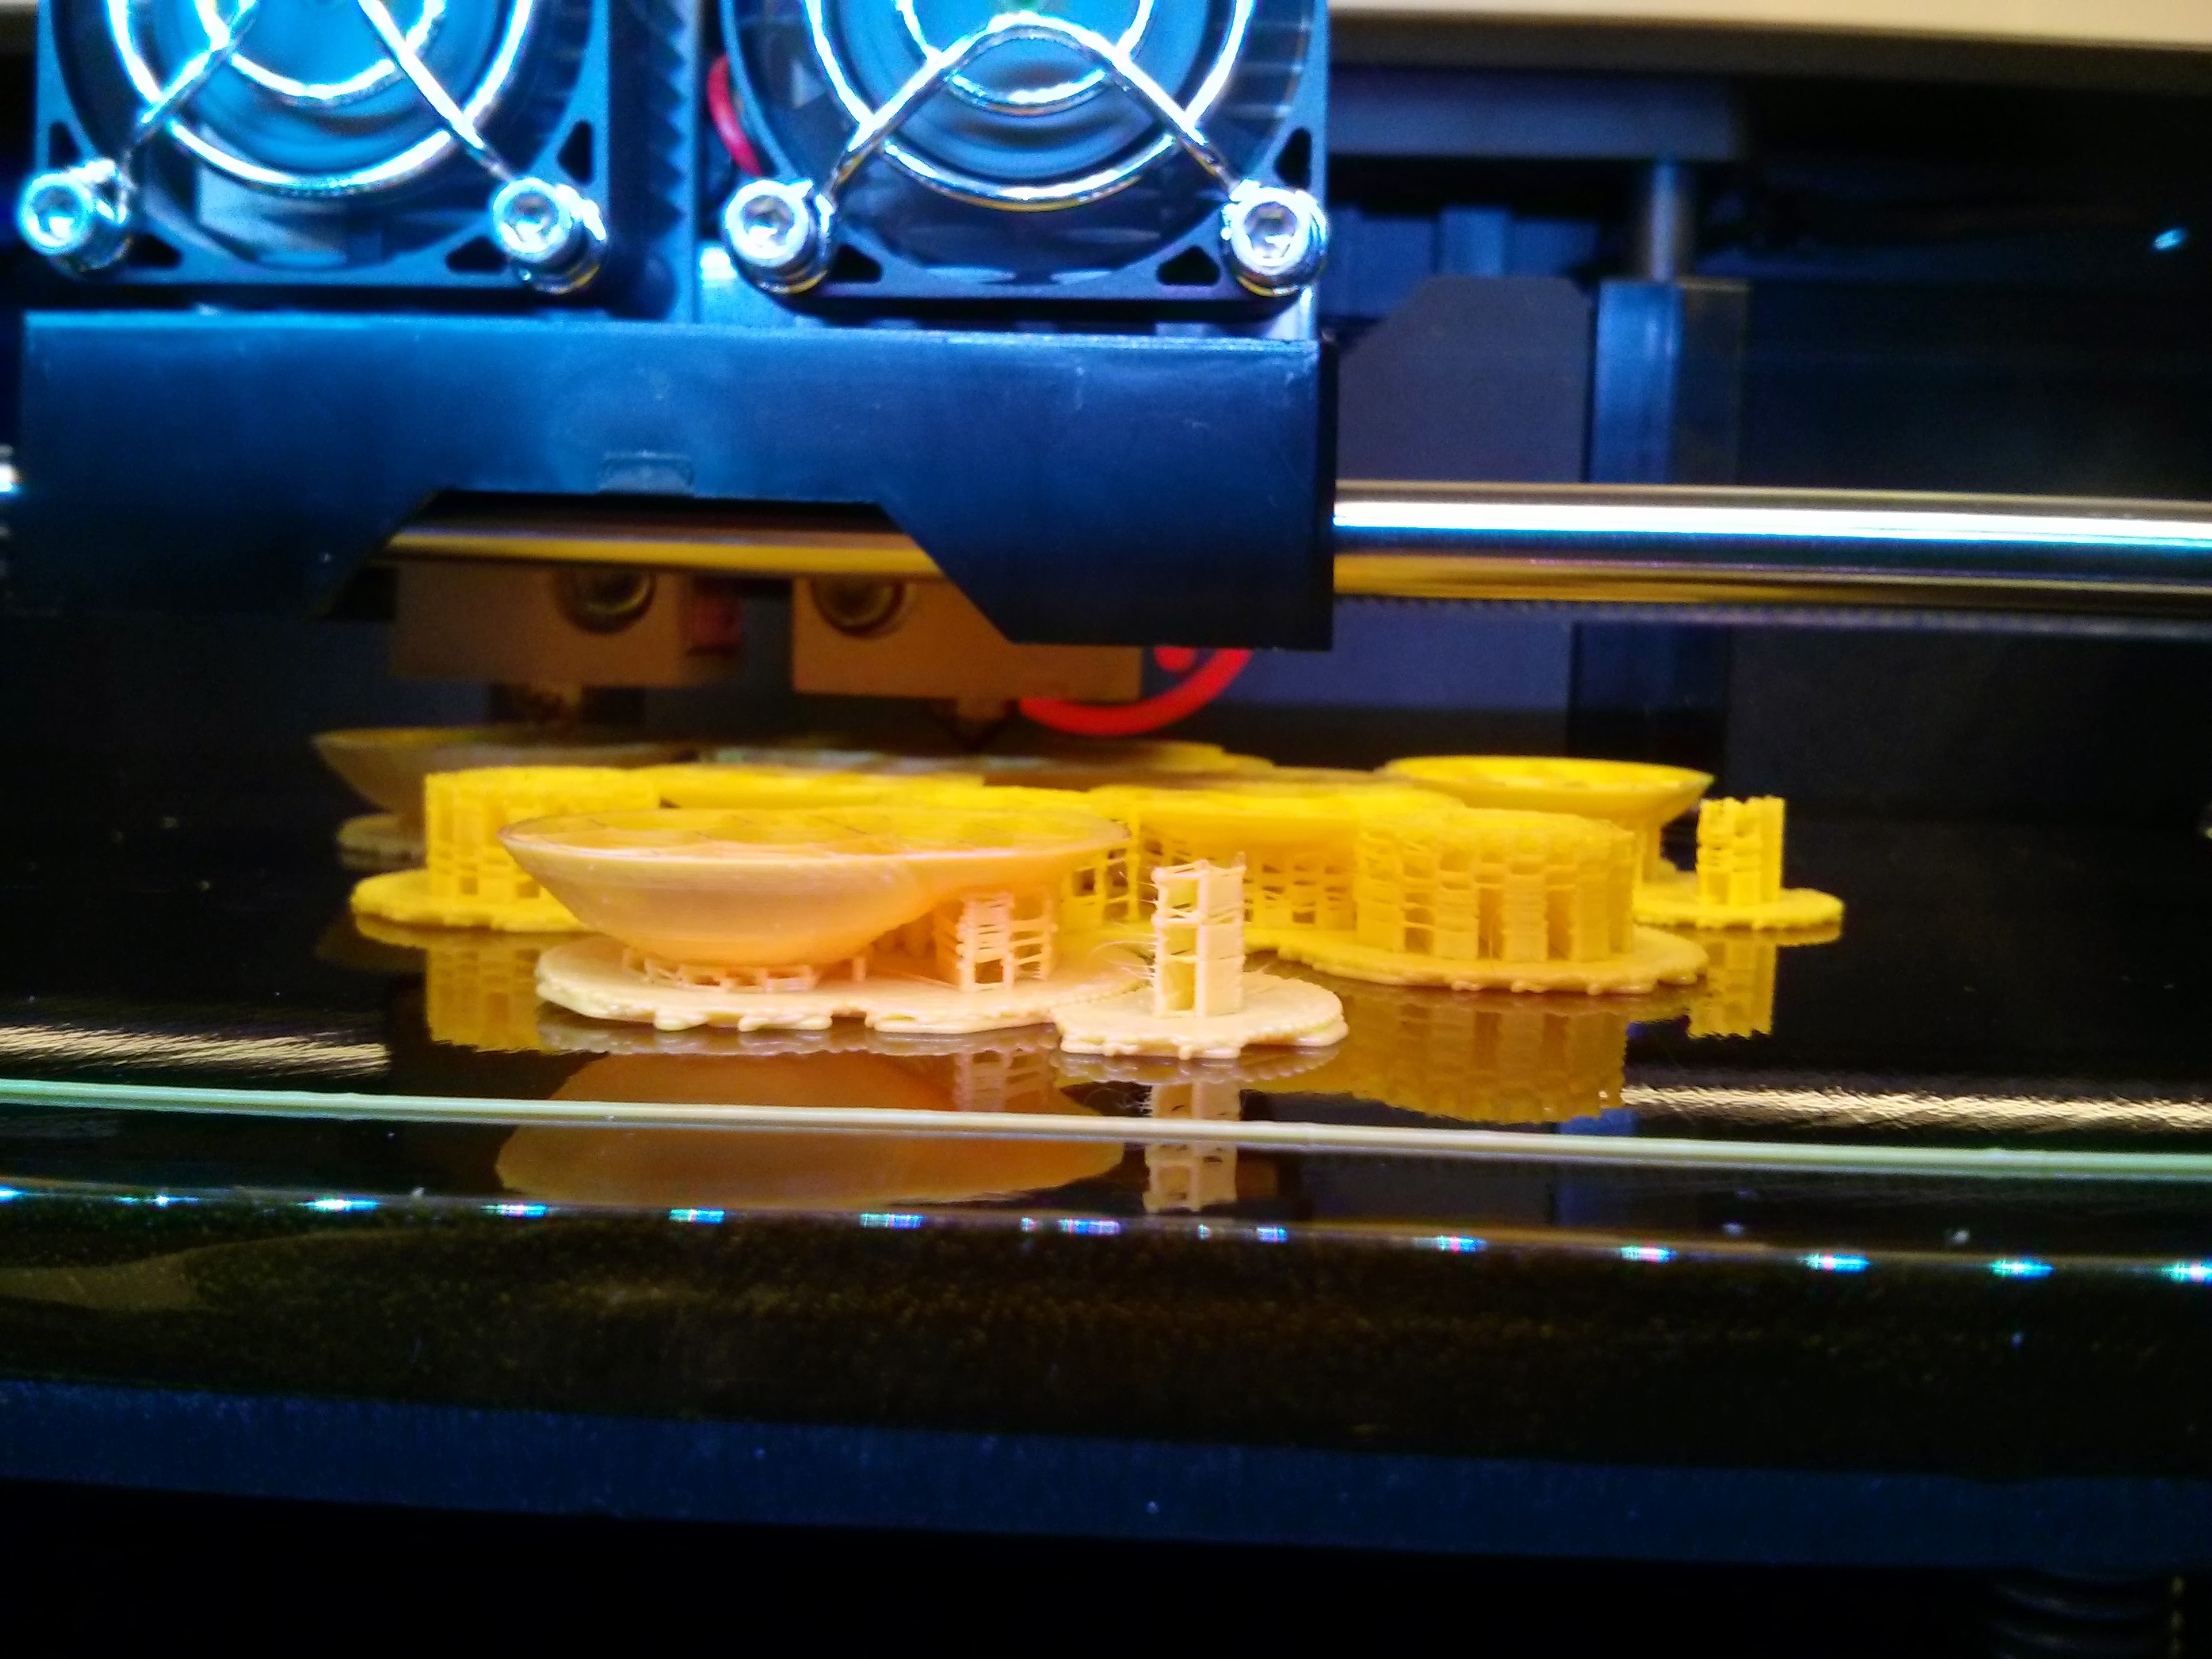
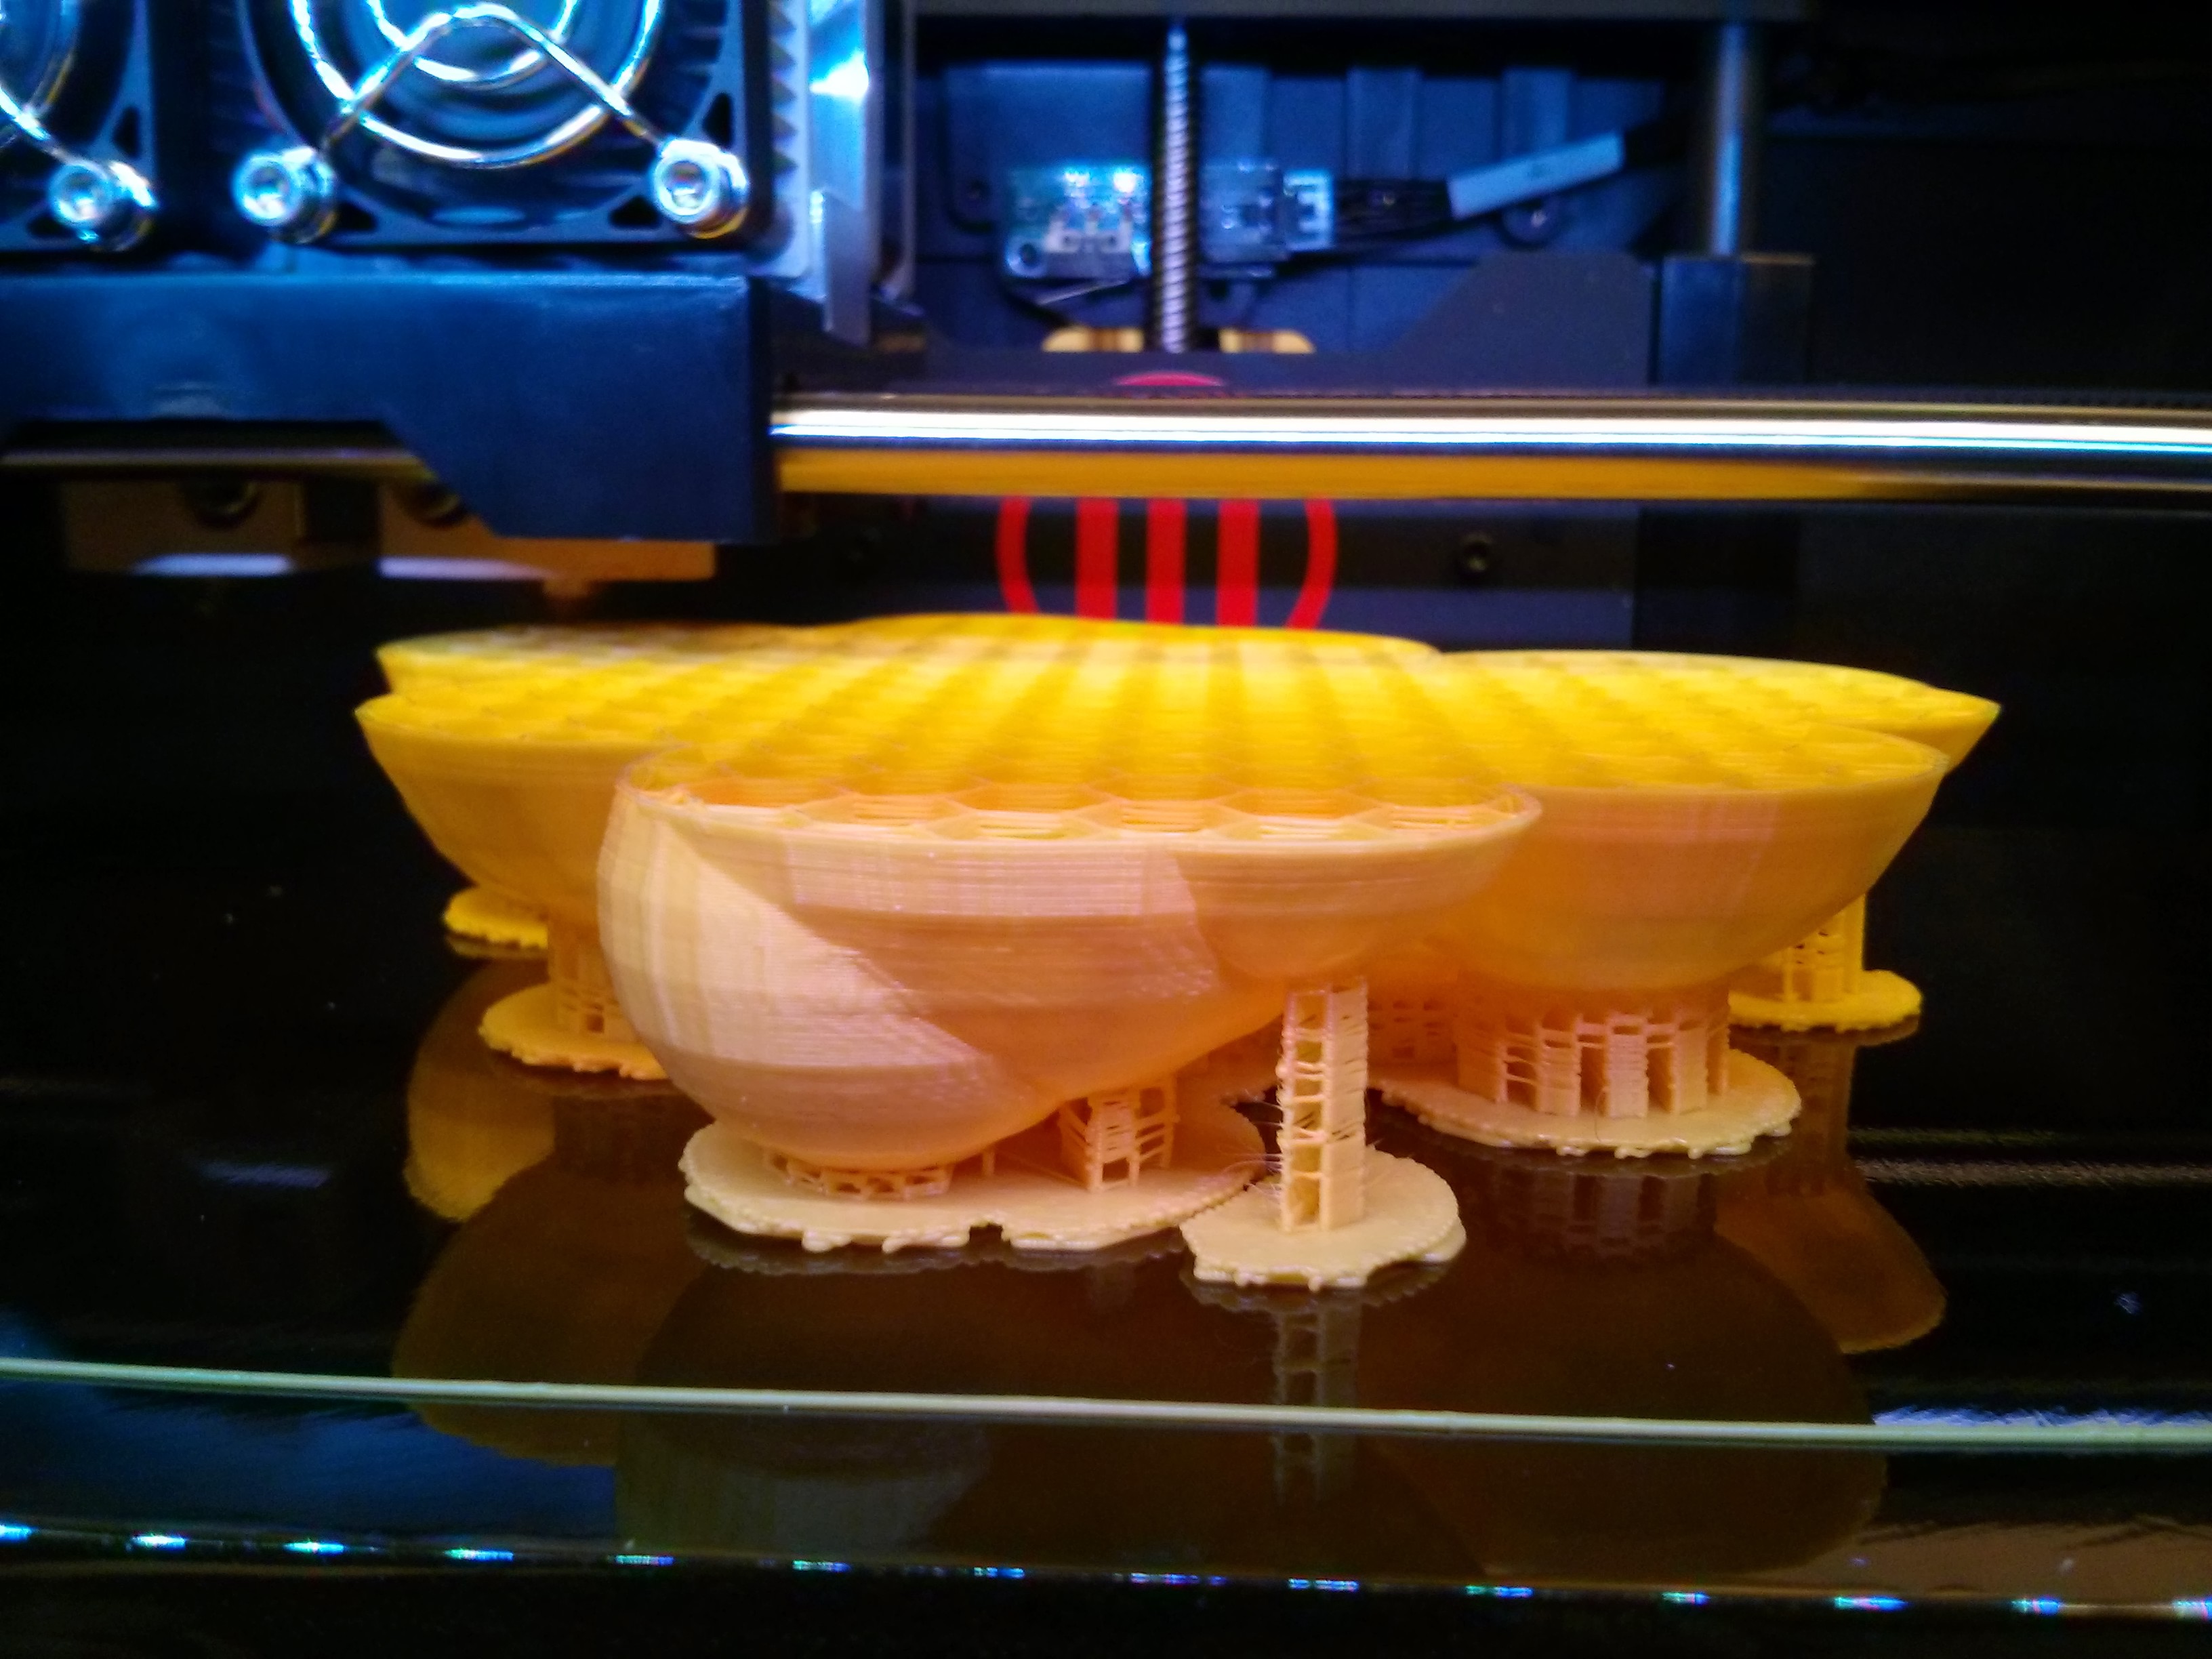
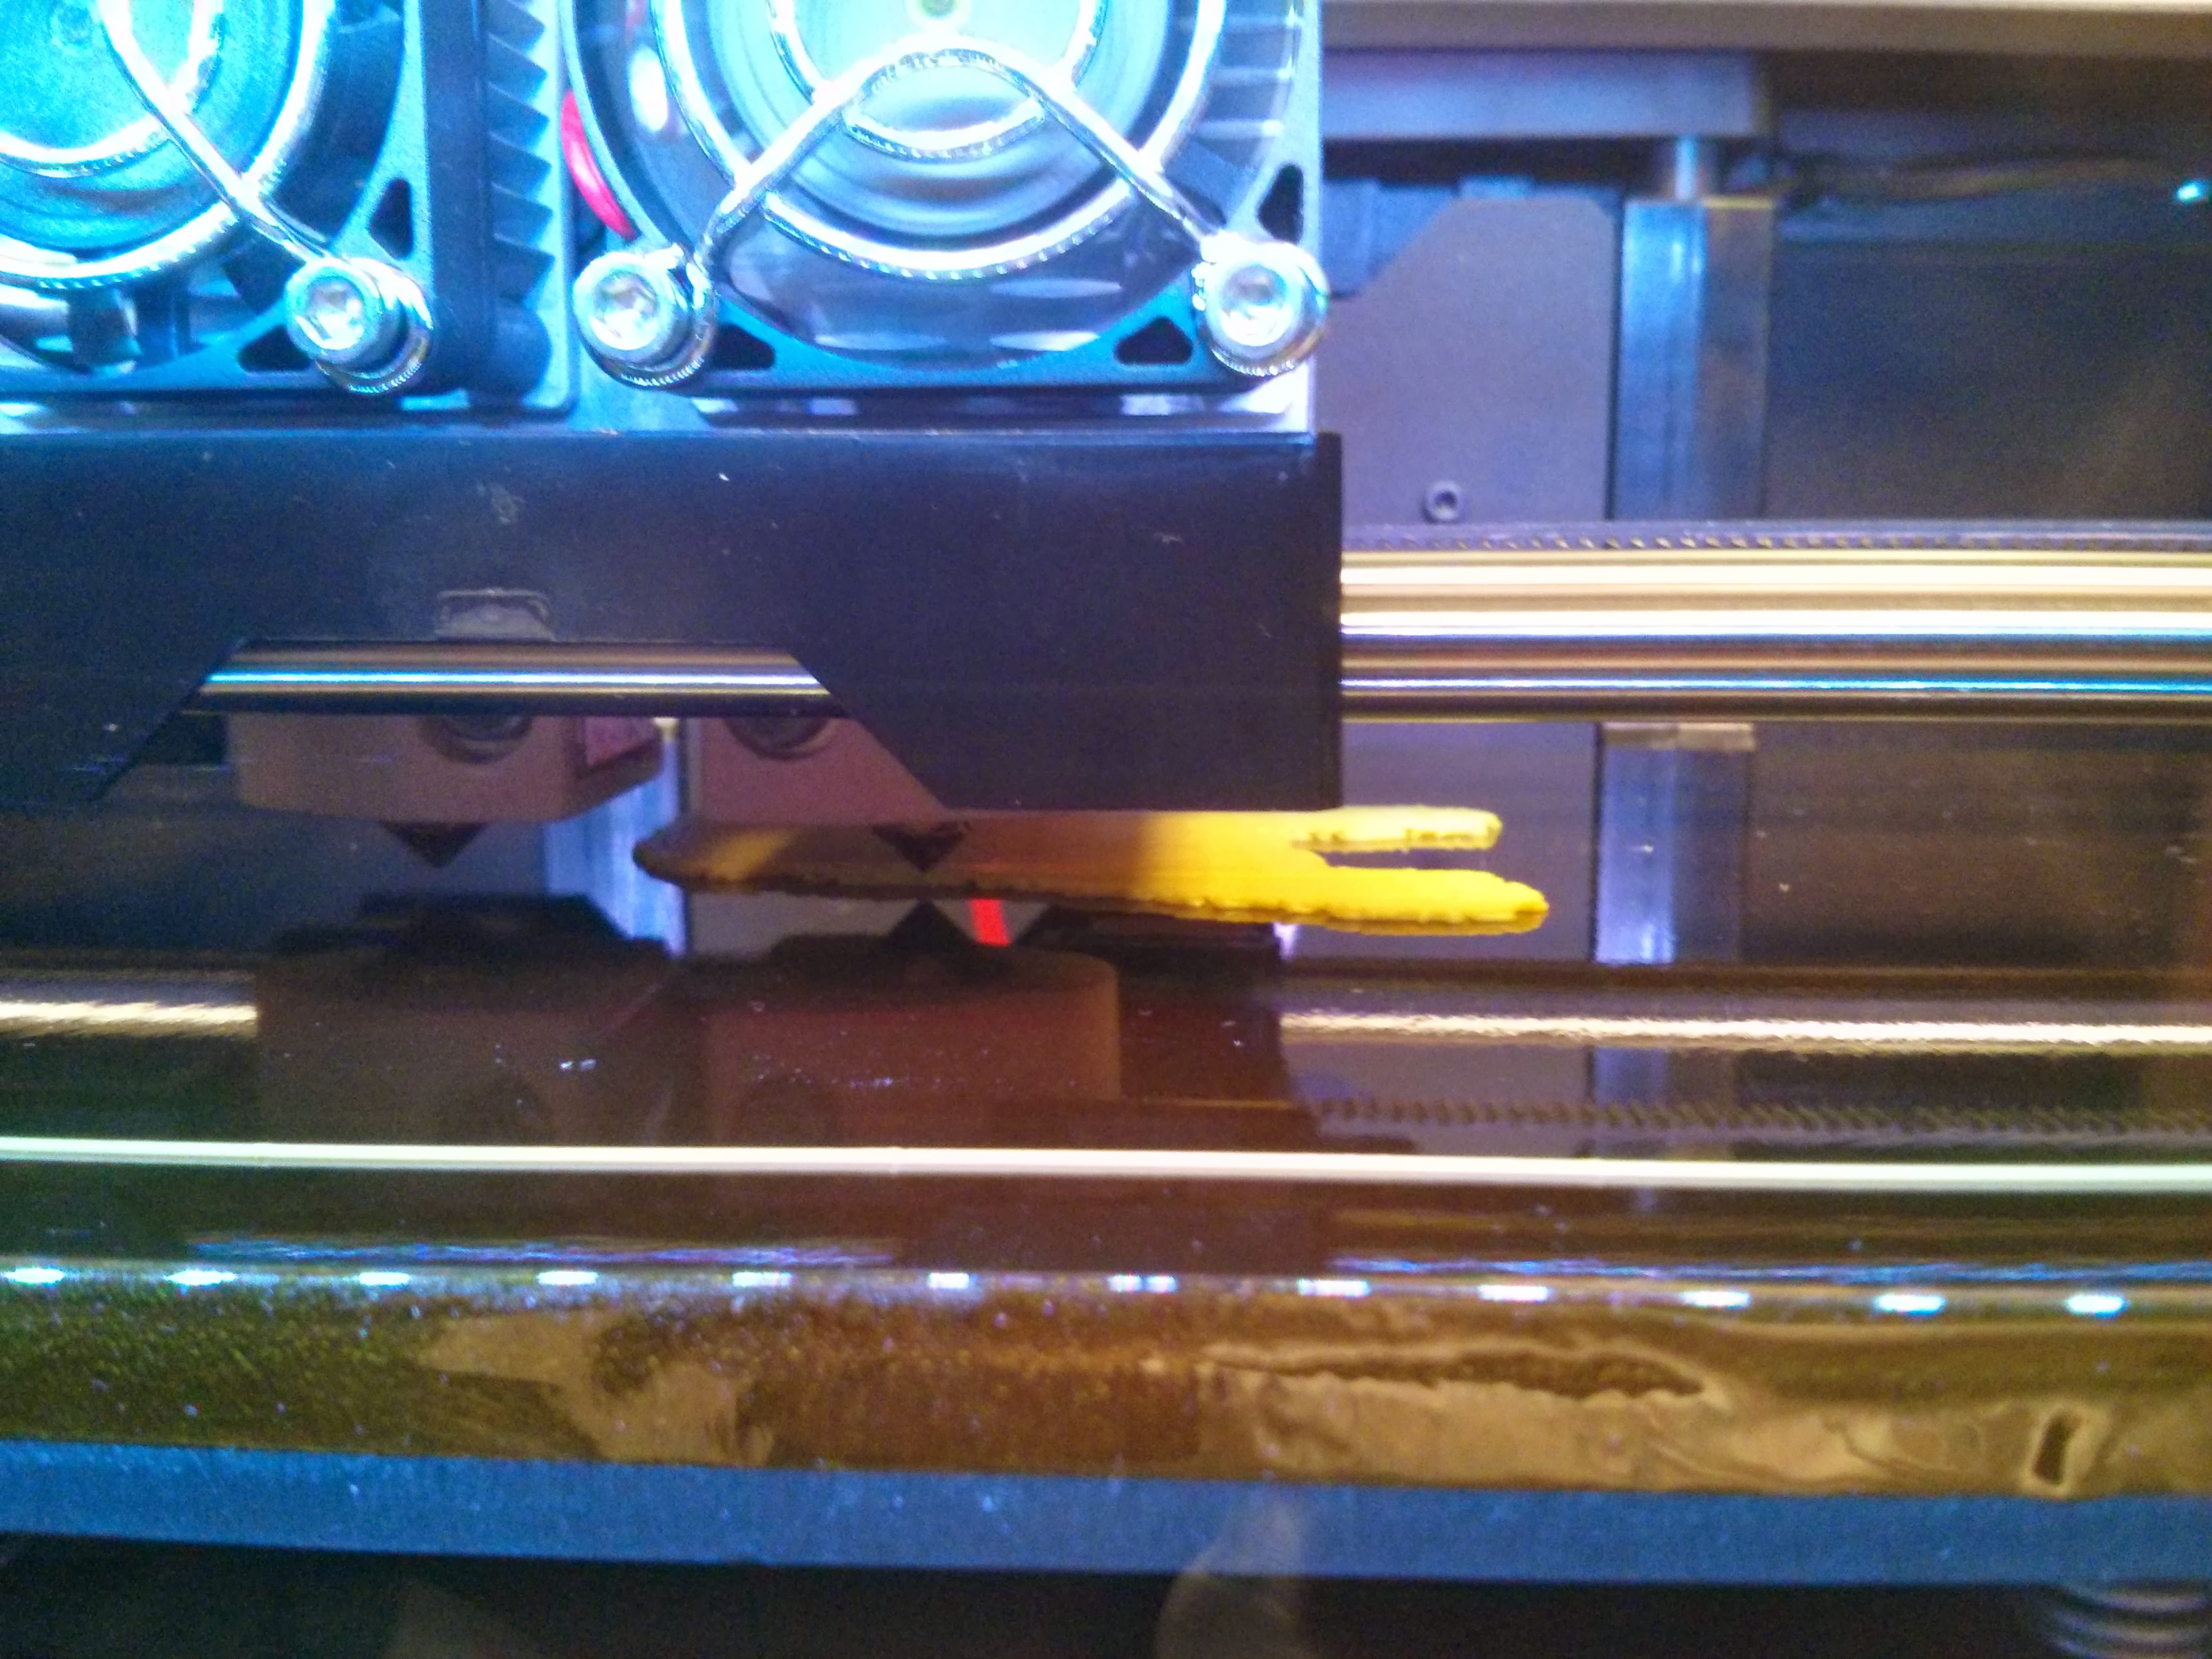
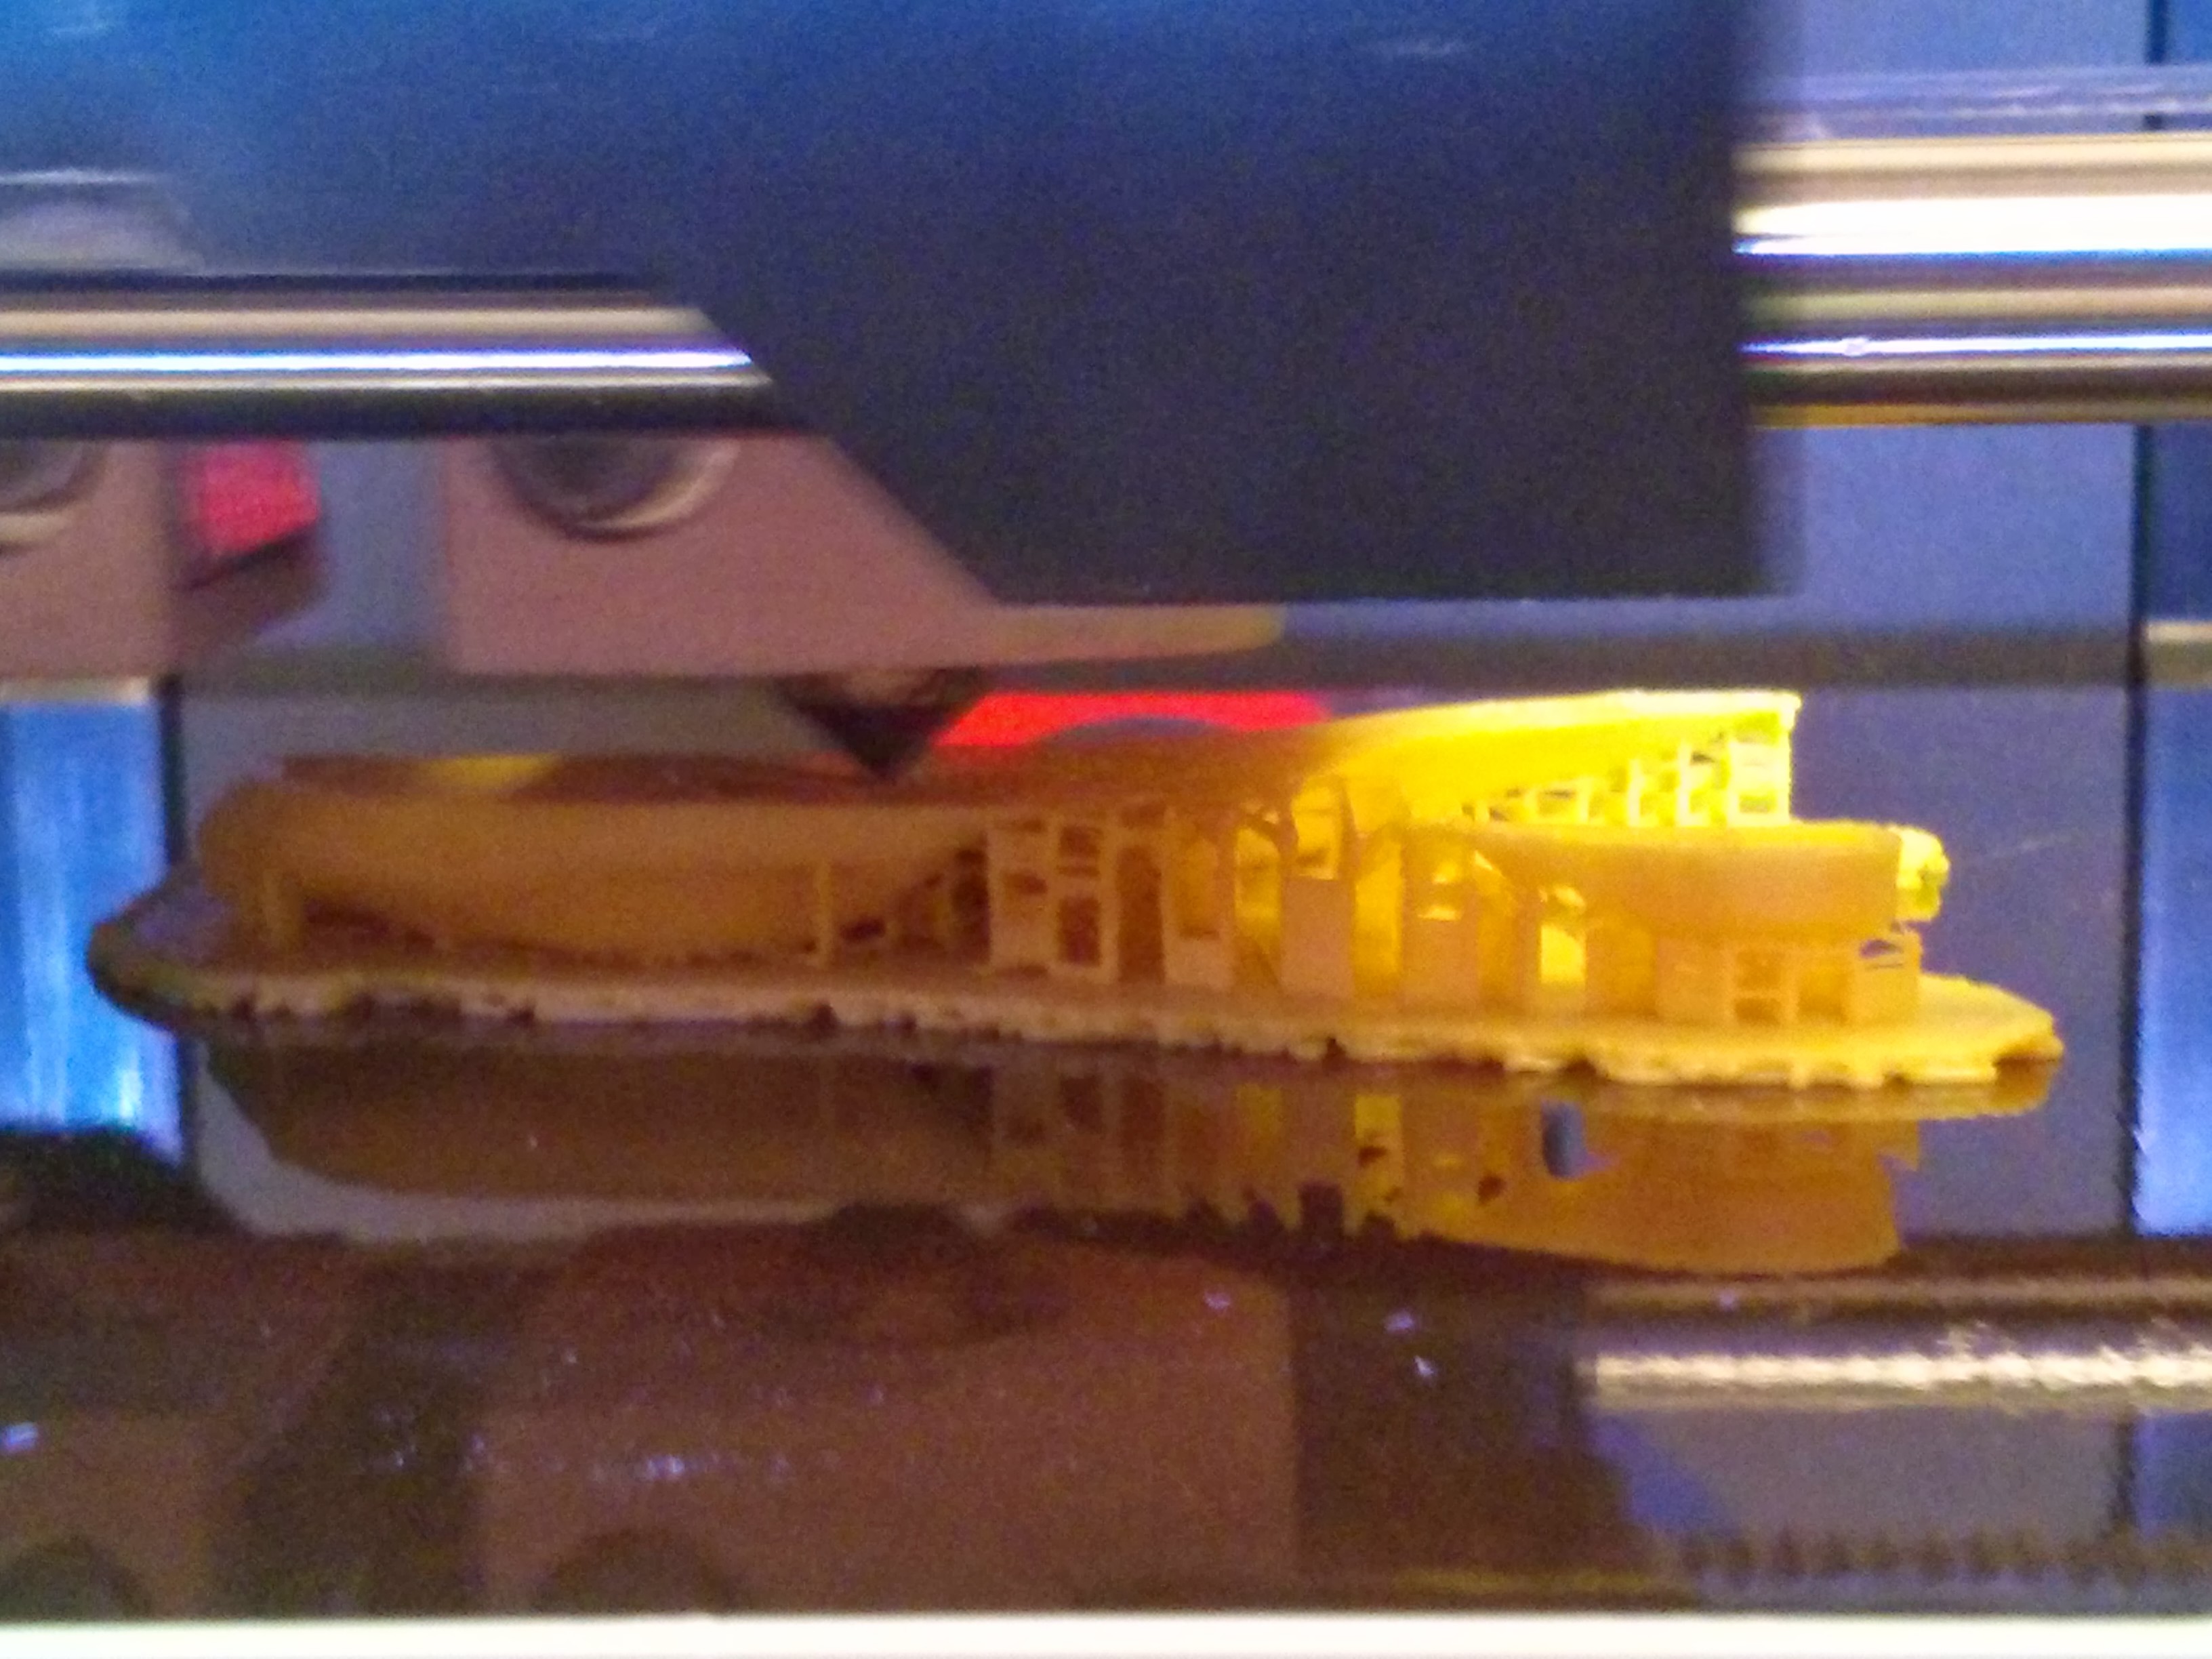
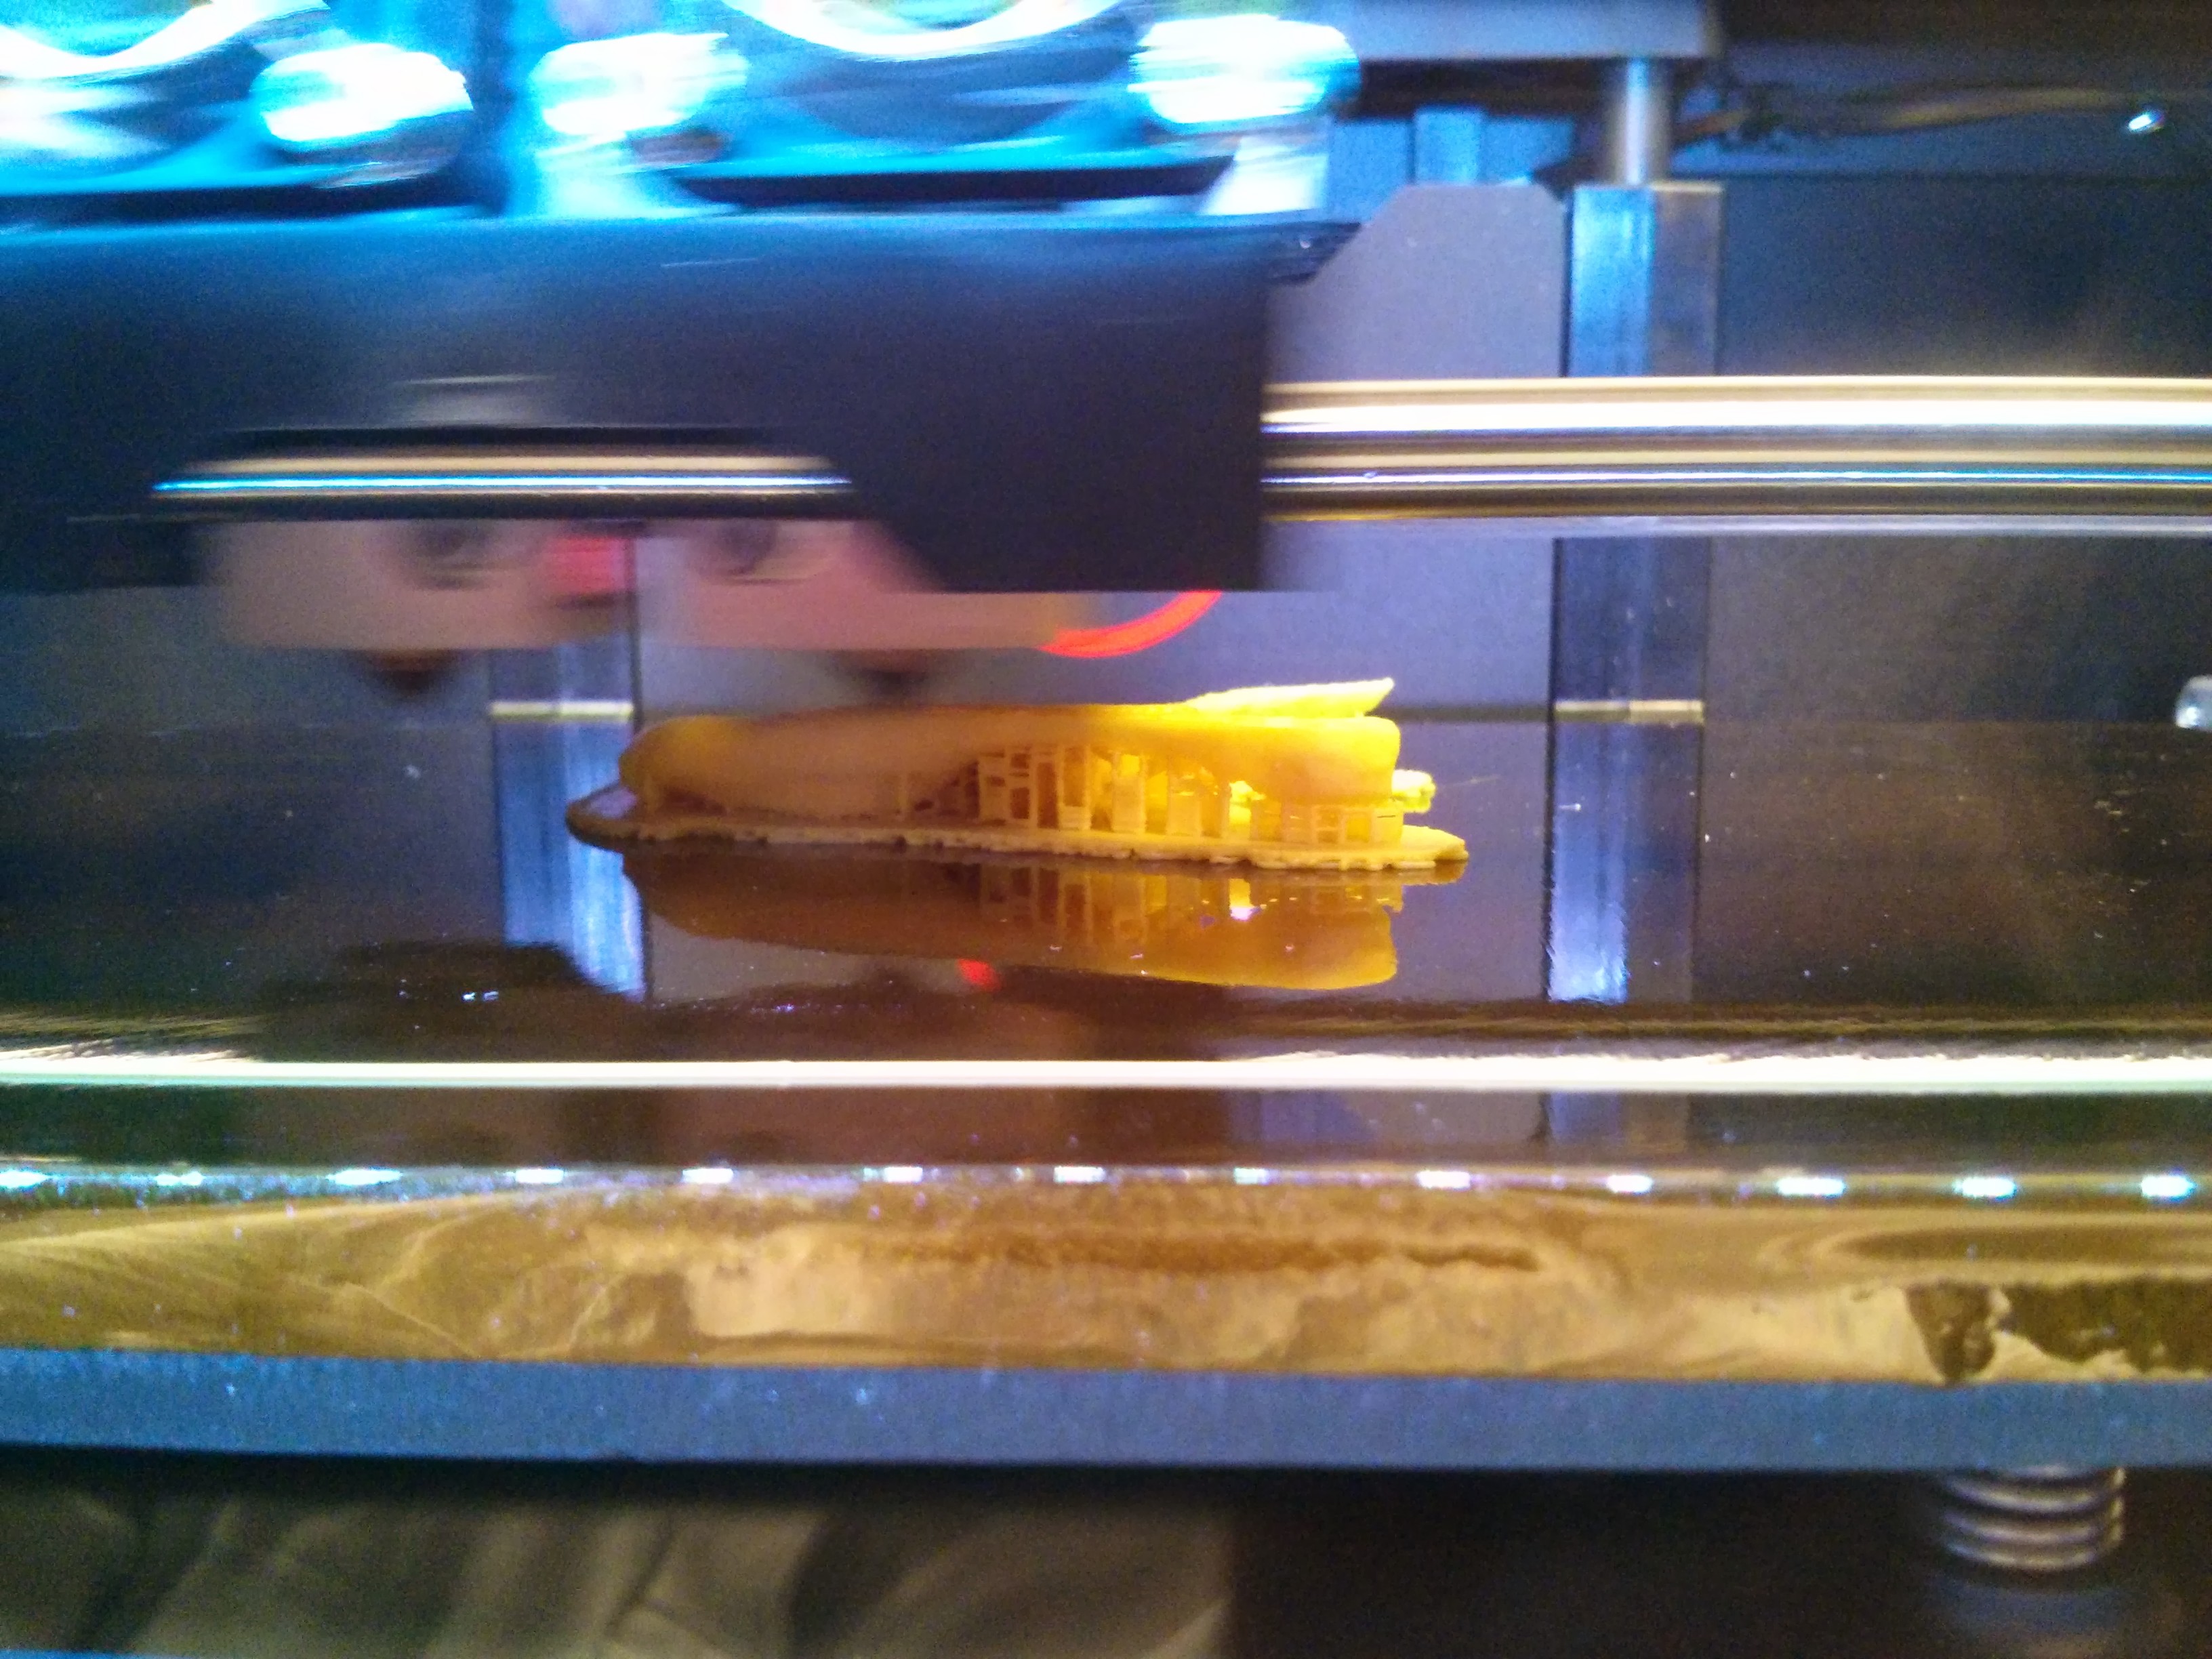
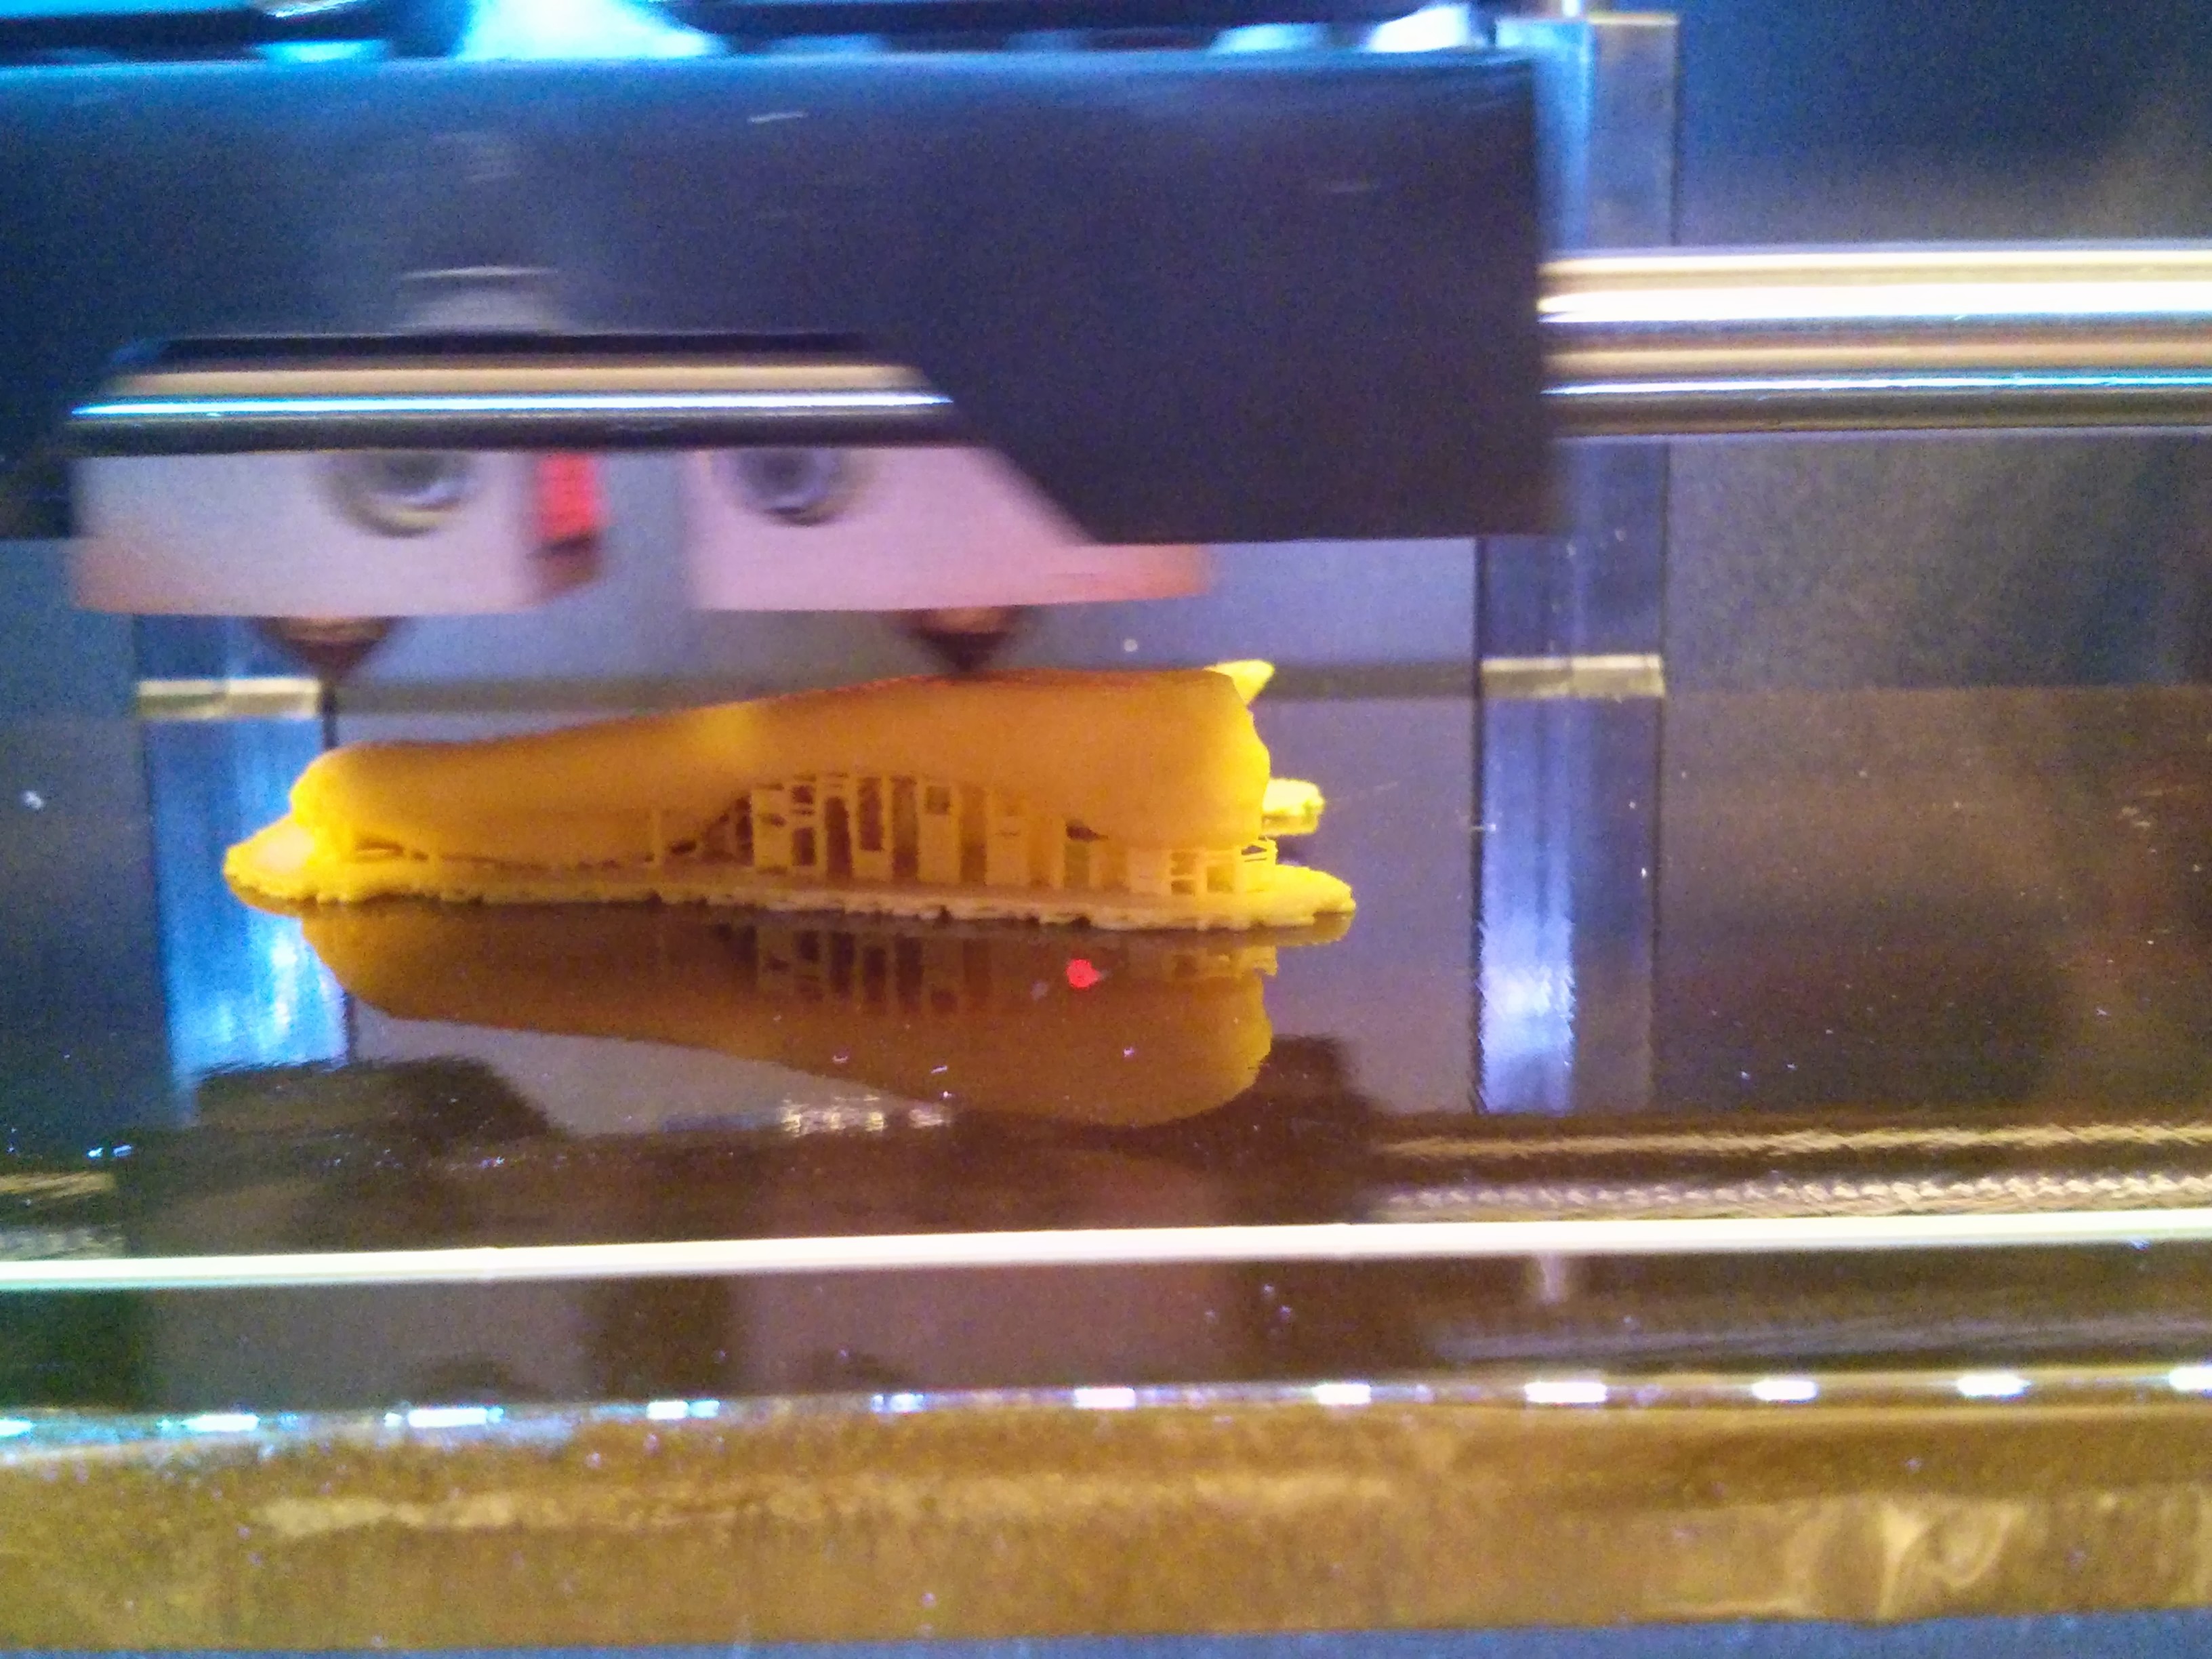
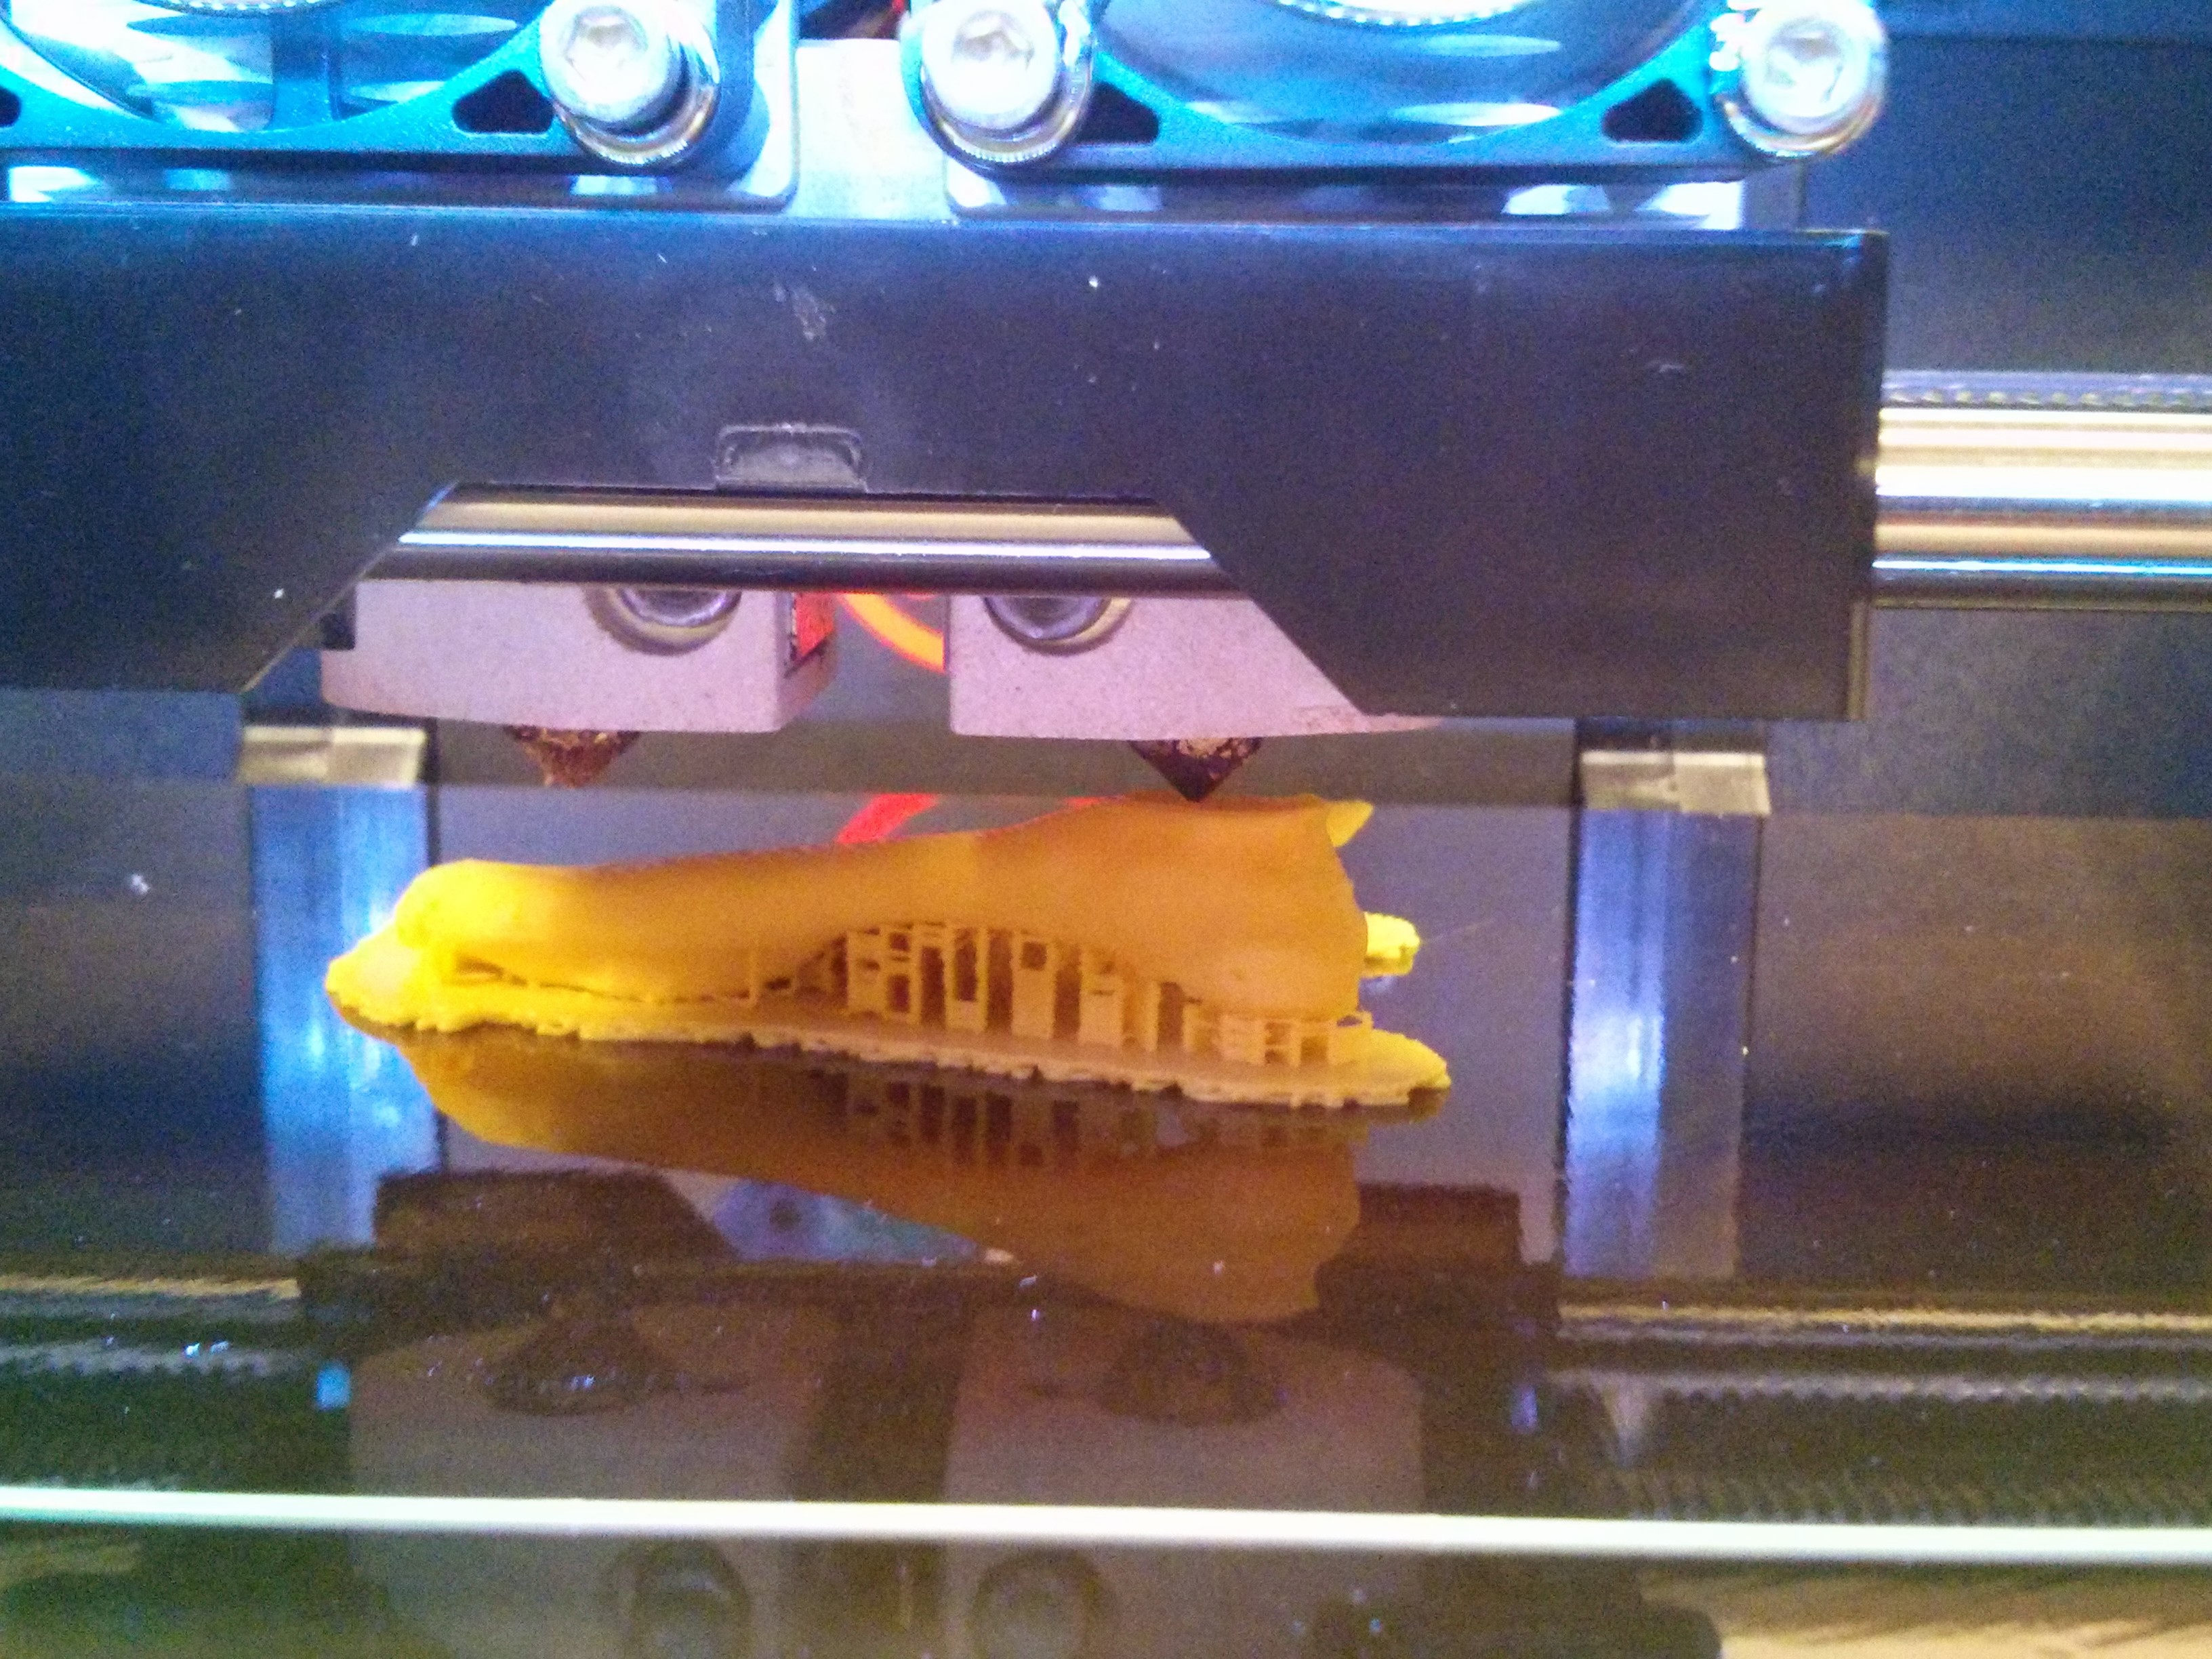
On top of this raft, the model of the Temporal bone is printed layer by layer:
 |
 |
 |
 |
 |
 |
 |
 |
 |
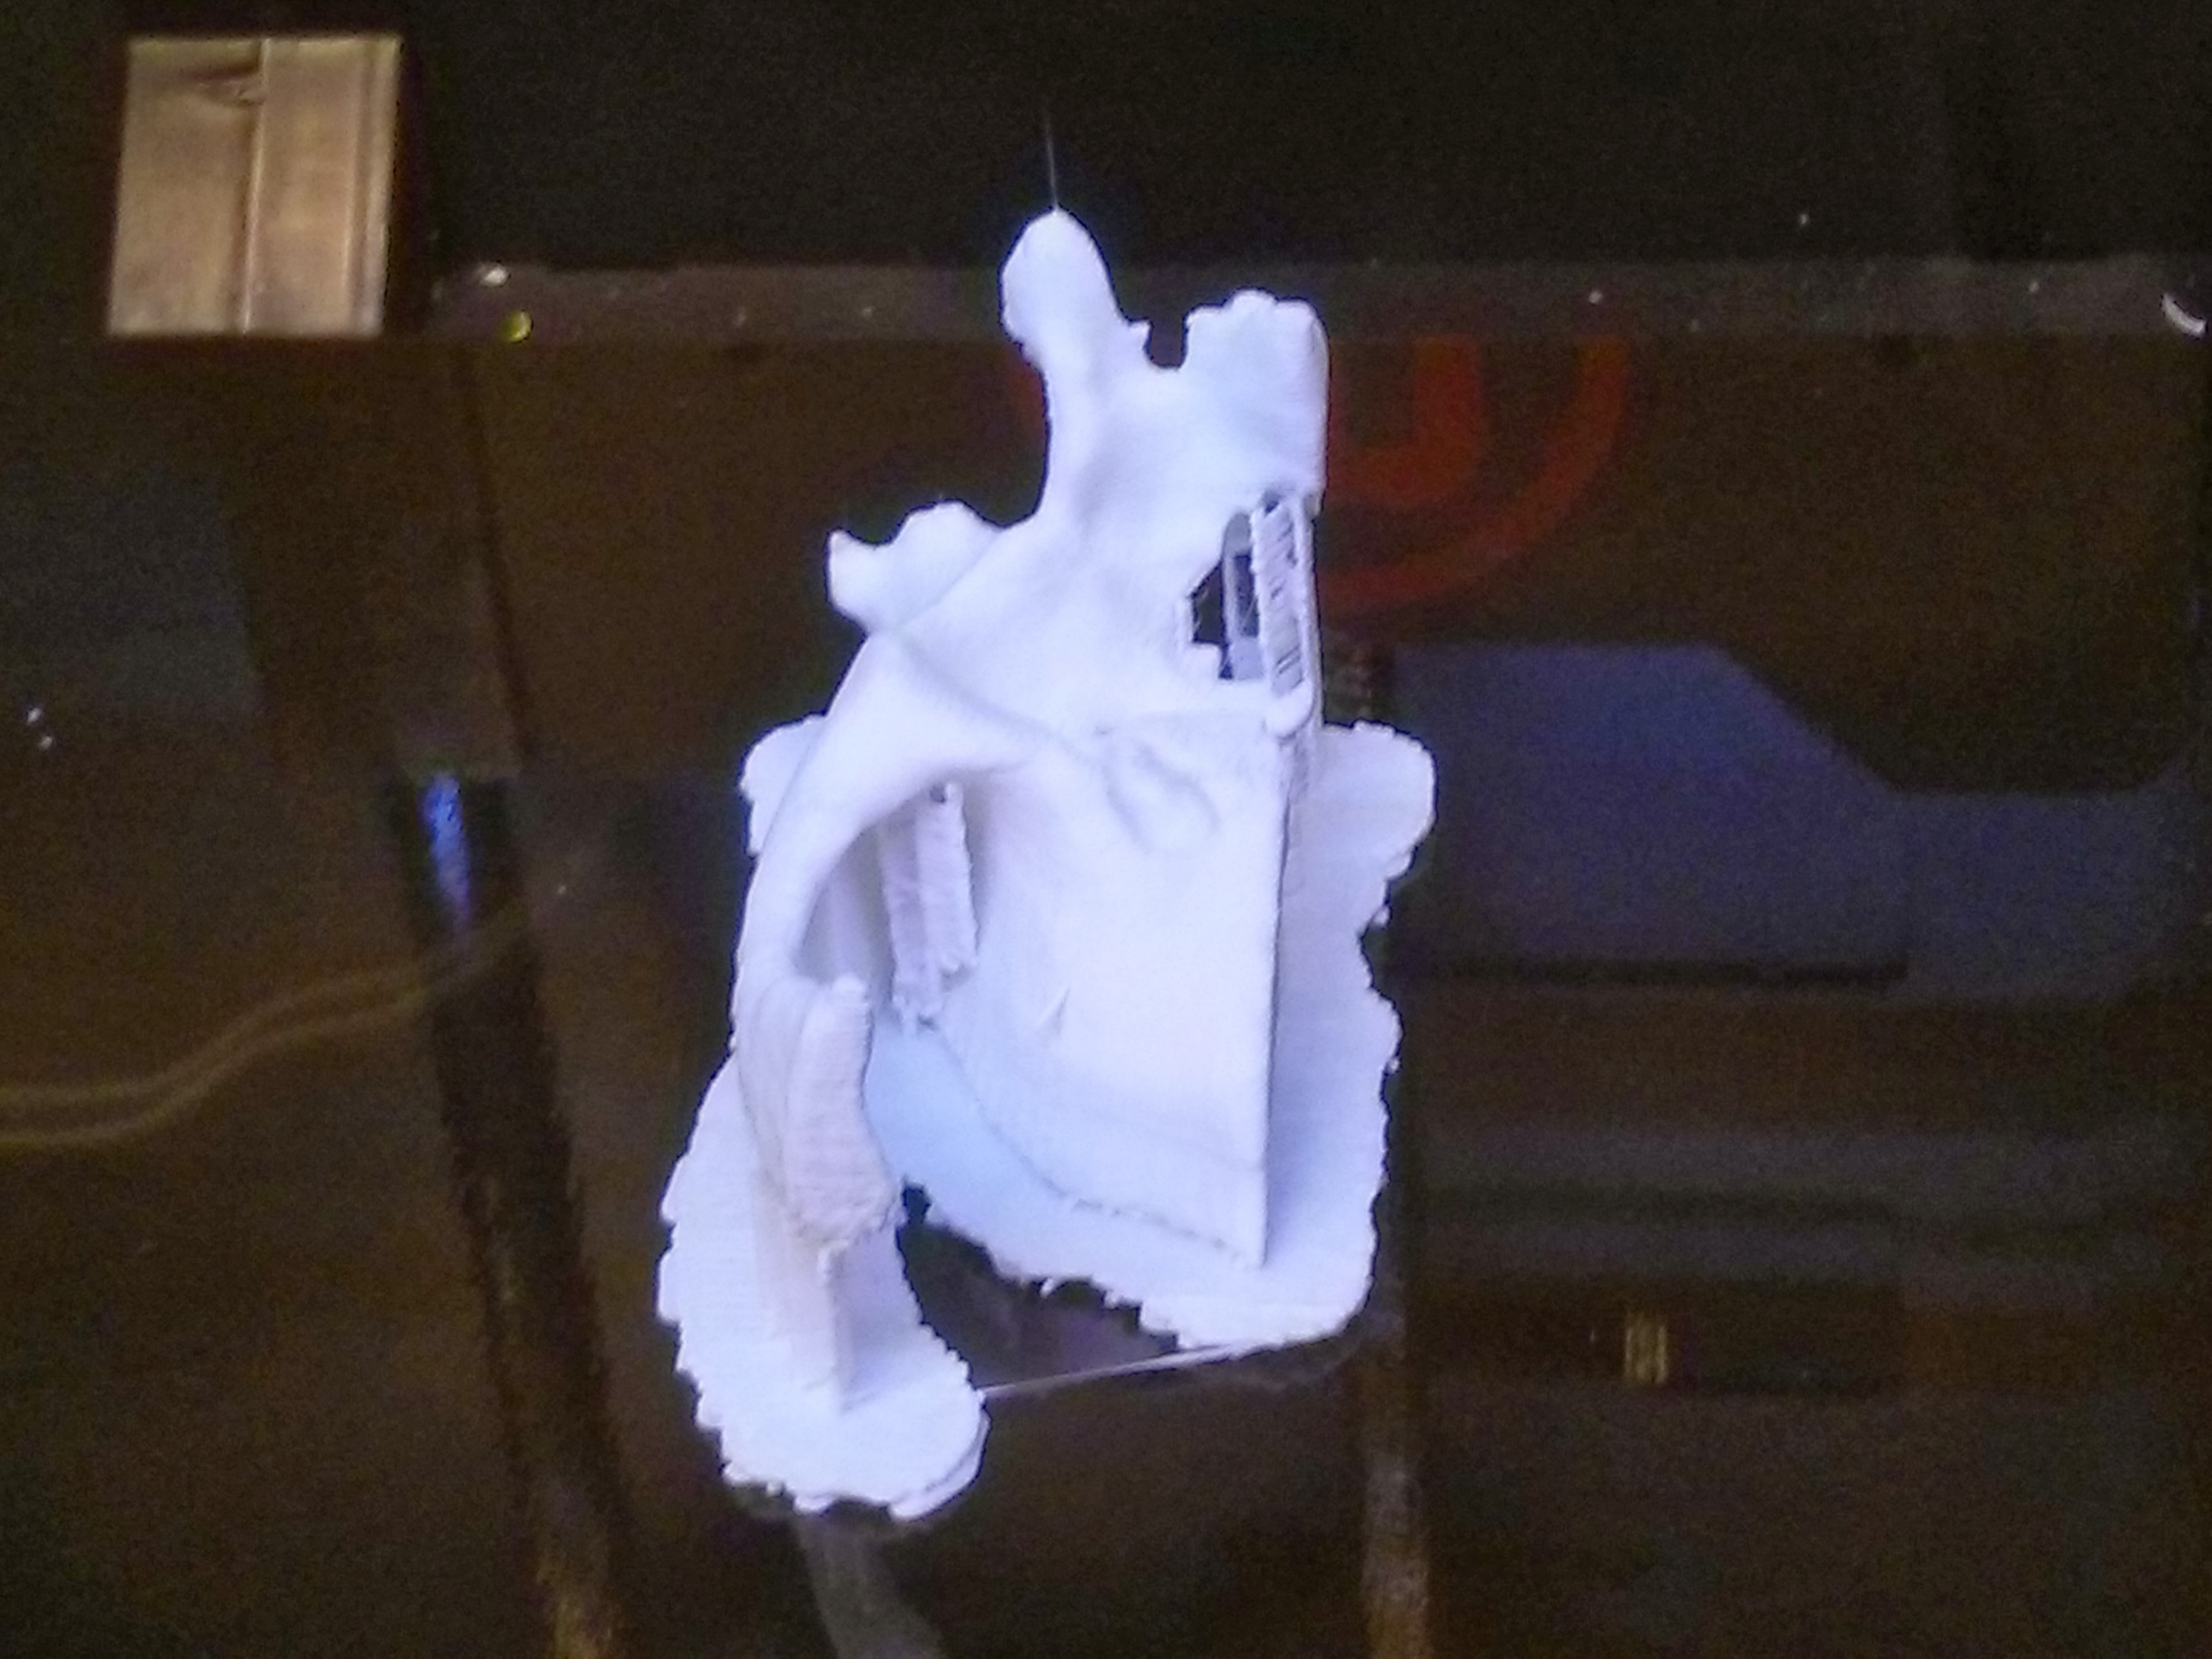 |
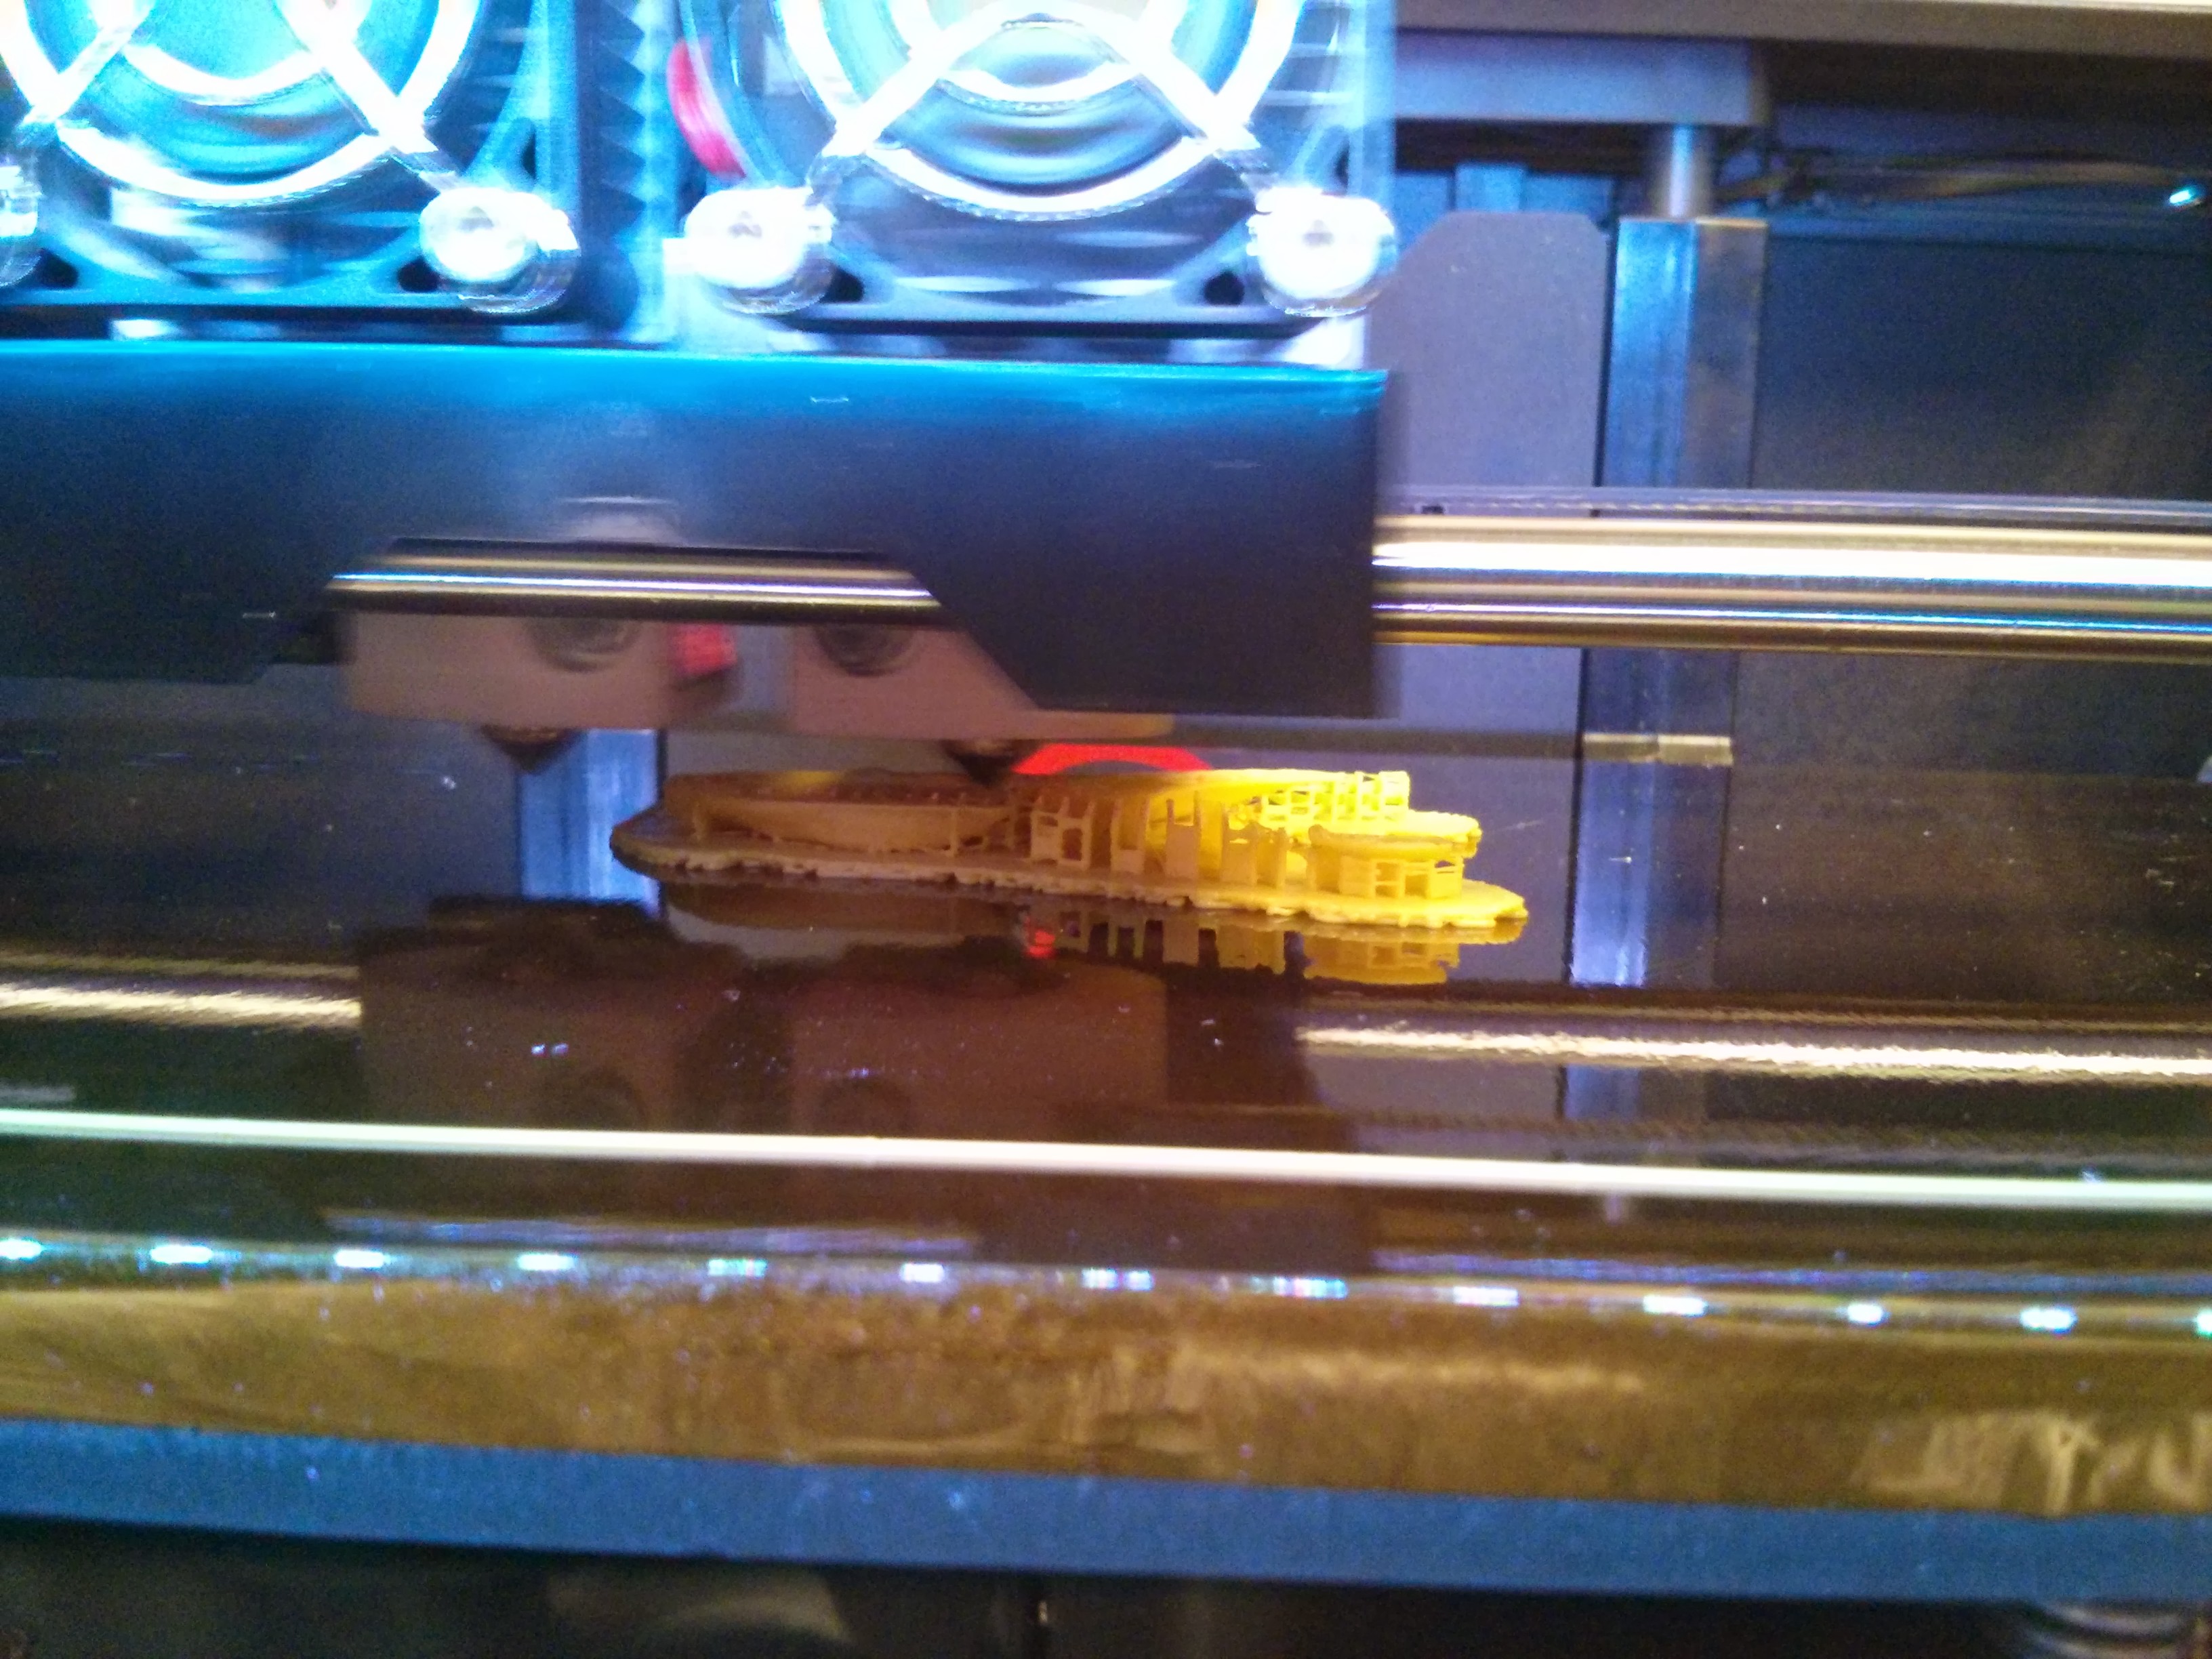
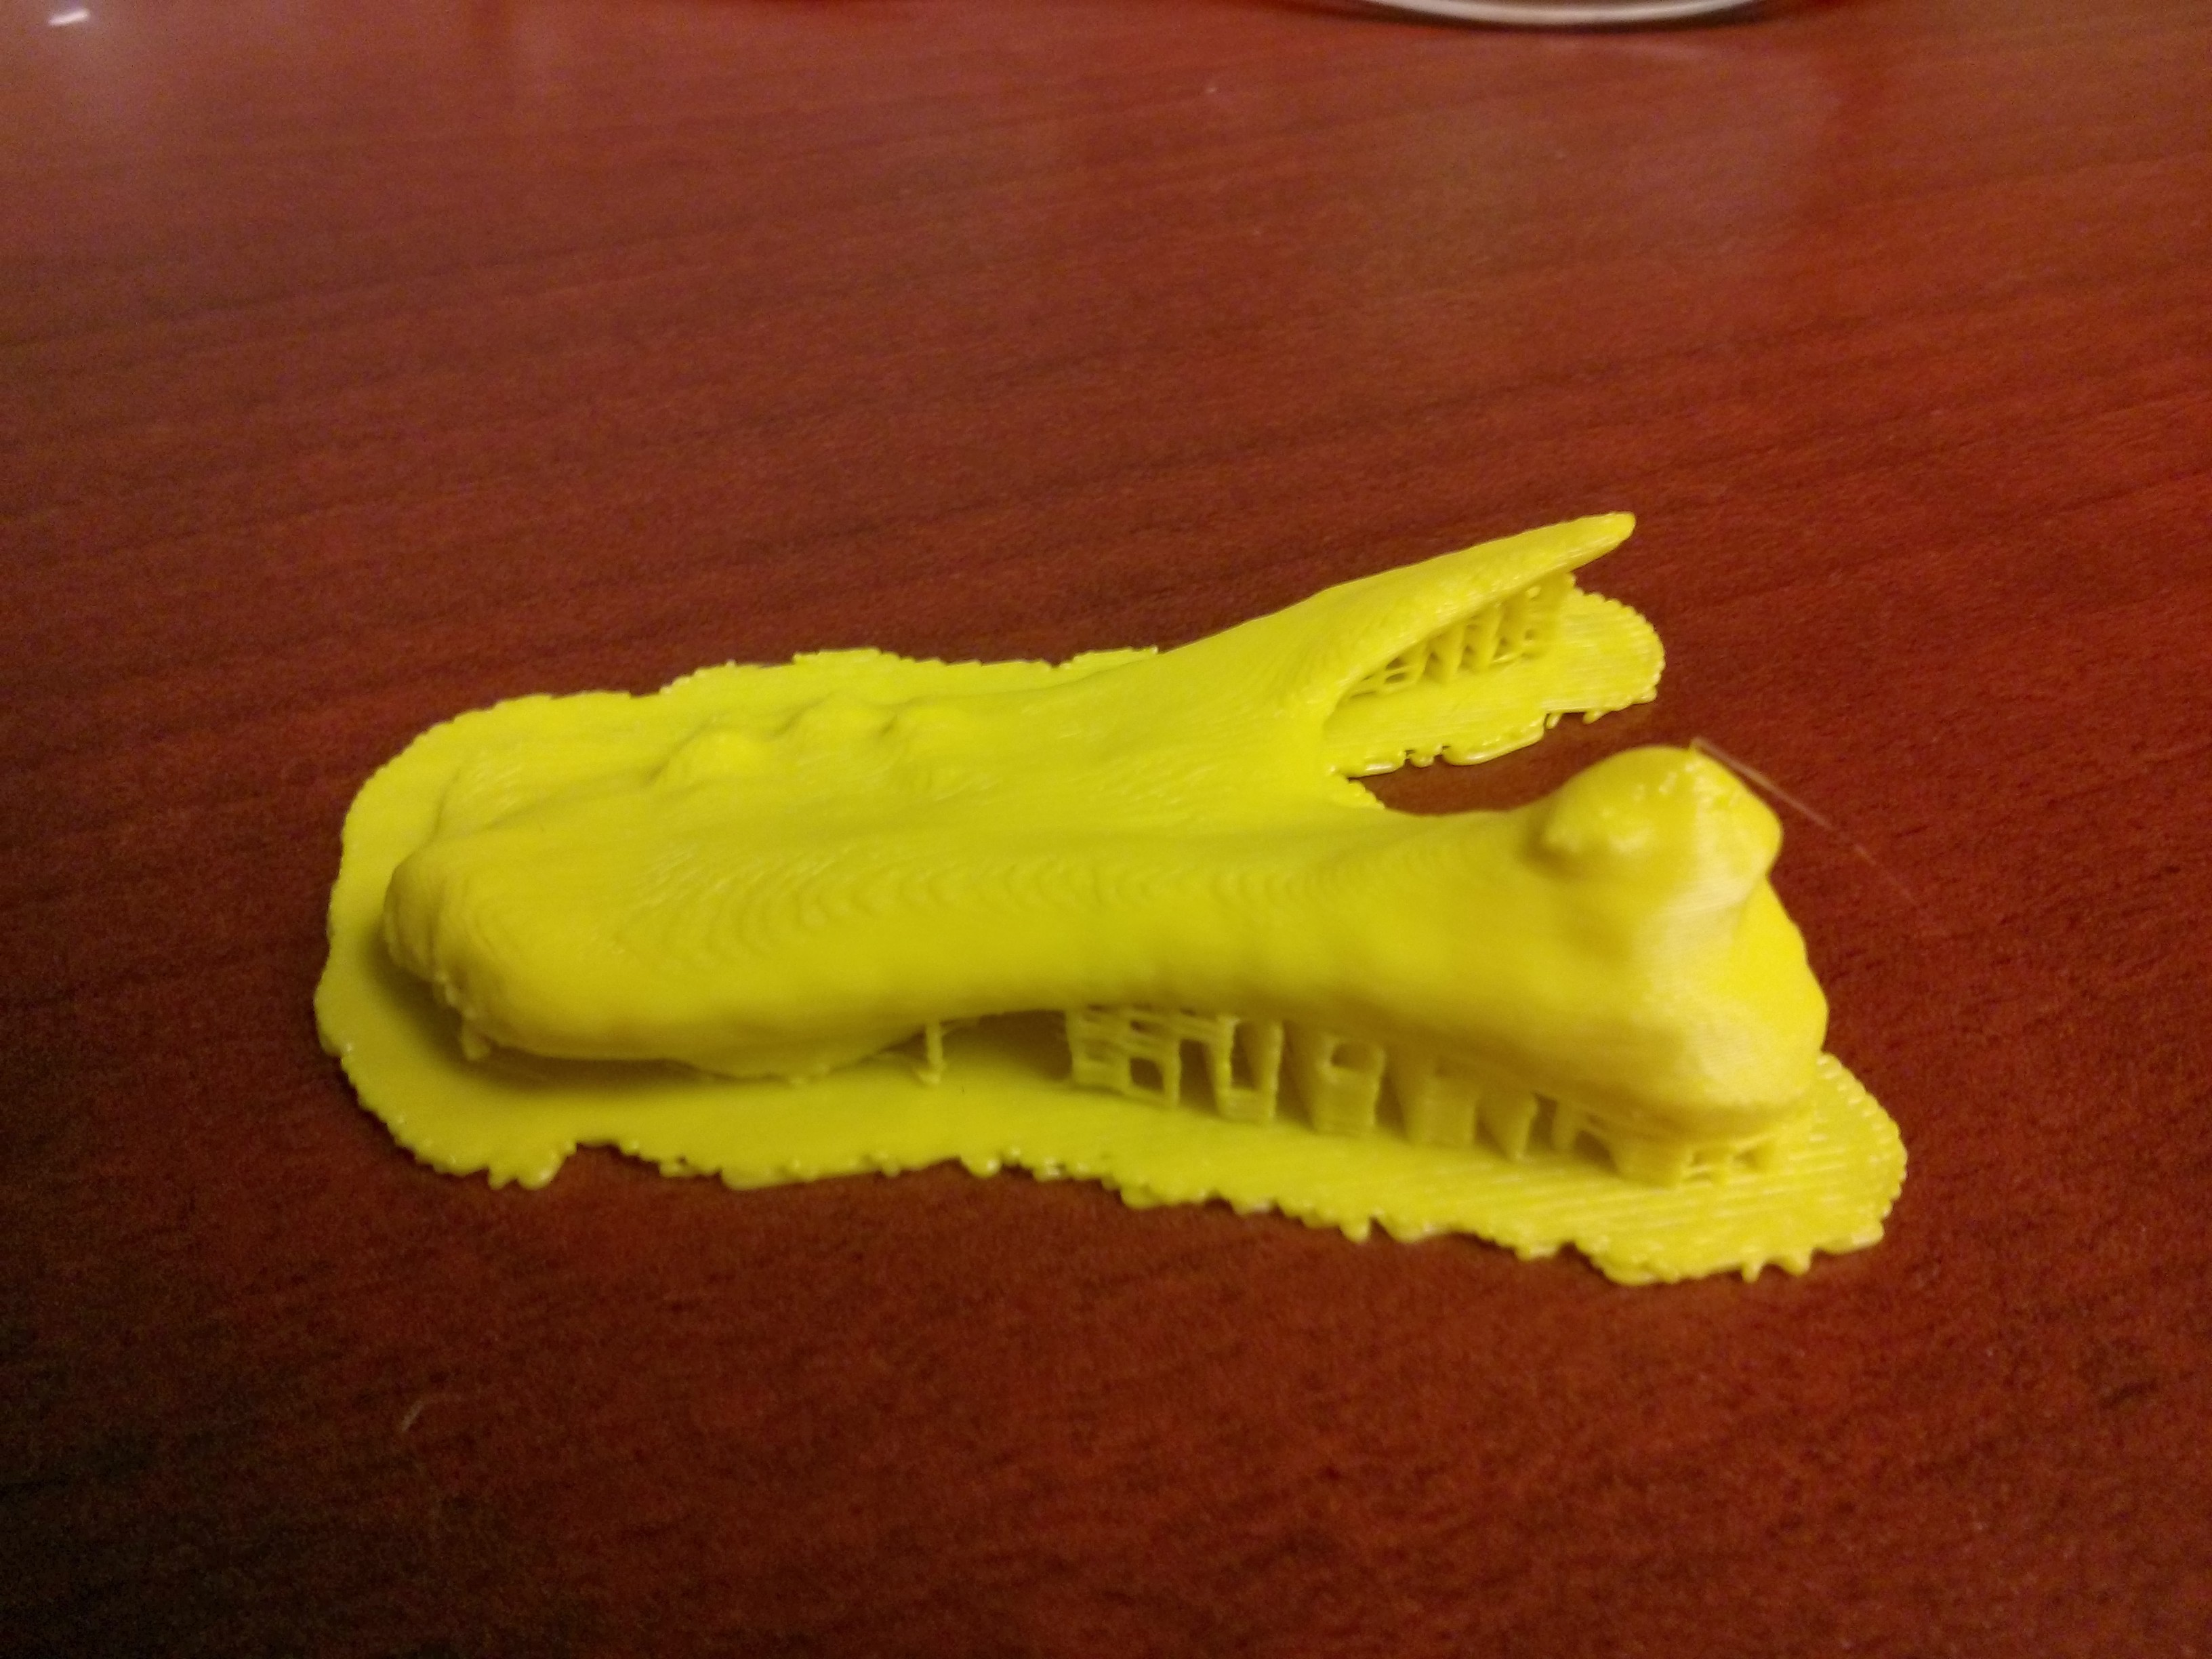
After 43 minutes,
 |
 |
 |
 |
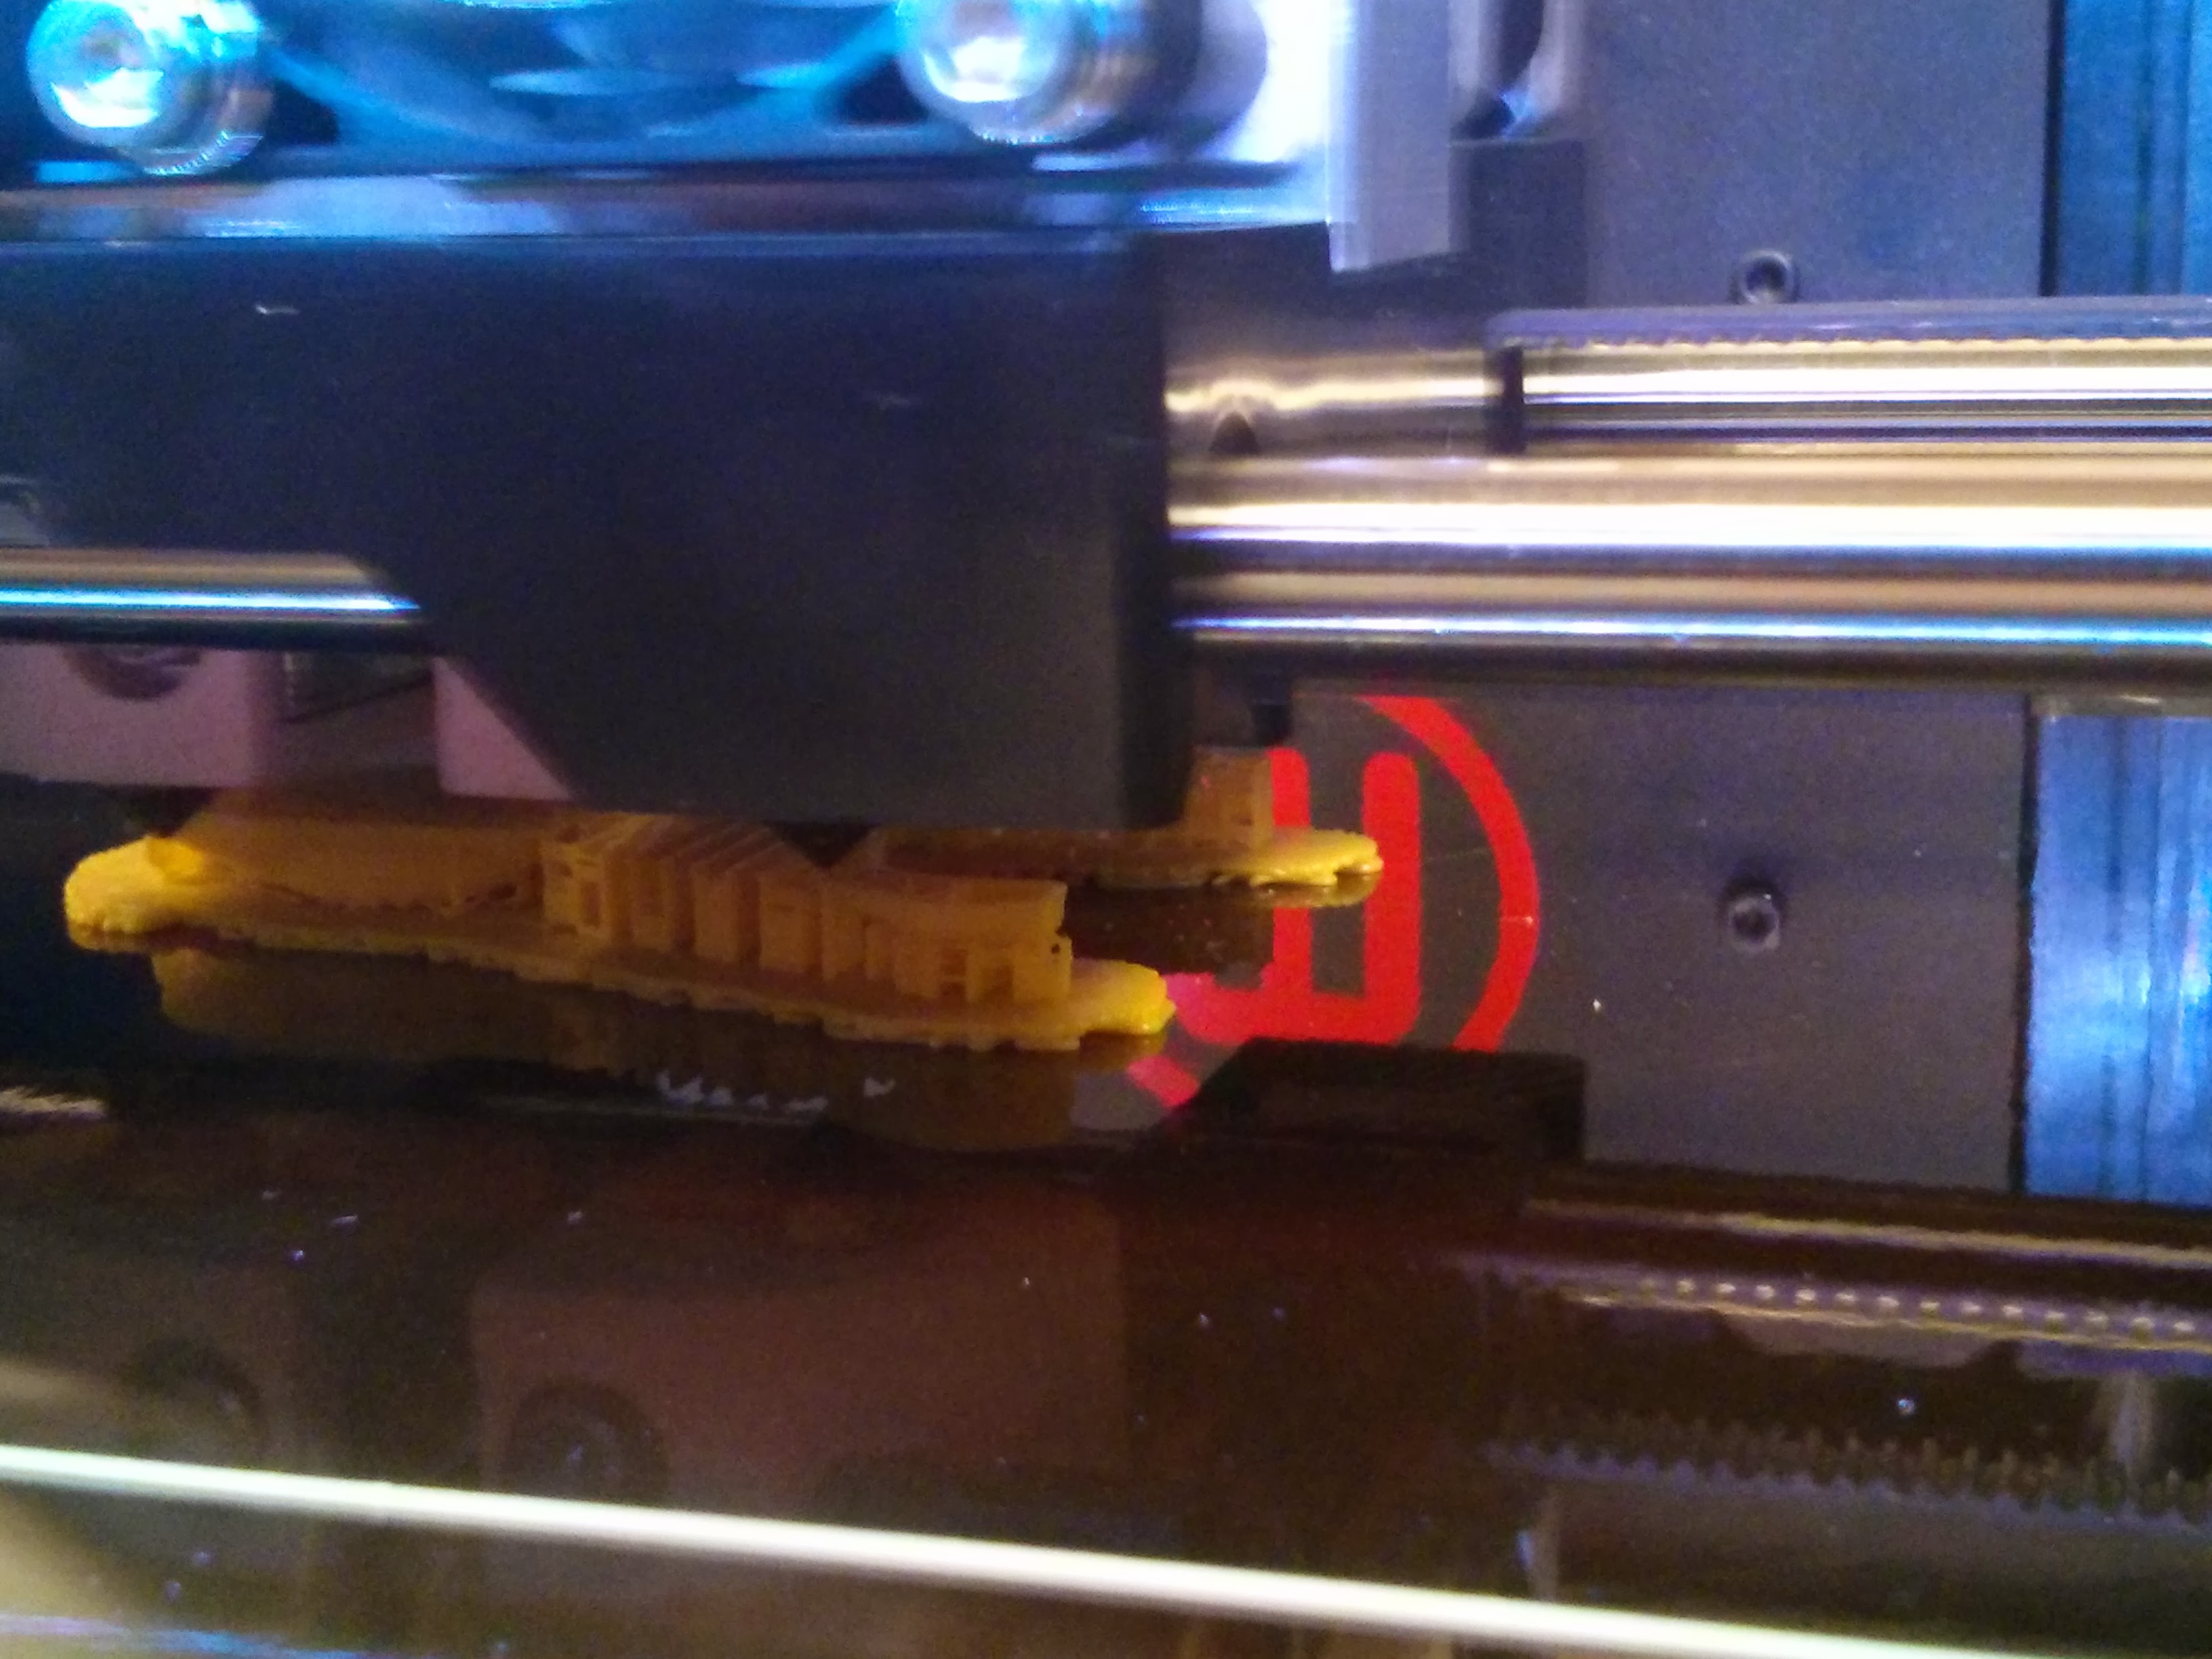
Let it Cool Down
It is easier to remove the model from the platform, after it has cool down for a while.
Interestingly, one of the best tools for removing the model, is a cooking spatula.
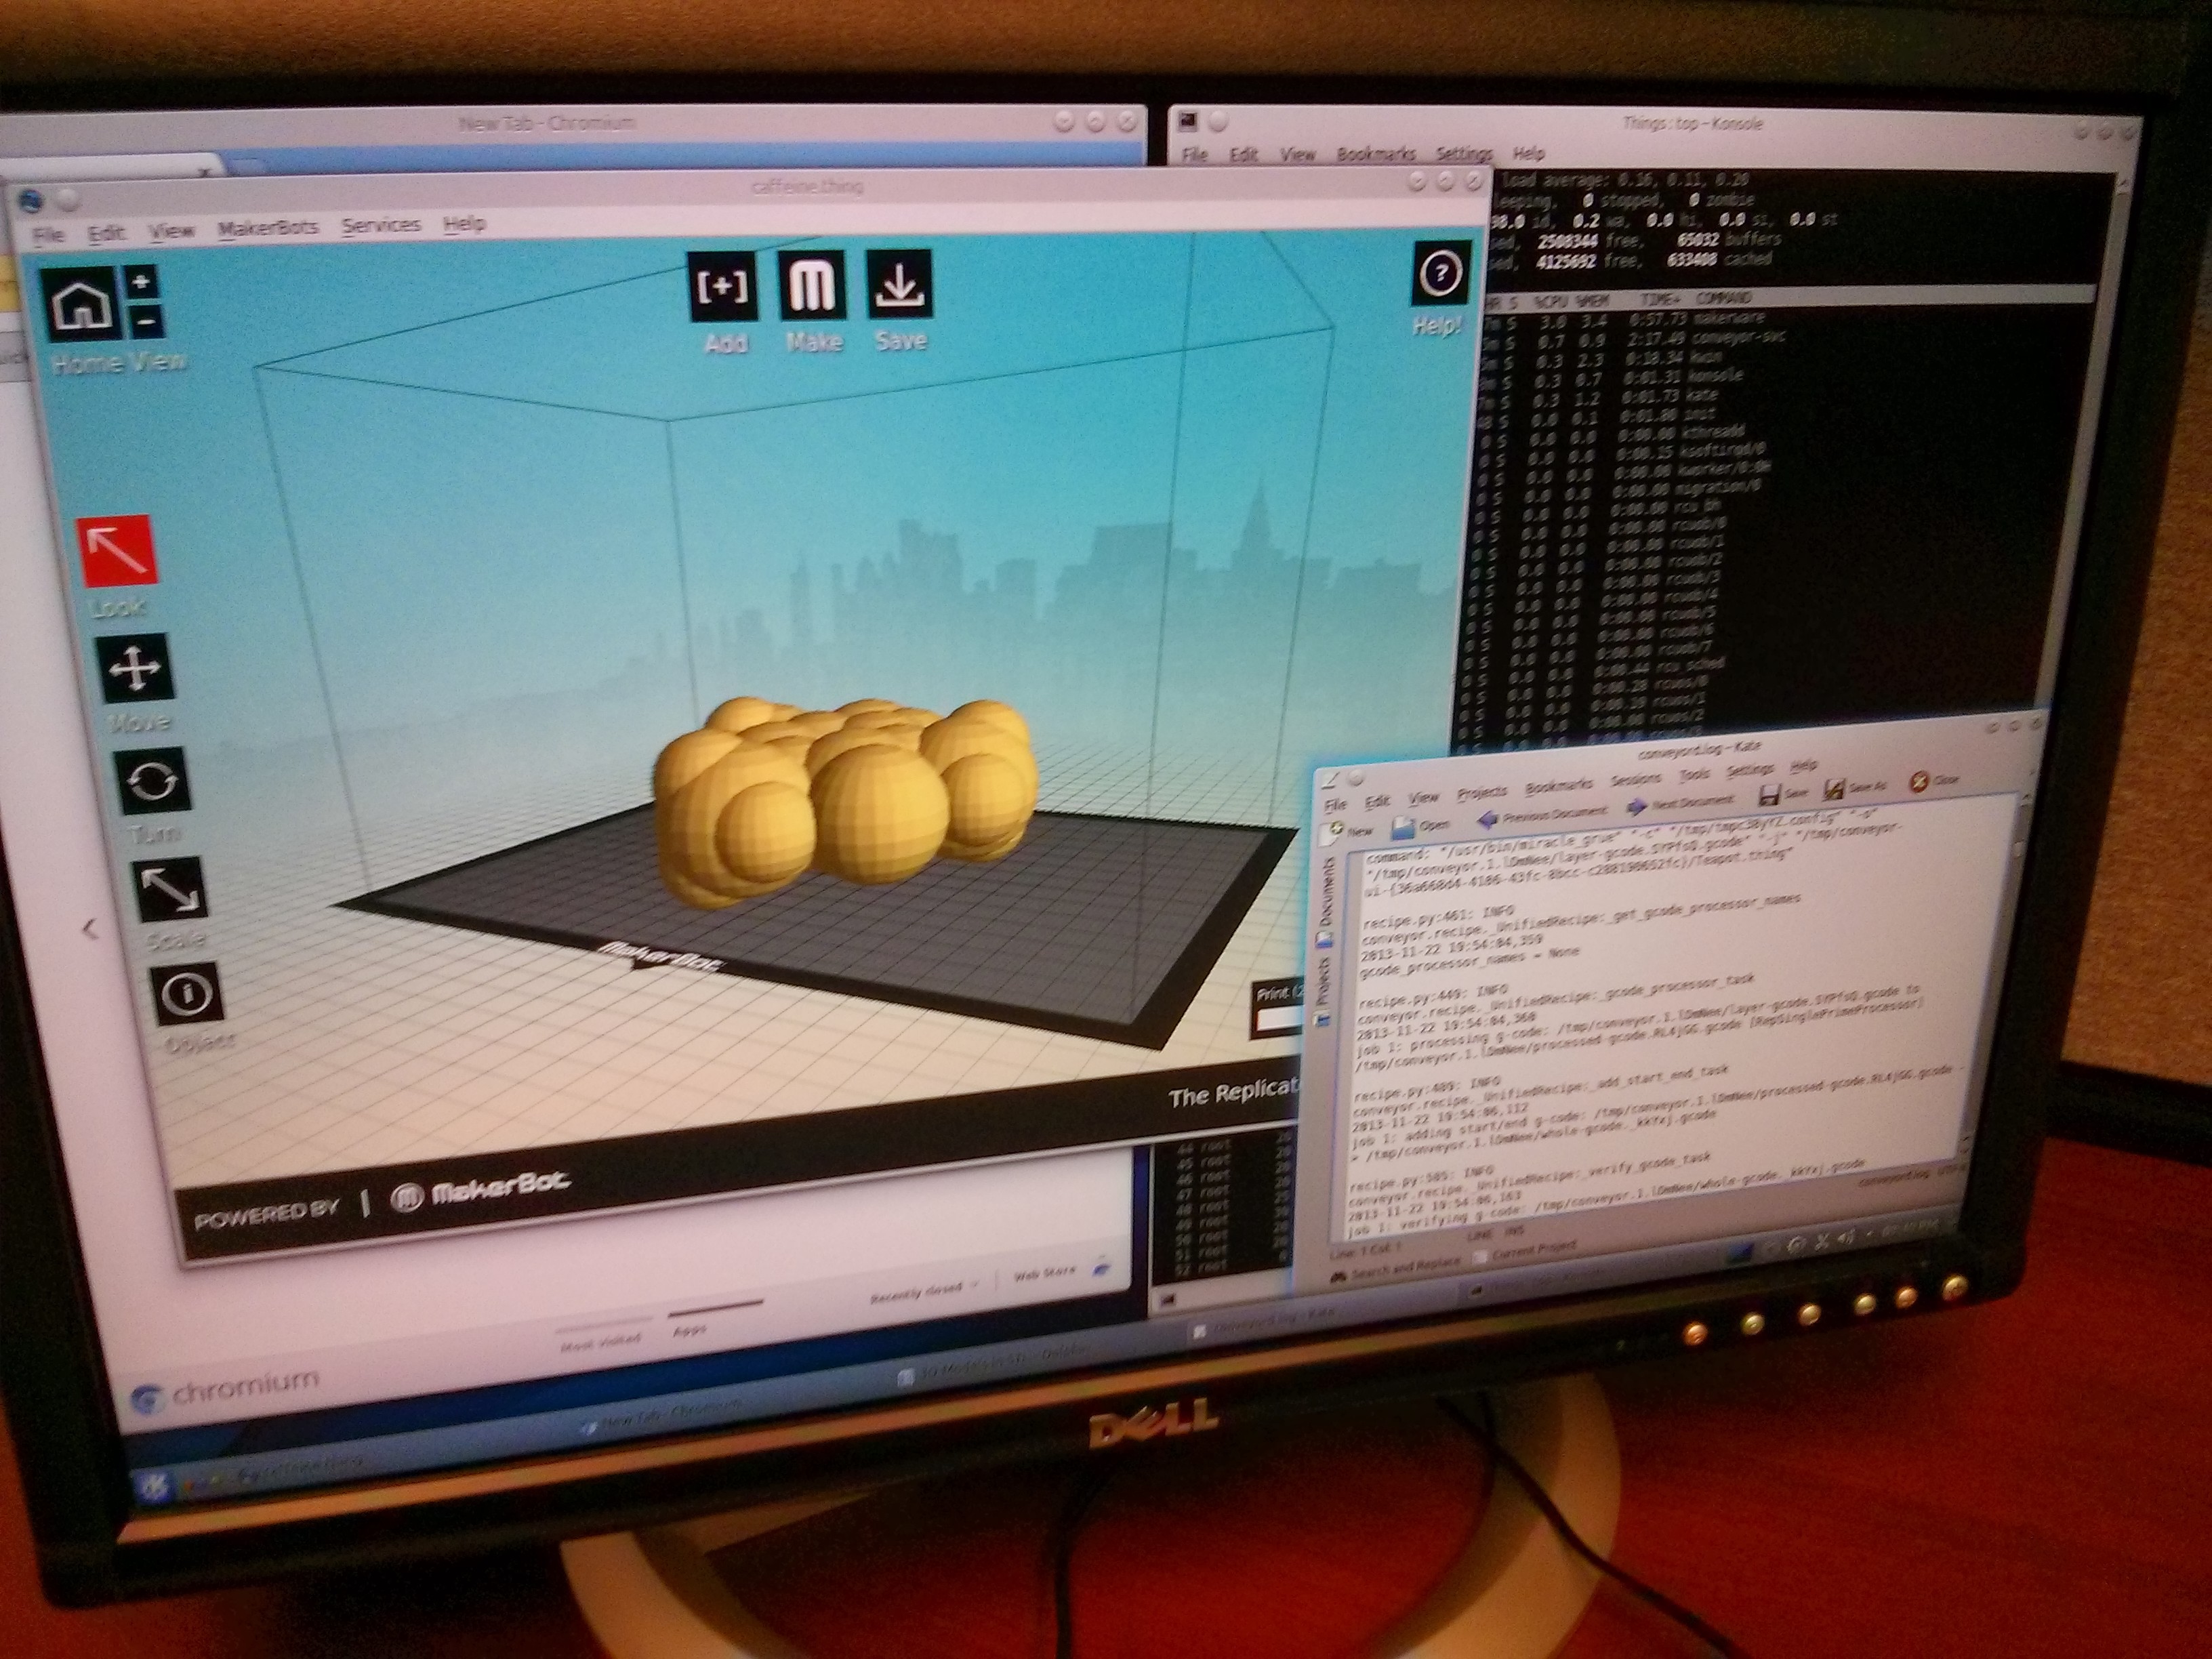
Thanks to Marcus Hanwell for sharing this finding.
It proved to be useful after he printed this rather large model of a caffeine molecule
 |
 |
 |
 |
 |
 |
…back to our bones…
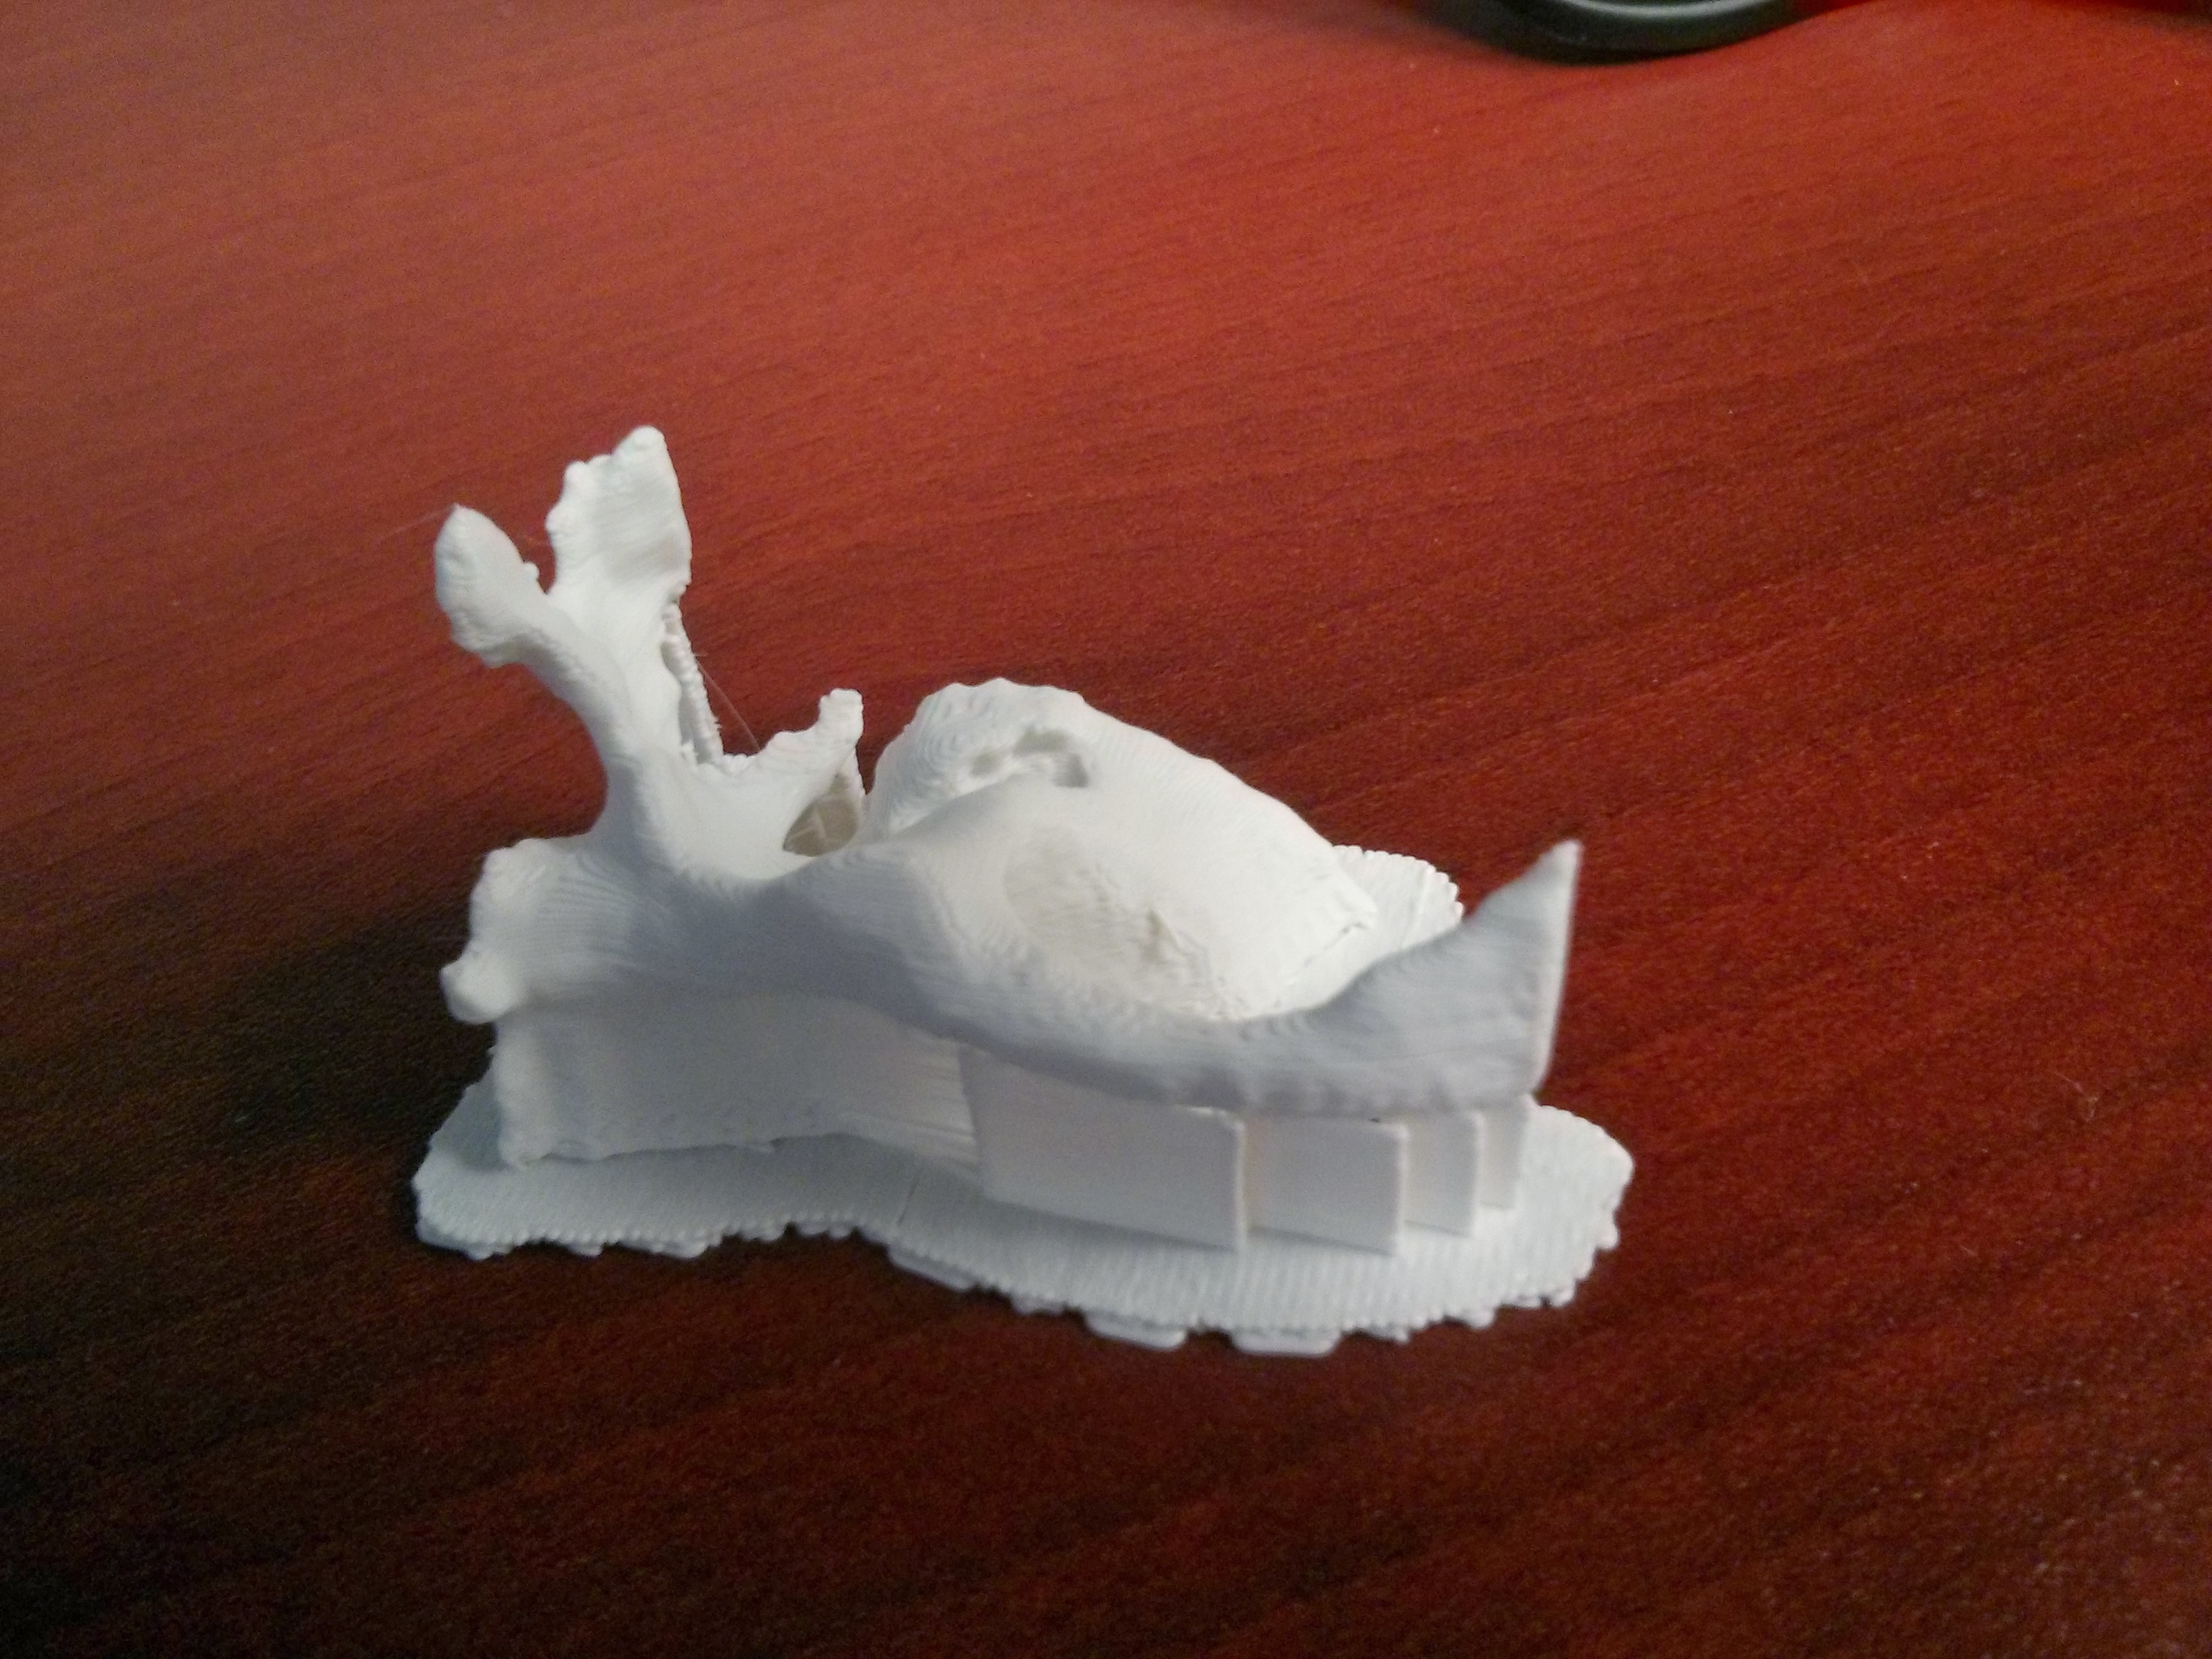
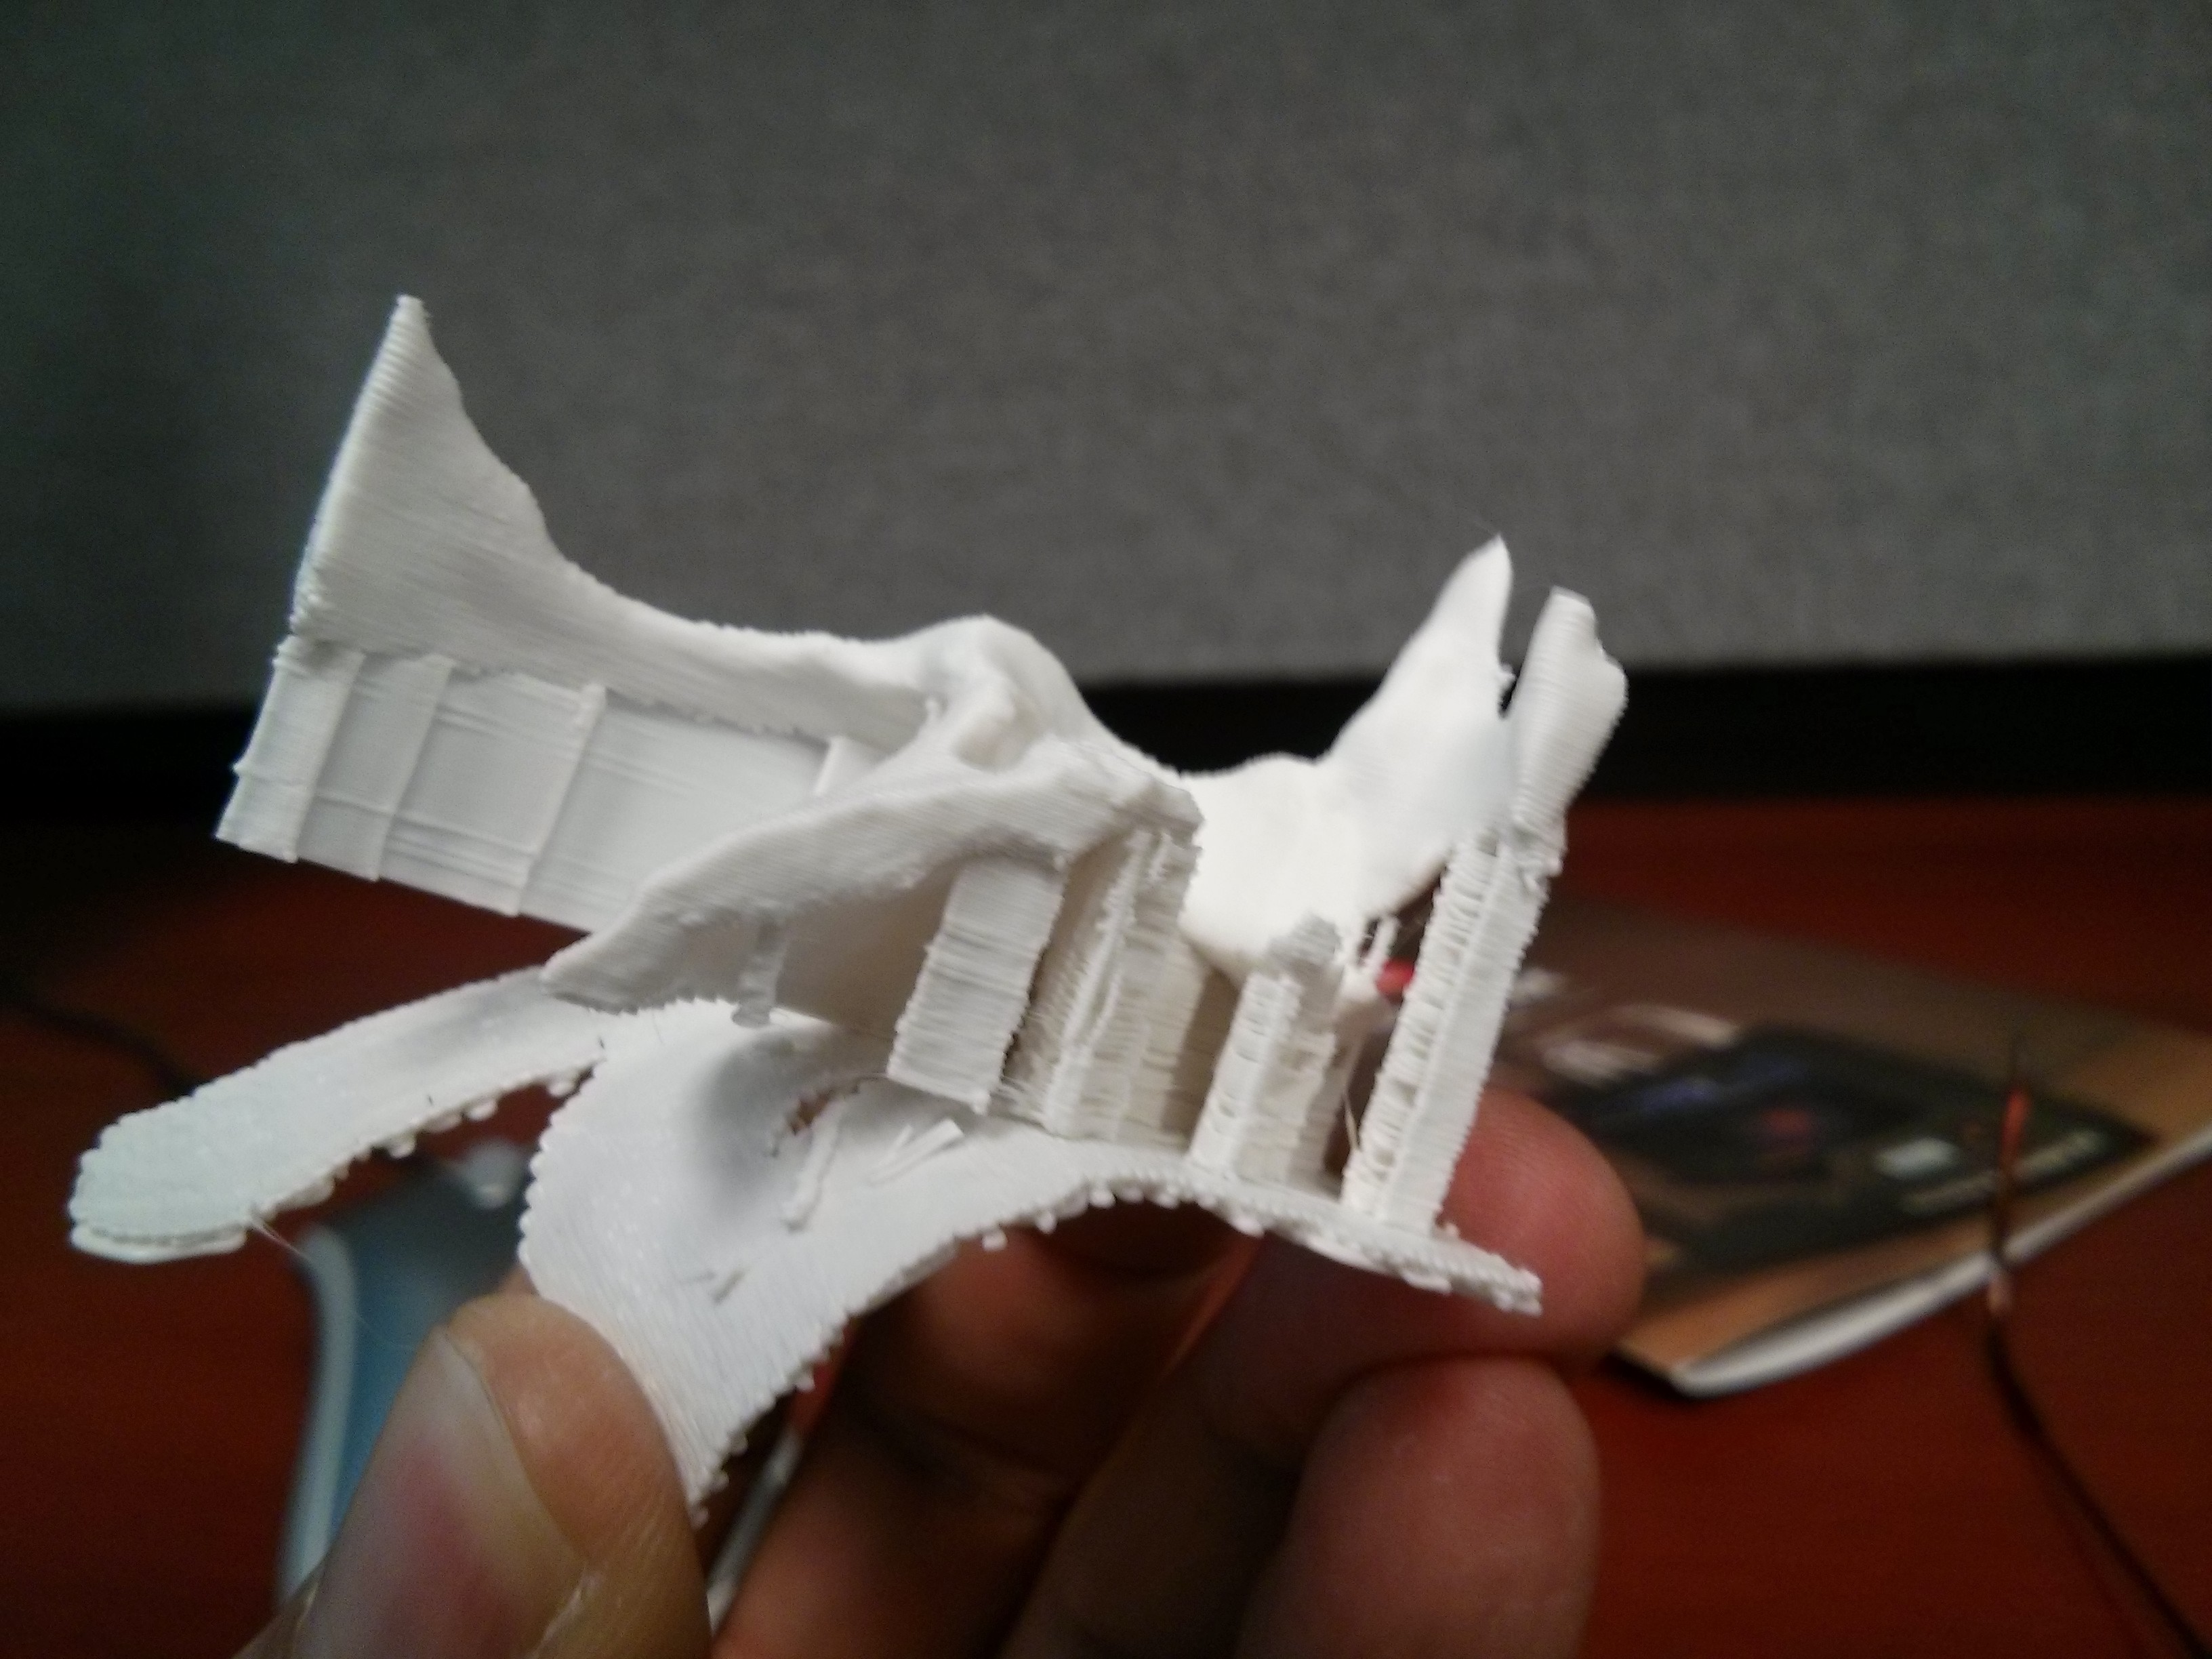
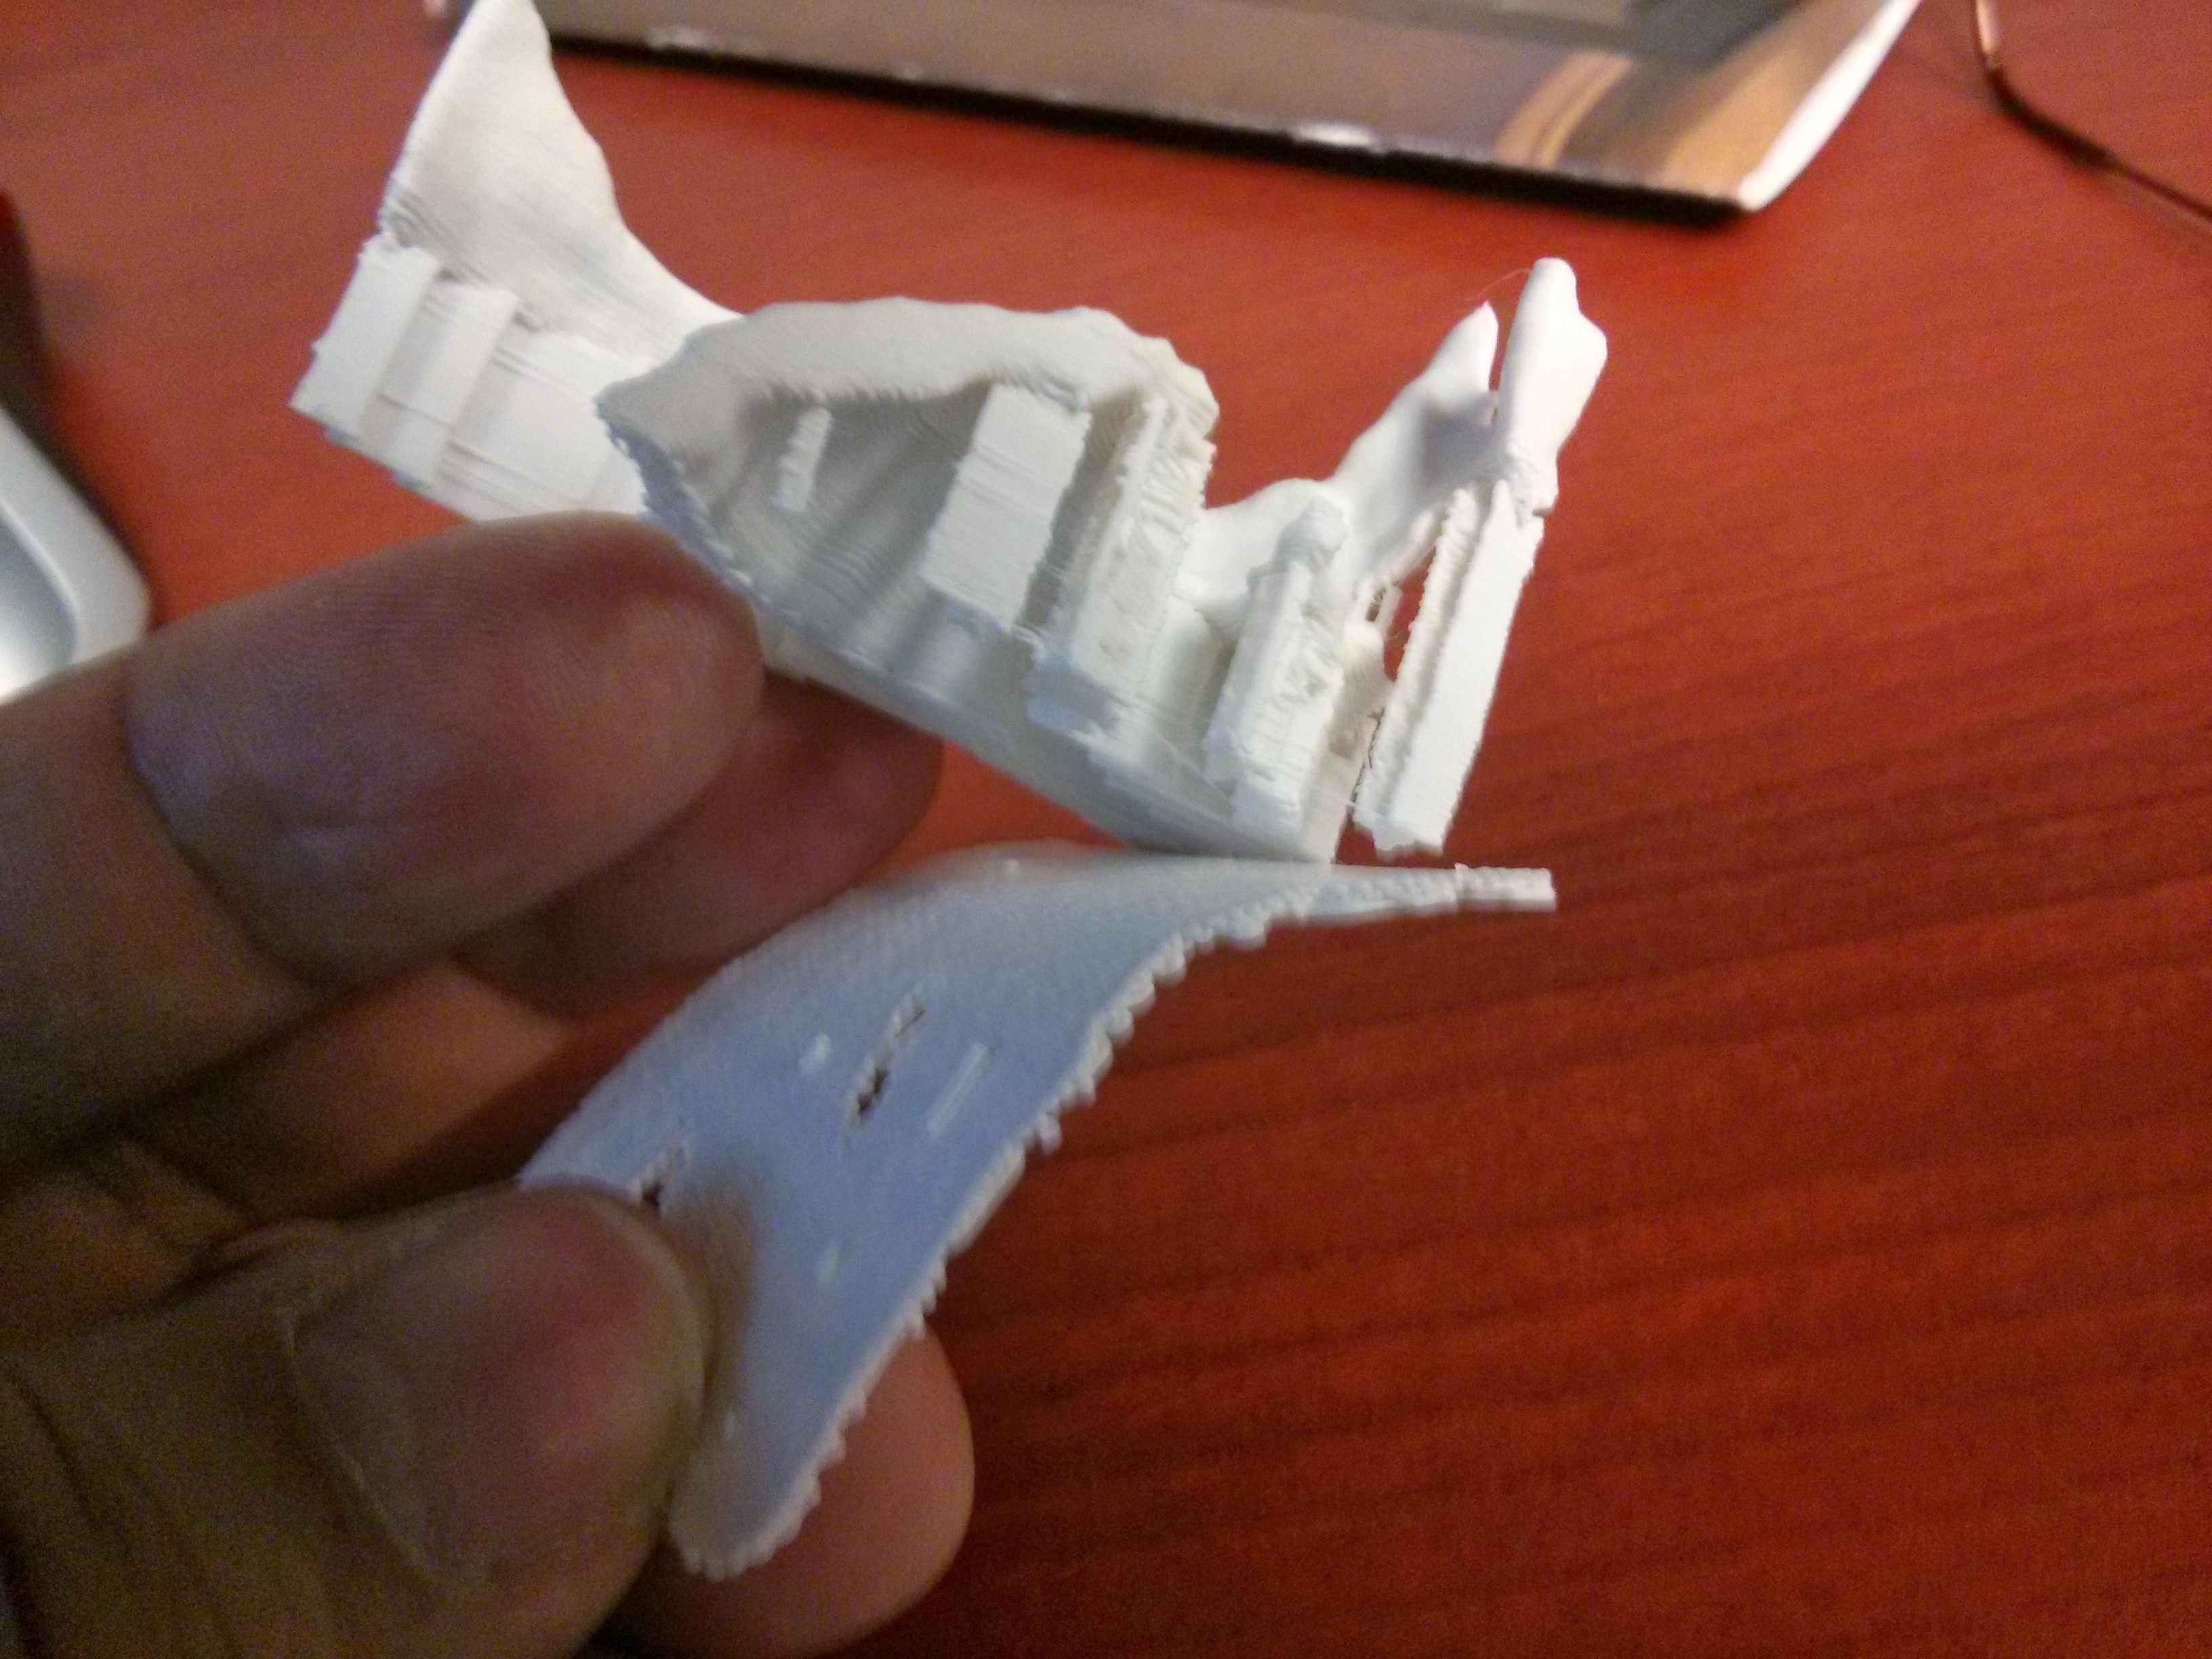
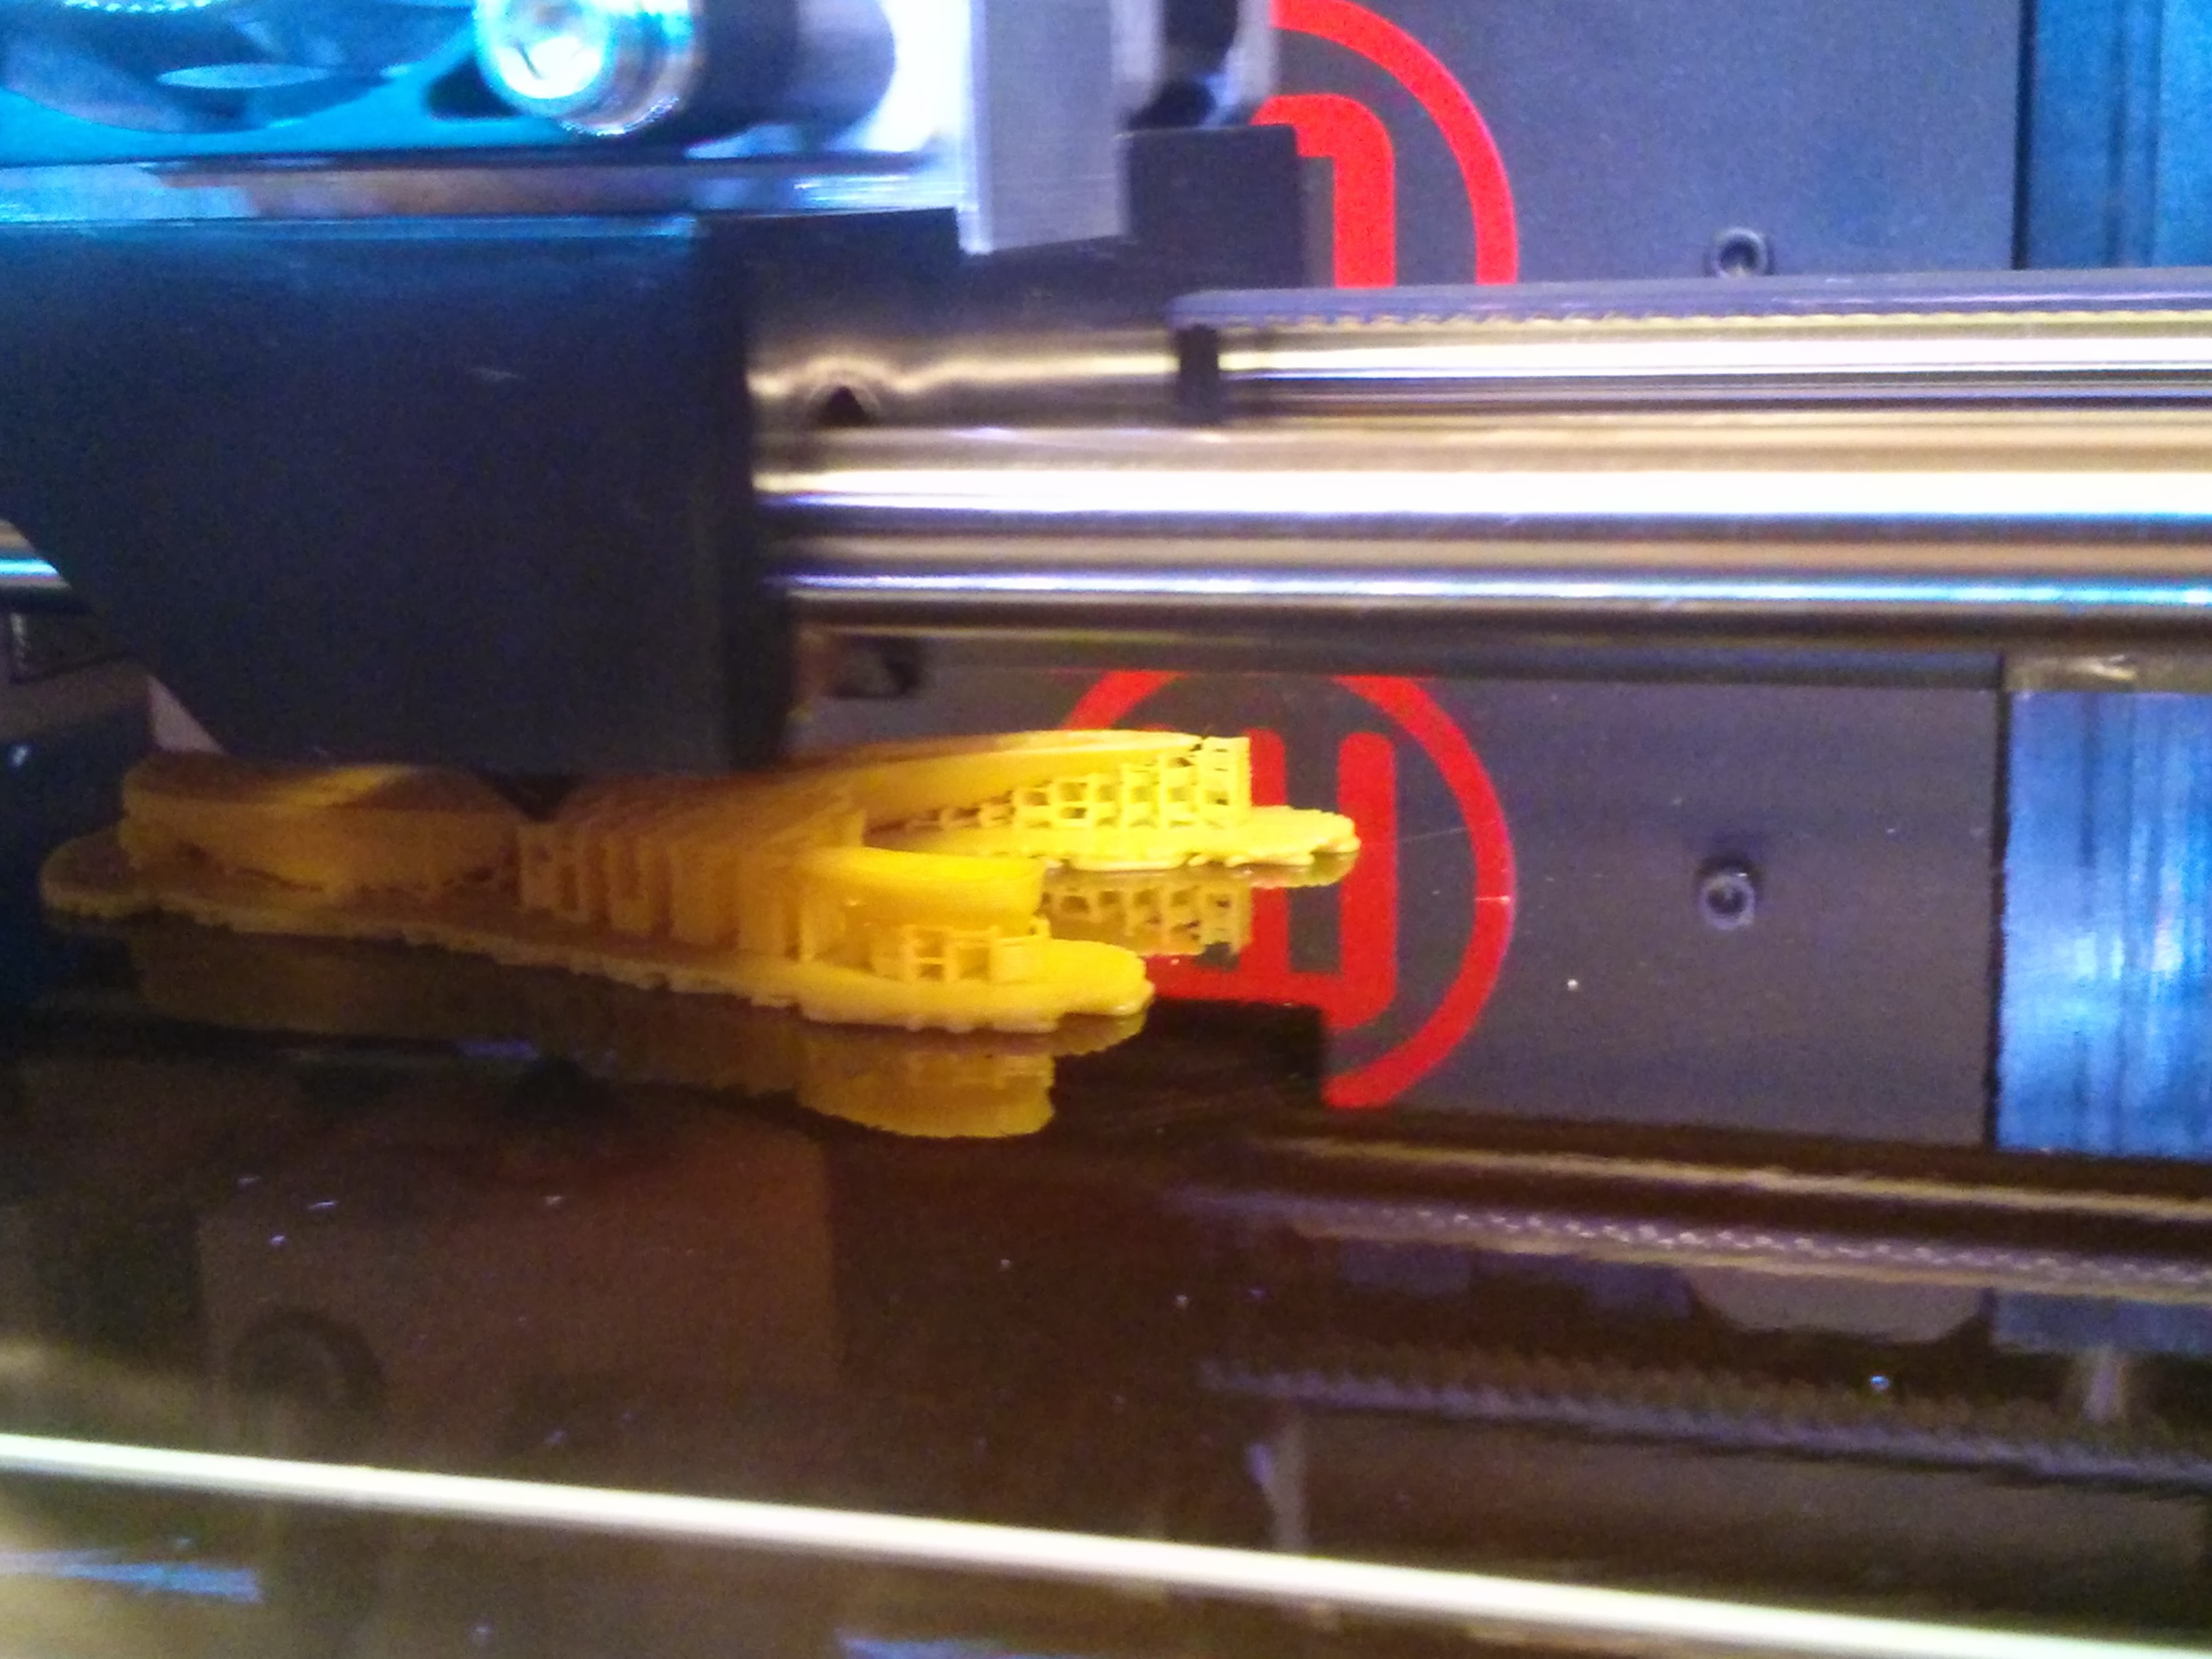
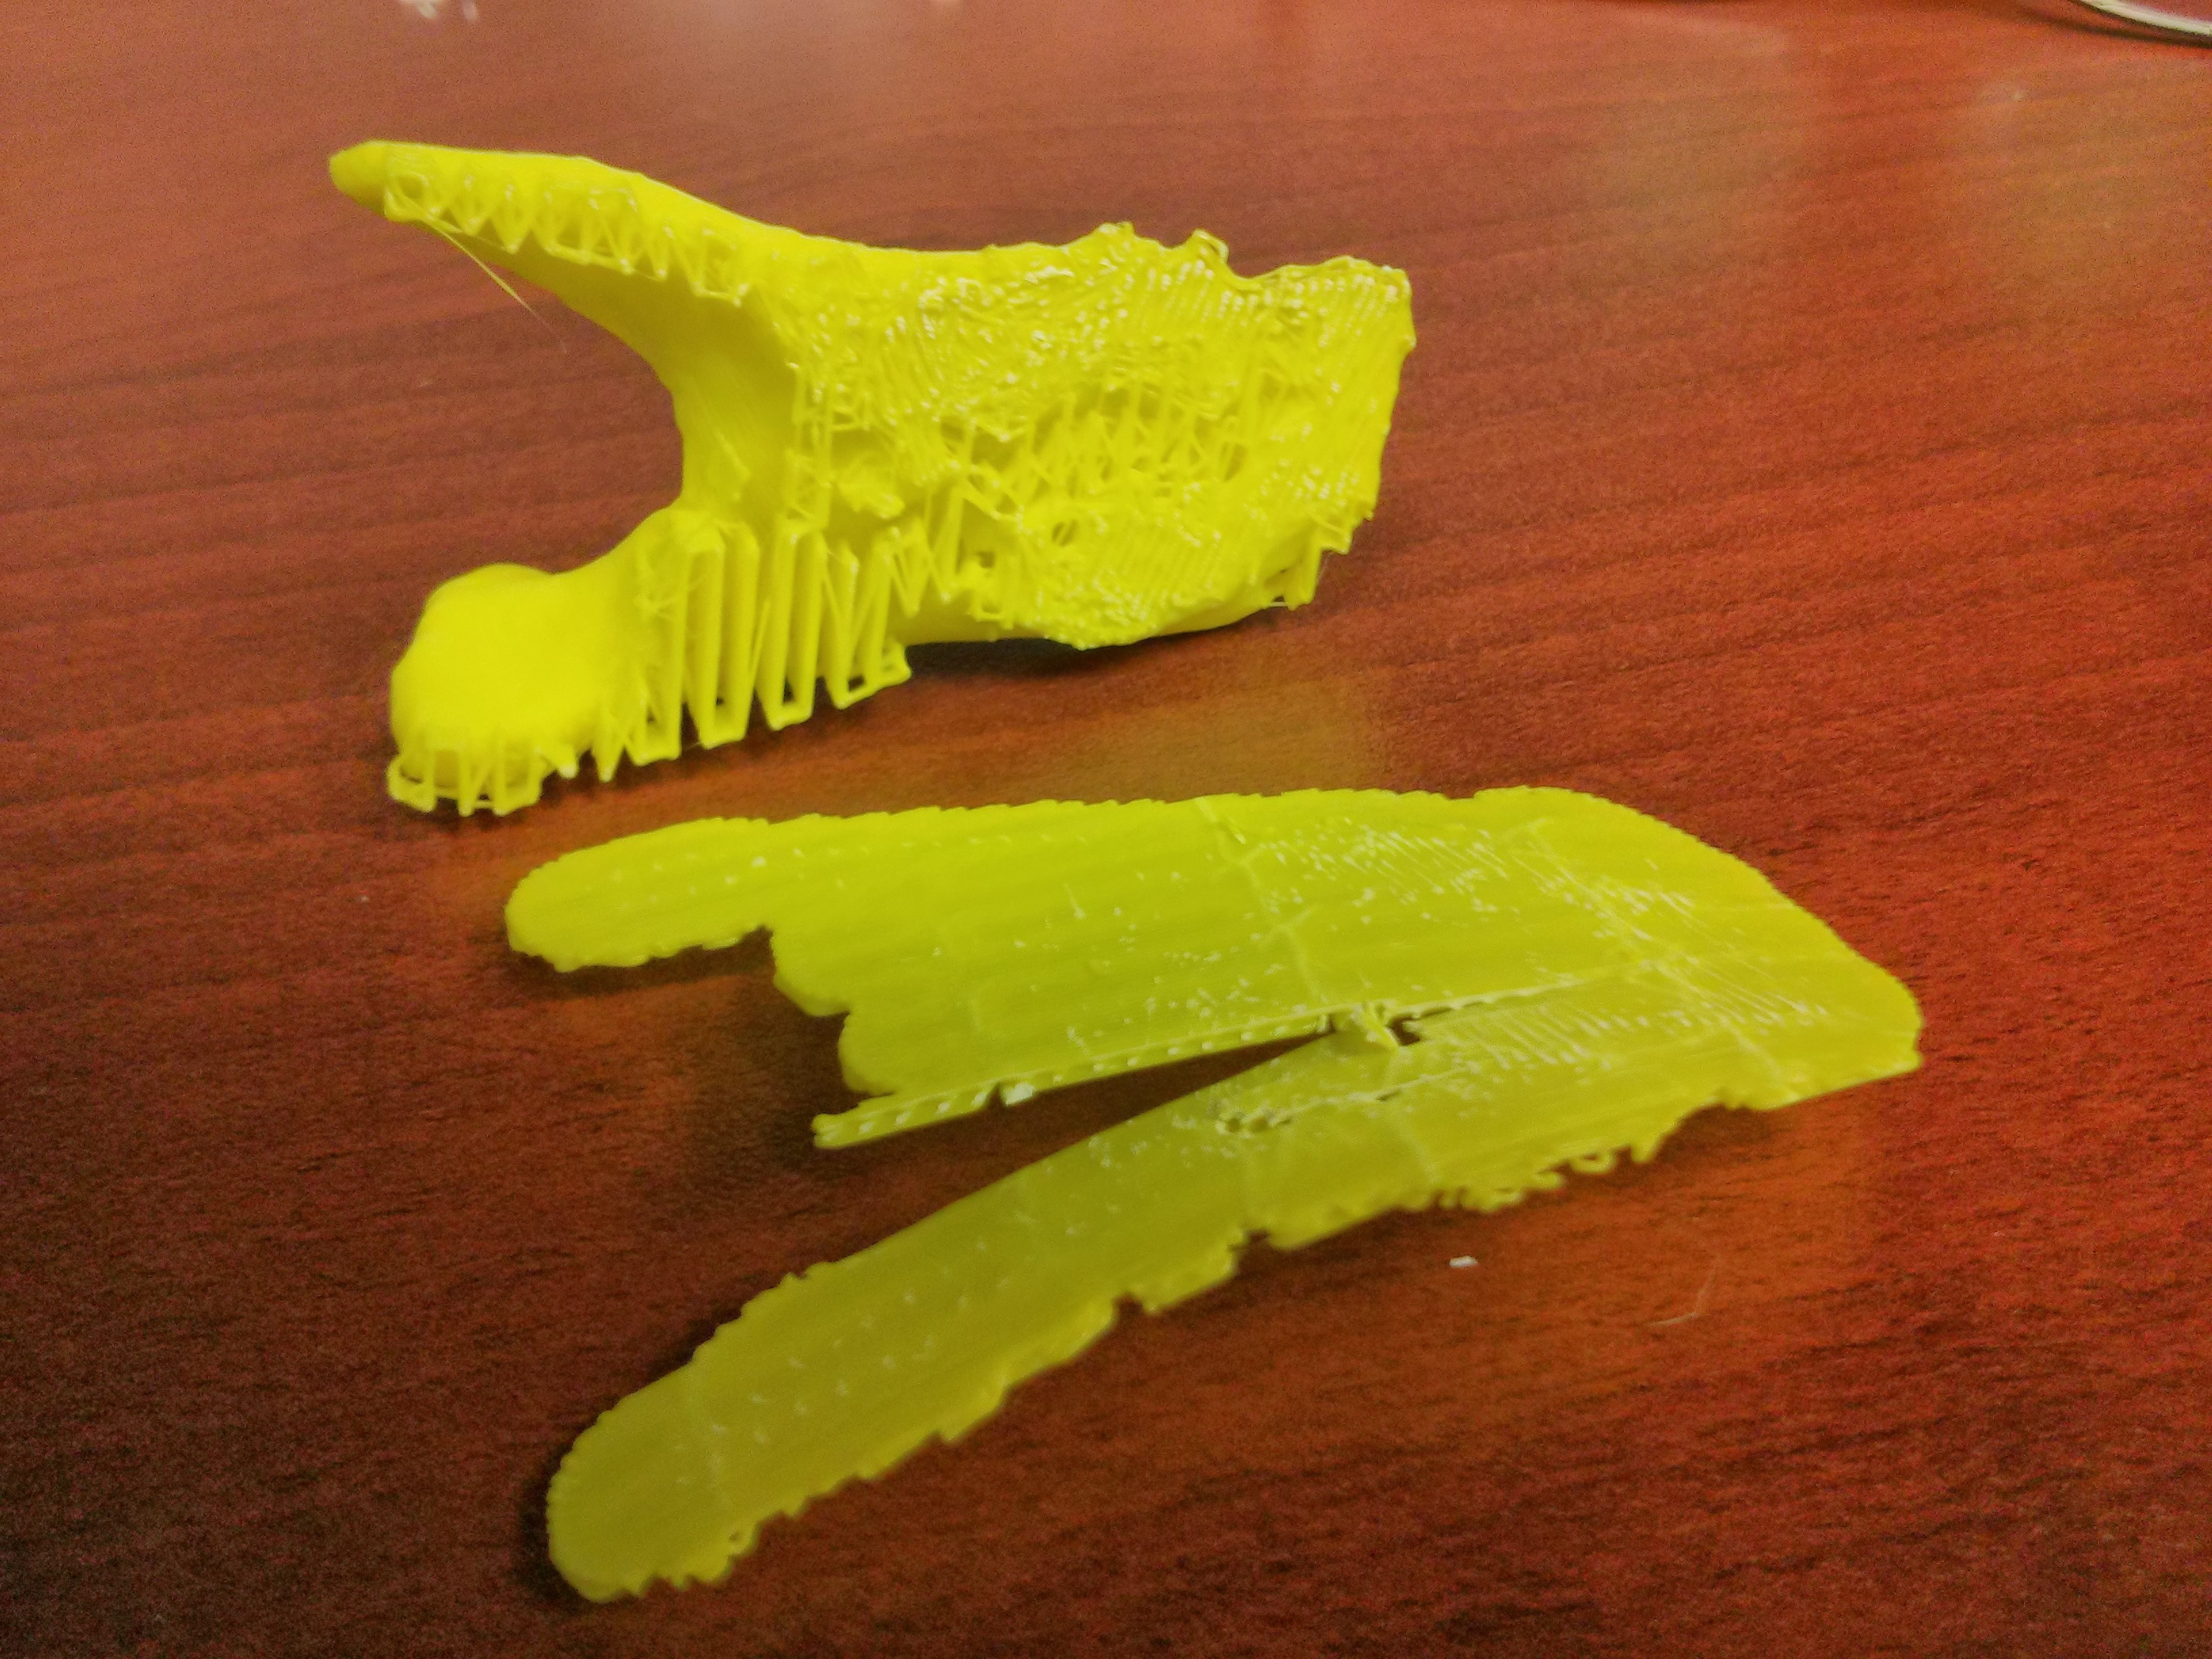
Remove the Raft and Supports
With the model removed from the platform, it is now time to remove the raft and the supports. The raft can be pulled in a similar way that a Velcro strip is removed, but with a need to apply more force, and at a slower pace.
 |
 |
 |
 |
 |
 |
 |
 |
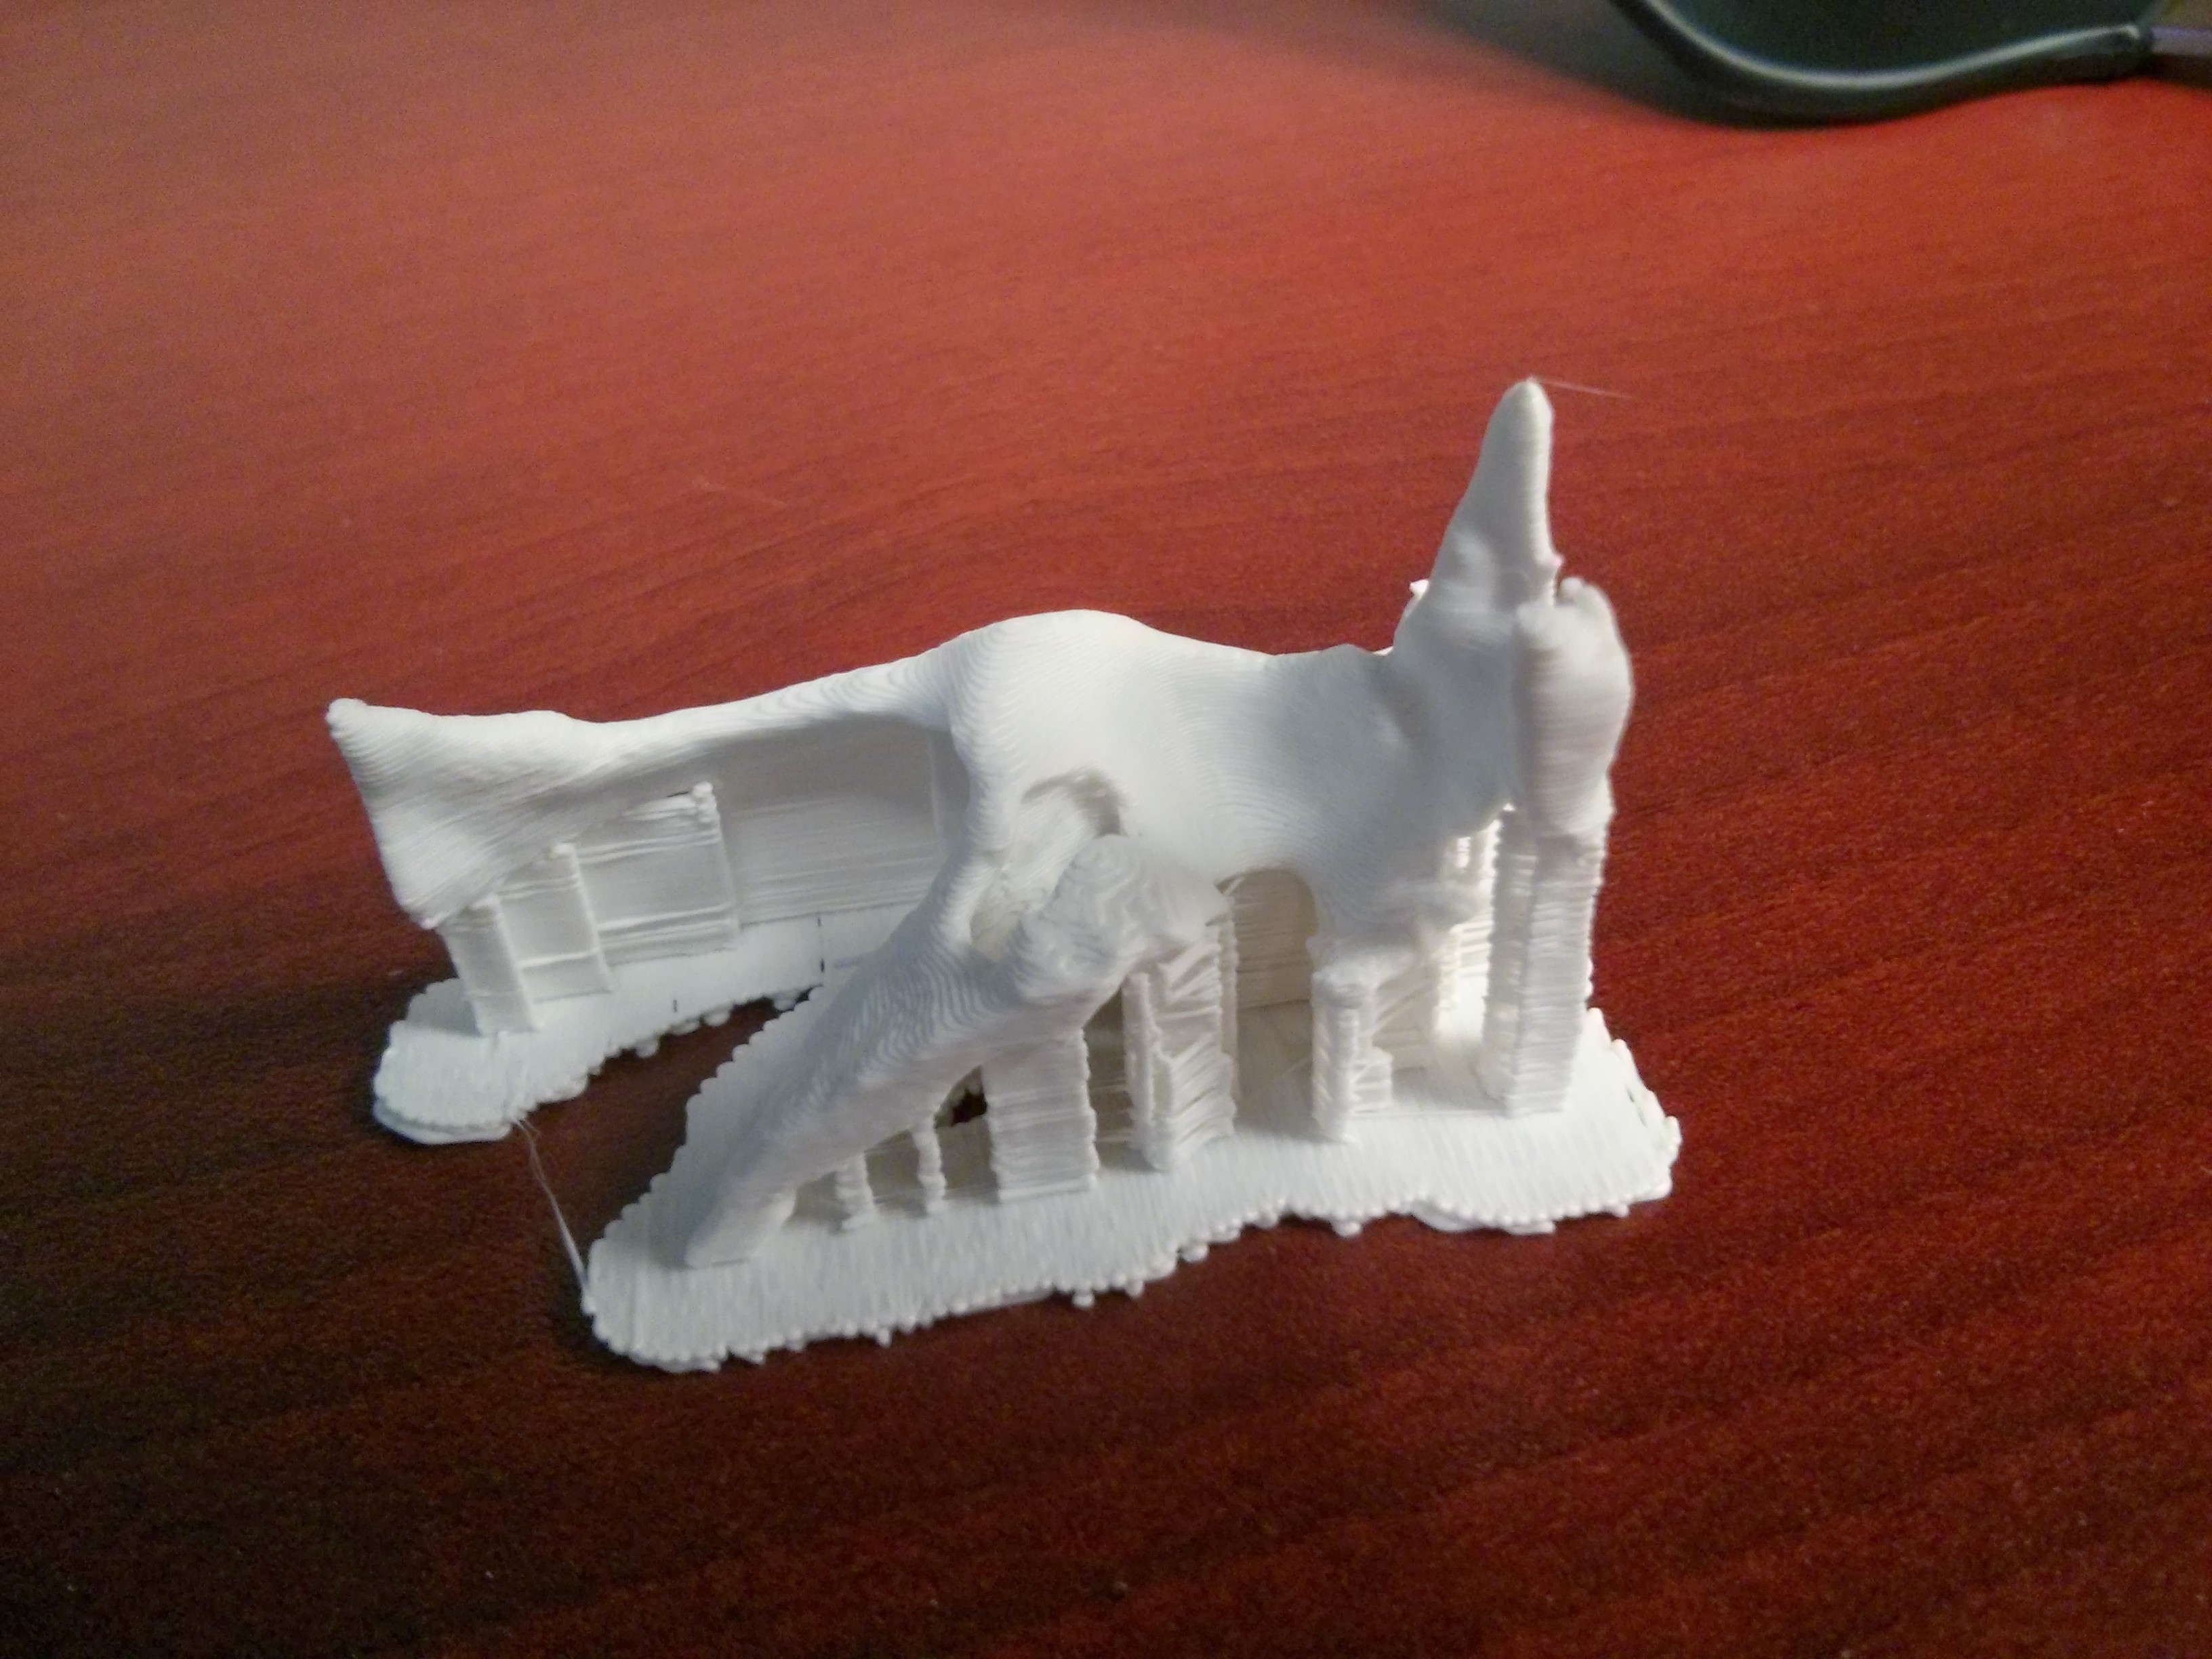
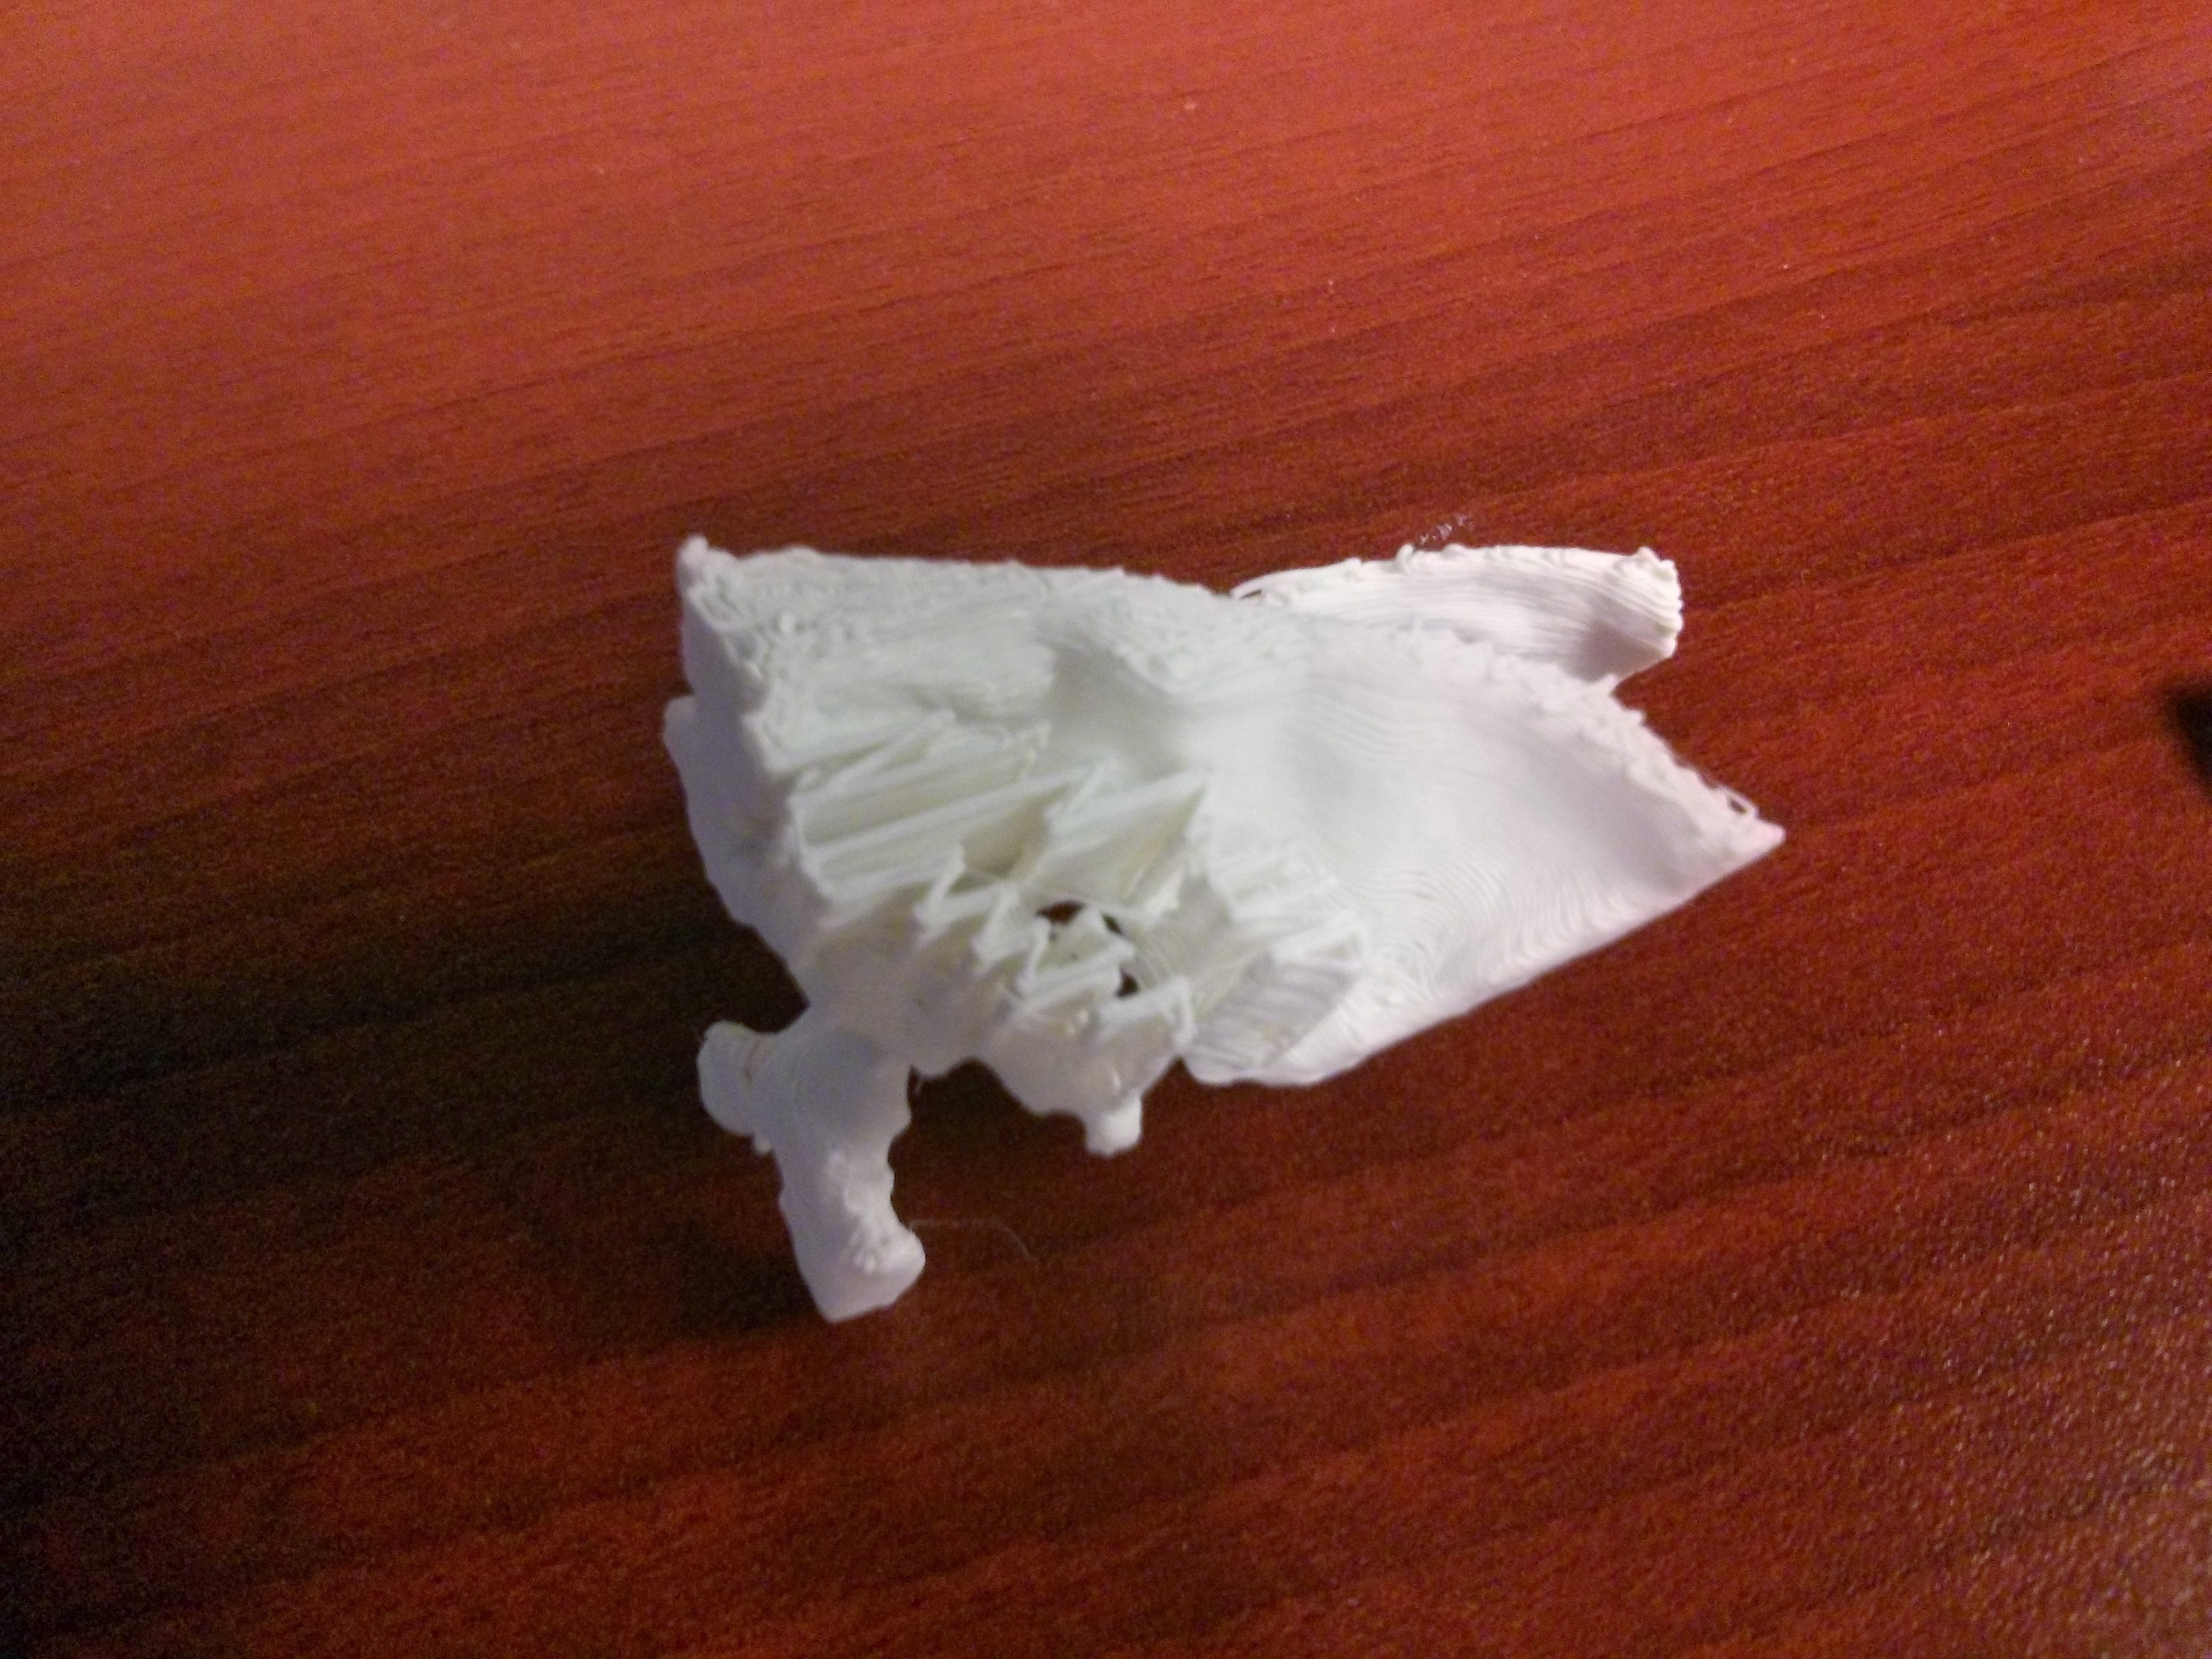
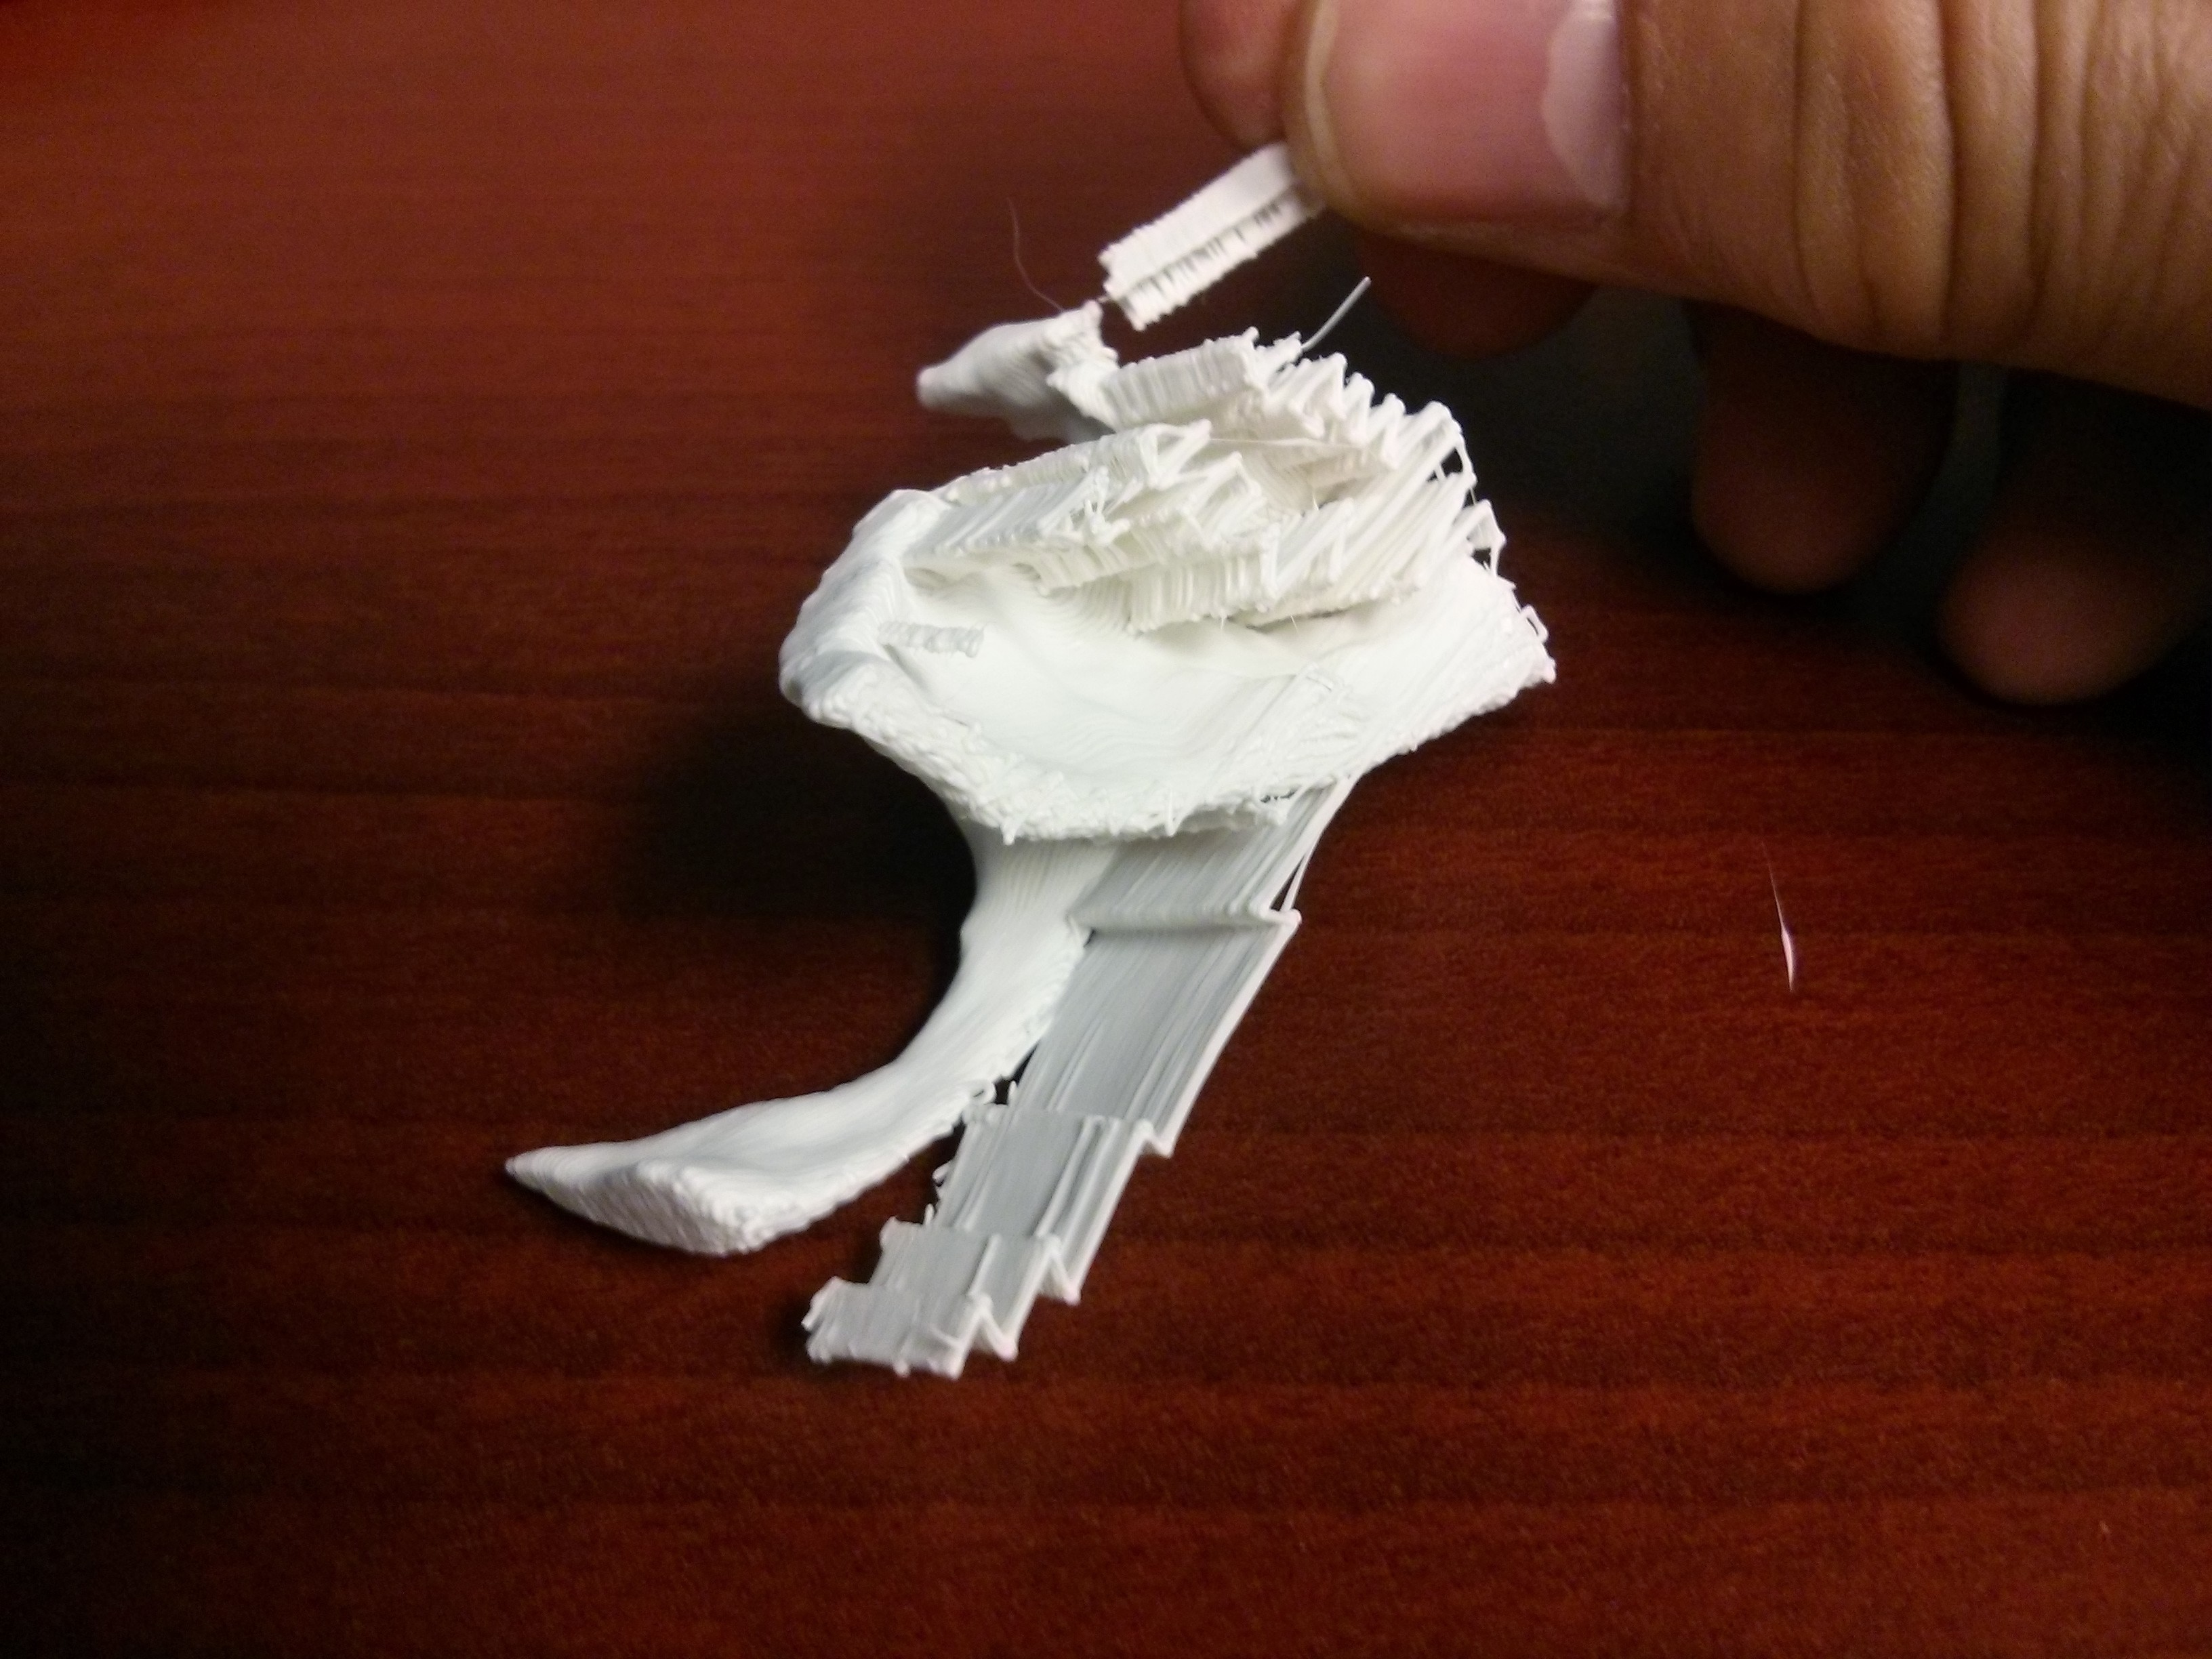
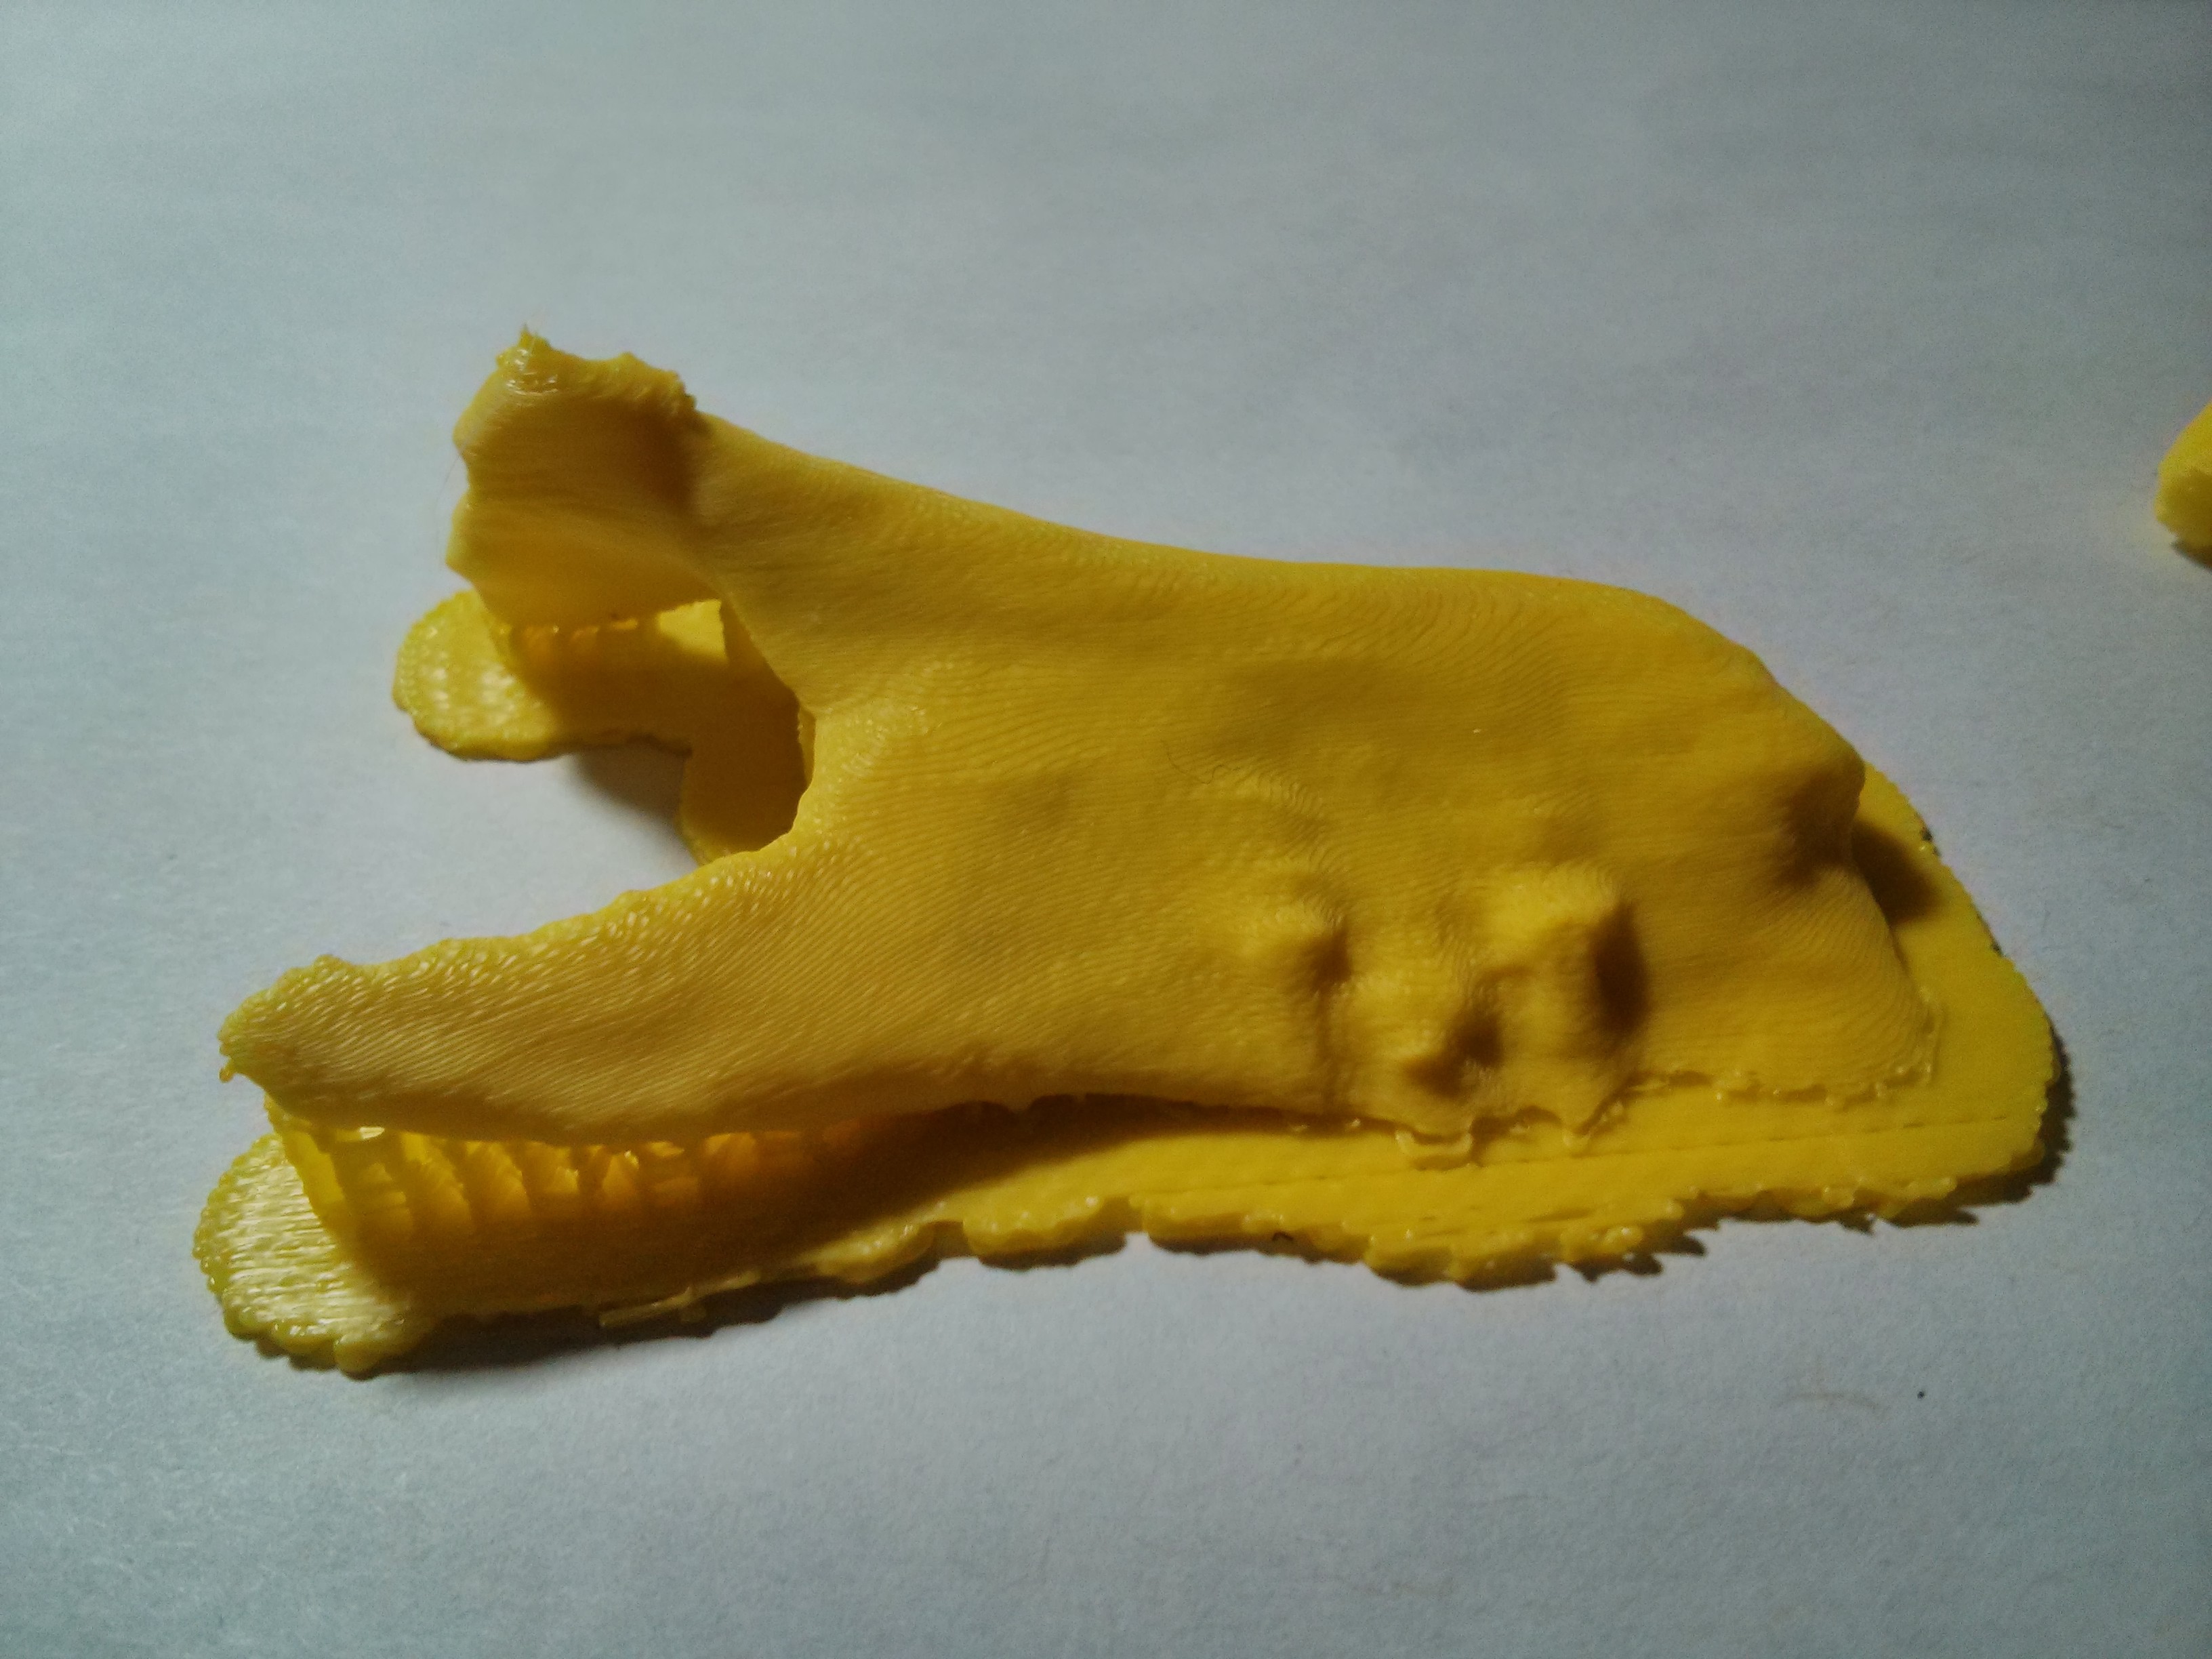
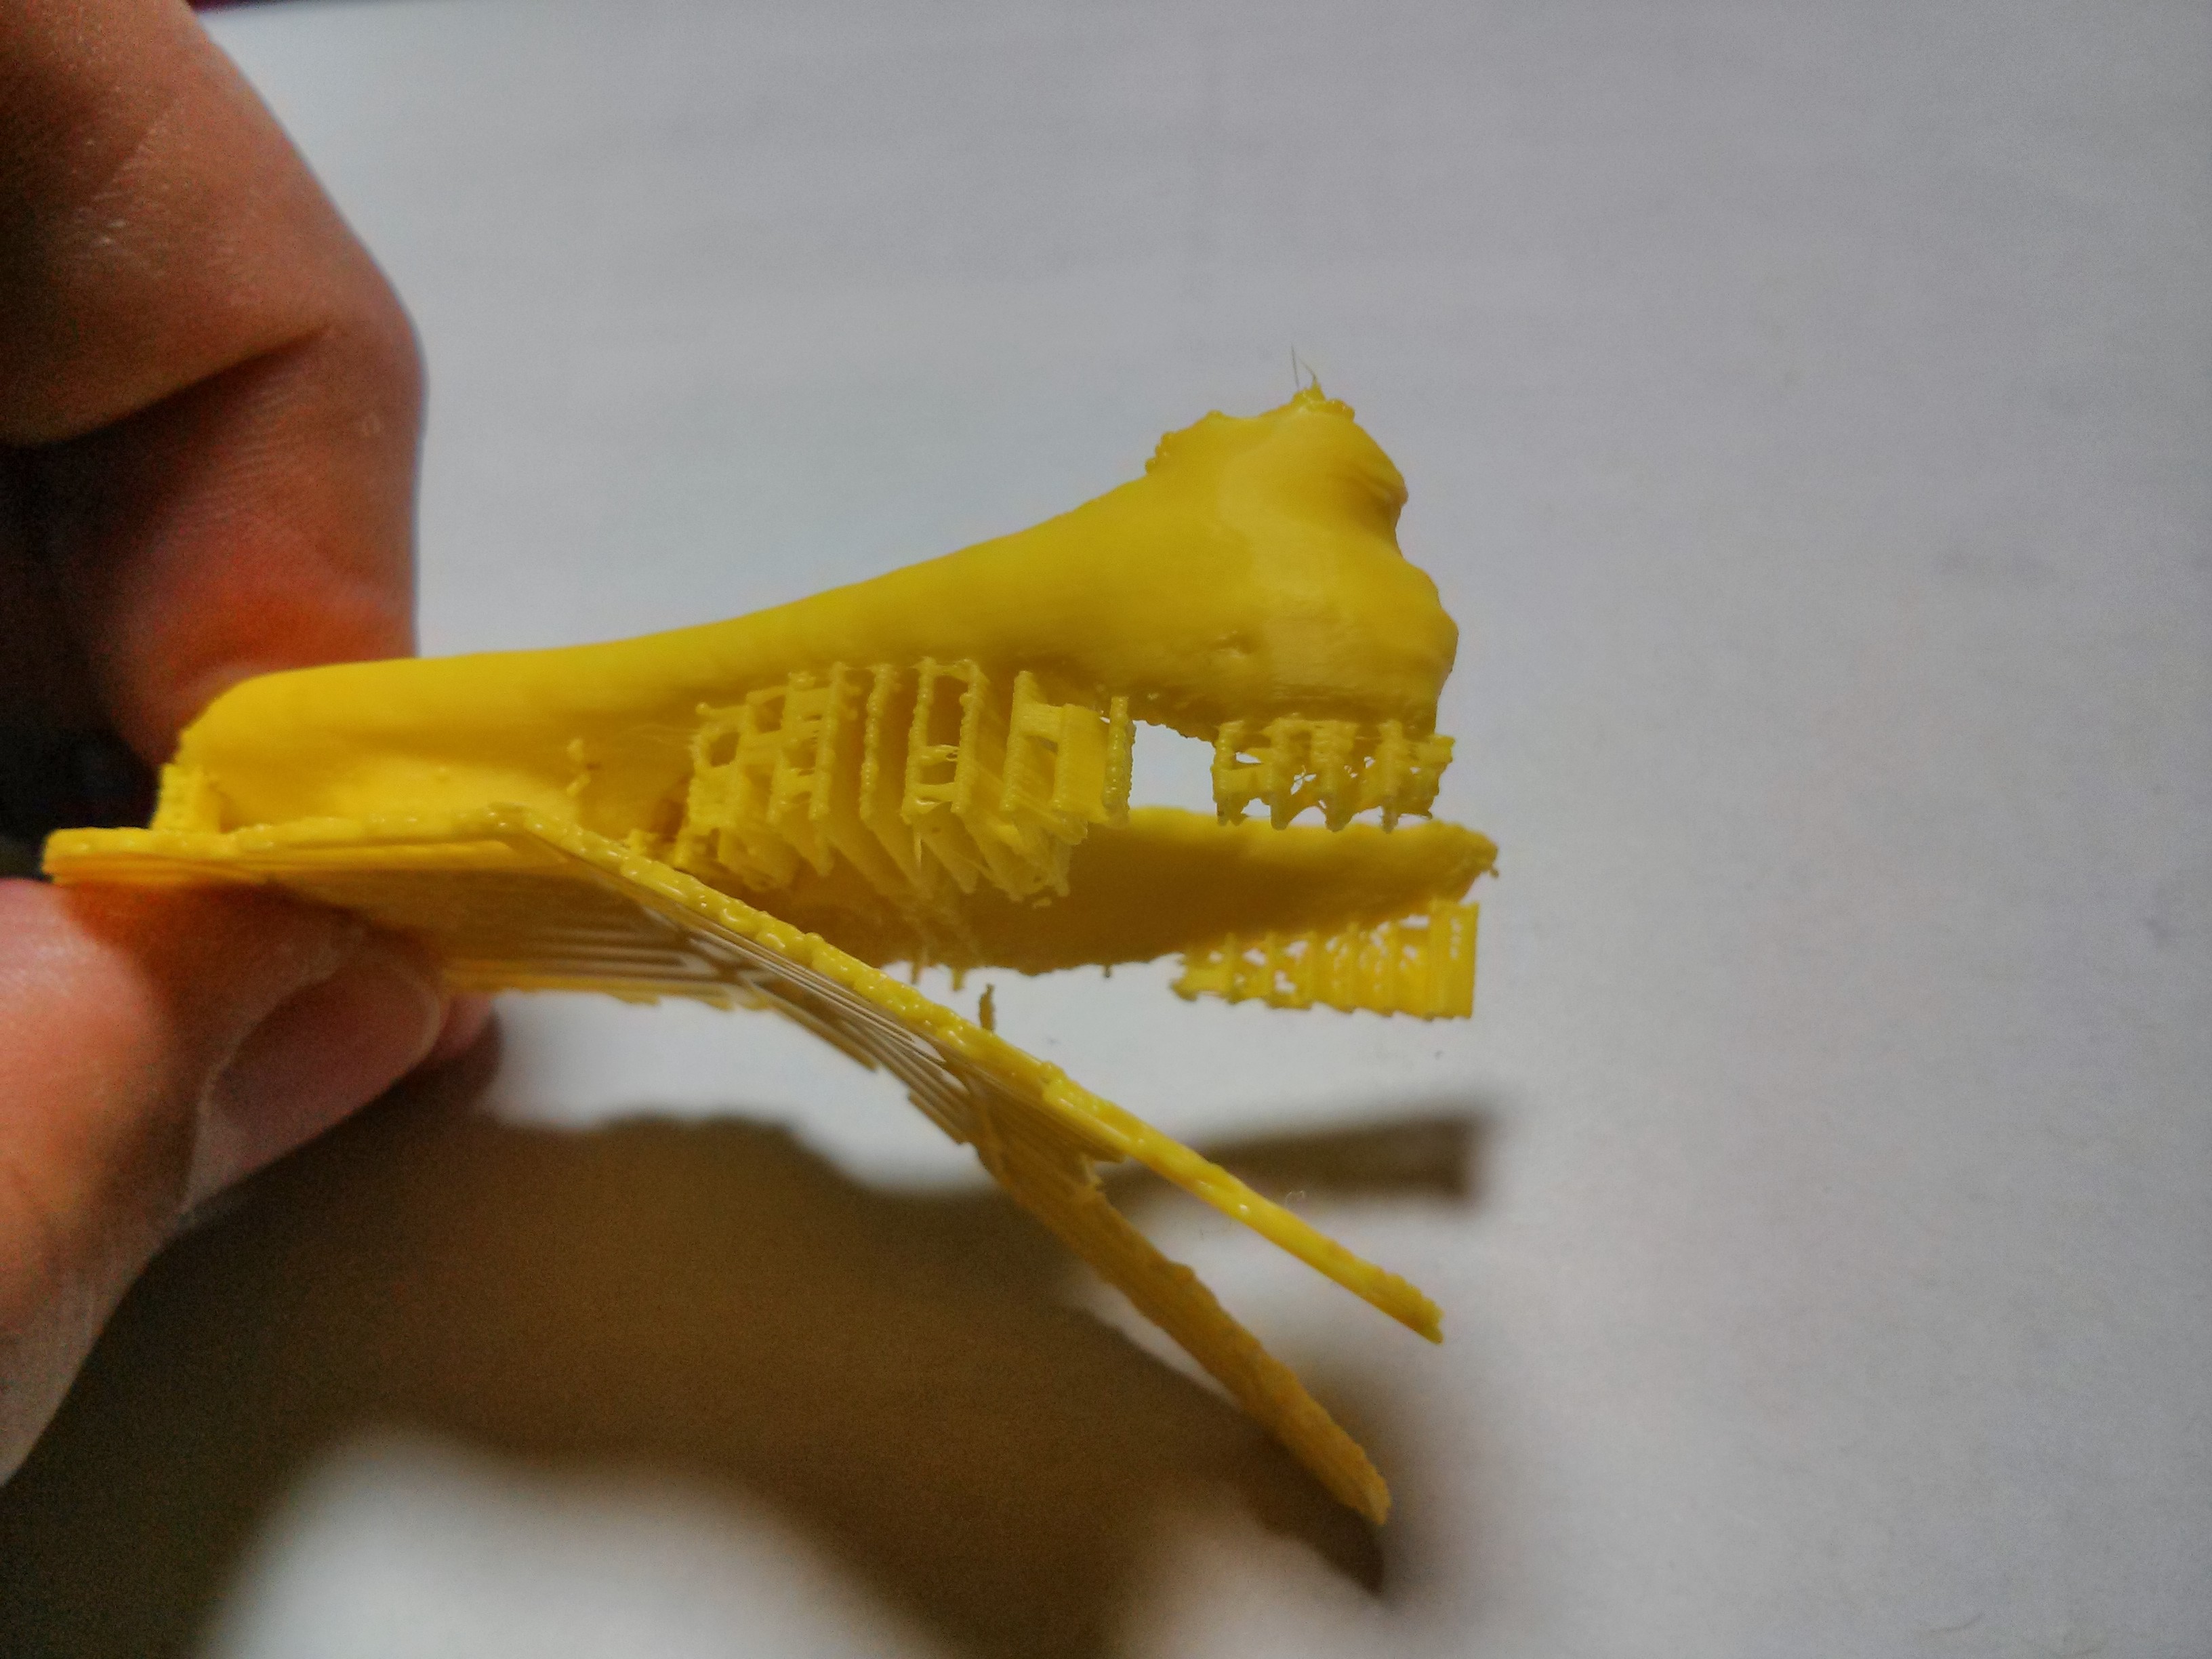
Without the raft, we can now go for removing the supports in the model. They are structured (in this printer) as a zig-zag pattern, that is quite flexible. Fine tweezers and fine cutters can be useful in this process.
Now The Mandibular Bone
We now apply the same process to the mandibular bone.
Positioning the Model
We positioned the model by rotating it 90 degrees, to have the larger and flatter surface against the bed platform
 |
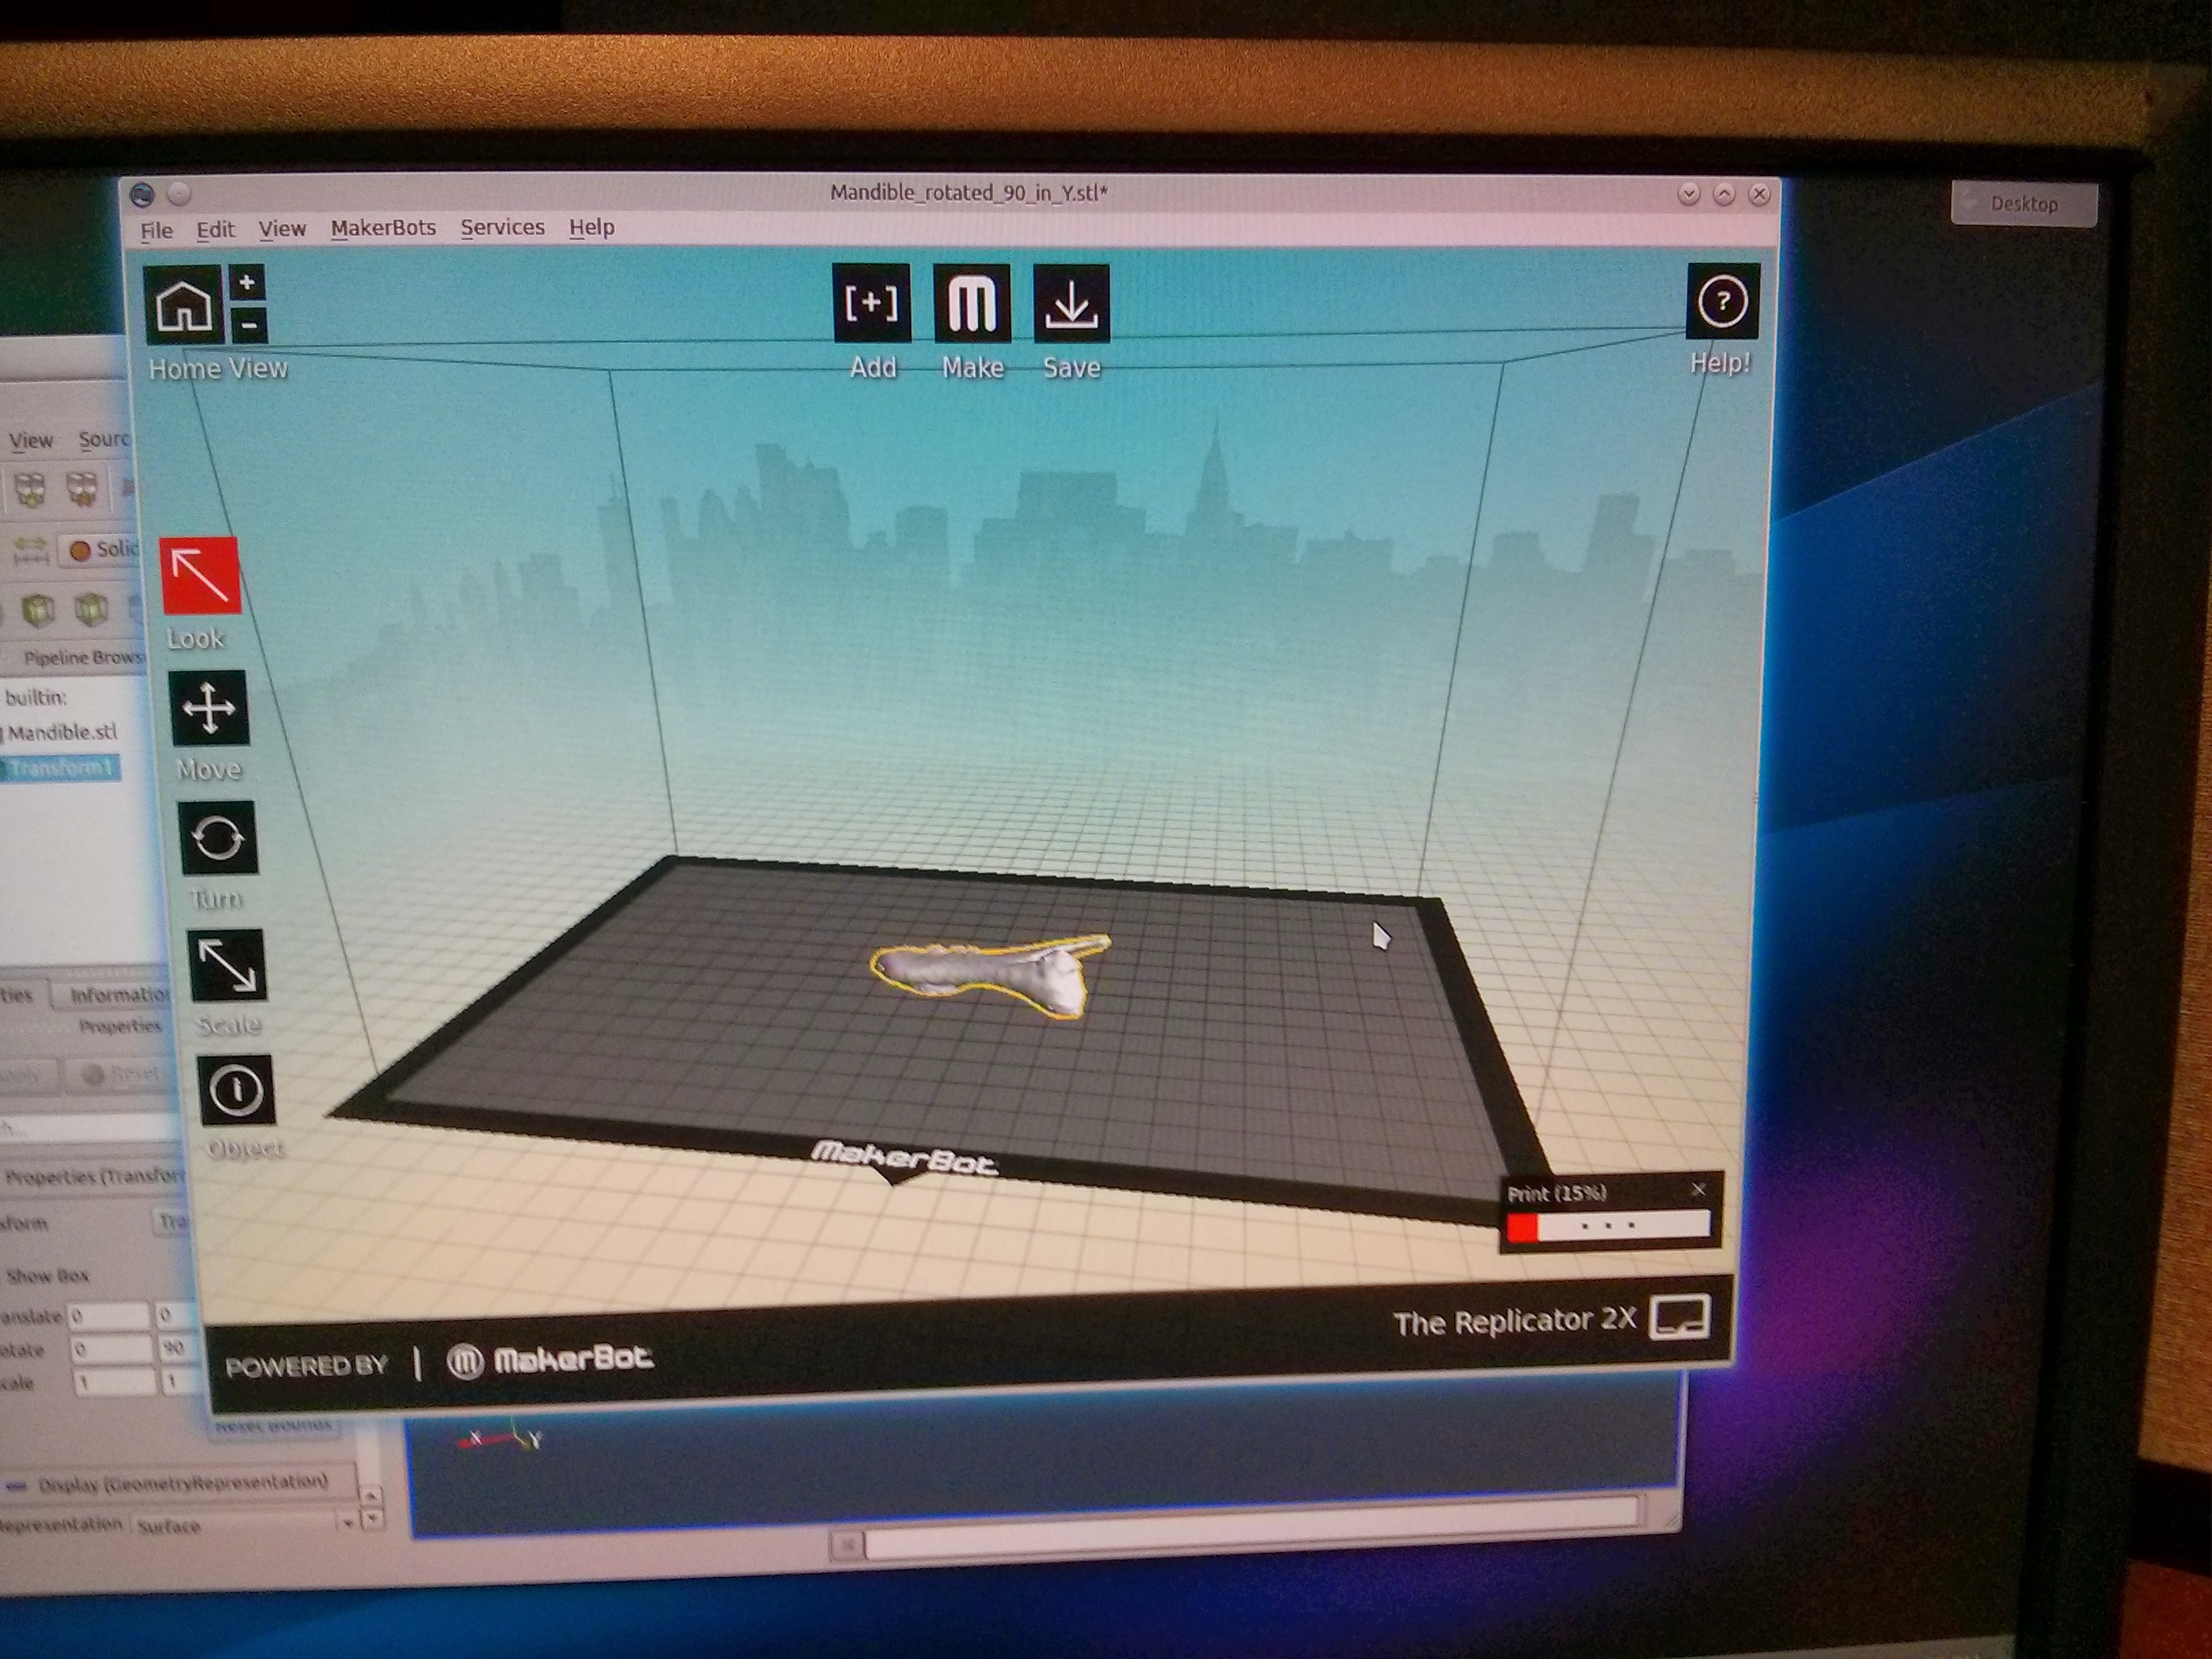 |
Here again, we used Paraview to rotate the model that was segmented with Slicer, and load it in to MakerWare to proceed with the generation of G-Code.
Printing the Raft
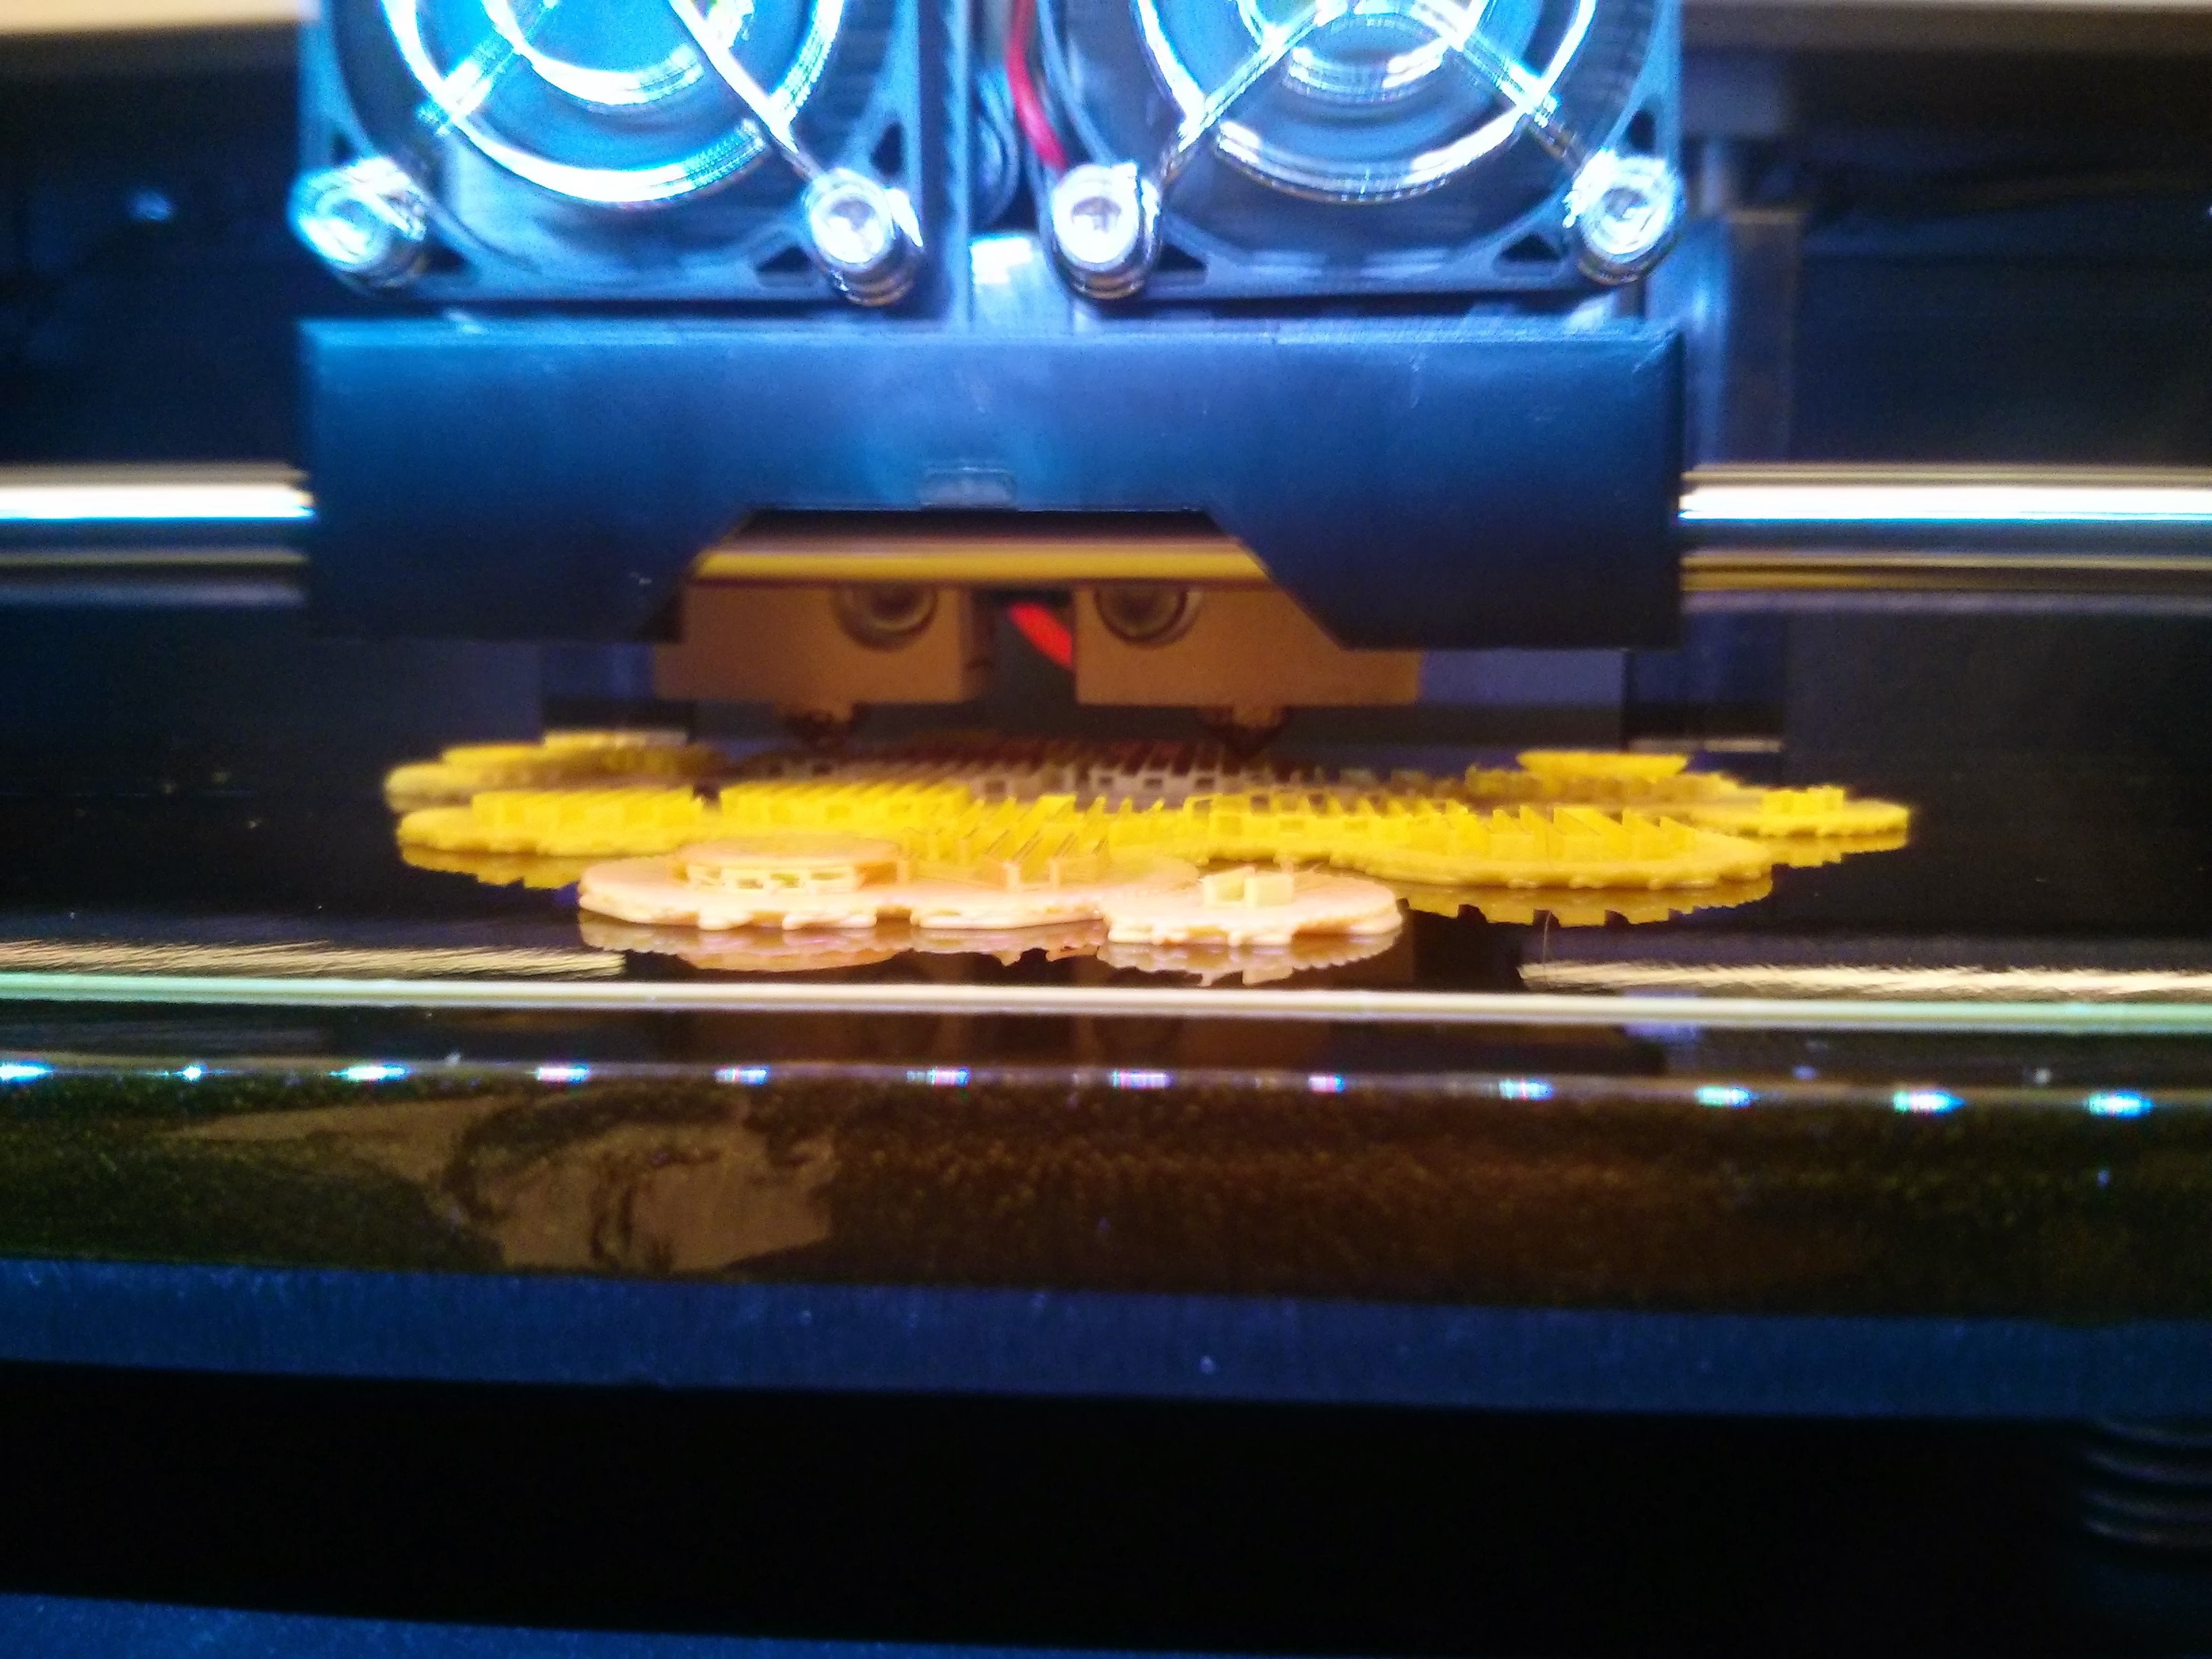
The printer starts with the low resolution skeleton of the raft.
 |
 |
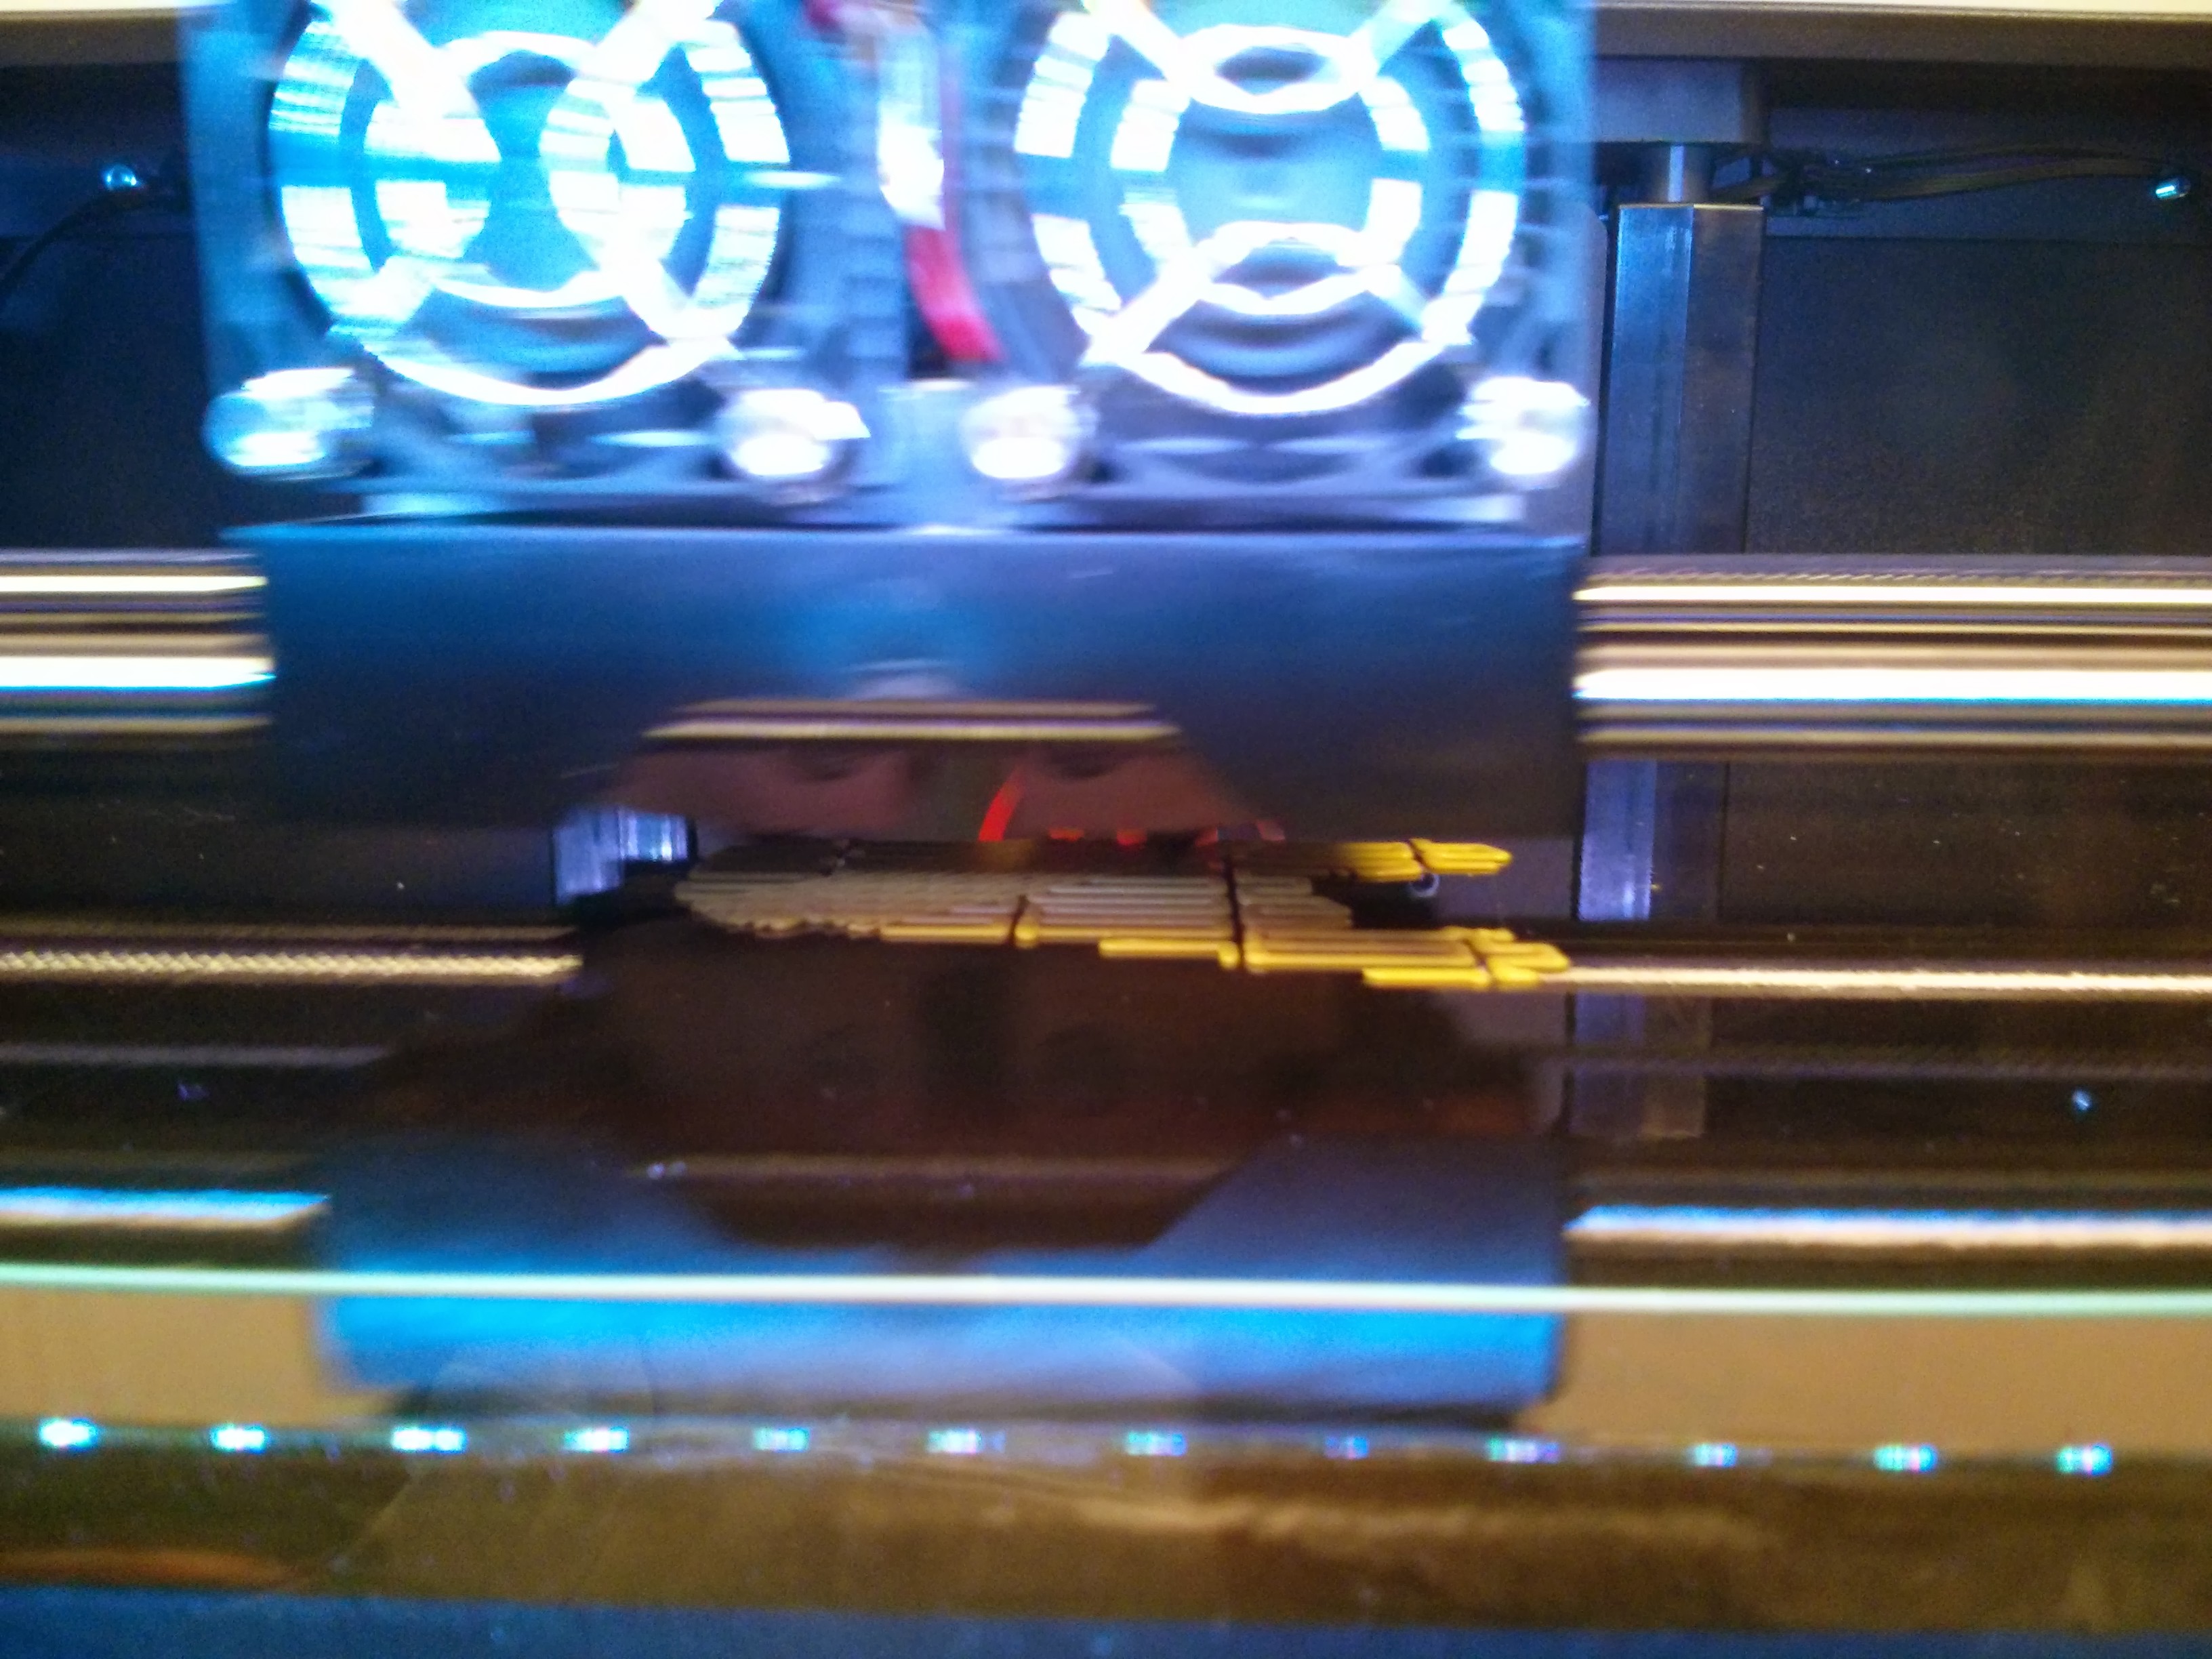
Proceed Layer by Layer
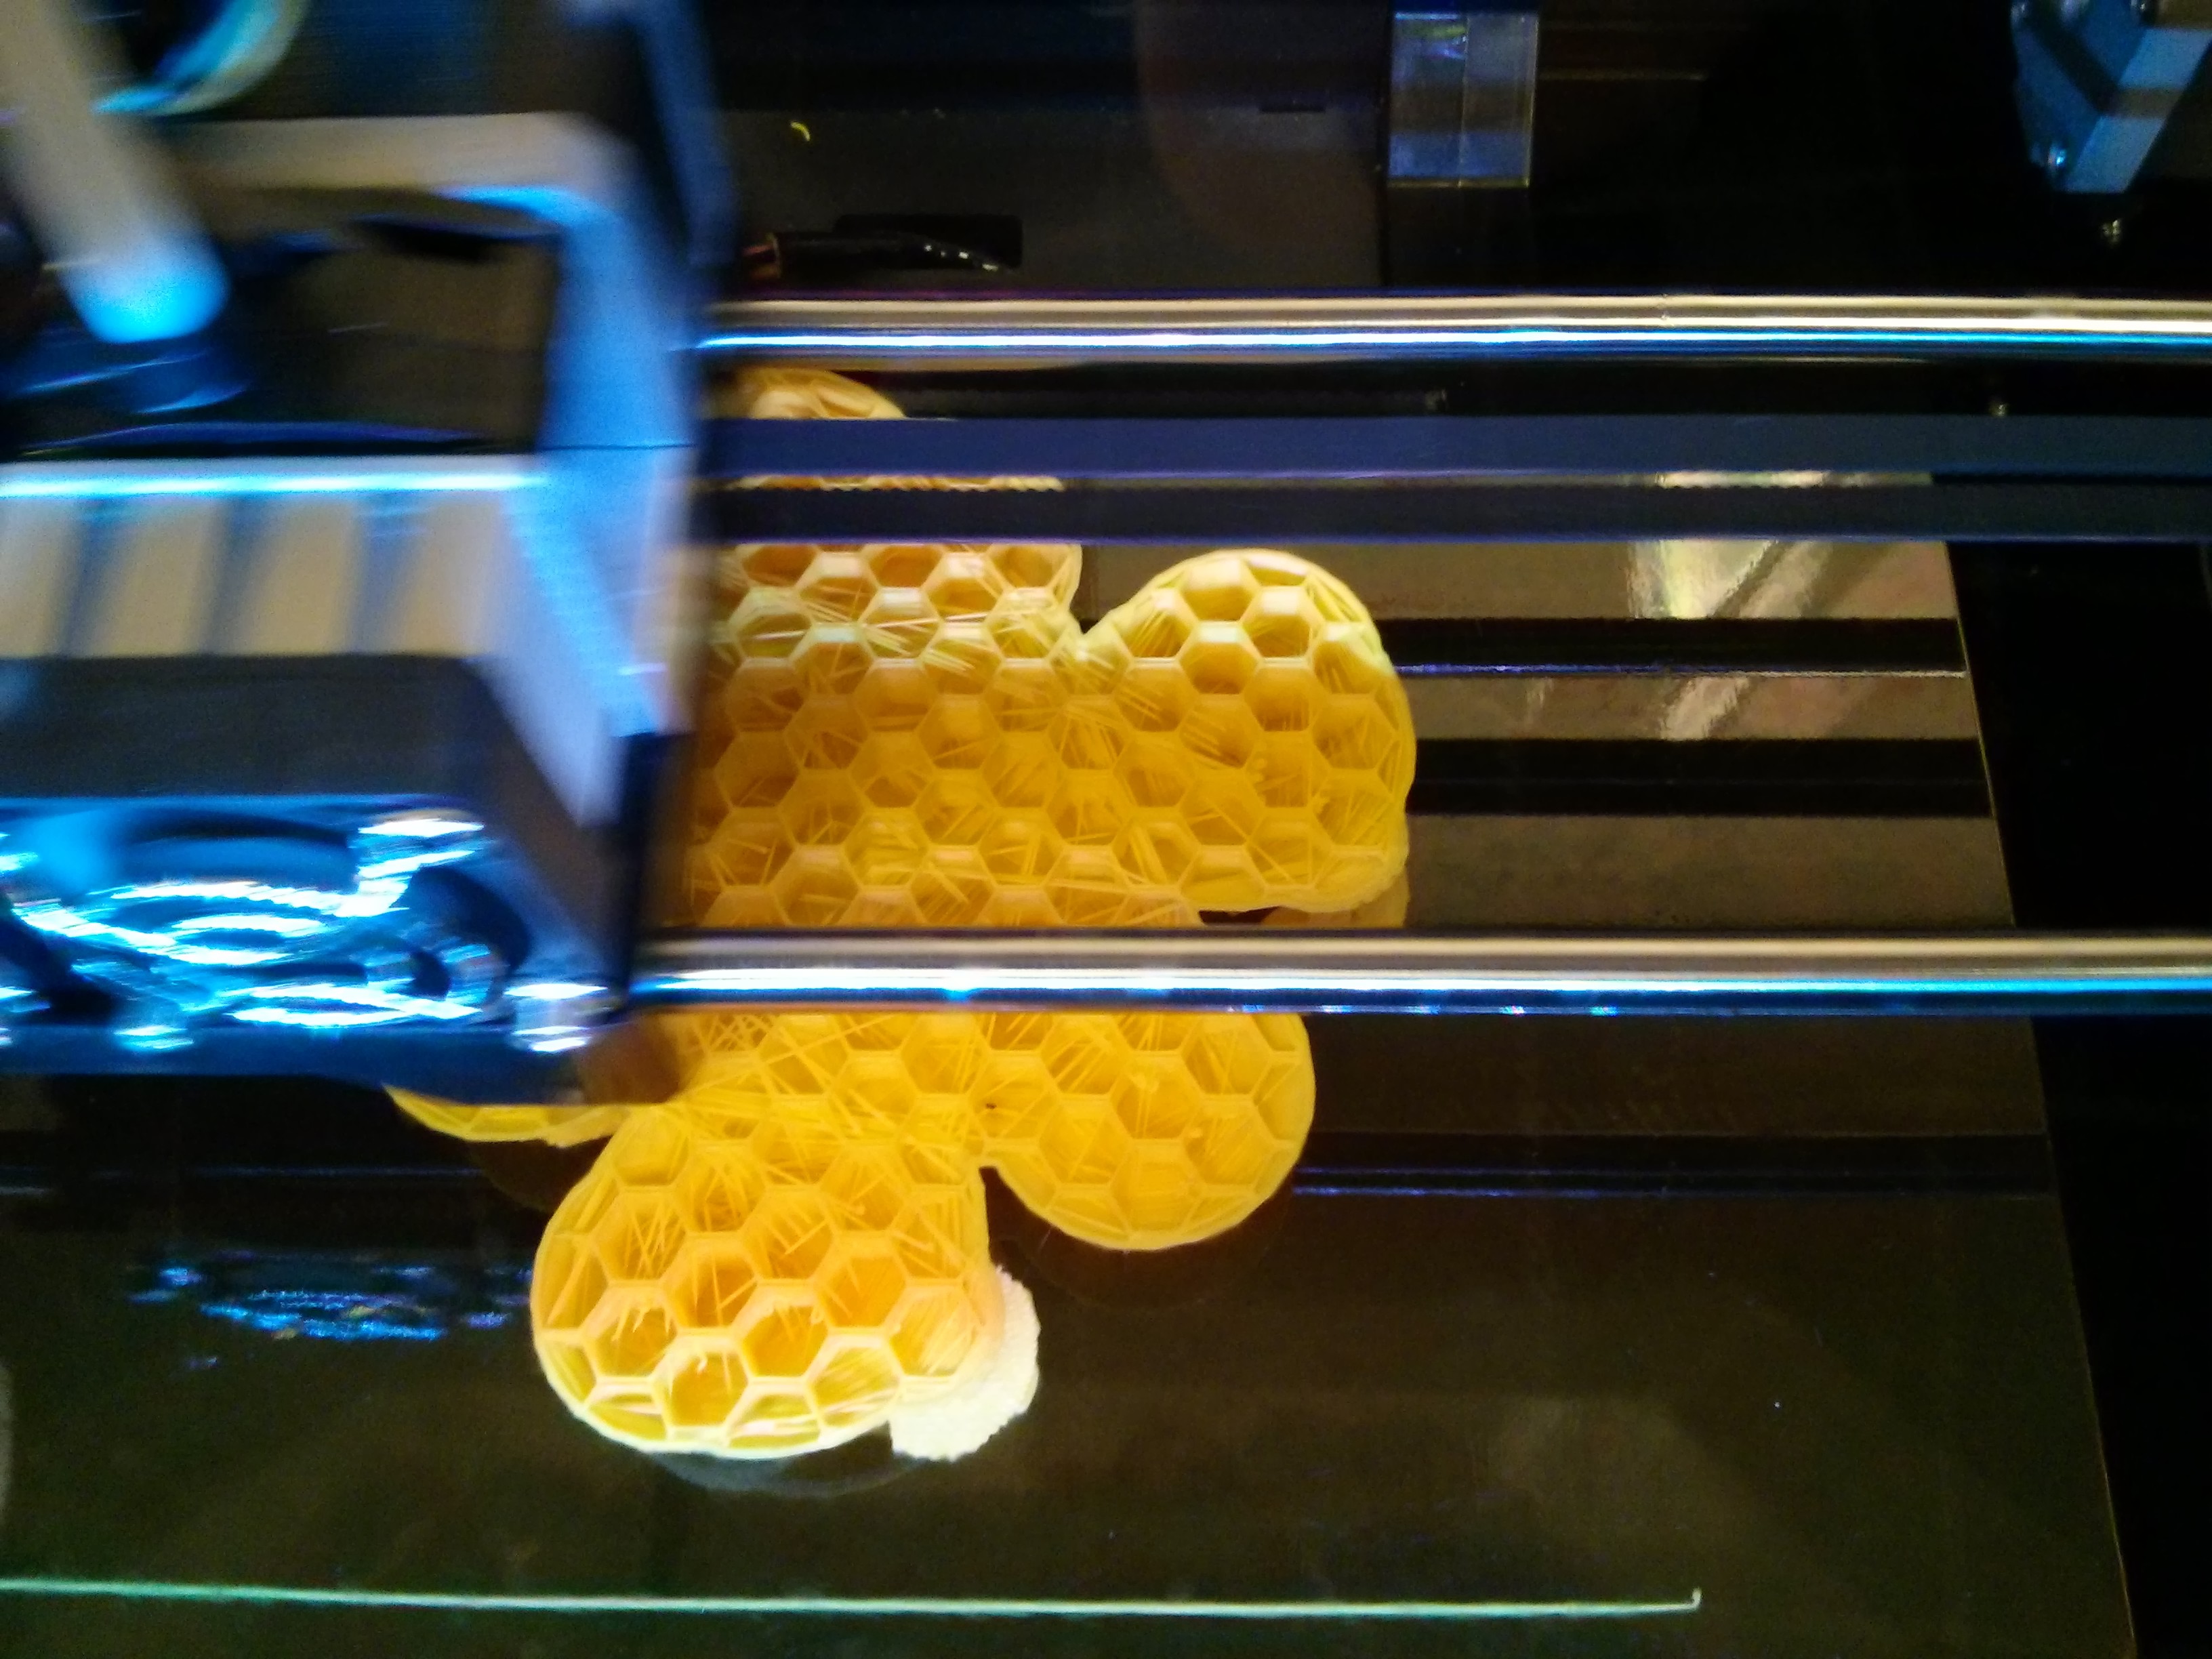
On top of the raft, the printer continues printing the model, layer by layer.
 |
 |
 |
 |
 |
 |
 |
 |
 |
 |
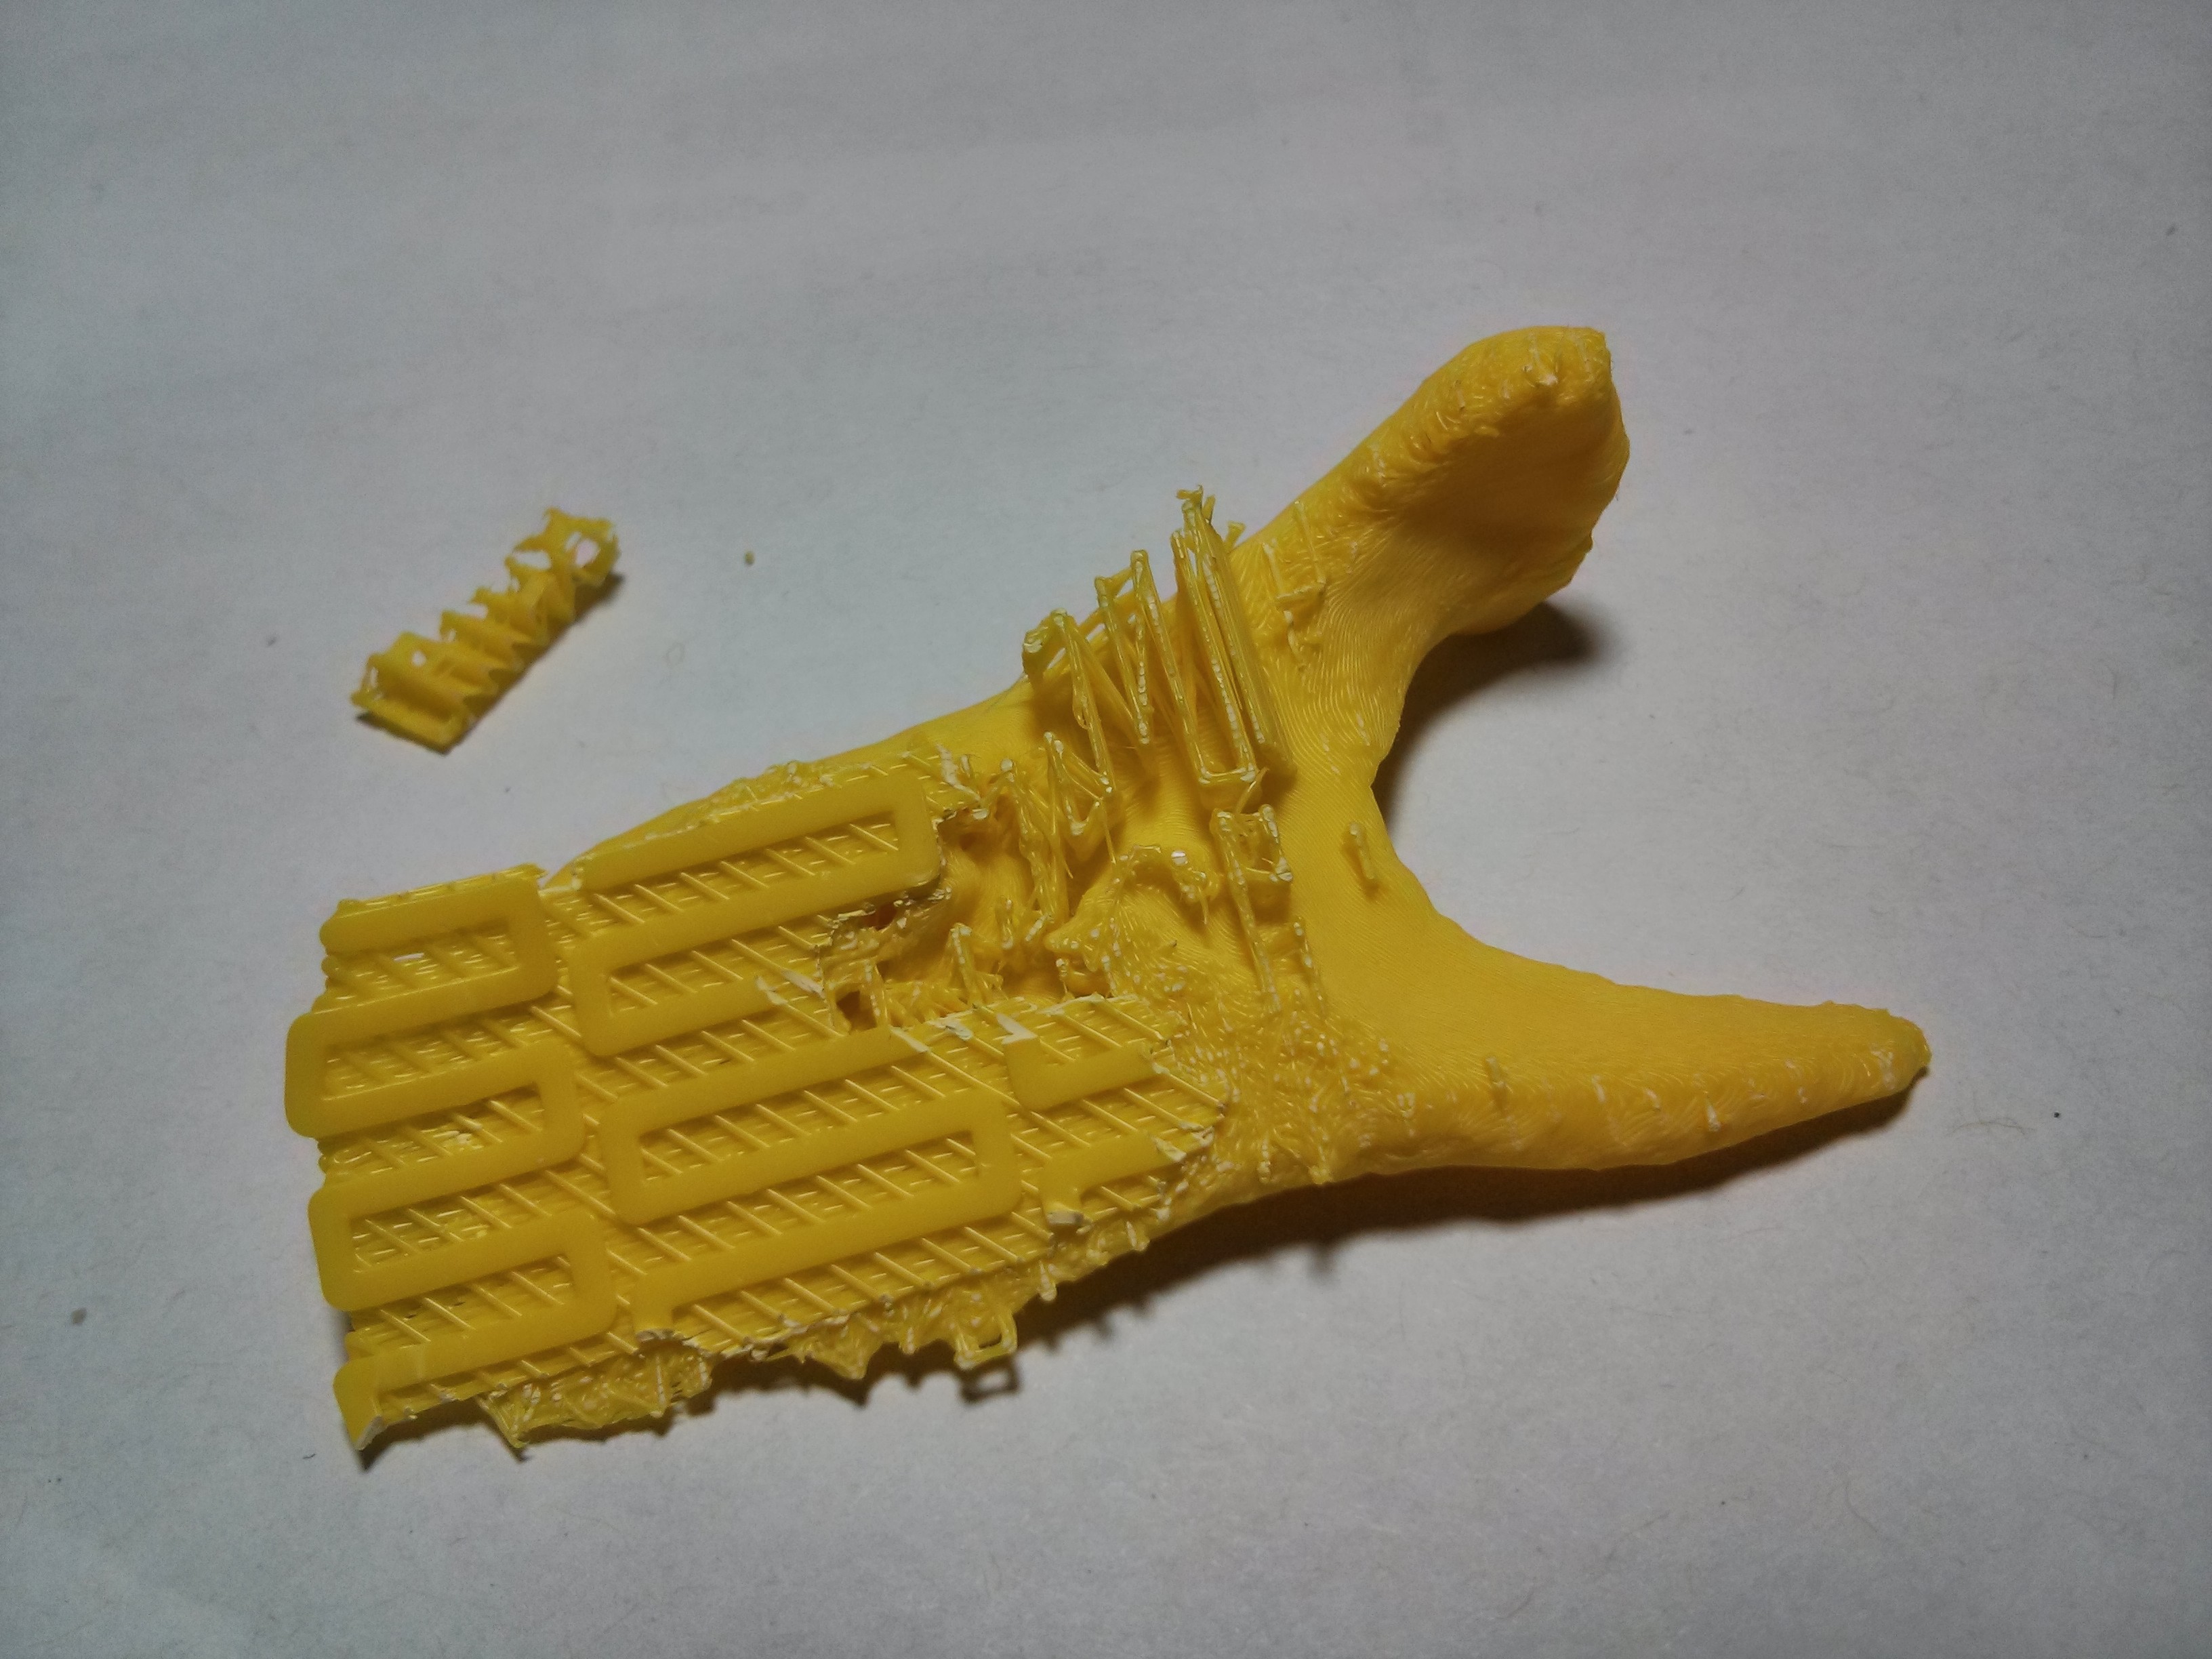
Remove the Model, separate the Raft and Supports
Once the model cools down, we removed from the platform, and proceed to separate the raft and supports.
 |
 |
 |
 |
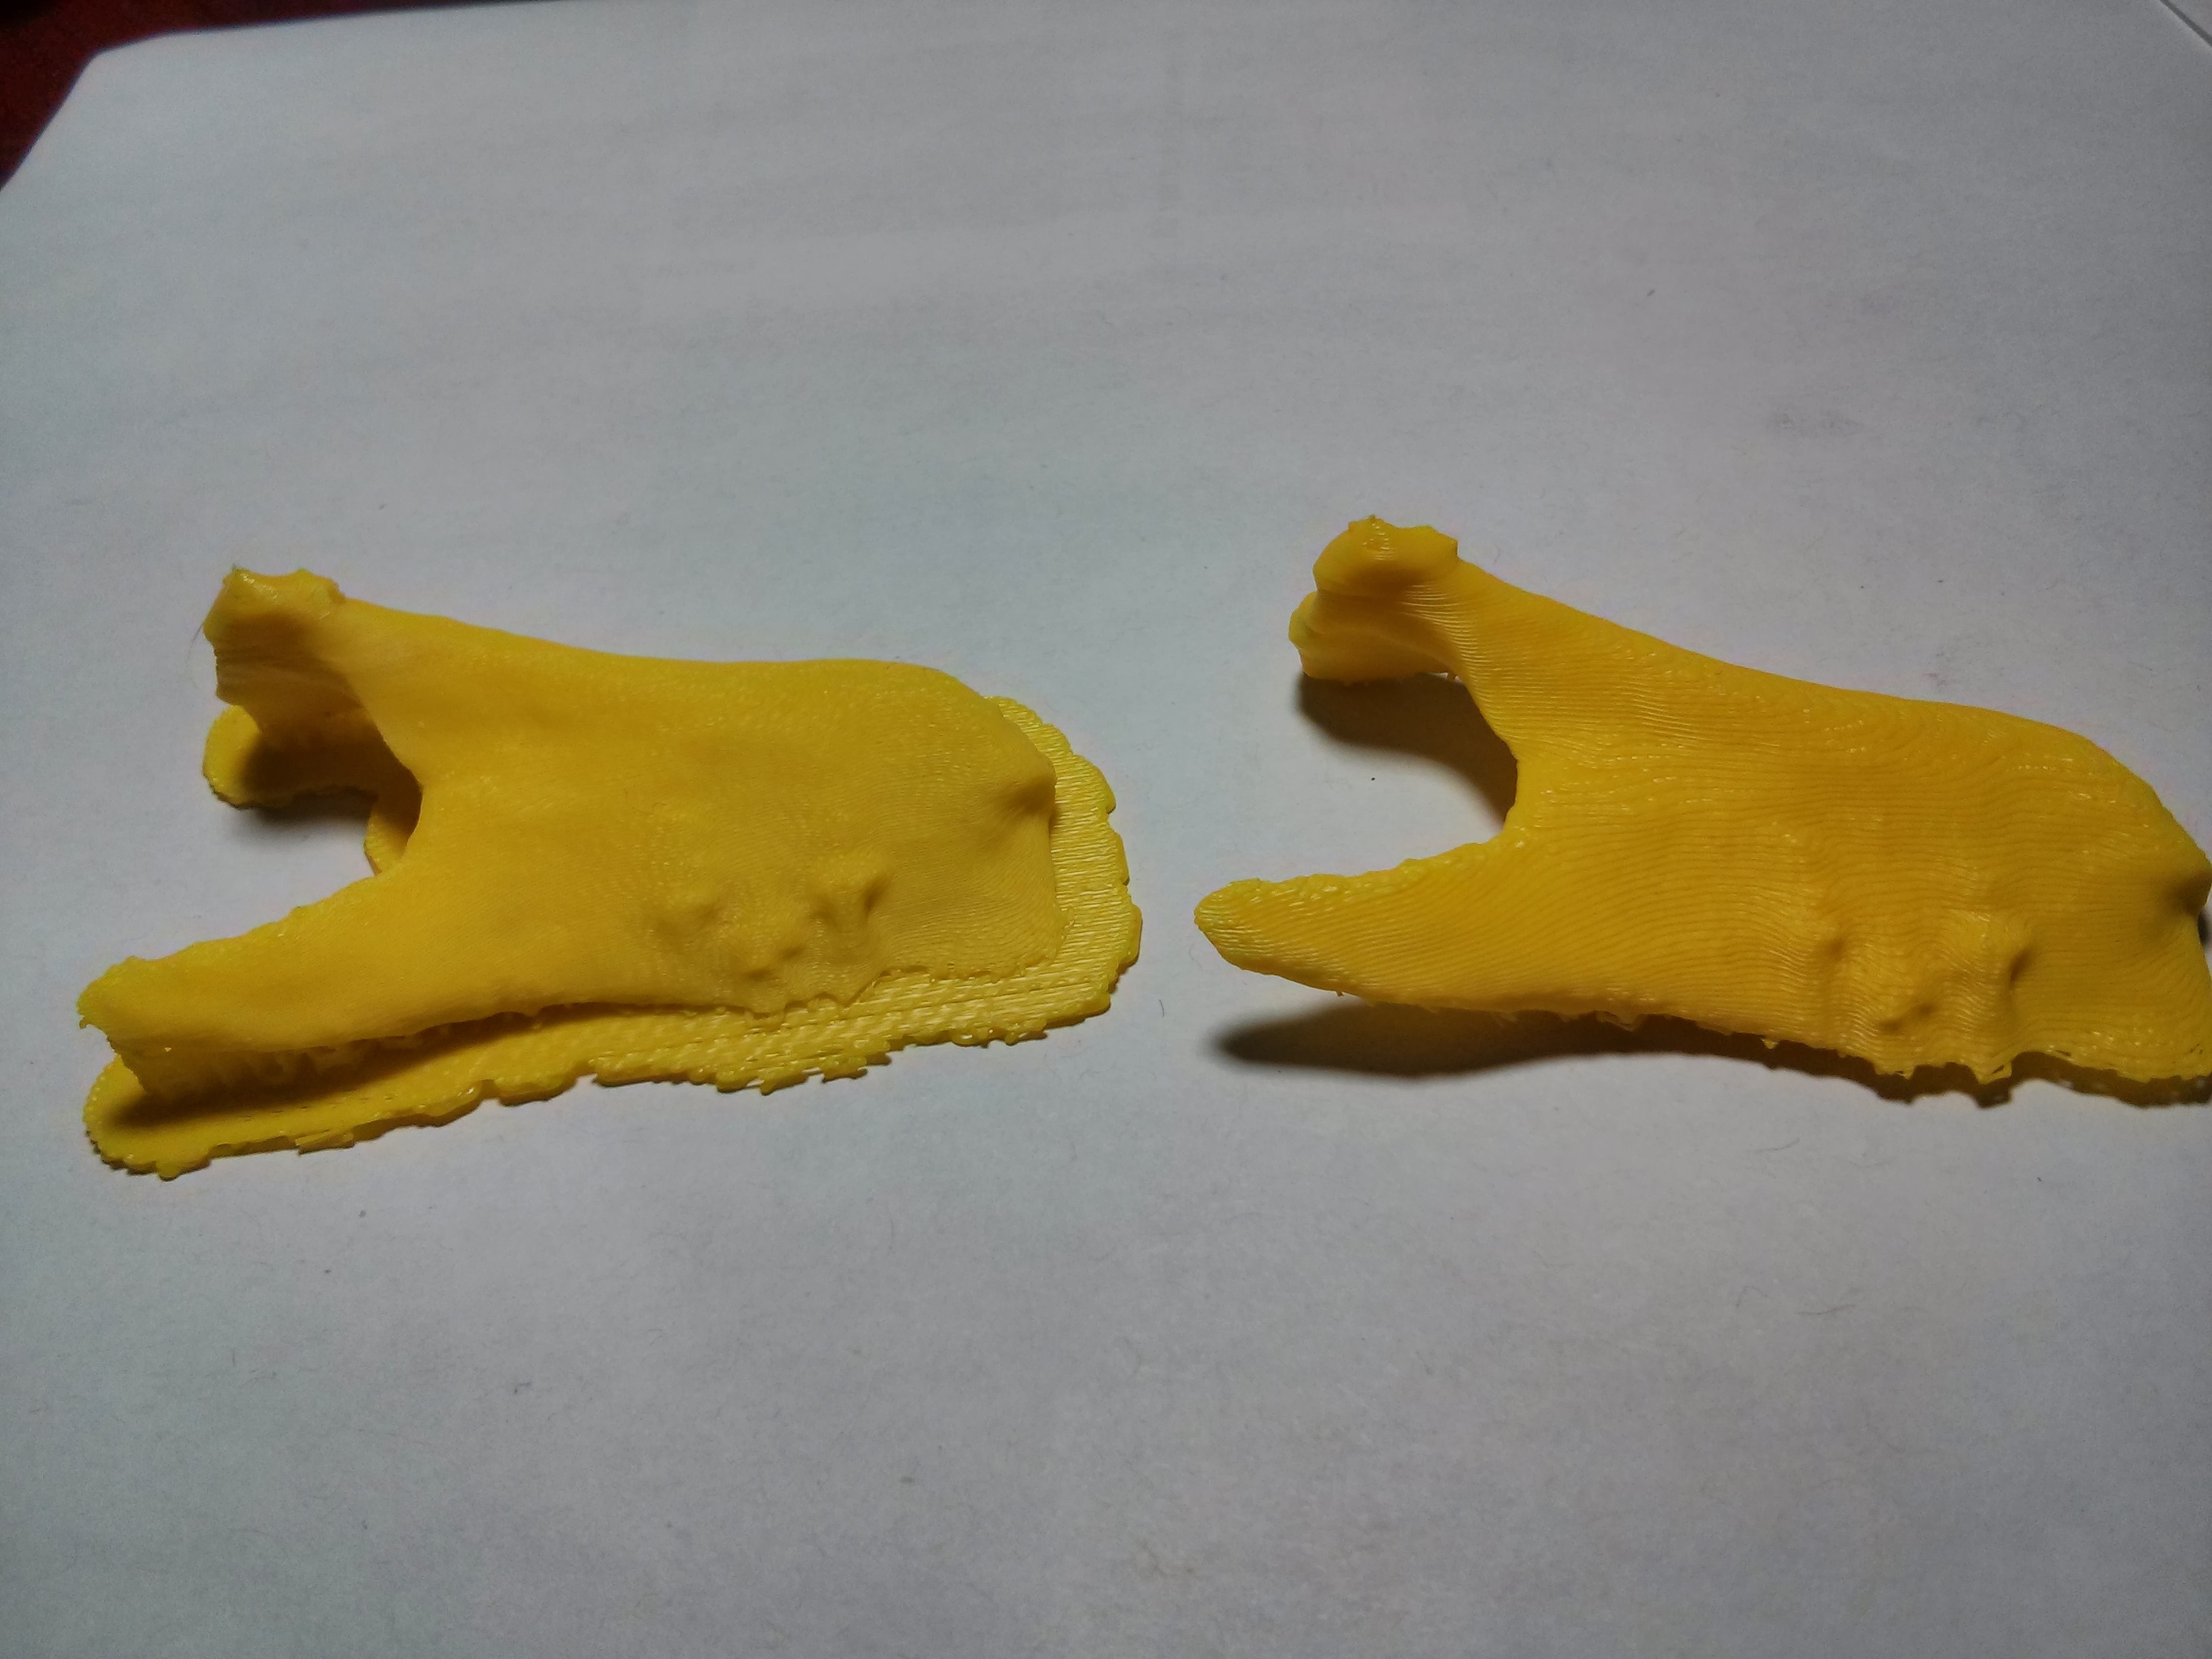
and finally, we can put both pieces together.
Increasing the Resolution
Since this initial print was done using layers of 0.2mm thickness, it was interesting to see the same model printed at 0.1mm layers. Here is the result and its comparison side by side with the 0.2mm model.
 |
 |
 |
 |
Click on the images to see the full size, high resolution, versions of the pictures.
A curious observation was that in the case of resolution, the lower resolution model actually looks more interesting. Perhaps this is due to the presence of the visible layers, conveying to the eye human eye, stronger cues about the shape of the surface.
What we Learned
The position of the model is quite important
Models that are mostly vertical, are harder to print. Models that branch out and have hanging pieces are even more difficult. It looks like a model of a willow tree will be one of the most difficult models to print (when using a single material).
Temperature matters
It is important to keep the printer compartment closed. It helps maintain a uniform temperature as the printing progresses.
It is a tool
As it was nicely pointed out in a blog post, a 3D printer is not an appliance, it is a tool. Which means that it must be driven and understood in order to fits its properties to the characteristics of the model to be printed.
Hello There. Very good tutorial. Congratulations for that! Could you please tell me which kind of polymer you use for this printing? Actually ABS and PLA are the polymers I have used in my prototypes. Thanks a lot.