
Google Chromebook likes Crouton

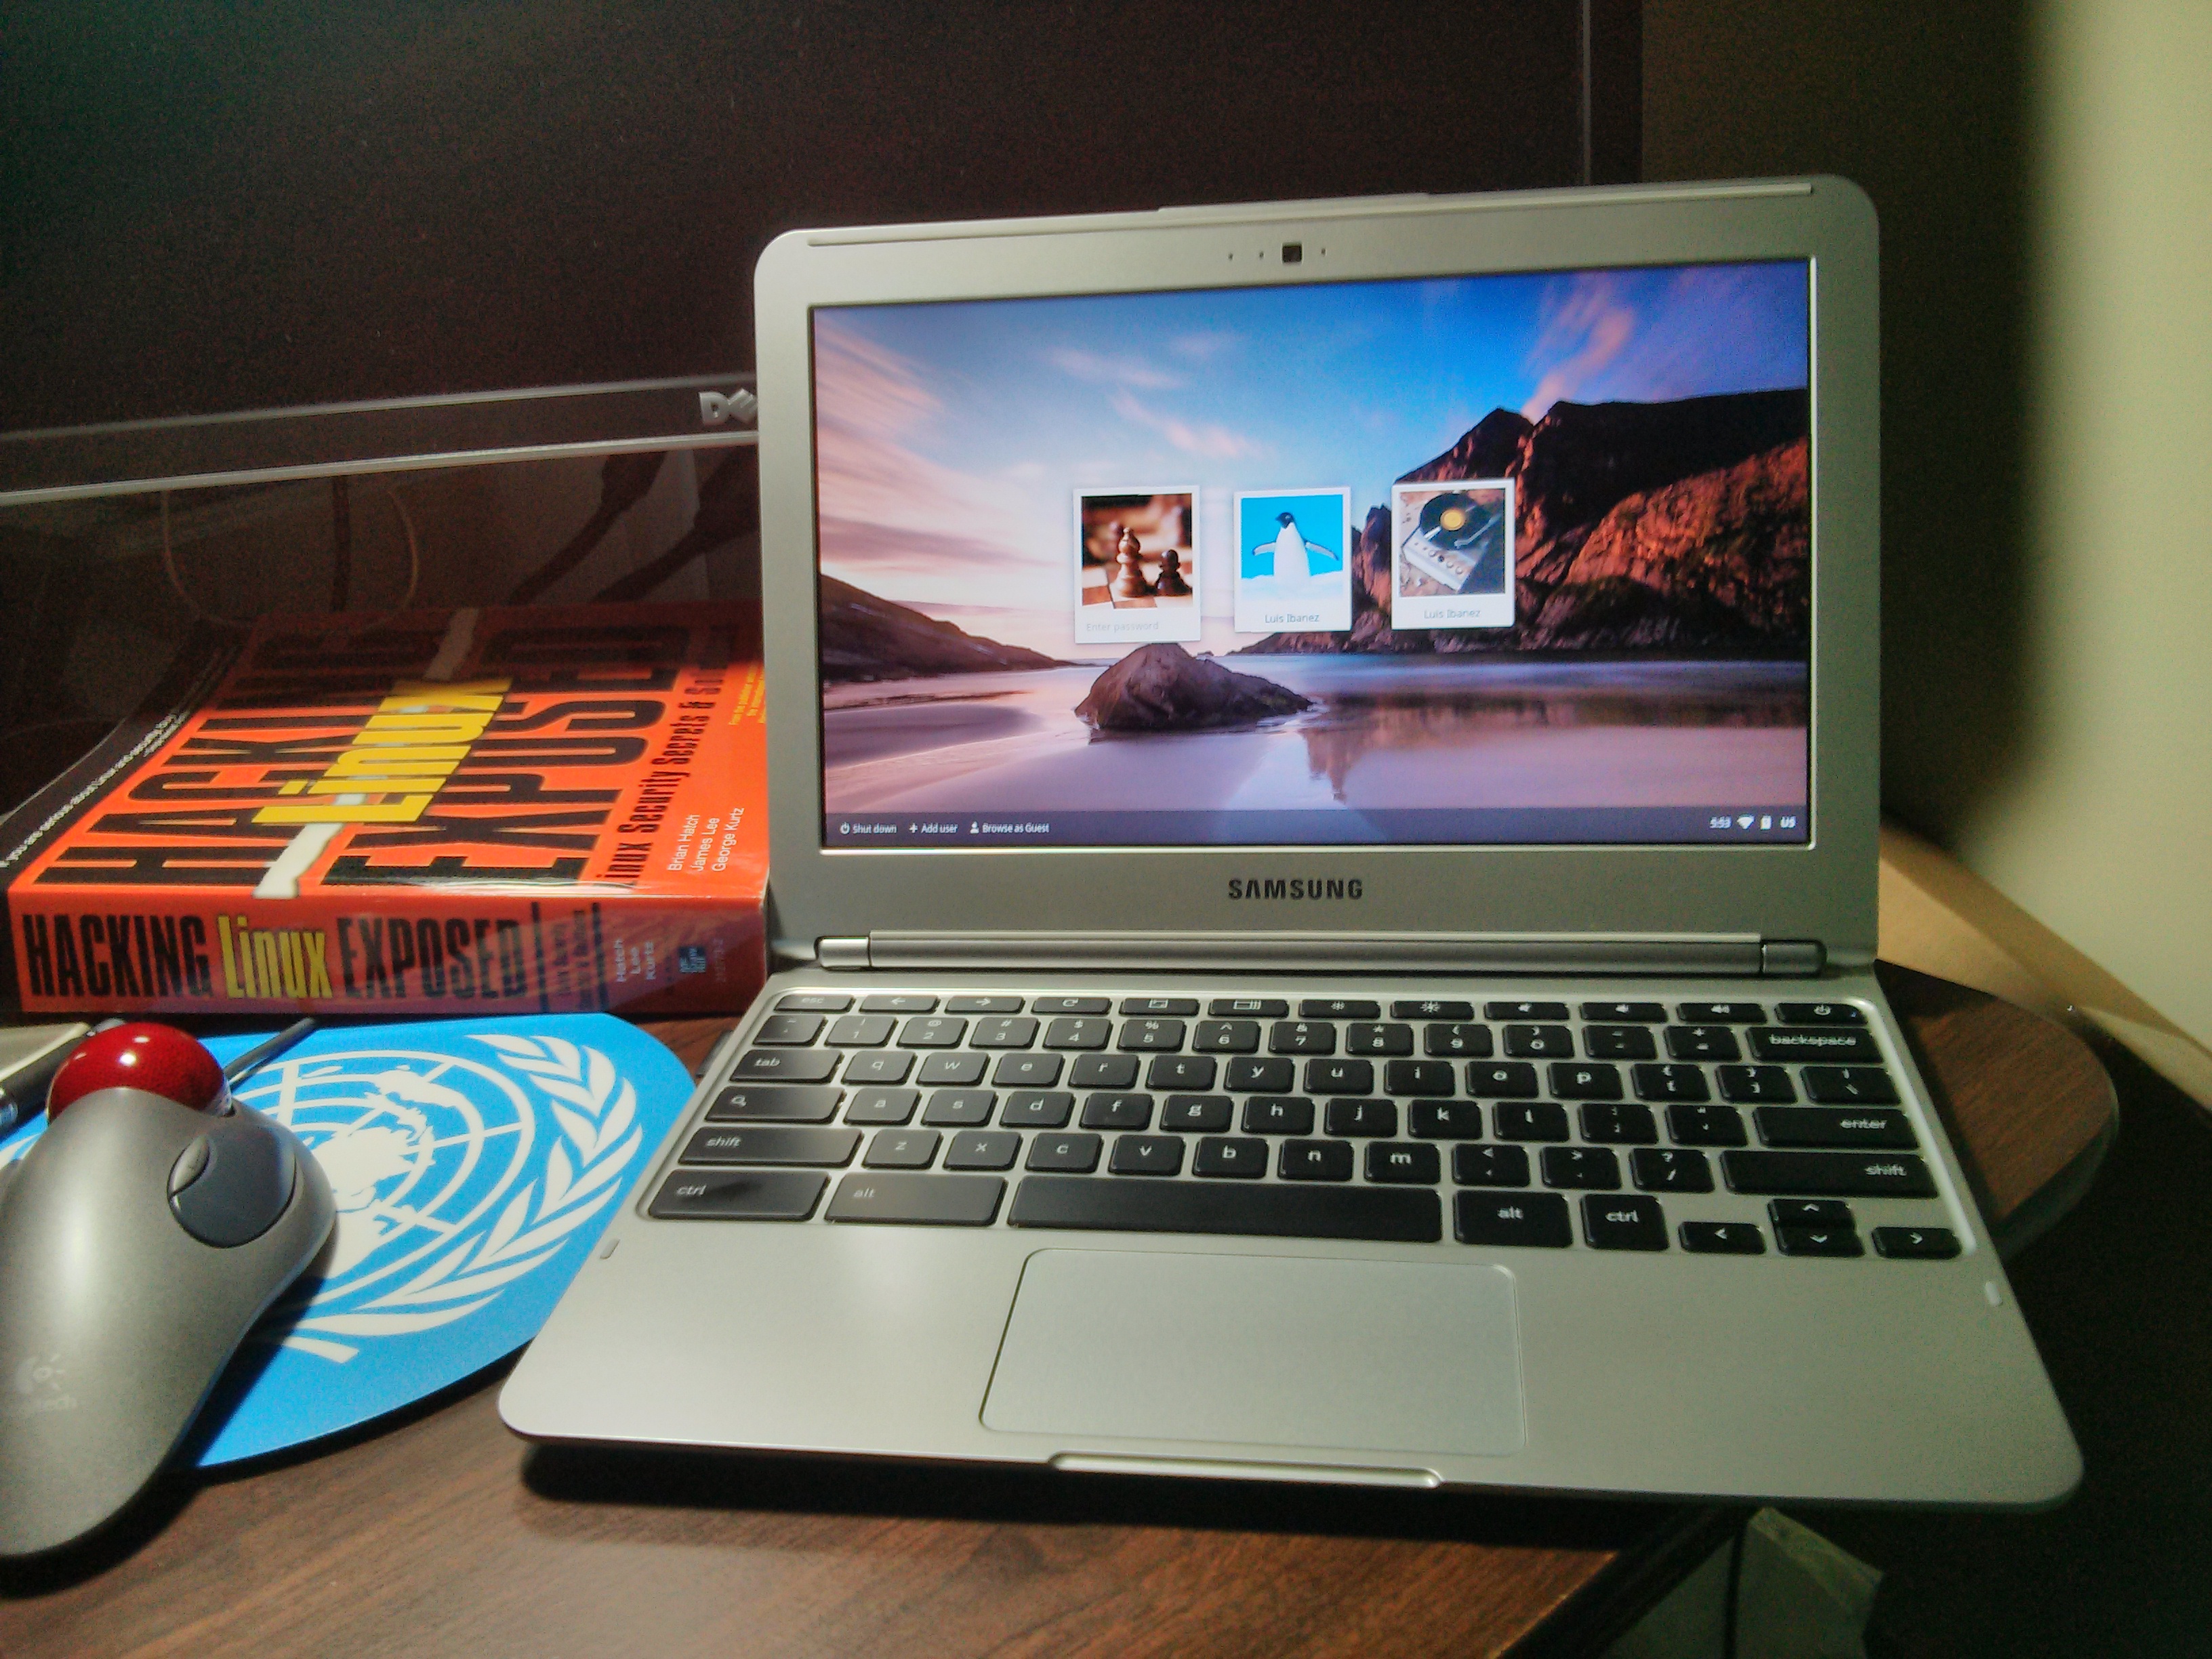
The Samsung Series 3 Google Chromebook
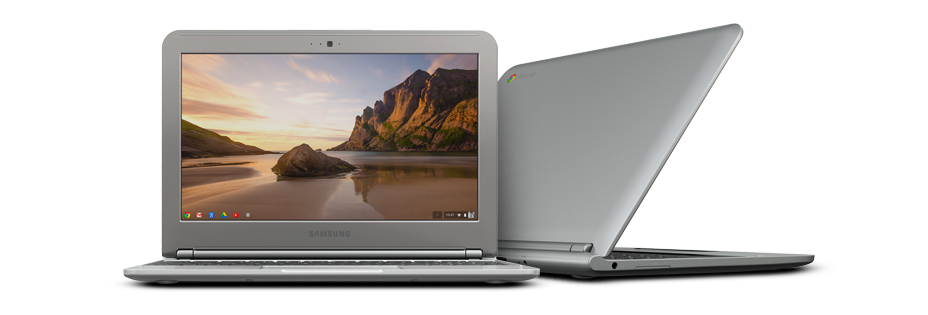 A small and light device, that for $250 packs:
- 11.6’’ (1366×768) display
- 0.7 inches thin – 2.42 lbs / 1.1 kg
- Over 6.5 hours of battery
- Samsung Exynos 5 Dual Processor
- 16 GB Solid State Drive
- 2 GB RAM
- Built-in dual band Wi-Fi 802.11 a/b/g/n
- VGA Camera
- 1x USB 3.0, 1x USB 2.0
- HDMI Port
- Bluetooth 3.0™ Compatible
For those of us who spend a significant portion of our time in a web browser working with Gmail, Google docs, Youtube, G+, Google Calendar, Google Maps, Google hangouts, and sharing files in Google Drive… the Chromebook is quite an interesting option.
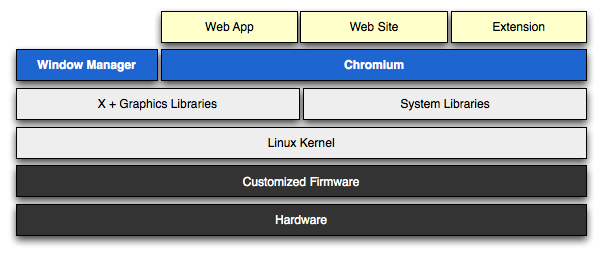
Running ChromeOS, this device is focused on delivering a simple and agile web browsing experience. So customized is this machine for the Web Age, that its keyboard replaced the caps lock key with a Search key, that of course, jumps straight to a Google search field. All this happiness is made possible thanks to a certain Penguin: ChromeOS is a Linux based operating system.
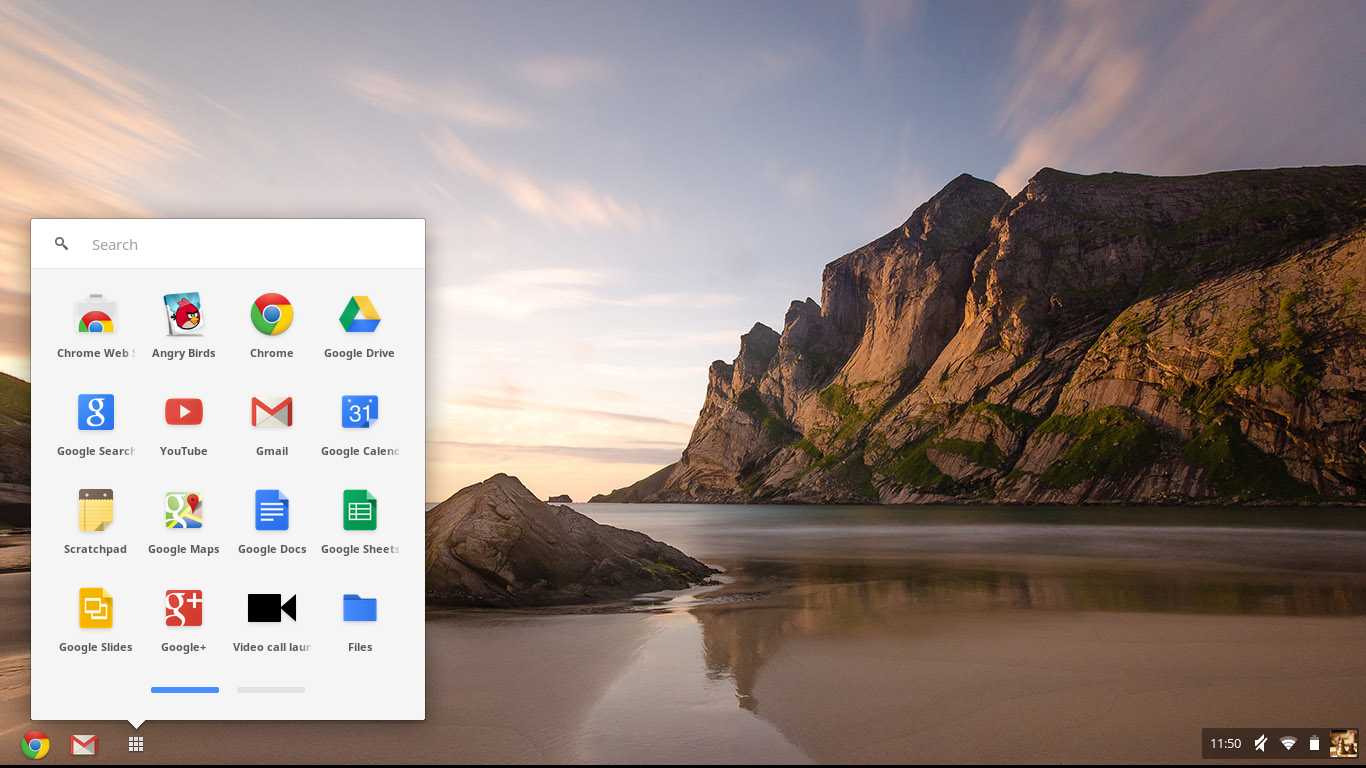 Once logged in ChromeOS, we are presented with the Chrome web browser and a File Manager.
This is all great for everyday use…
but that’s not the reason why we got this device…
Instead our devious plans are the continuation of our Raspberry Pi experiments, and the interest that they generated on the ARM 32-bits processor architecture.
- The Raspberry Pi carries a 700 MHz ARM1176JZF-S core, from the ARM11 family,
- The Samsung Chromebook has an 1.7 GHz Exynos 5 Dual core, from the ARM Cortex A15 family.
The Nexus 10 tablet uses the same version of Exynos as the Chromebook, while the Galaxy S4 phone carries the quad core version of Exynos 5. It actually carries two quad cores, one 1.6 GHz quad-core Cortex-A15 cluster and 1.2 GHz quad-core Cortex-A7 cluster, and switches between them to balance CPU demands against power consumption.
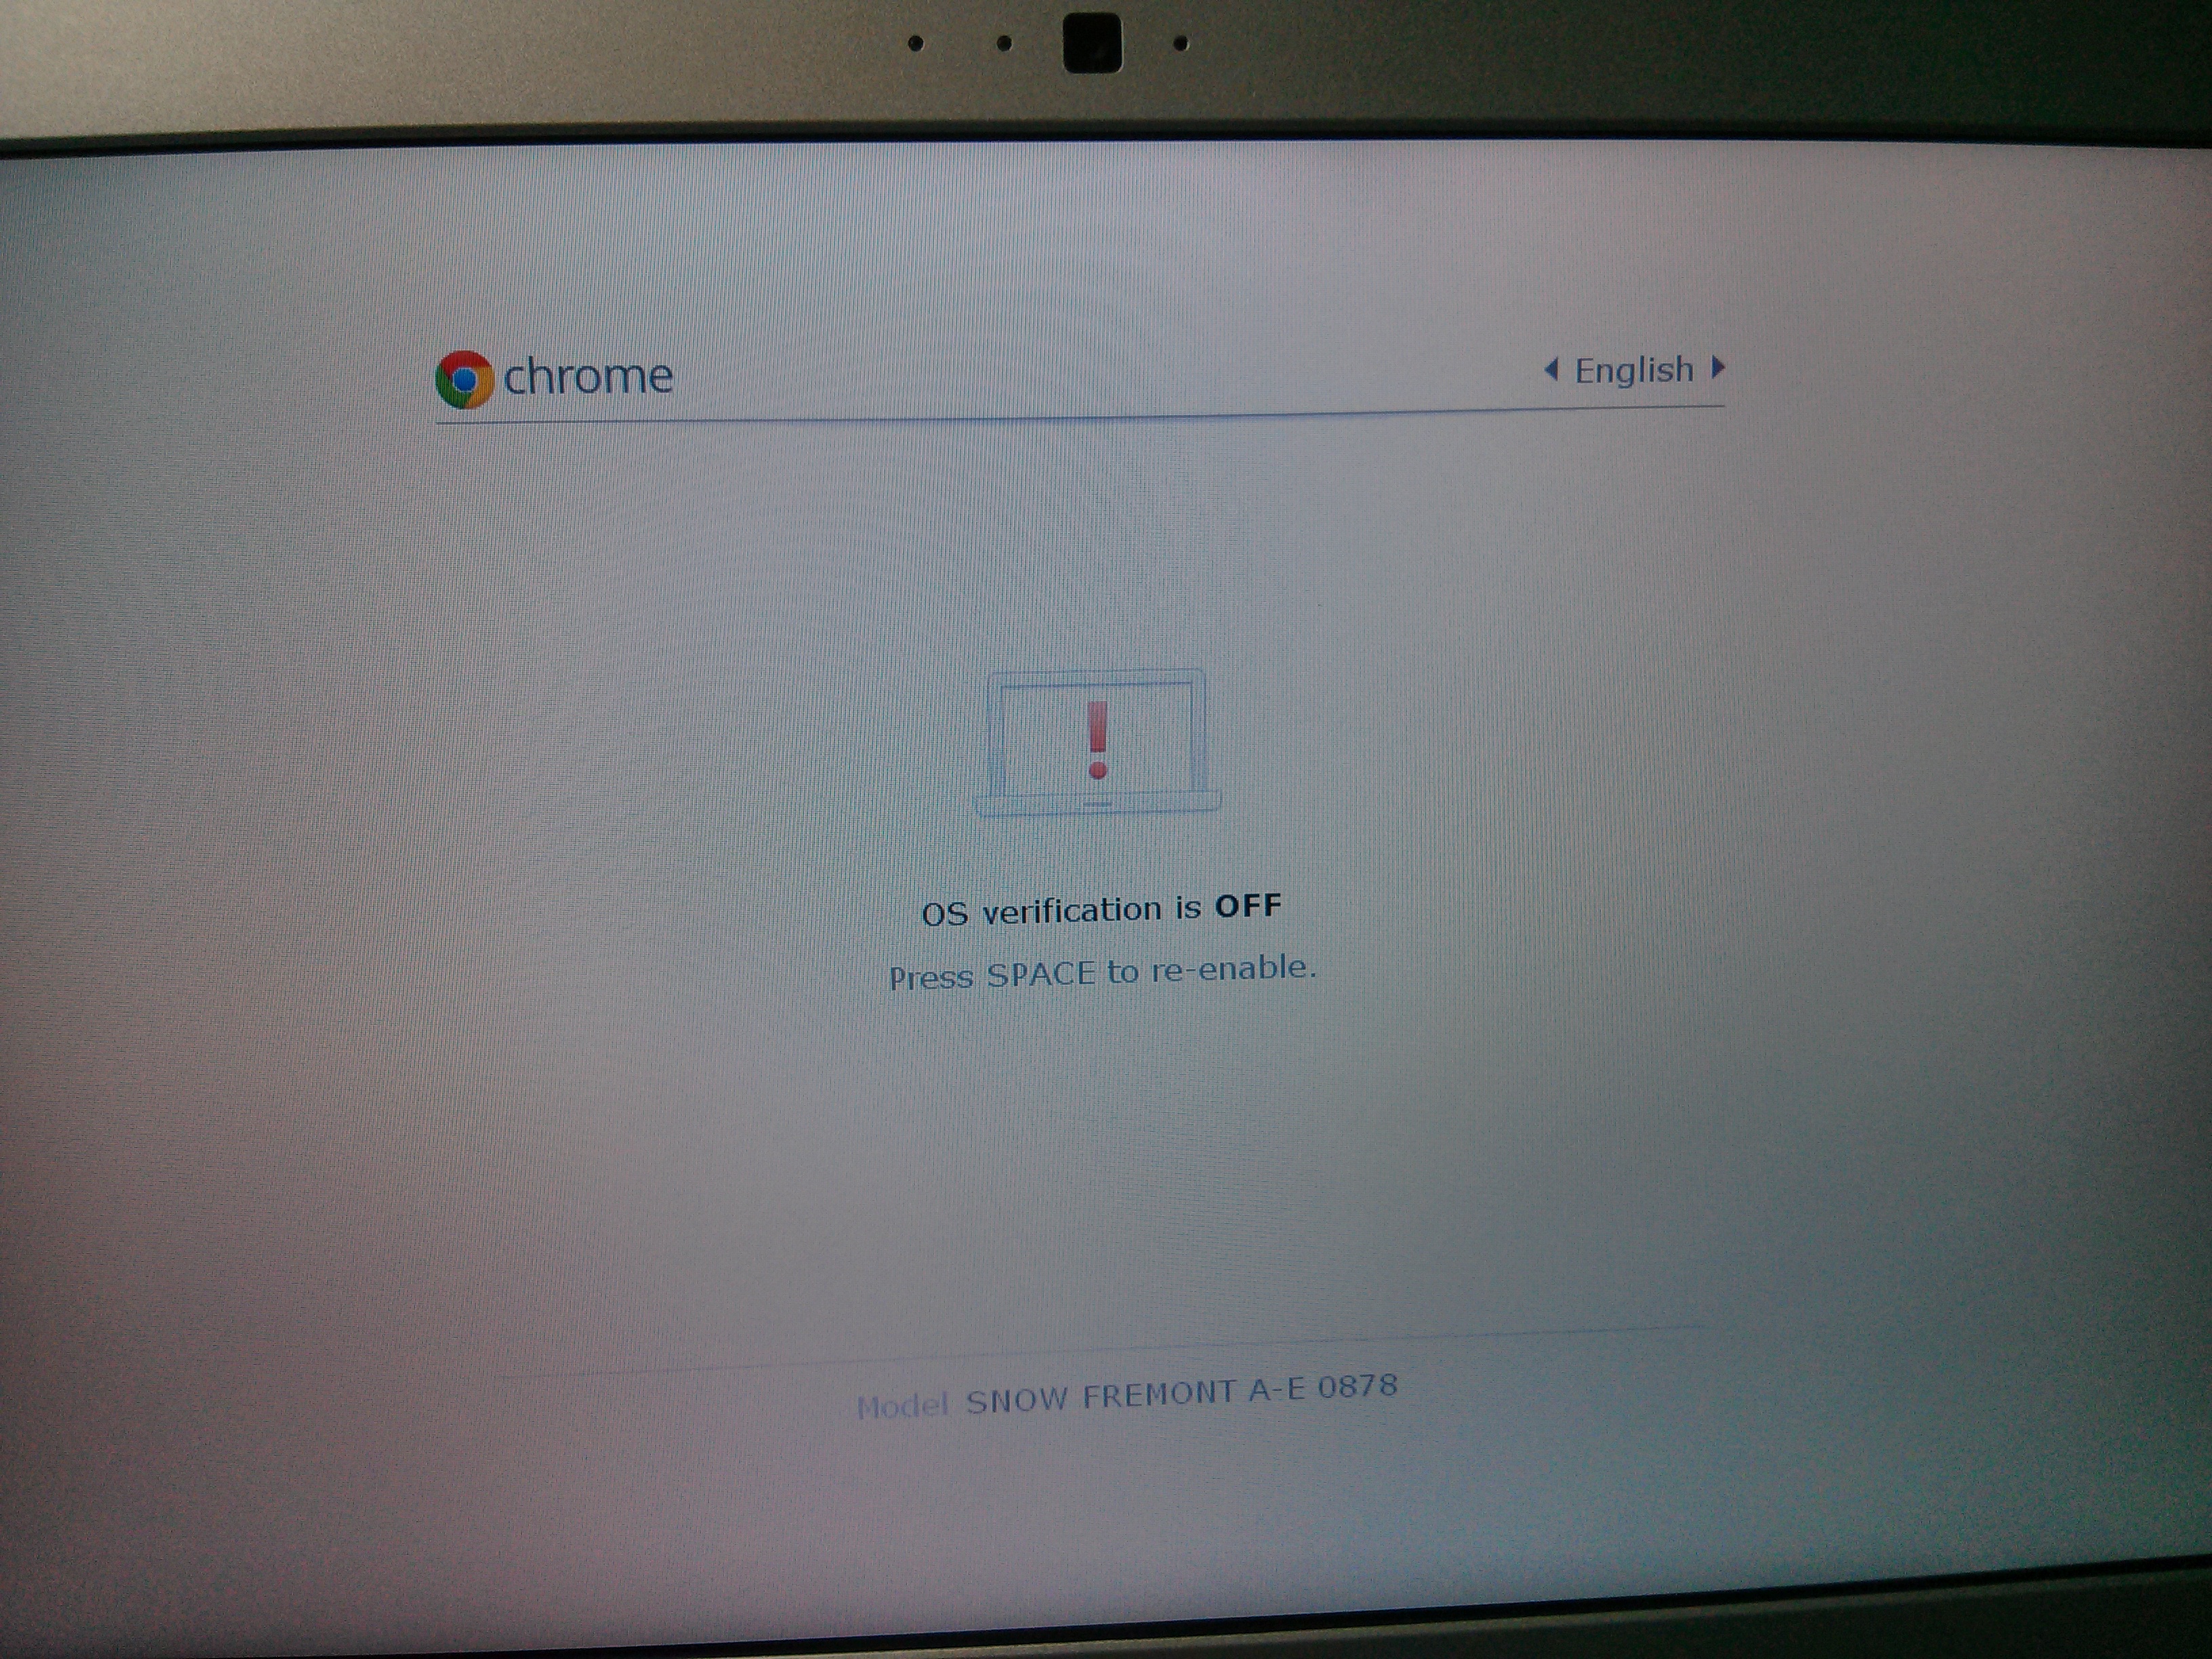
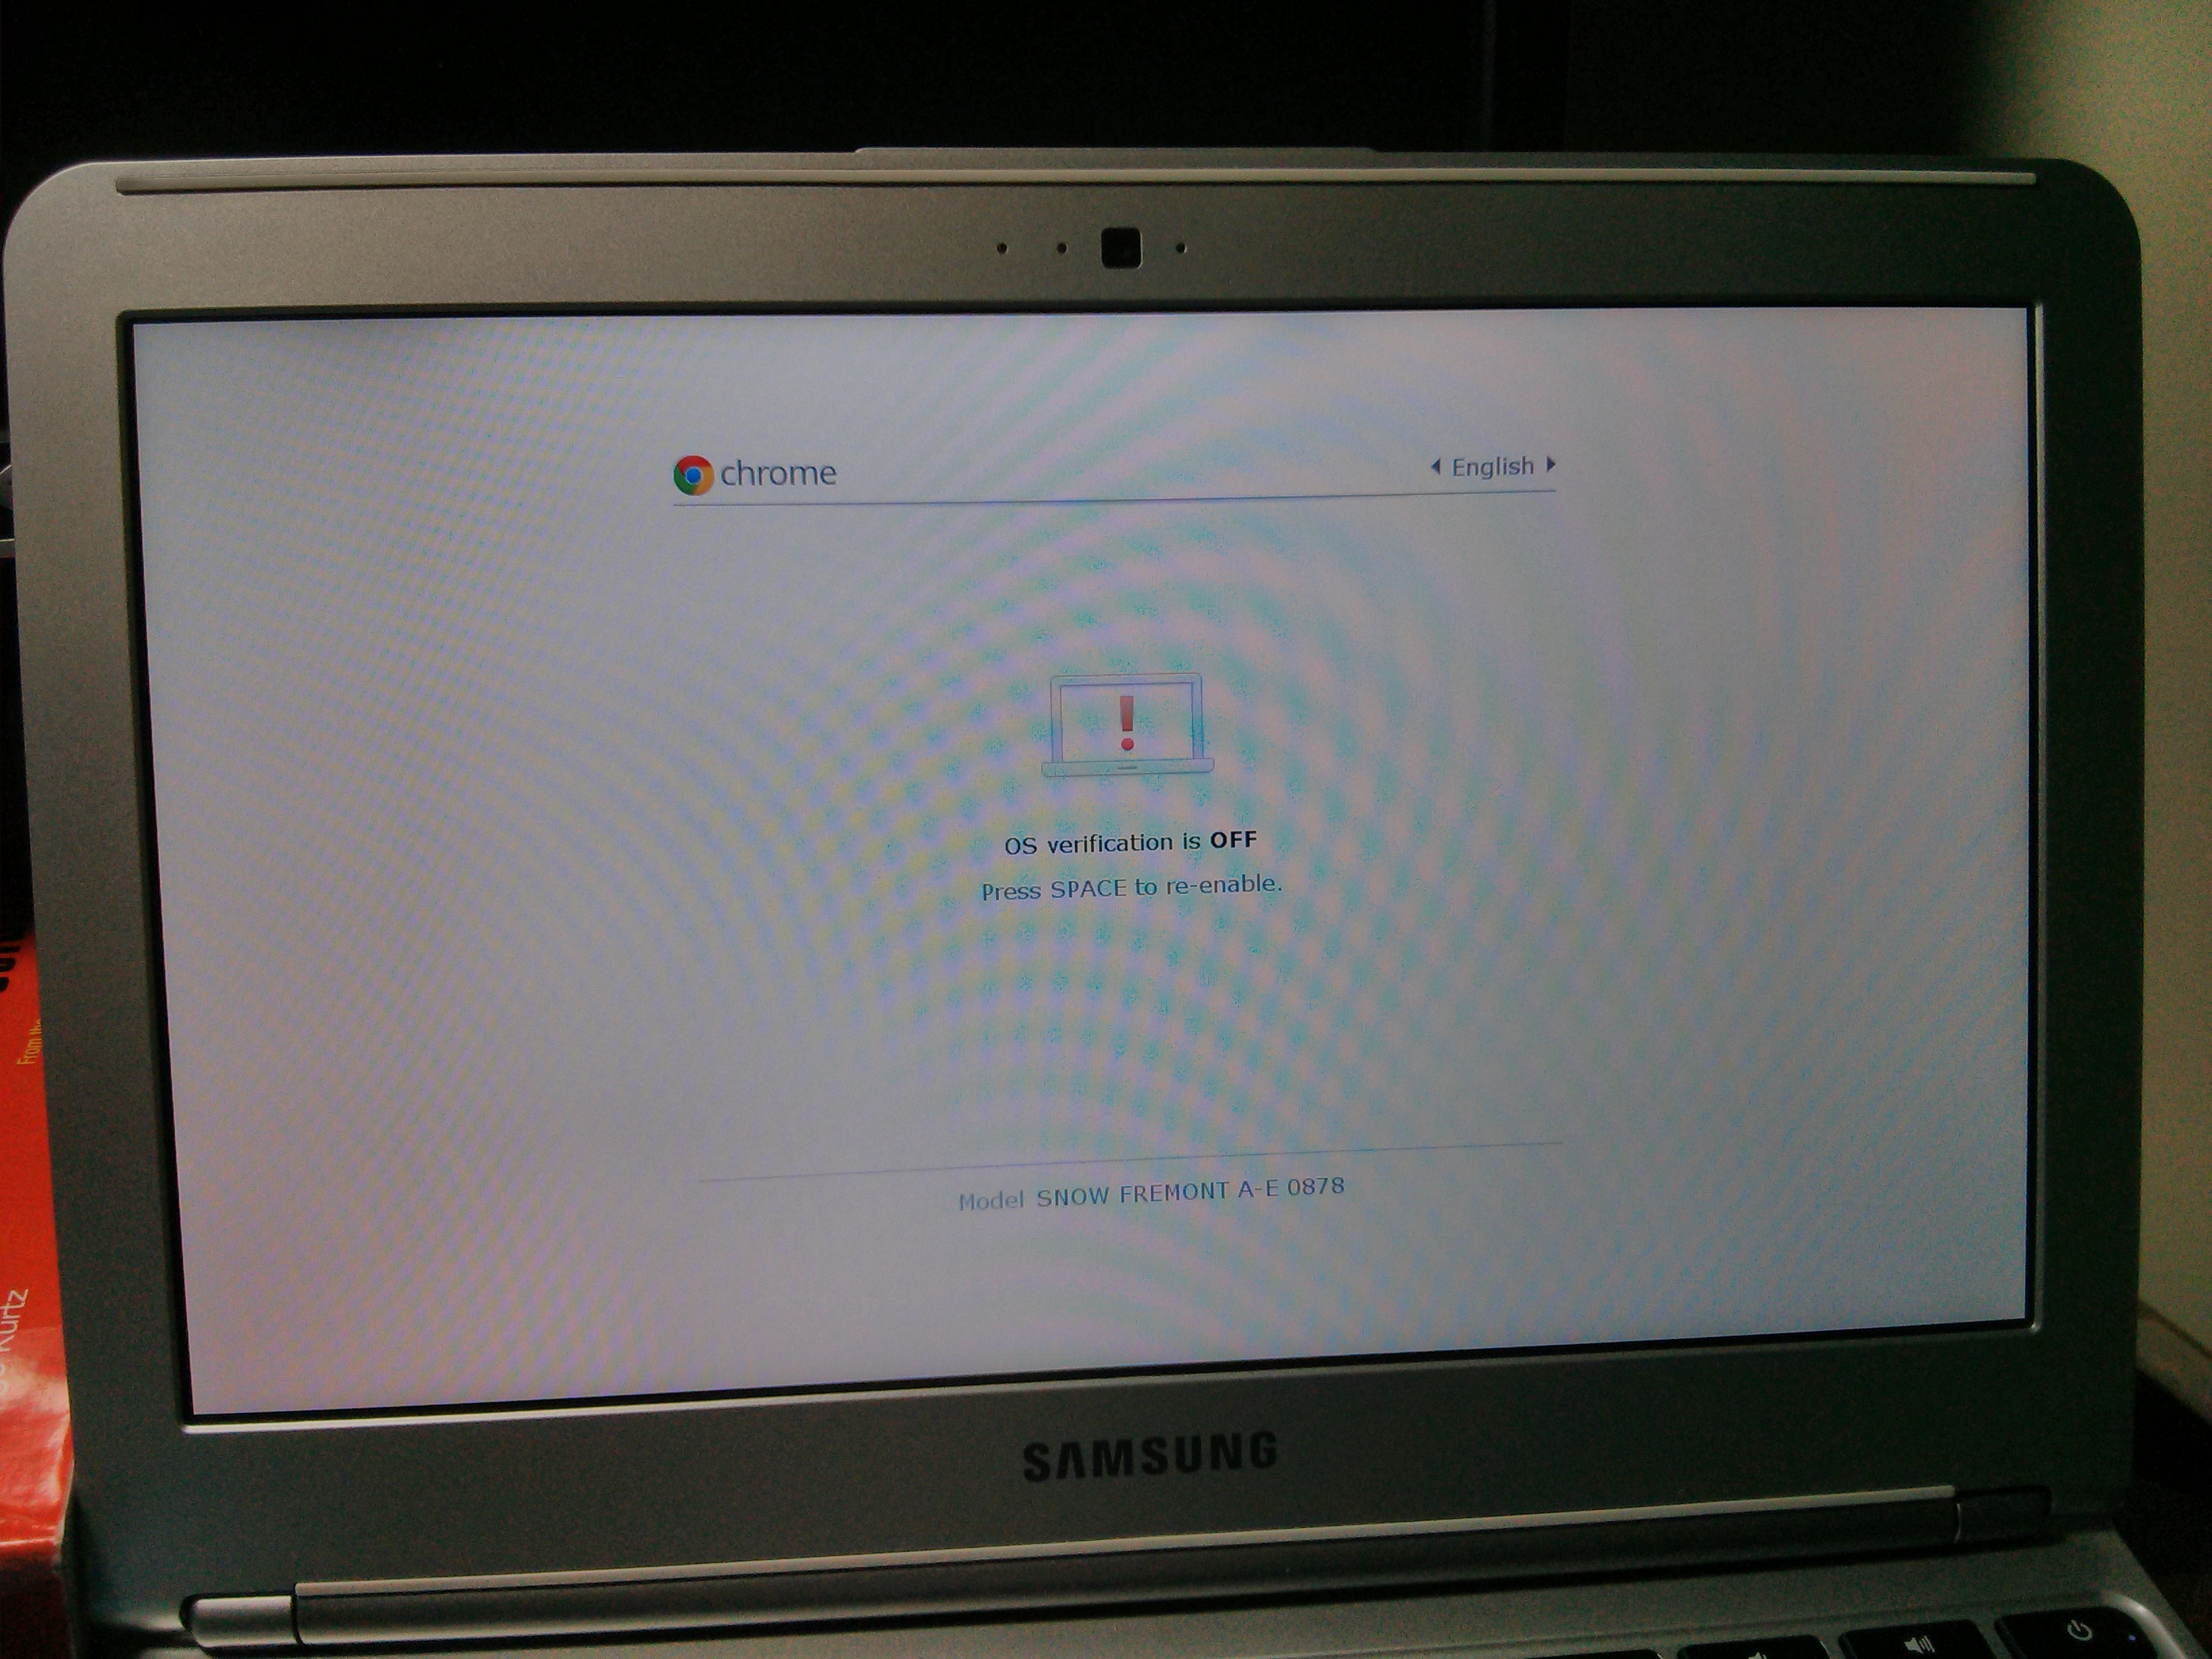
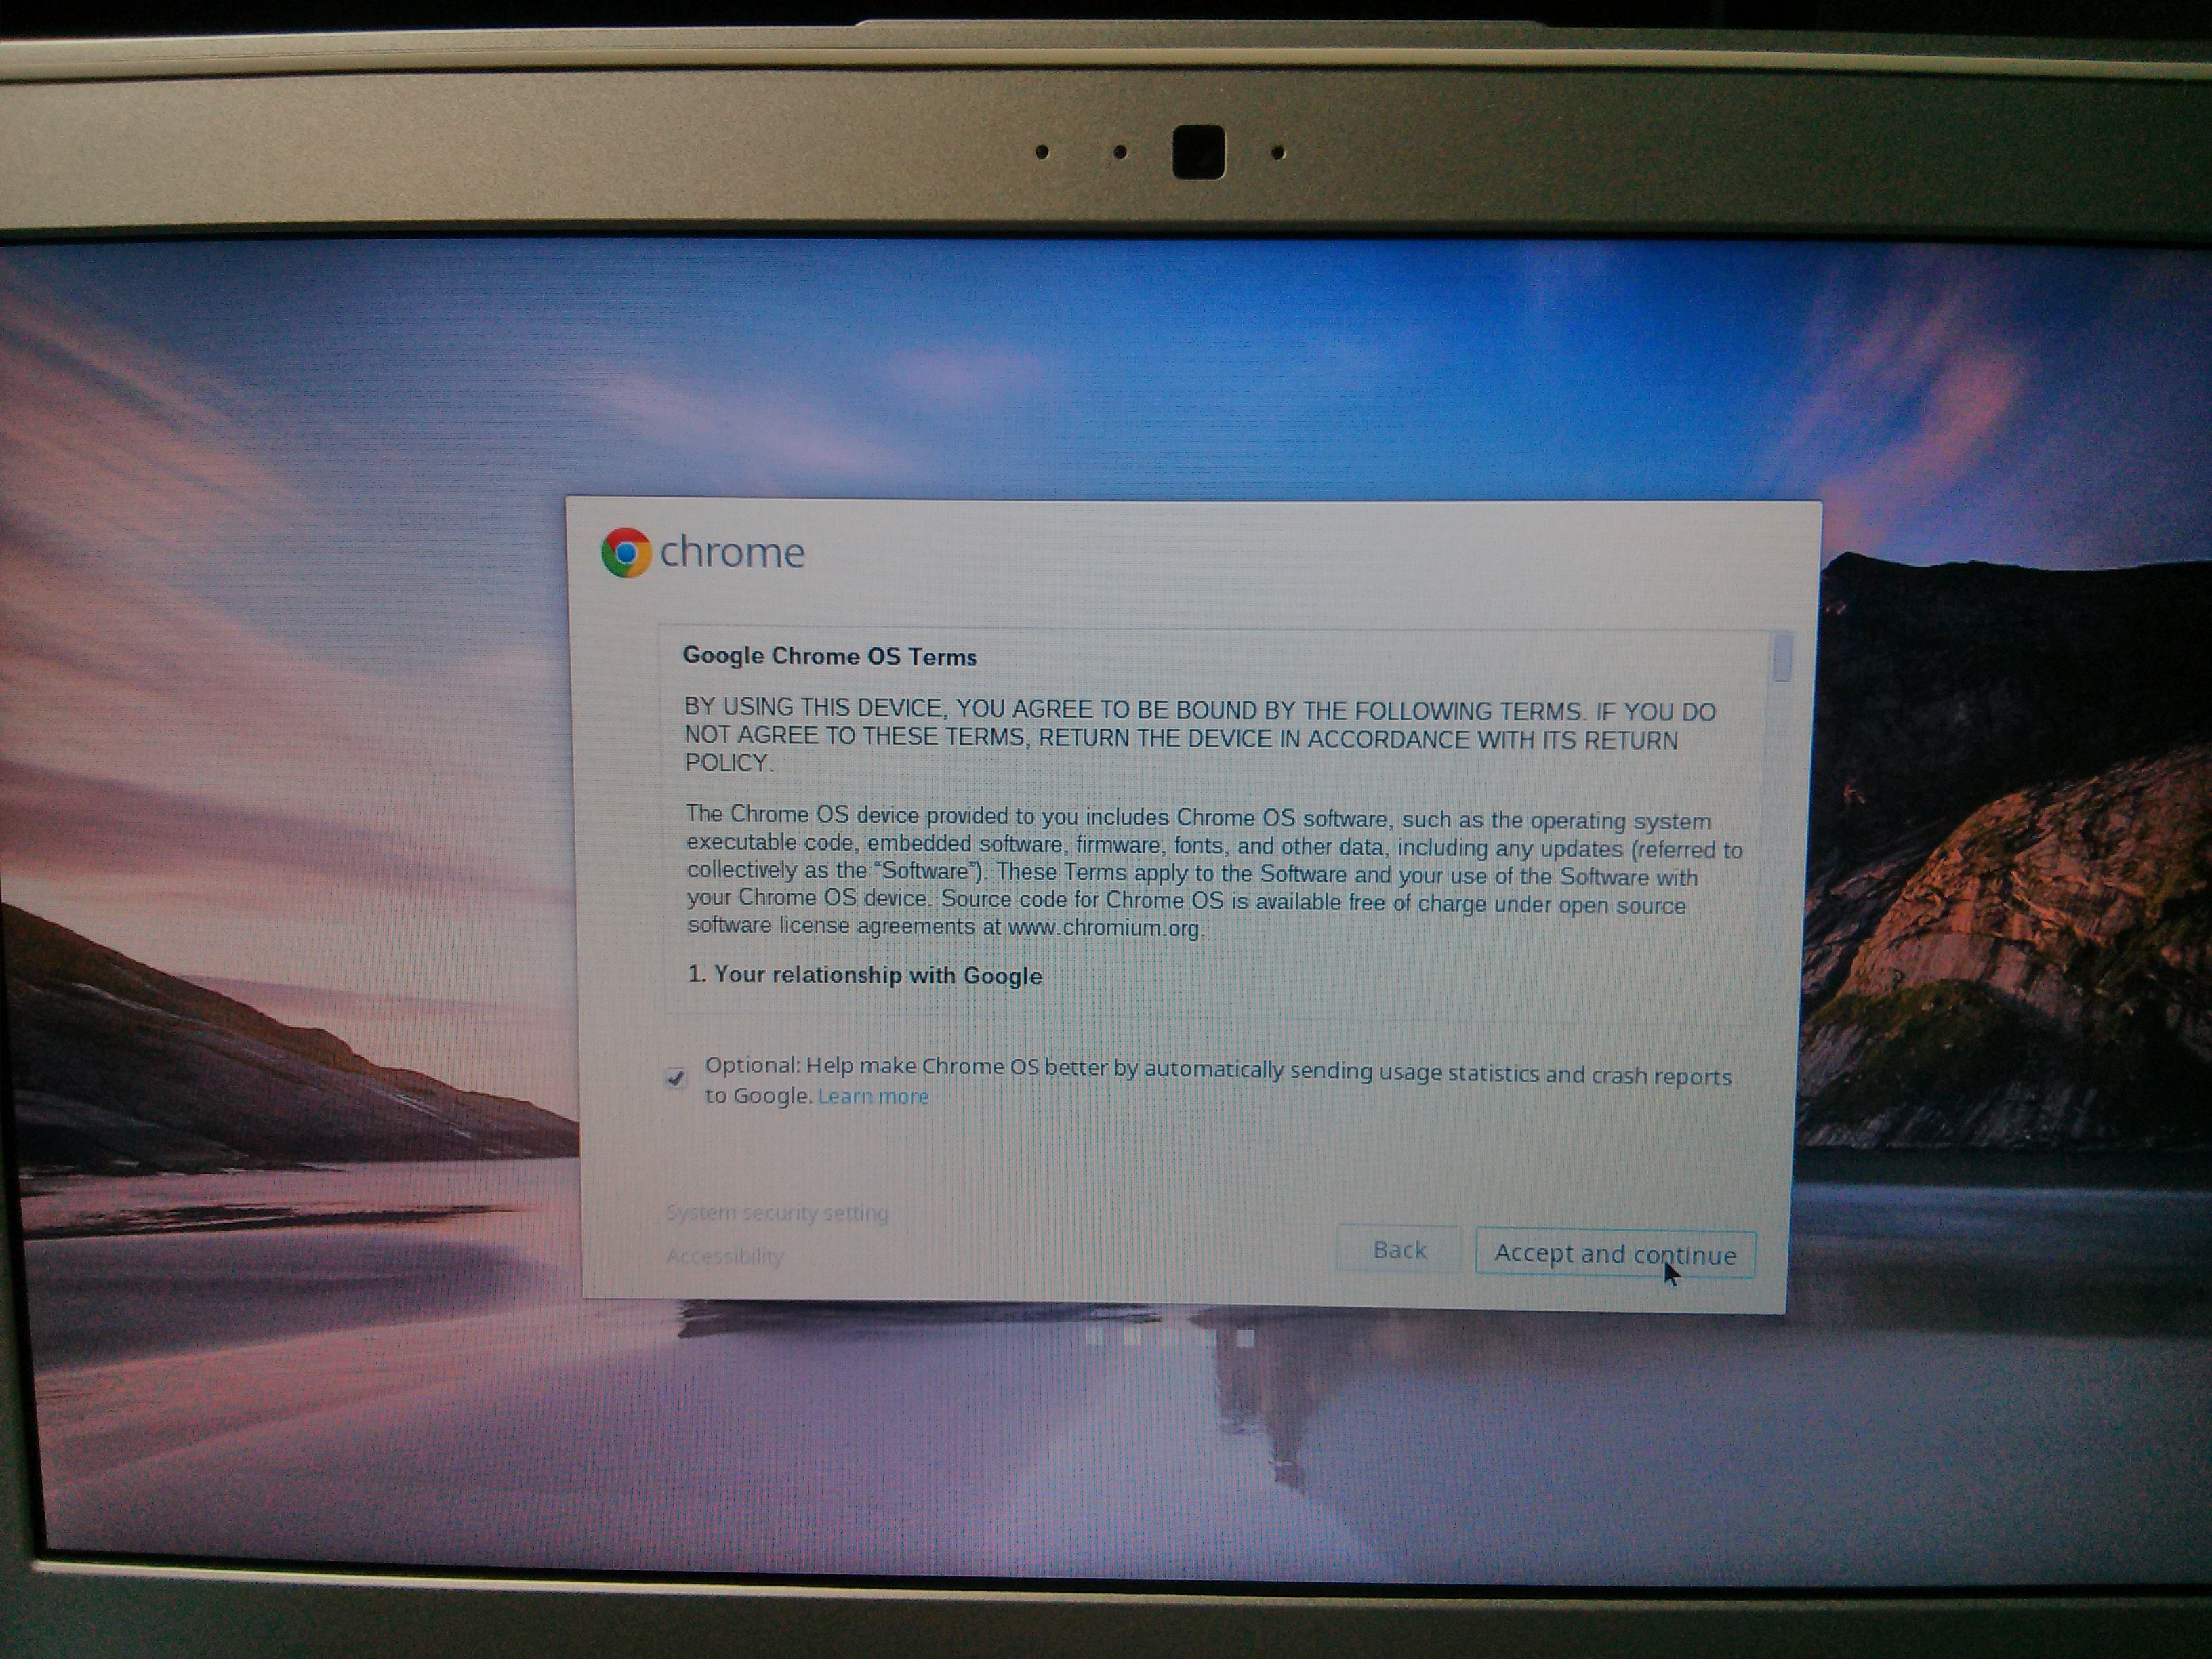
ChromeOS is designed as a secure sandbox where the OS and applications are verified before running. It is possible, however, to switch to a Developer Mode, in which this security is disabled and new opportunities for mischief, mayhem, disaster and unlimited fun become possible!
READ The Rest of this Blog at YOUR OWN RISK and PERIL !
You have been warned !
Switching to Developer Mode
“This is your last chance. After this, there is no turning back.
You take the blue pill, the story ends, you wake up in your bed and believe whatever you want to believe.
You take the red pill, you stay in Wonderland, and I show you how deep the rabbit hole goes”
Morpheous
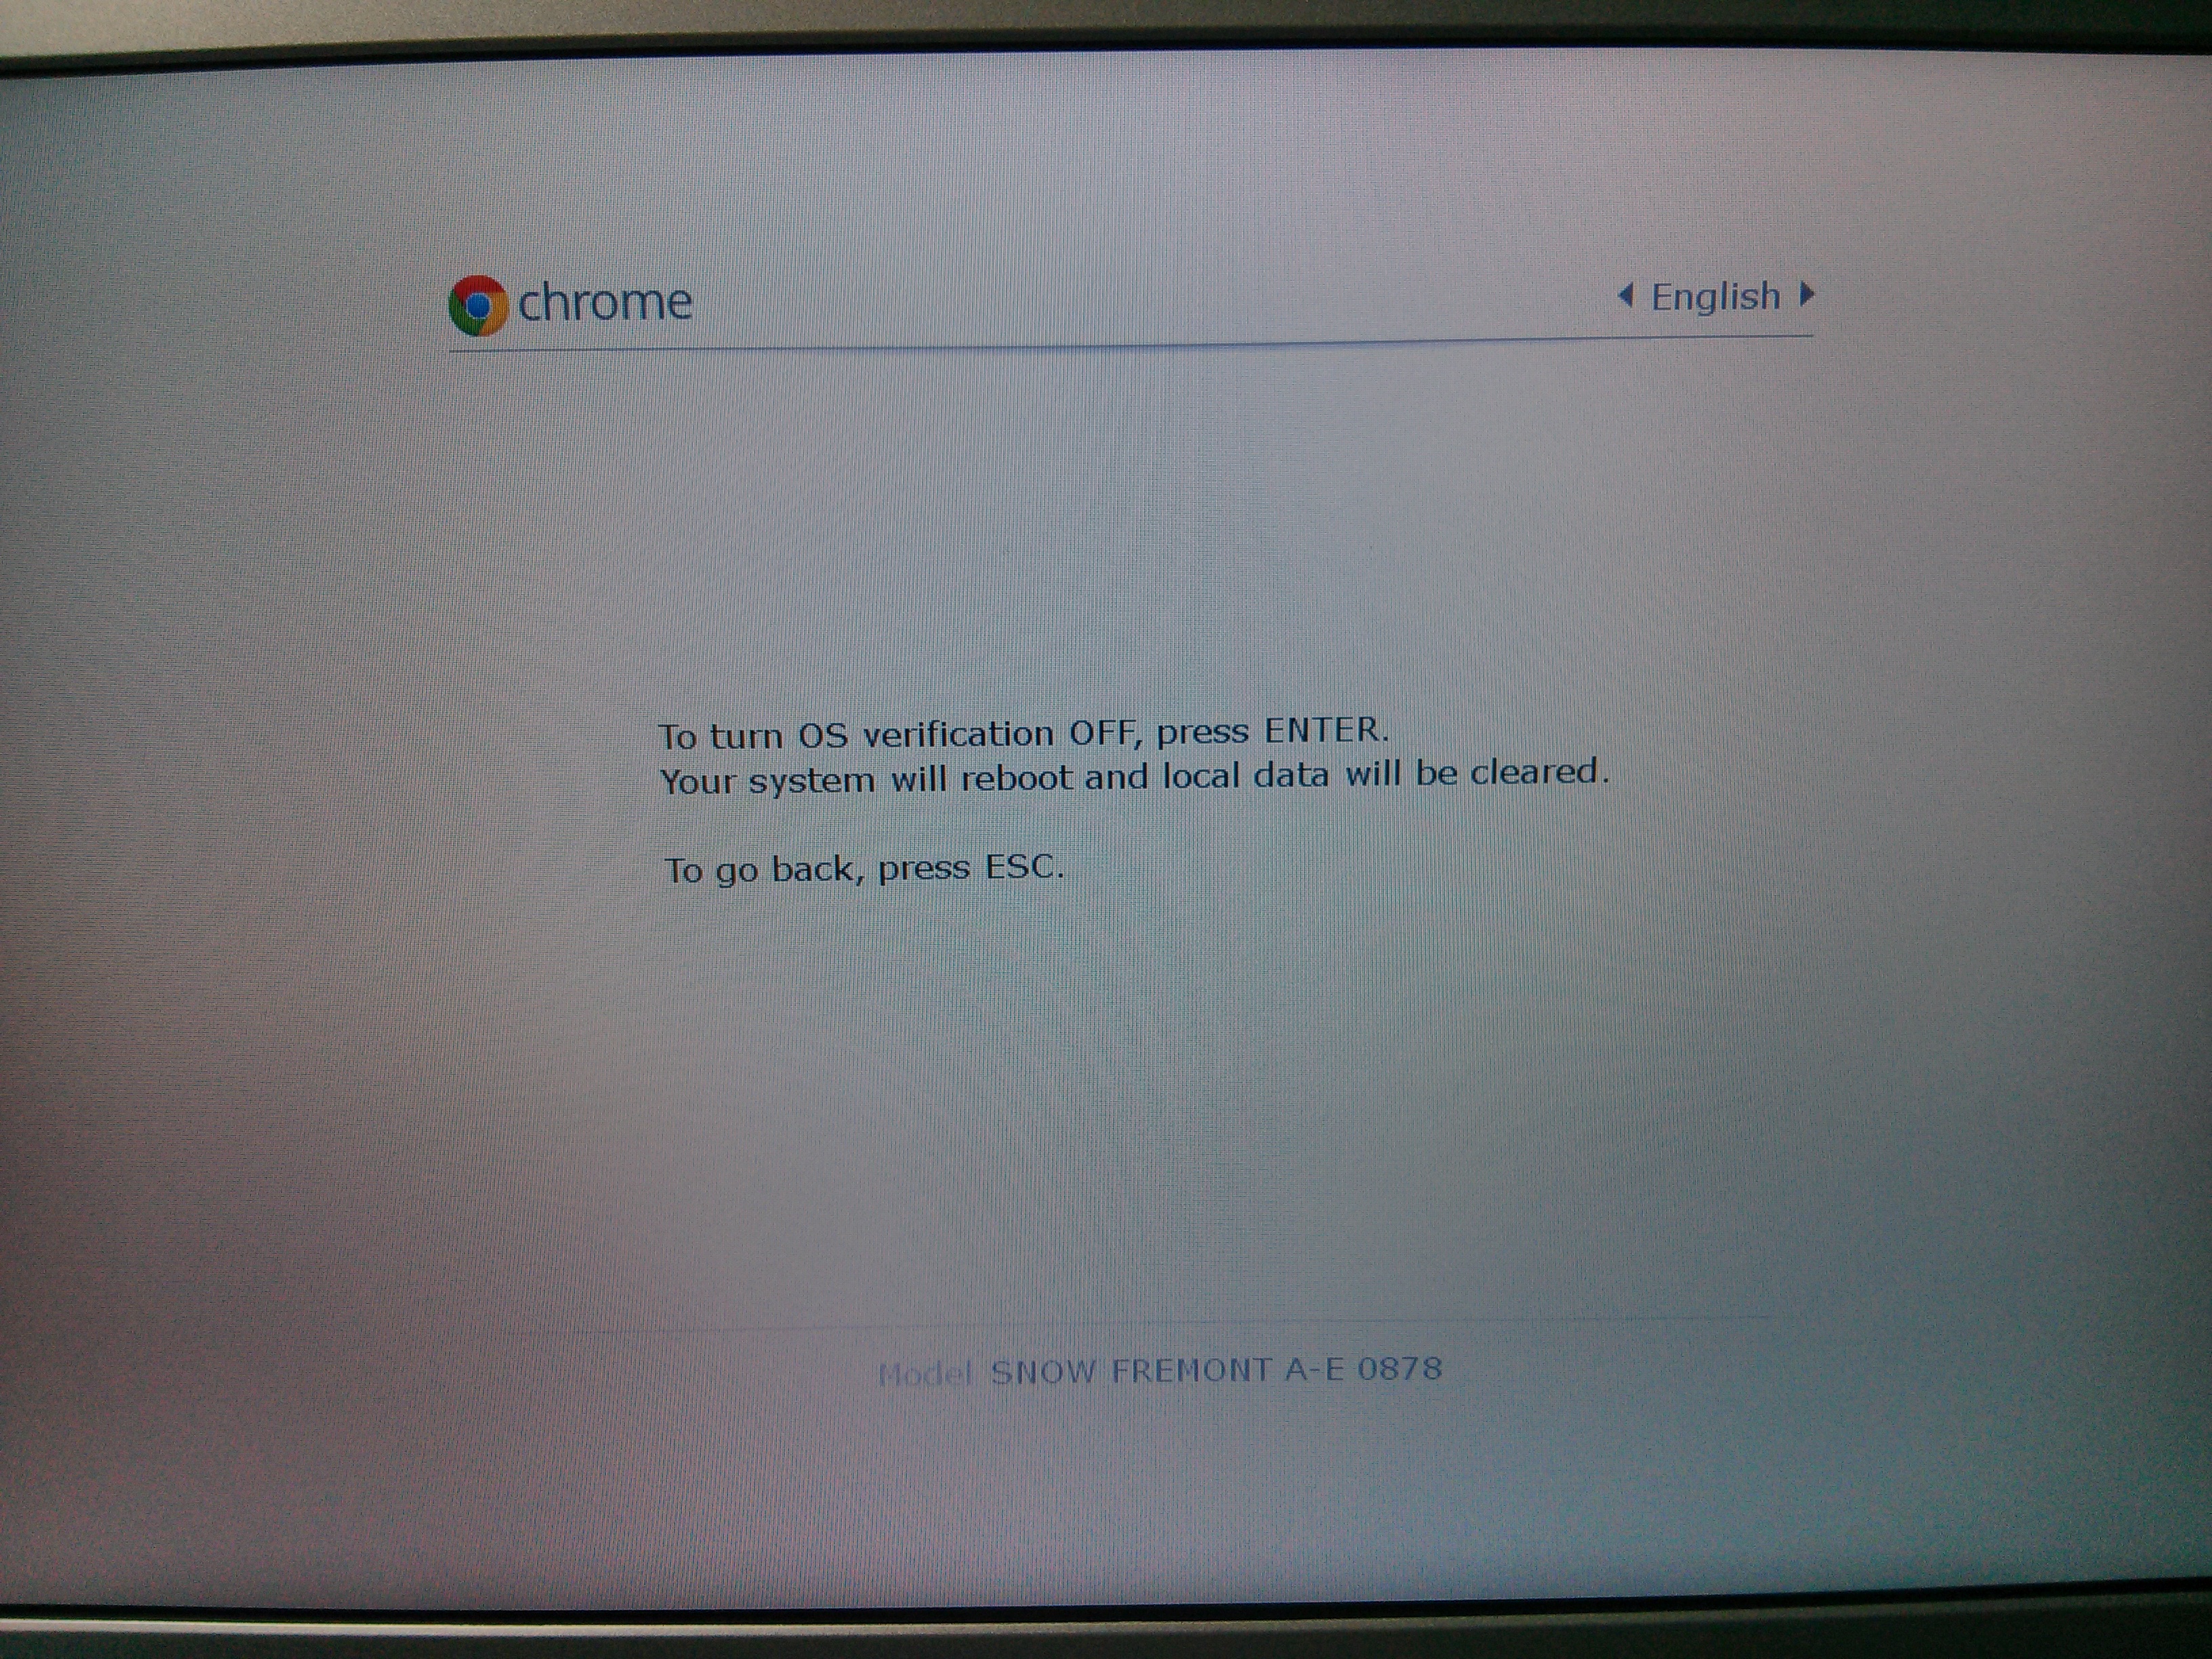
- To enter Dev-mode you first invoke “Recovery”
- To invoke Recovery mode, you hold down the ESC and Refresh keys and poke the Power button.
- Once in the Recovery screen press Ctrl-D (there’s no prompt – you have to know to do it).
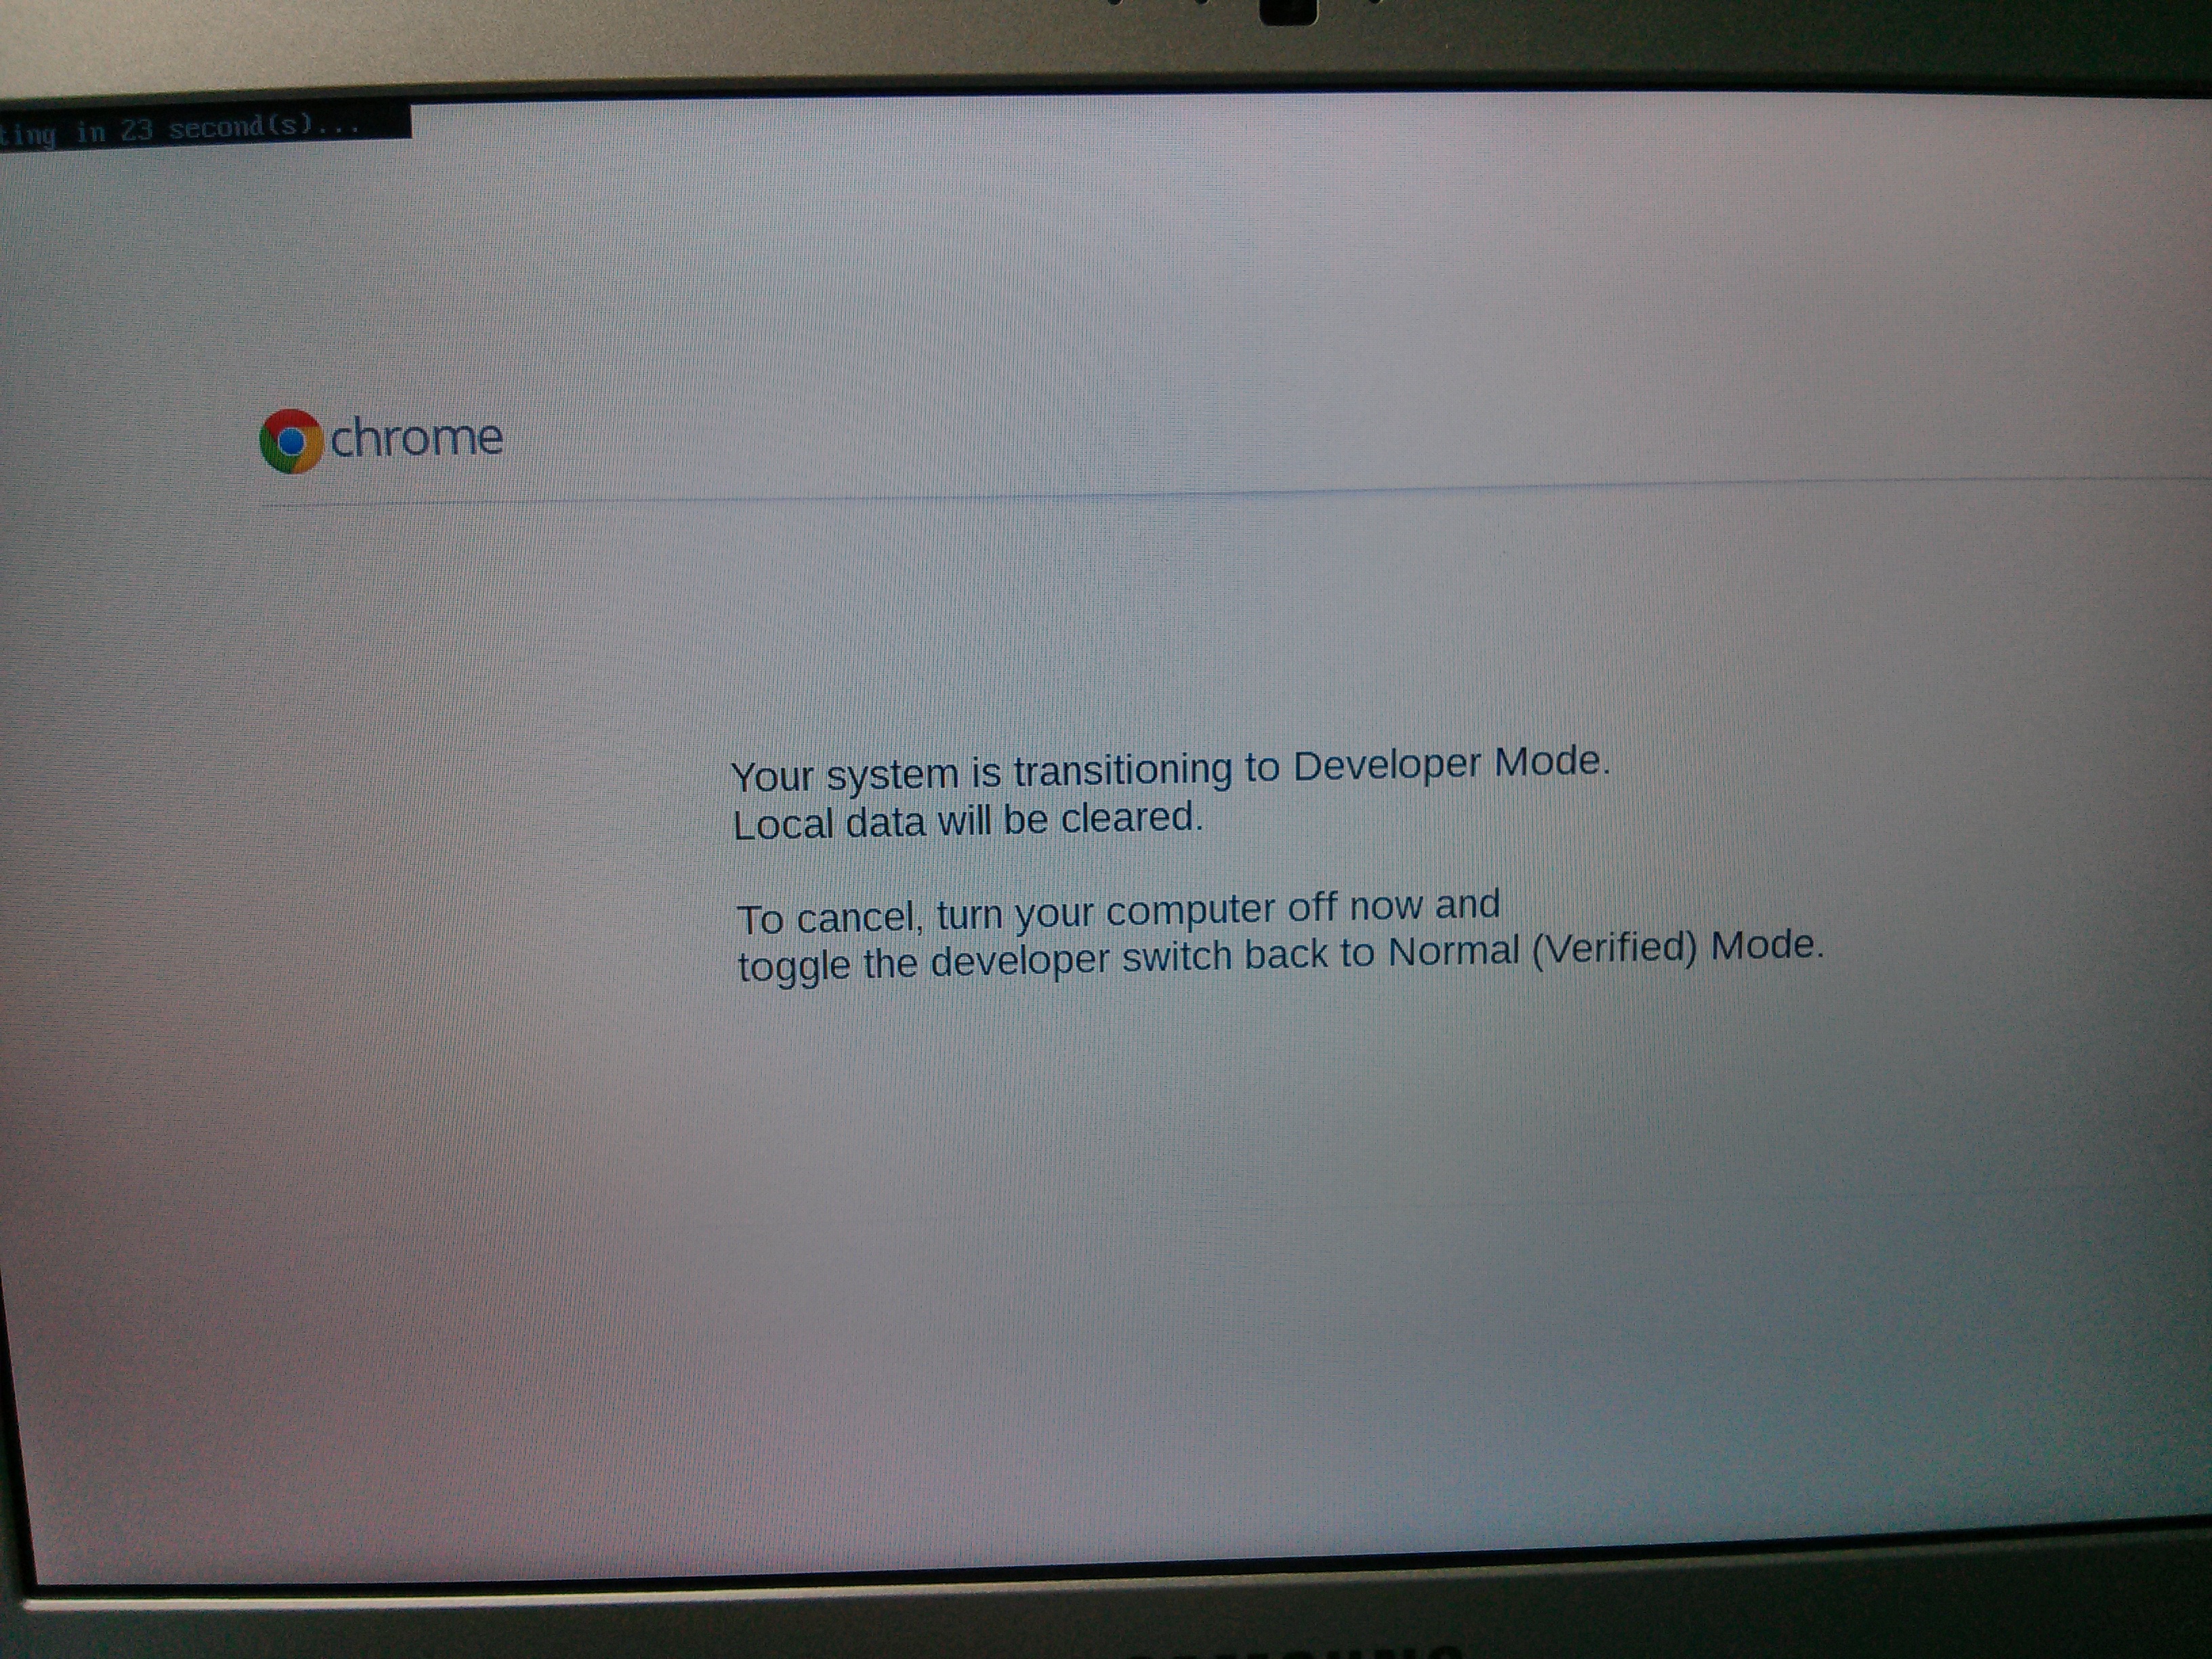
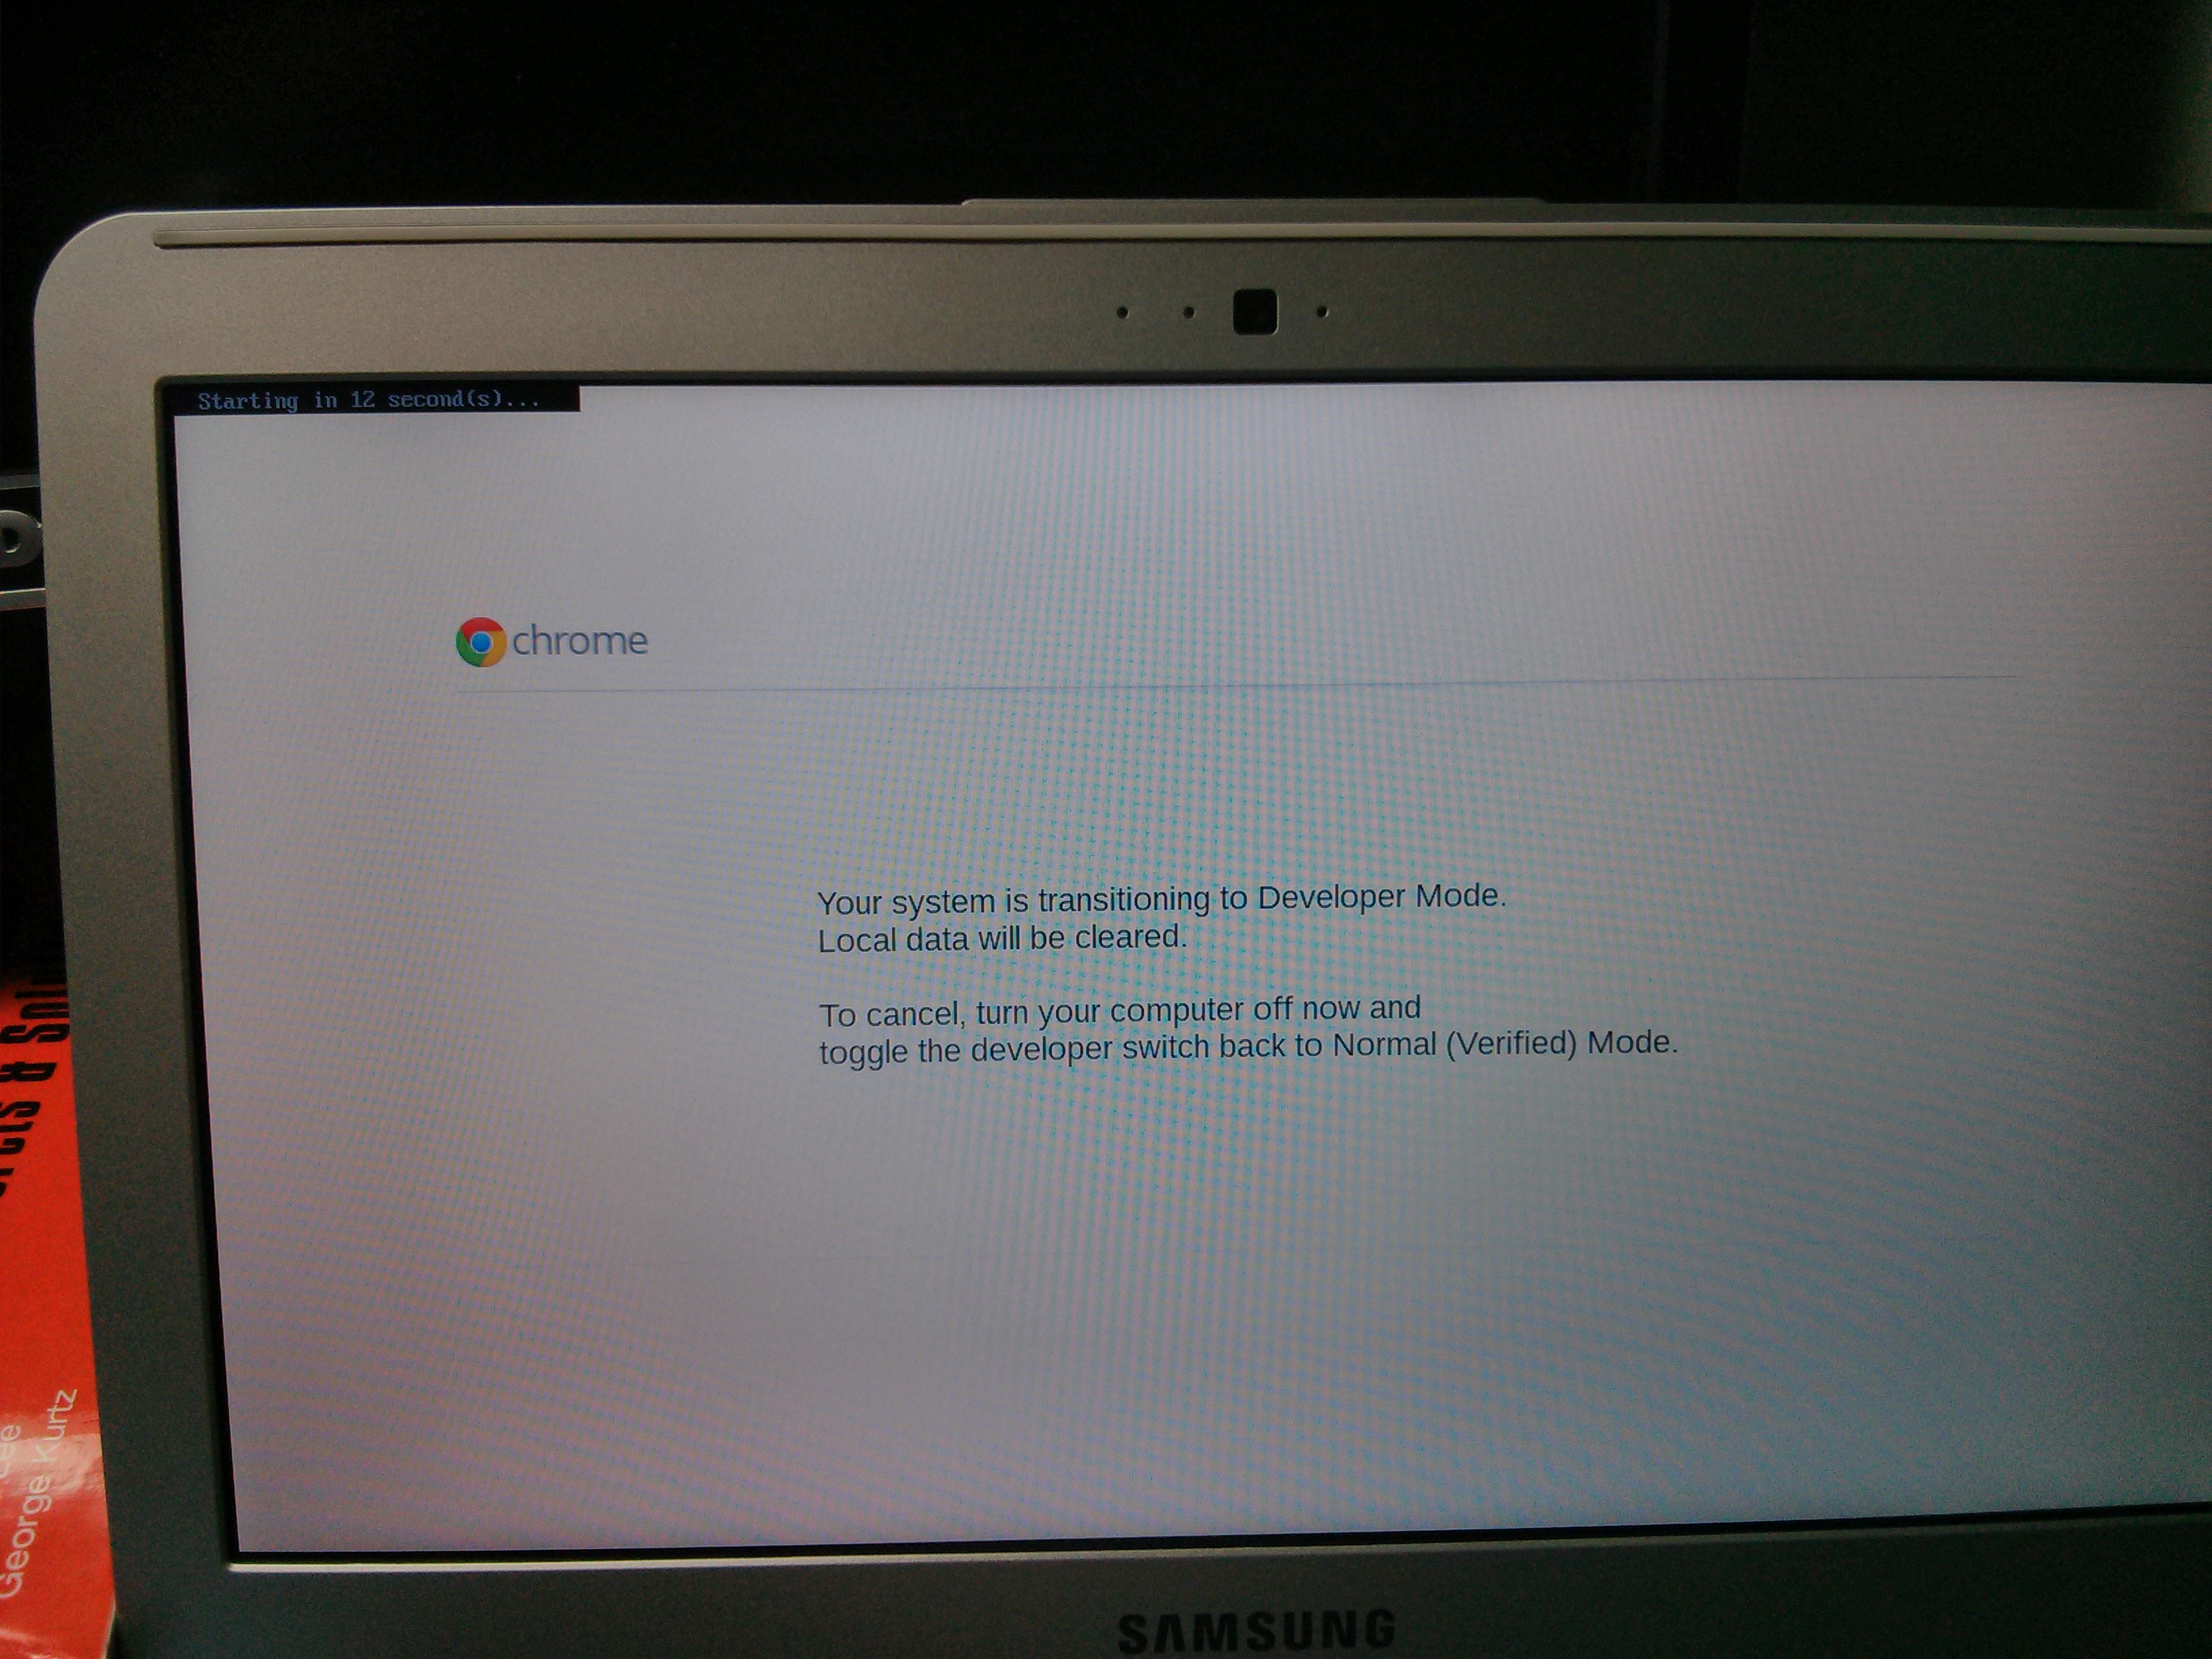
It will ask you to confirm, then reboot into dev-mode. - Dev-mode works the same as always:
It will show the scary boot screen and you need to press Ctrl-D or wait 30 seconds to continue booting.
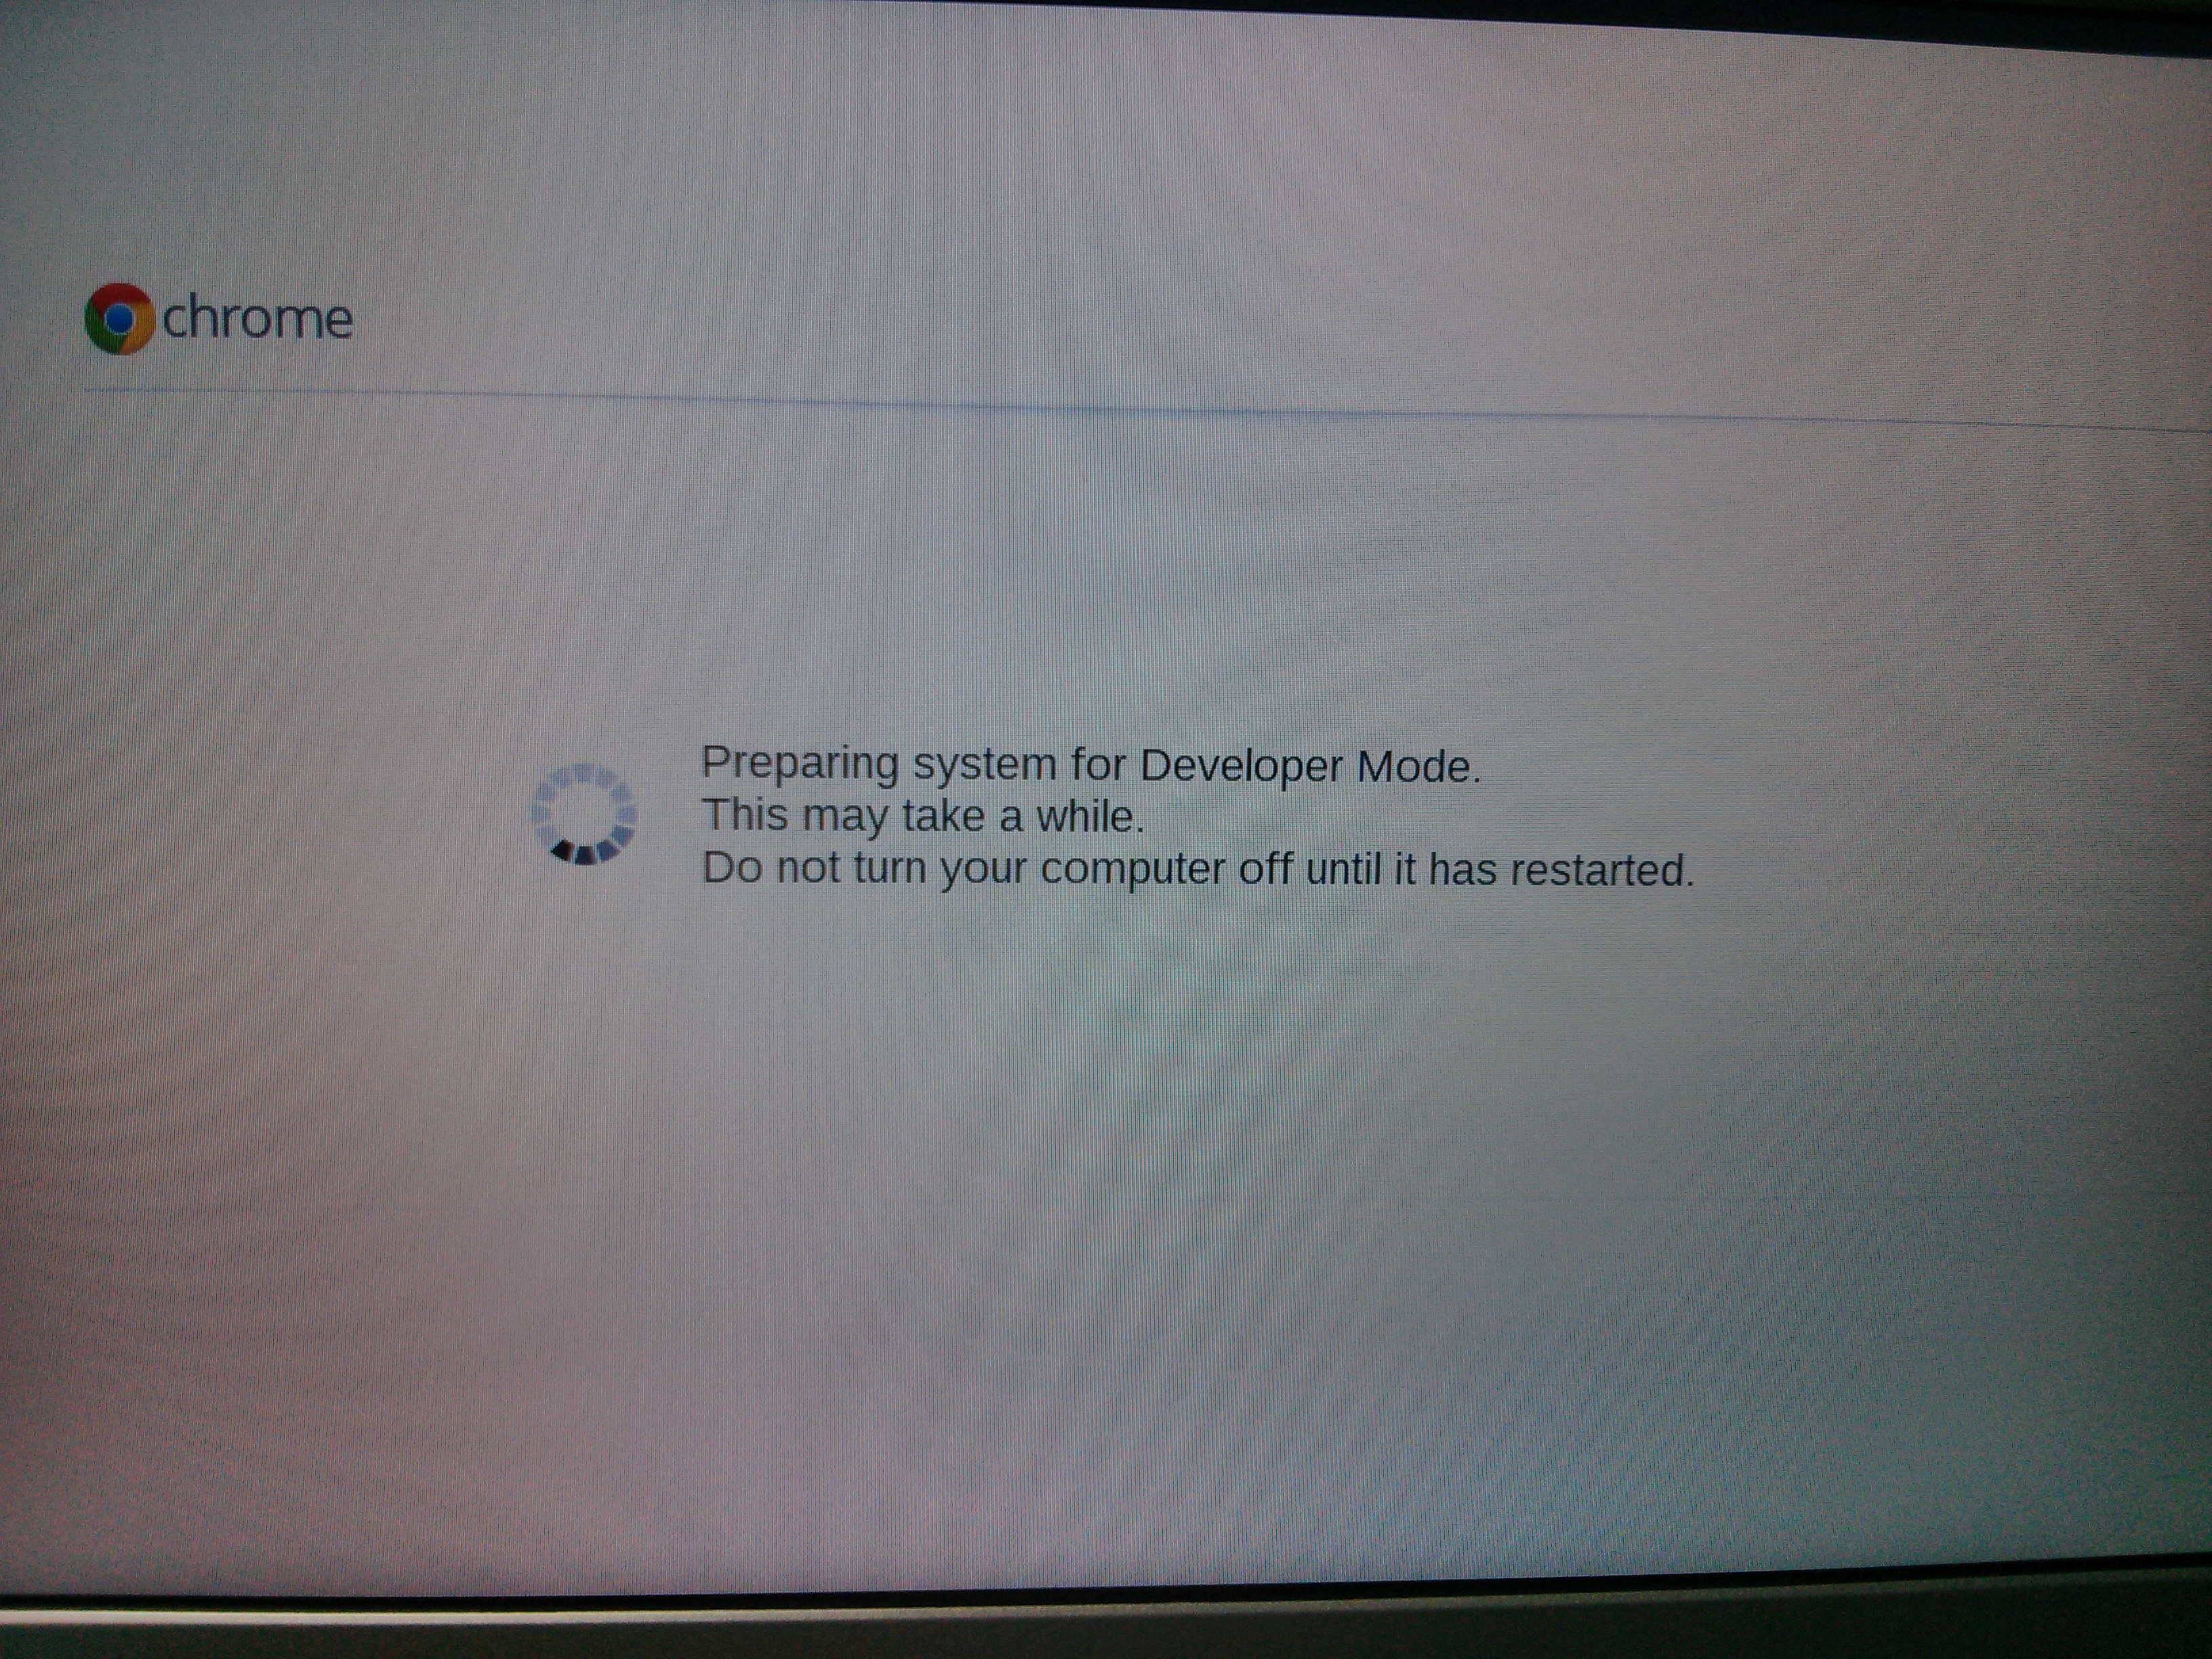
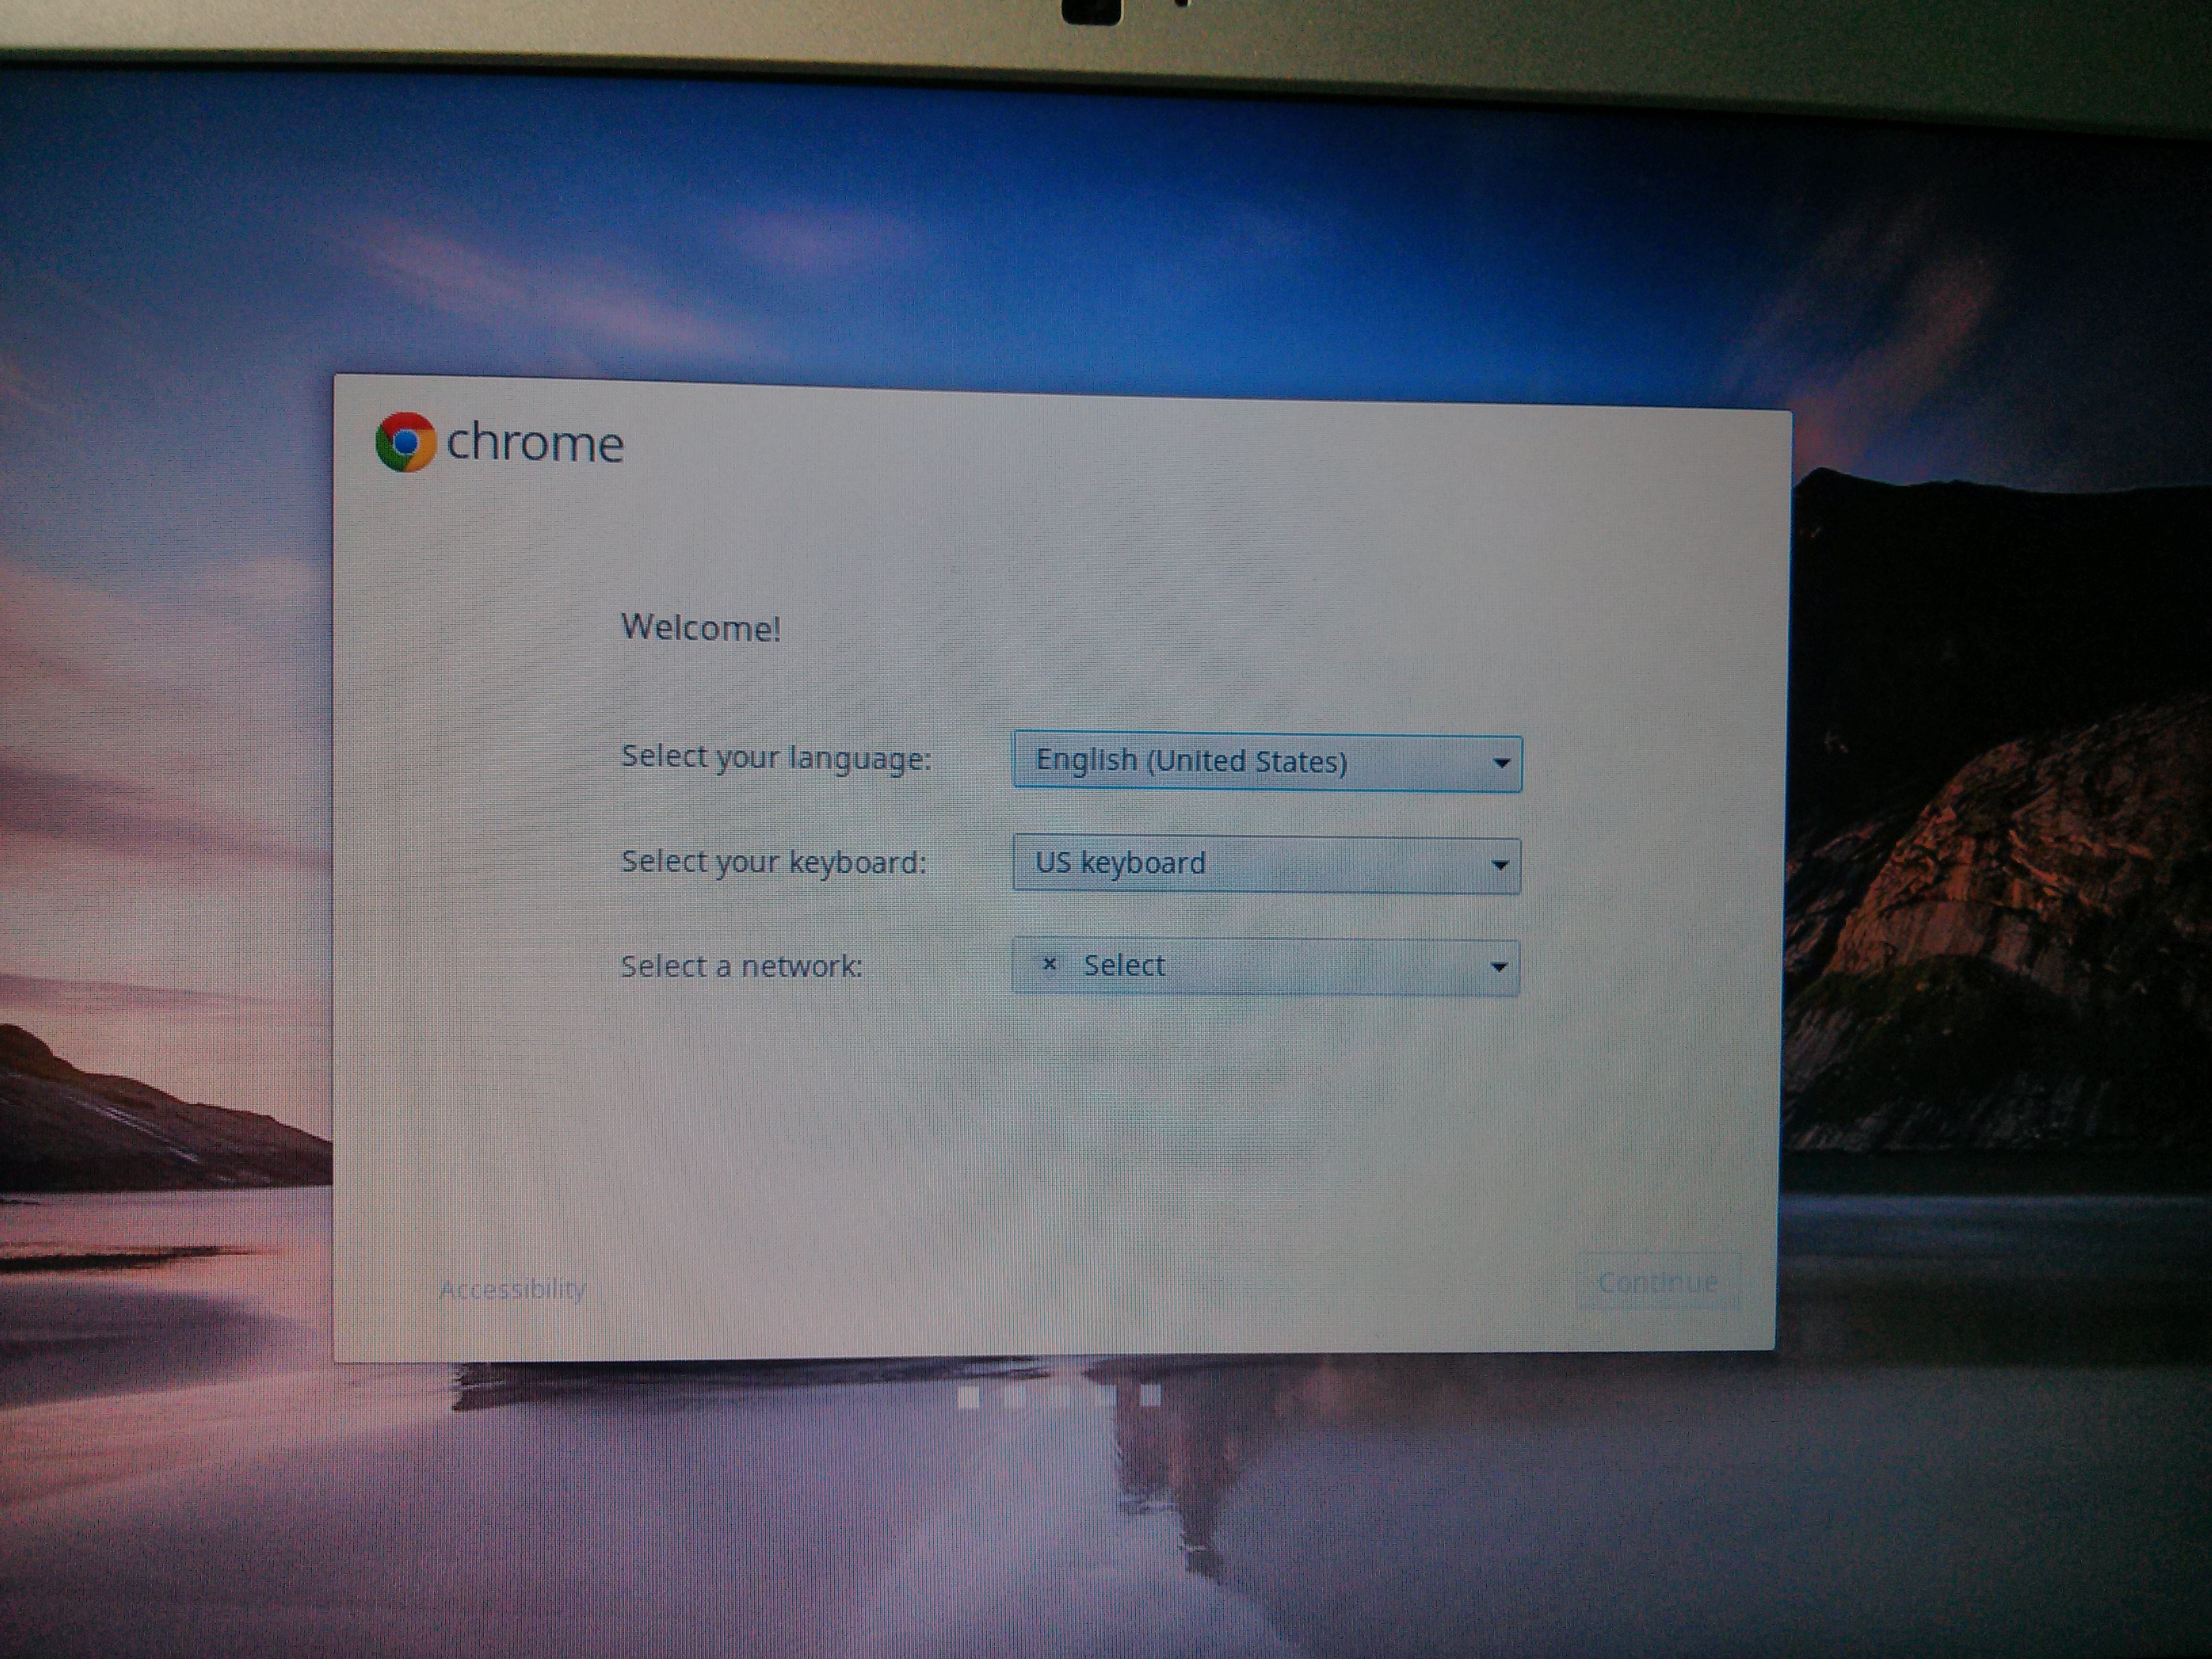
During the process of switching to Developer Mode, all local data stored in the device will be DELETED, and the device will restart ChromeOS with its factory settings. Therefore you will have to log in again into your gmail account.
 |
 |
 |
 |
 |
 |
 |
 |
 |
 |
 |
 |
From now on, every time that we boot the Chromebook, an alert message (and two loud beeps) will remind us that we have put the device in an un-secure mode, that terrible things may happen, and that we will deserve all of them (it just doesn’t say how much fun there will be and how much we can learn in the process).
Bring up the Shell !
Once in the Developer Mode, is possible to right away get access to the shell command line.
To open the Shell prompt us the keys
CTRL + ALT + t
This will open a tab in the Chrome browser, showing the “crosh” shell.
Crosh itself doesn’t provide much functionalities. Except for allowing you to open SSH connections to other devices. The SSH commands are more restricted that what you may be familiar with in Linux. Use the “help” command to see their format.
The next step is to invoke a Bash shell from “crosh”. This is done by simply typing “shell”.
It is also possible to switch to the shell by using the key combination
CTRL + ALT + ==>
Where “==>” is the arrow key at the top of the keyboard. These are the keys that in the Chromebook take the place of the Function keys in normal US keyboards. The right arrow key is in the place of F2.
Bring in the Penguin !
What do you do once your reach the Shell ?
Install Linux, of course.
Although… well…
the Linux Kernel is already there, since ChromeOS is a Linux-Kernel-Based operating system:
Two main popular options of Linux installation are available for the Chromebook:
Here we opt for Crouton, mainly because it can run at the same time as ChromeOS, while ChrUbuntu is installed as a dual-boot system.
If you have trouble deciding, here is a great blog post describing the differences.
Crouton install Linux as a chroot, which is essentially a form of Virtualization.
Downloading Crouton
Crouton installs as a layer on top of the Linux Kernel.
The github repository of crouton can be found at: https://github.com/dnschneid/crouton
We start by downloading crouton from: http://goo.gl/fd3zc
Since our ChromeOS is still fully functional in the Chromebook we can do this download by simply using the web browser. The file will be placed in the “Downloads” directory, which more explicitly maps to the directory
/home/chronos/user/Downloads
The “chronos” directory is part of the ChromeOS setup, and it is there even before we switch to Developer mode.
We will be left with a new file:
/home/chronos/user/Downloads/crouton
 |
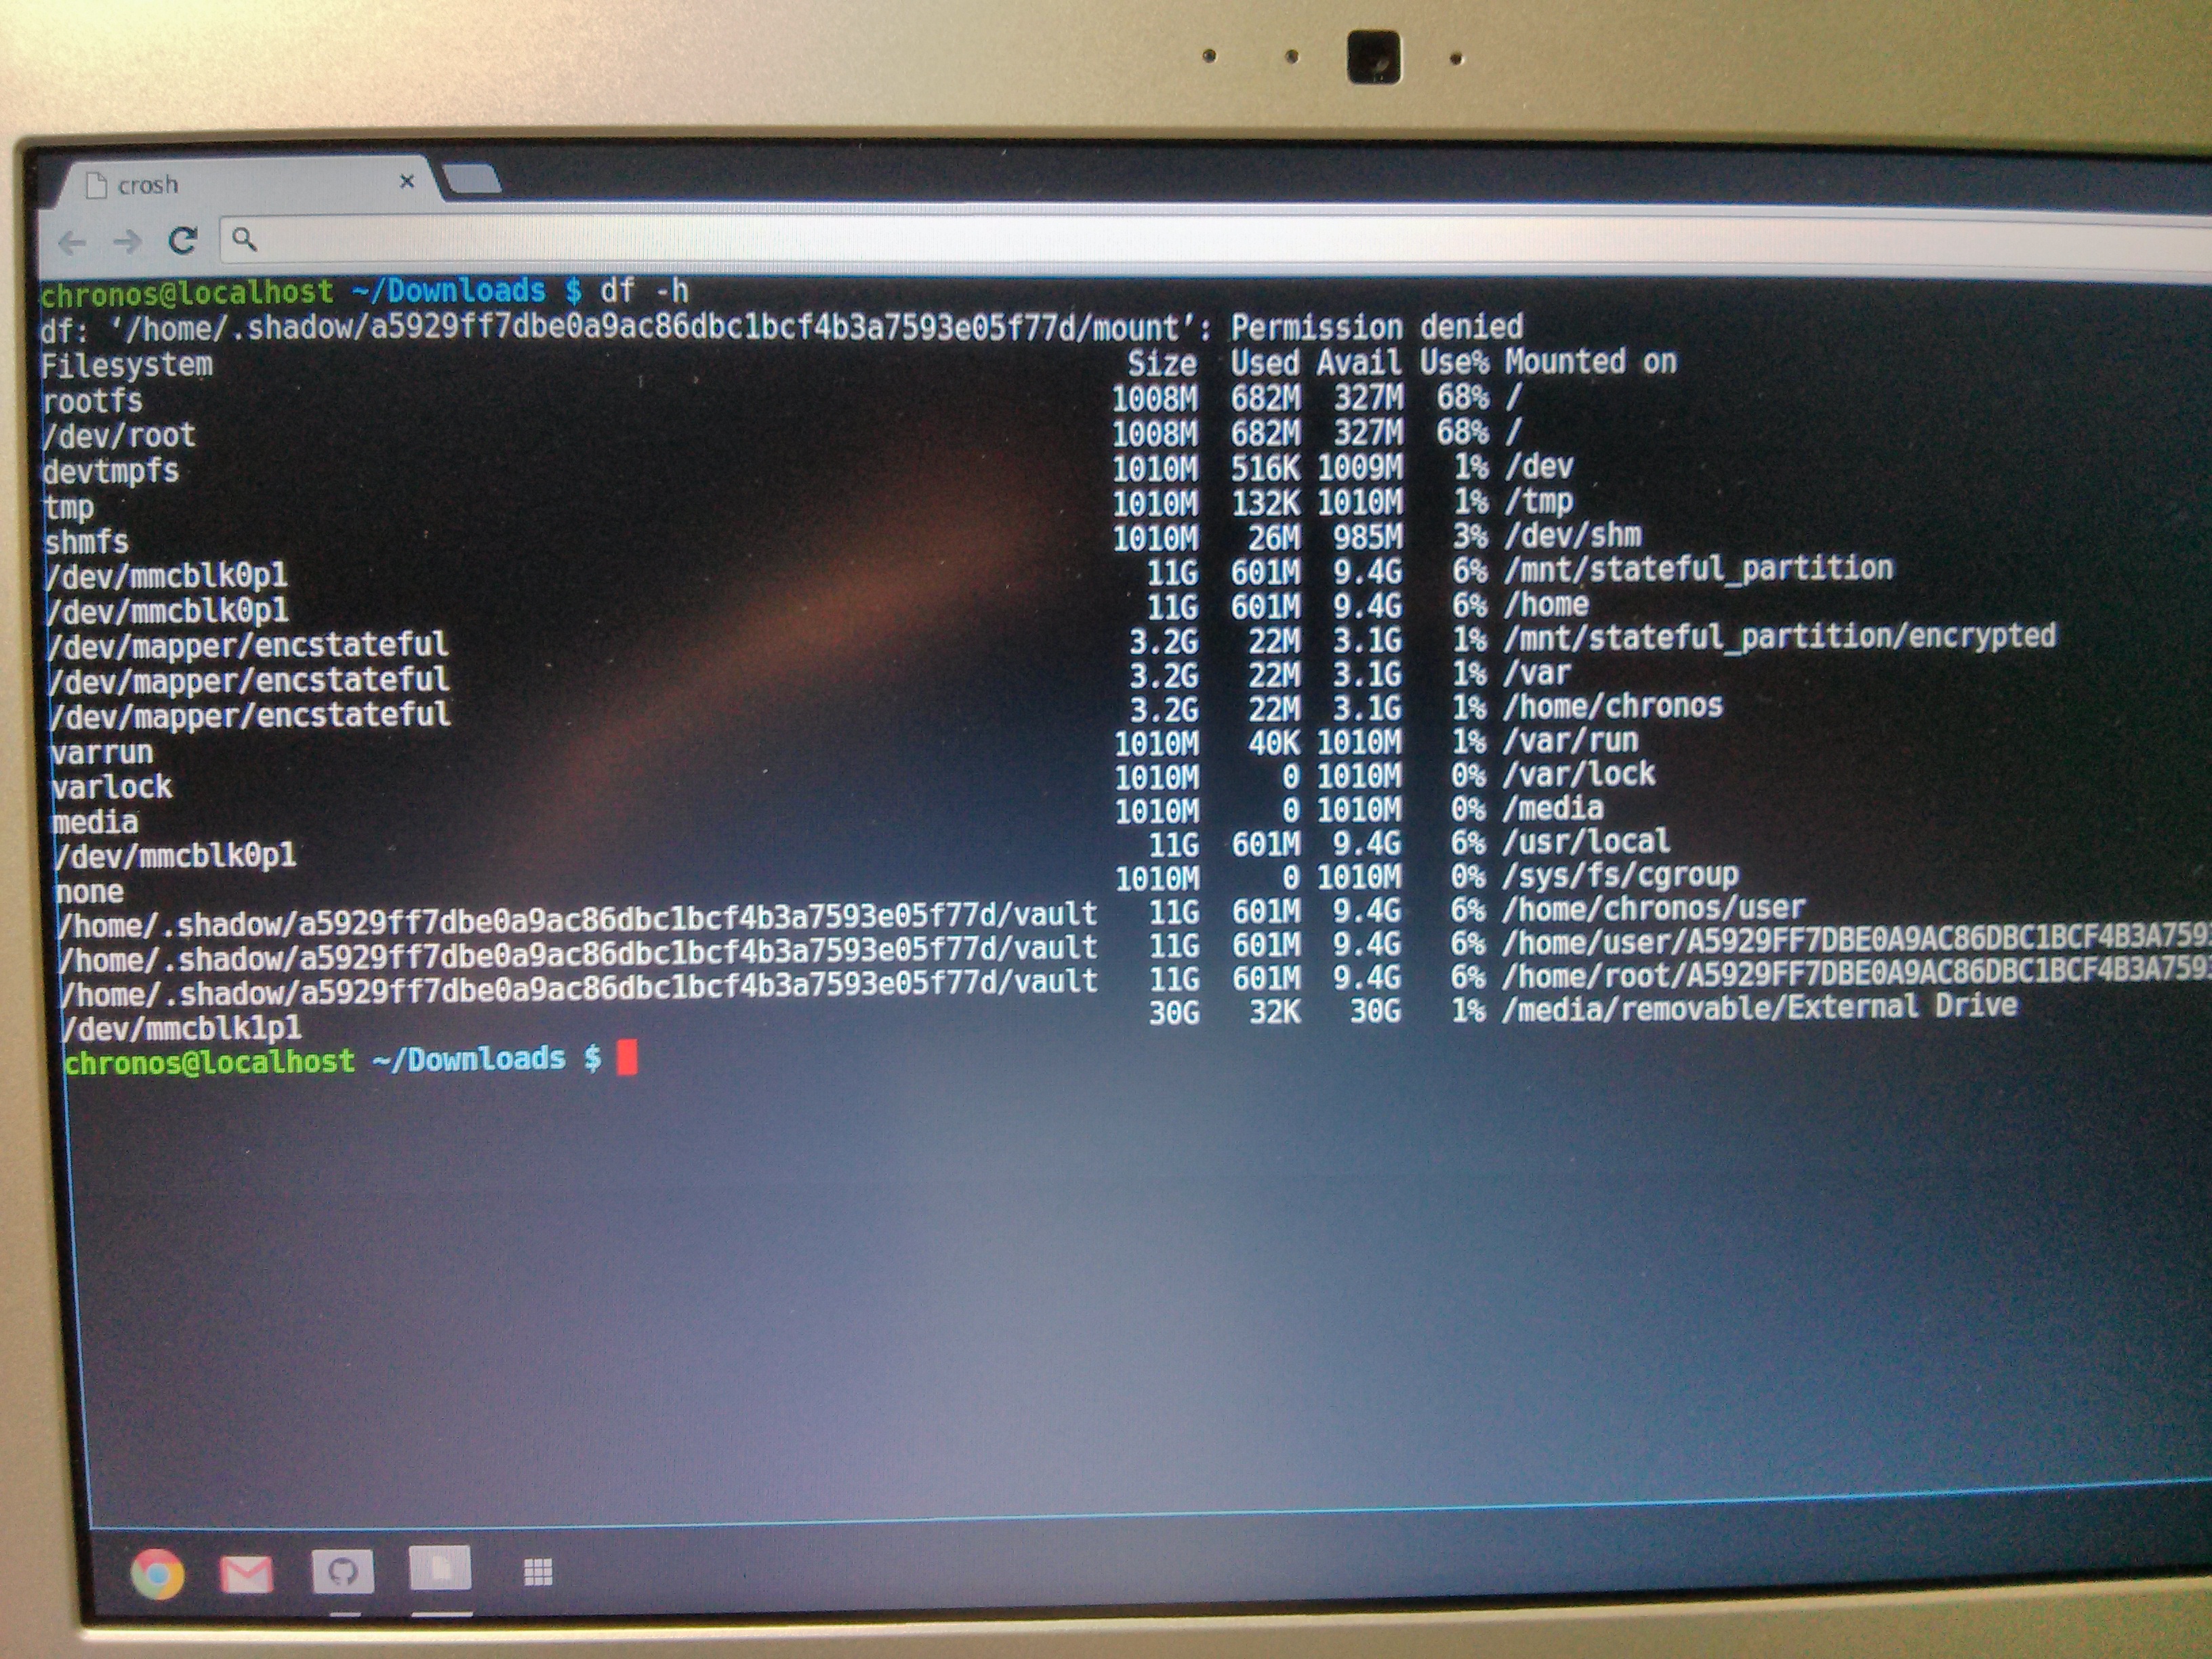 |
From the command shell we can check the distribution of sized in the file system, using the standard command:
df -h
Installing Crouton
Then we followed the instructions in the Crouton README file.
To see the options for installation we can use the command:
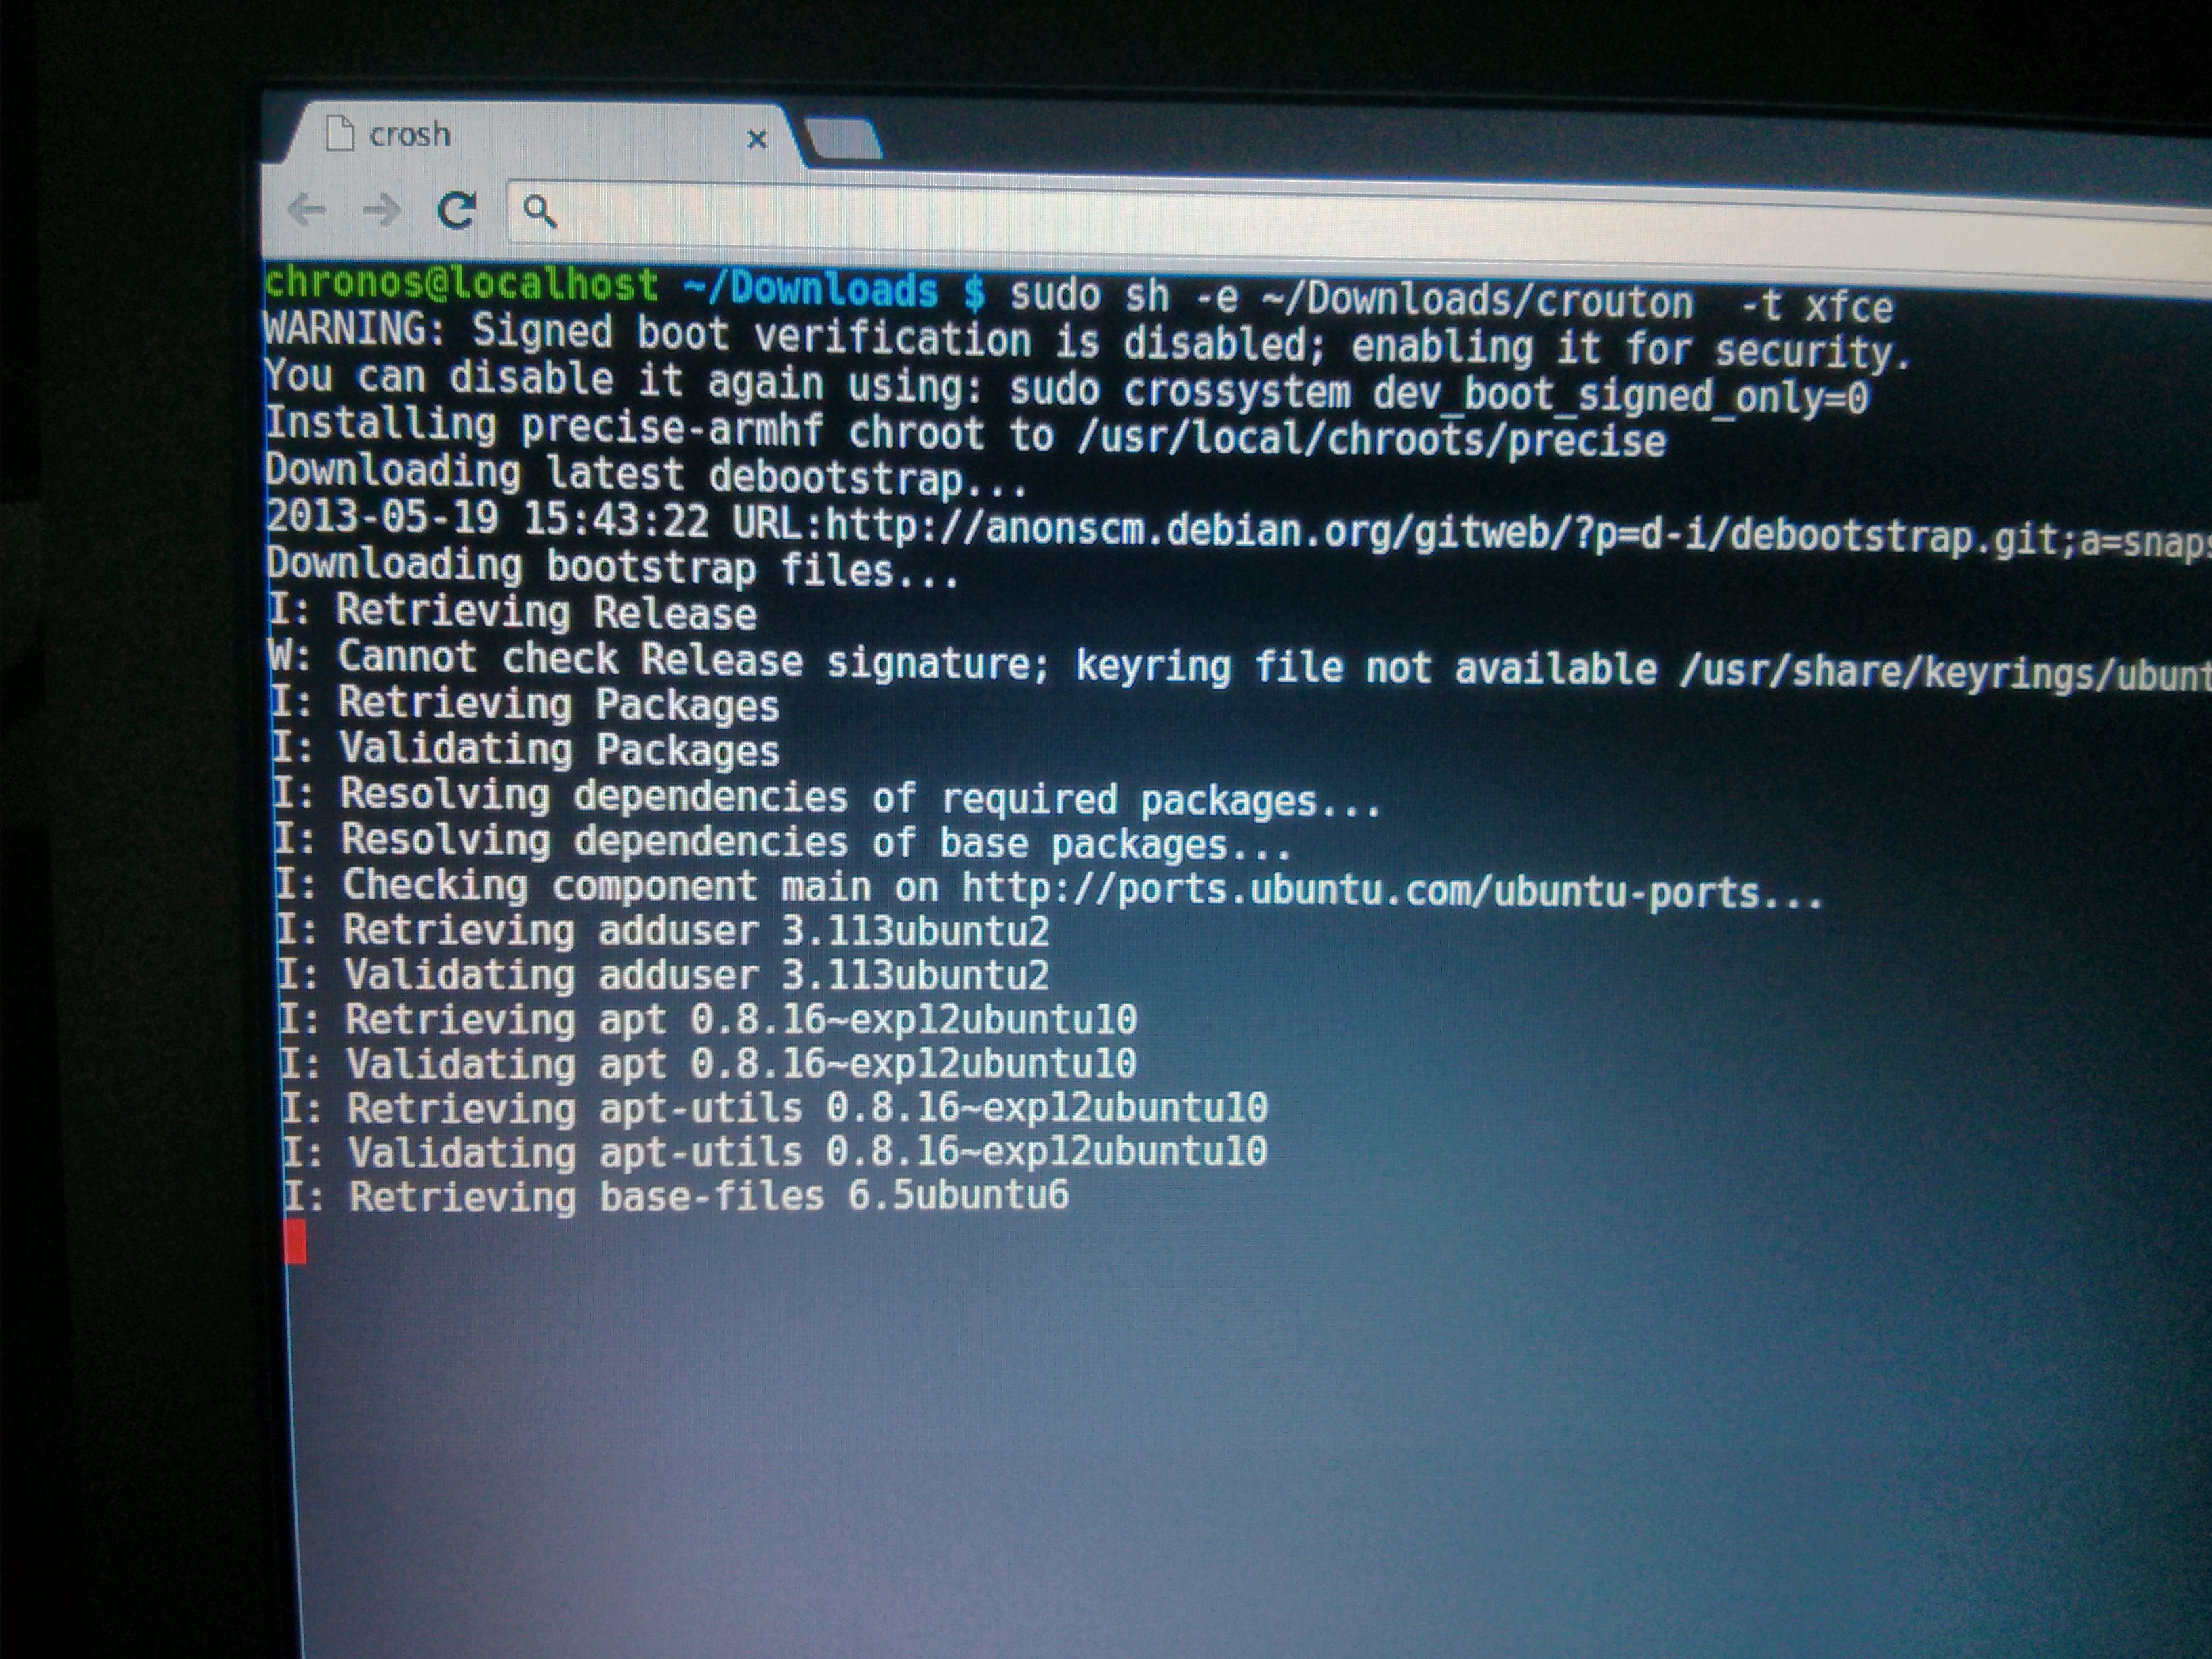
sh -e ~/Downloads/crouton
From where we, in this particular case, choose to use the installation that provides Xfce Desktop Environment. (Curiously the same one we run in the Raspberry Pi…).
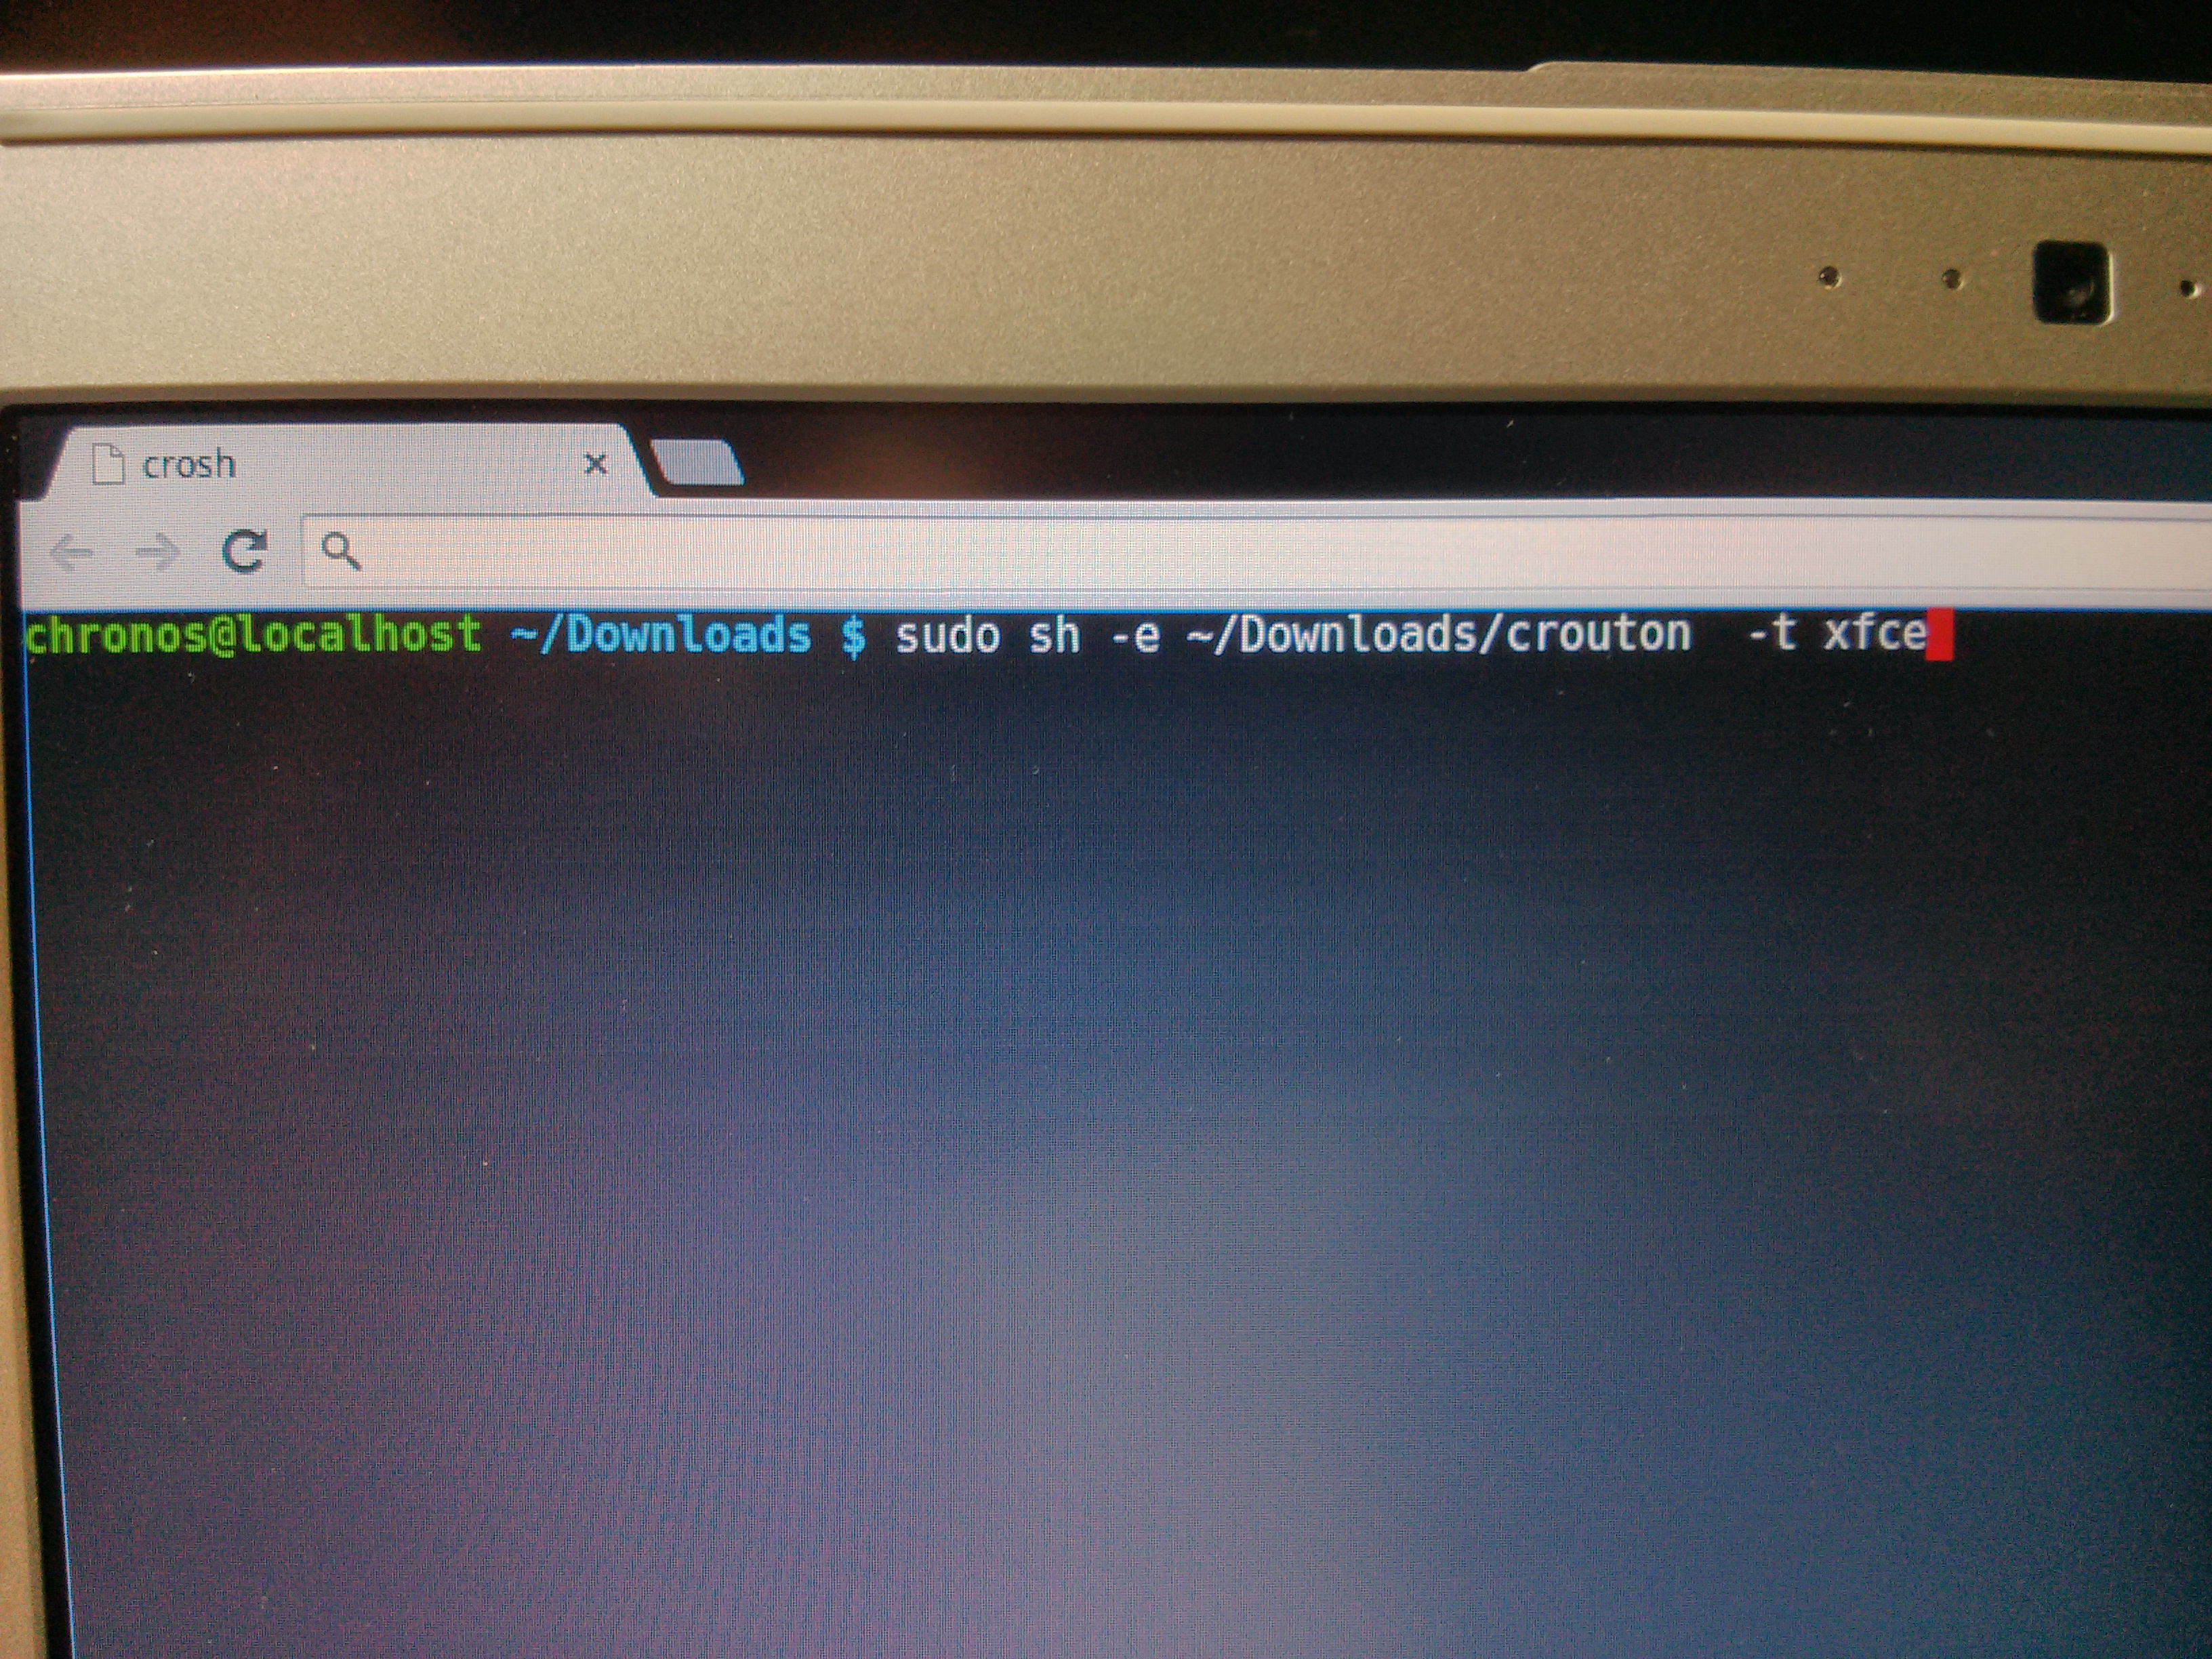
We therefore, start the installation of Crouton with the command:
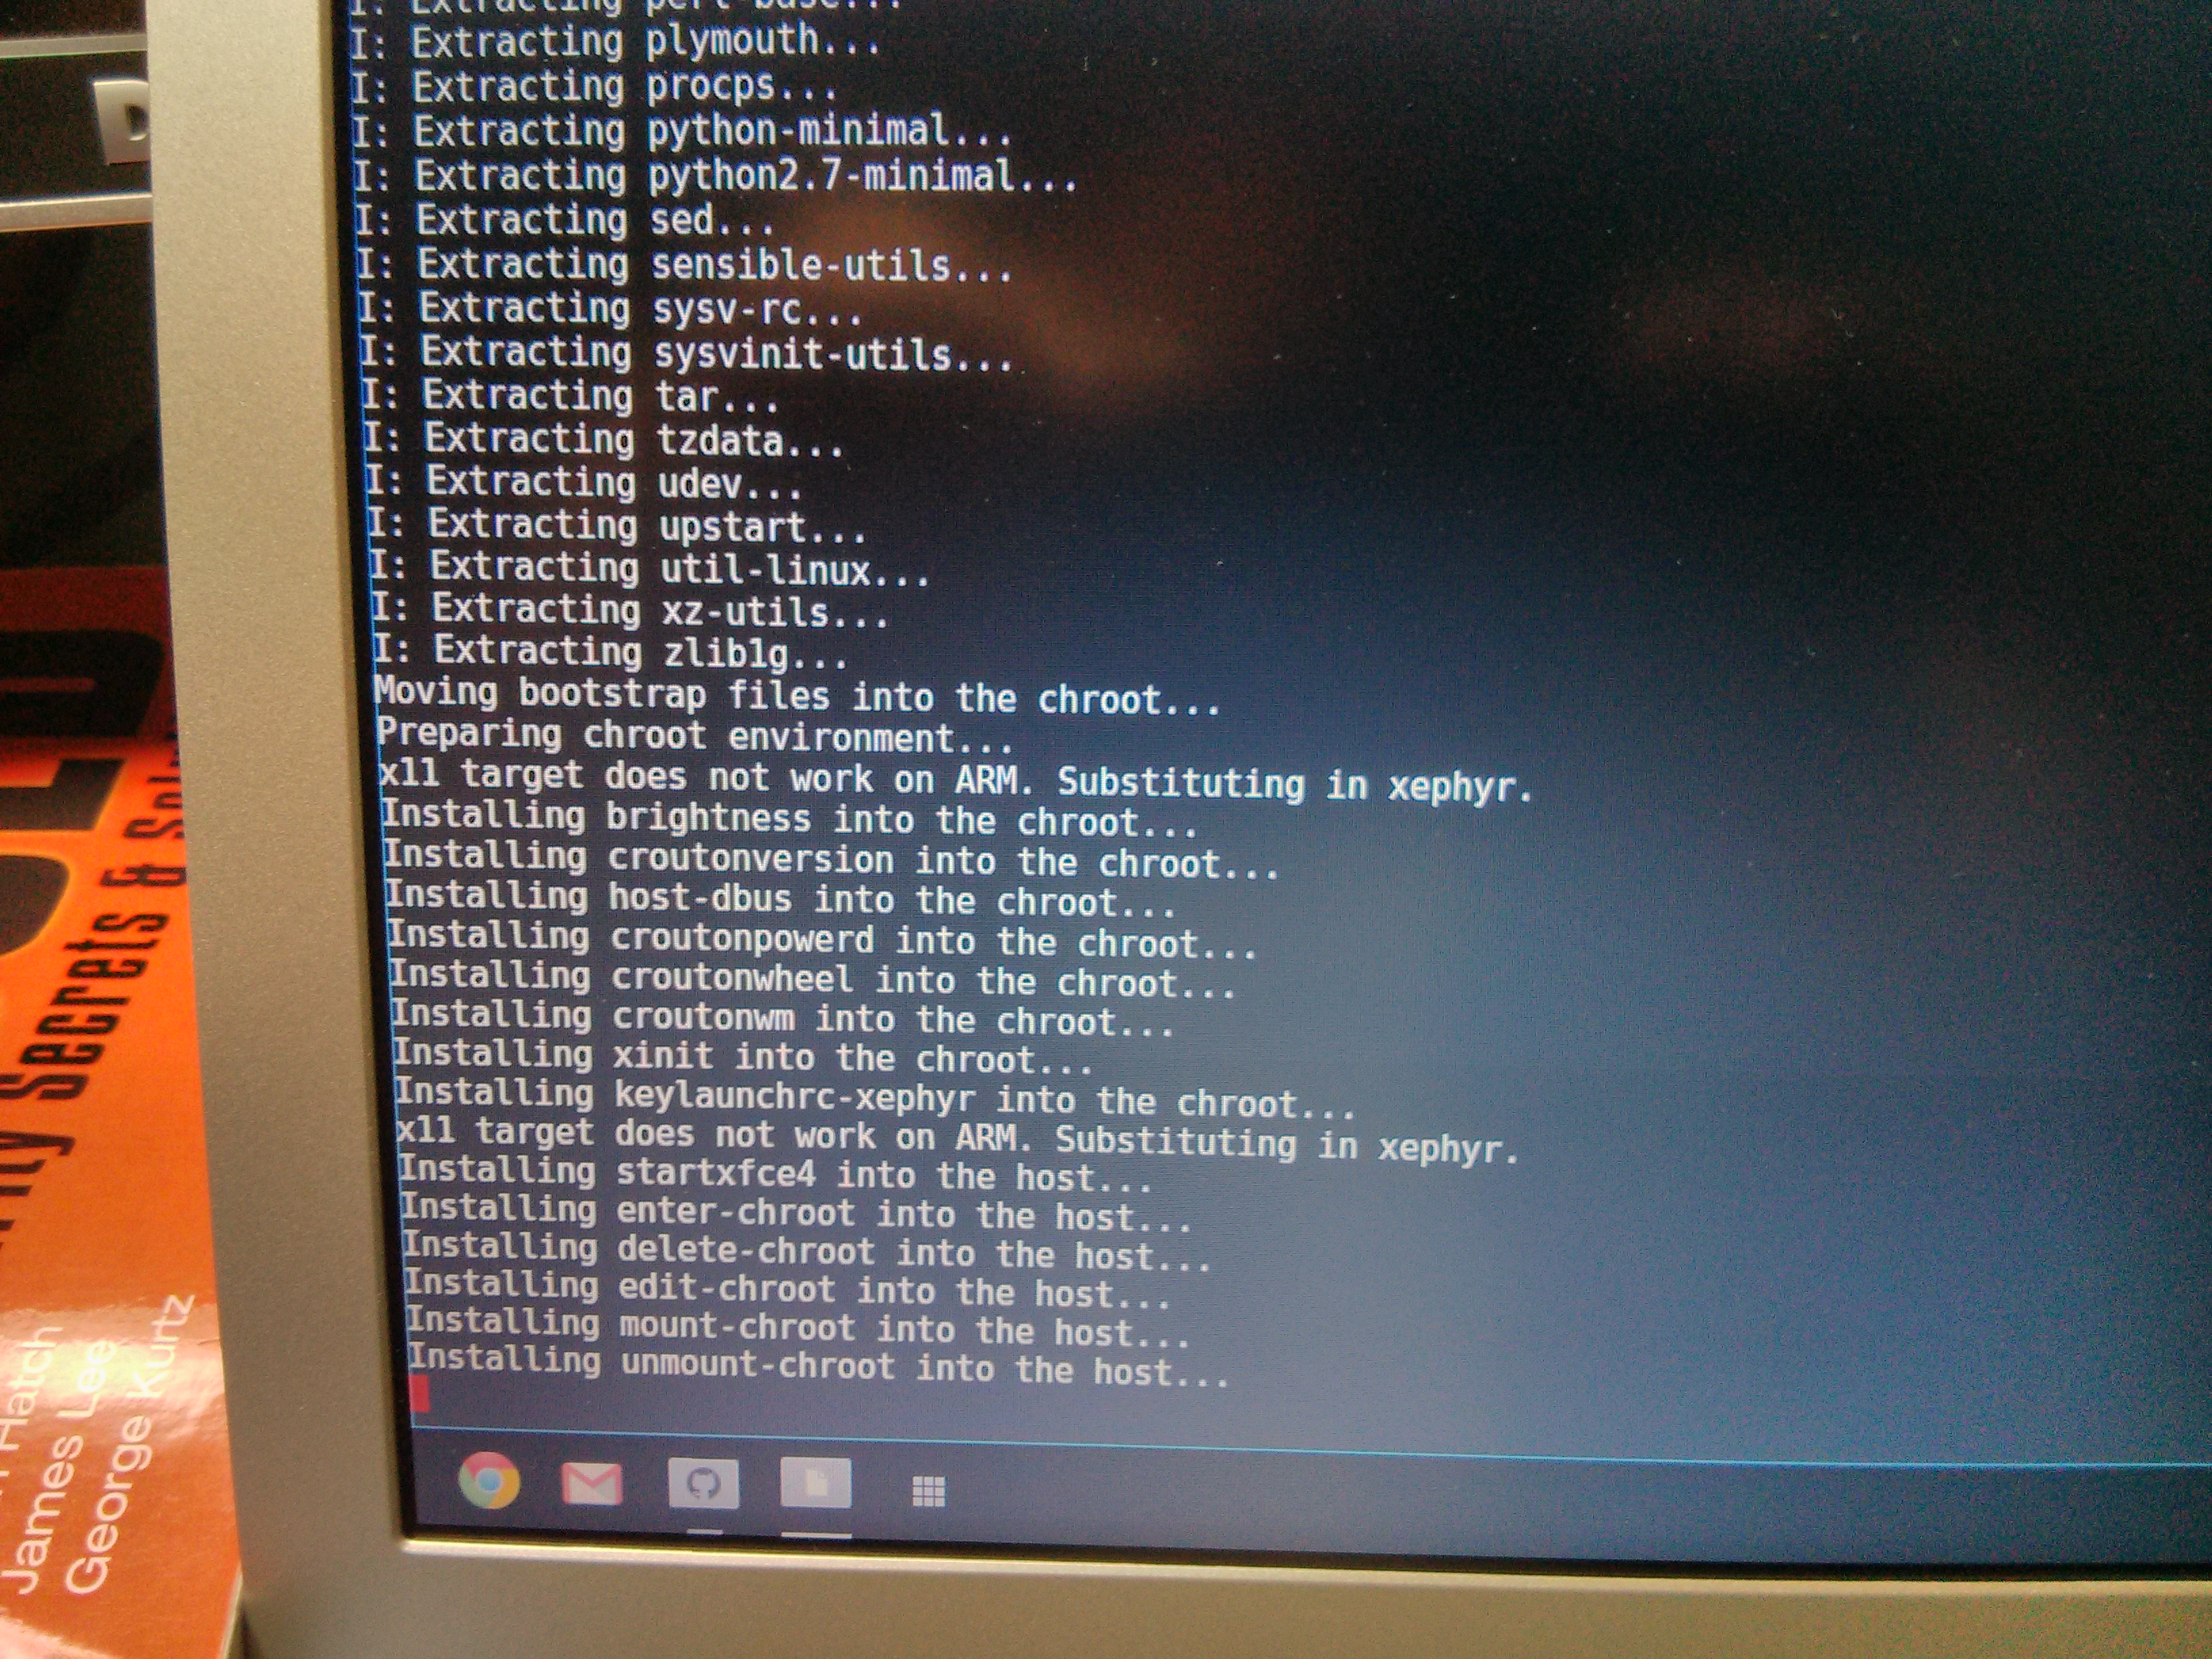
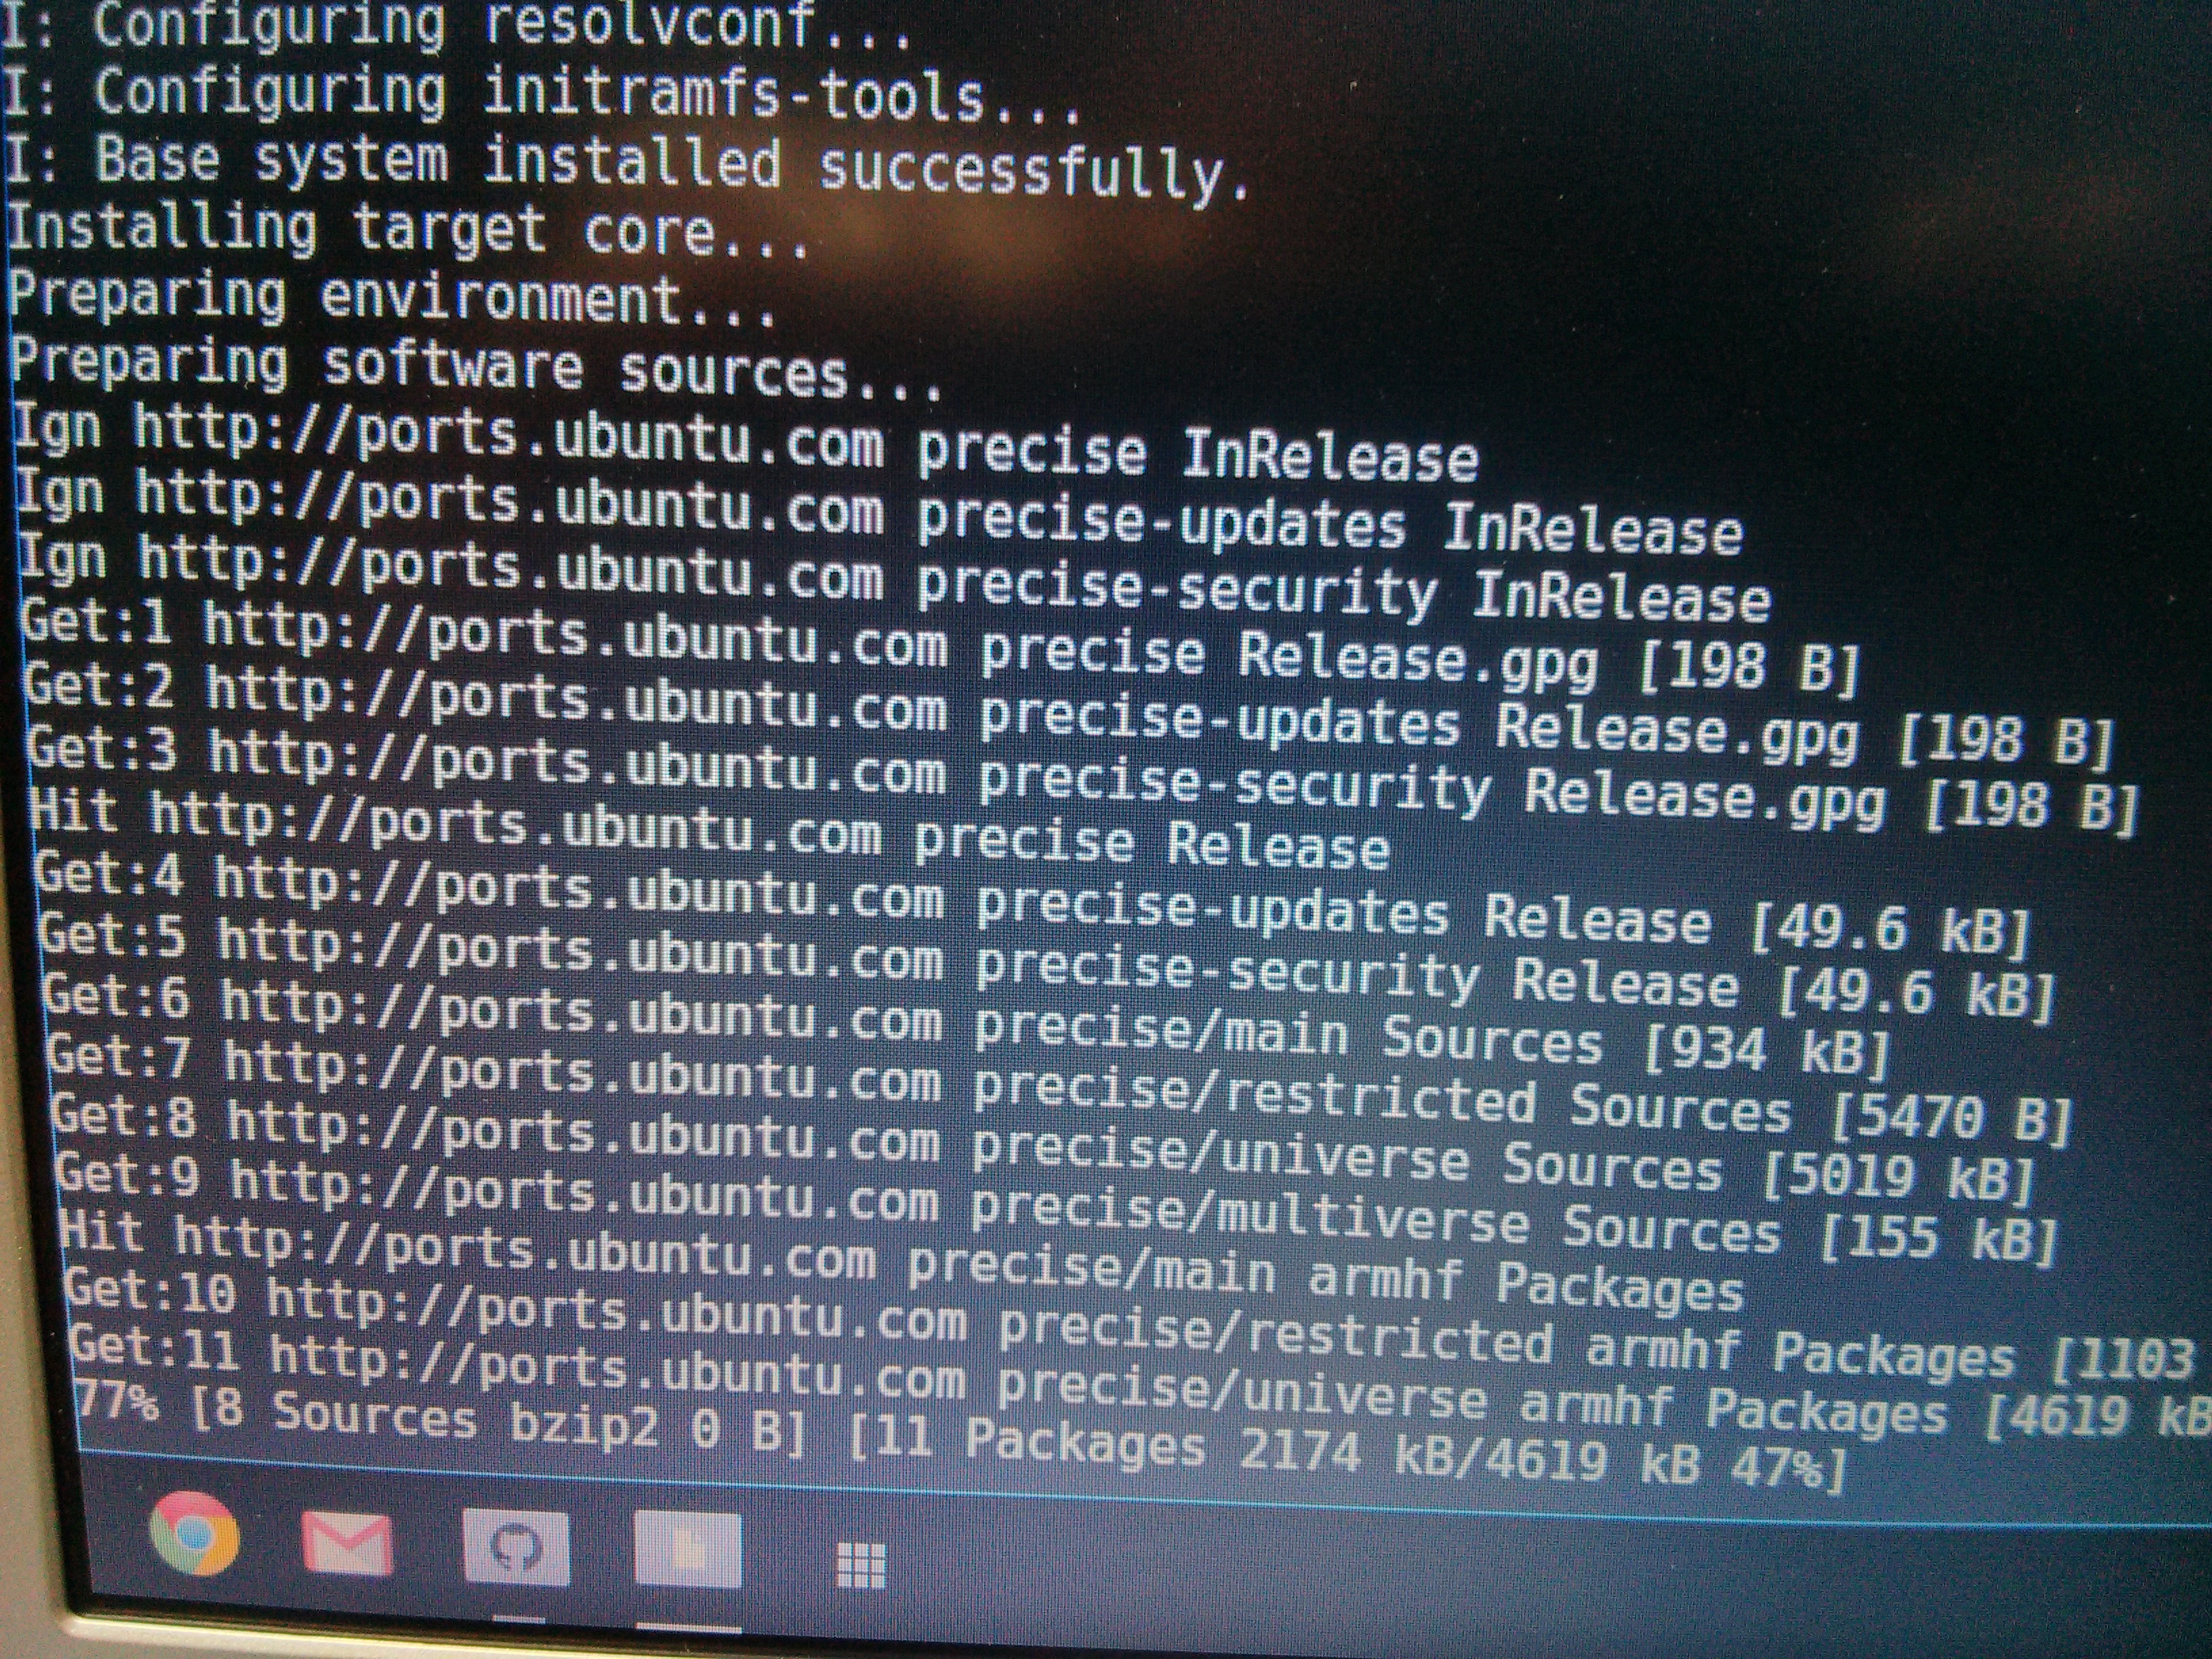
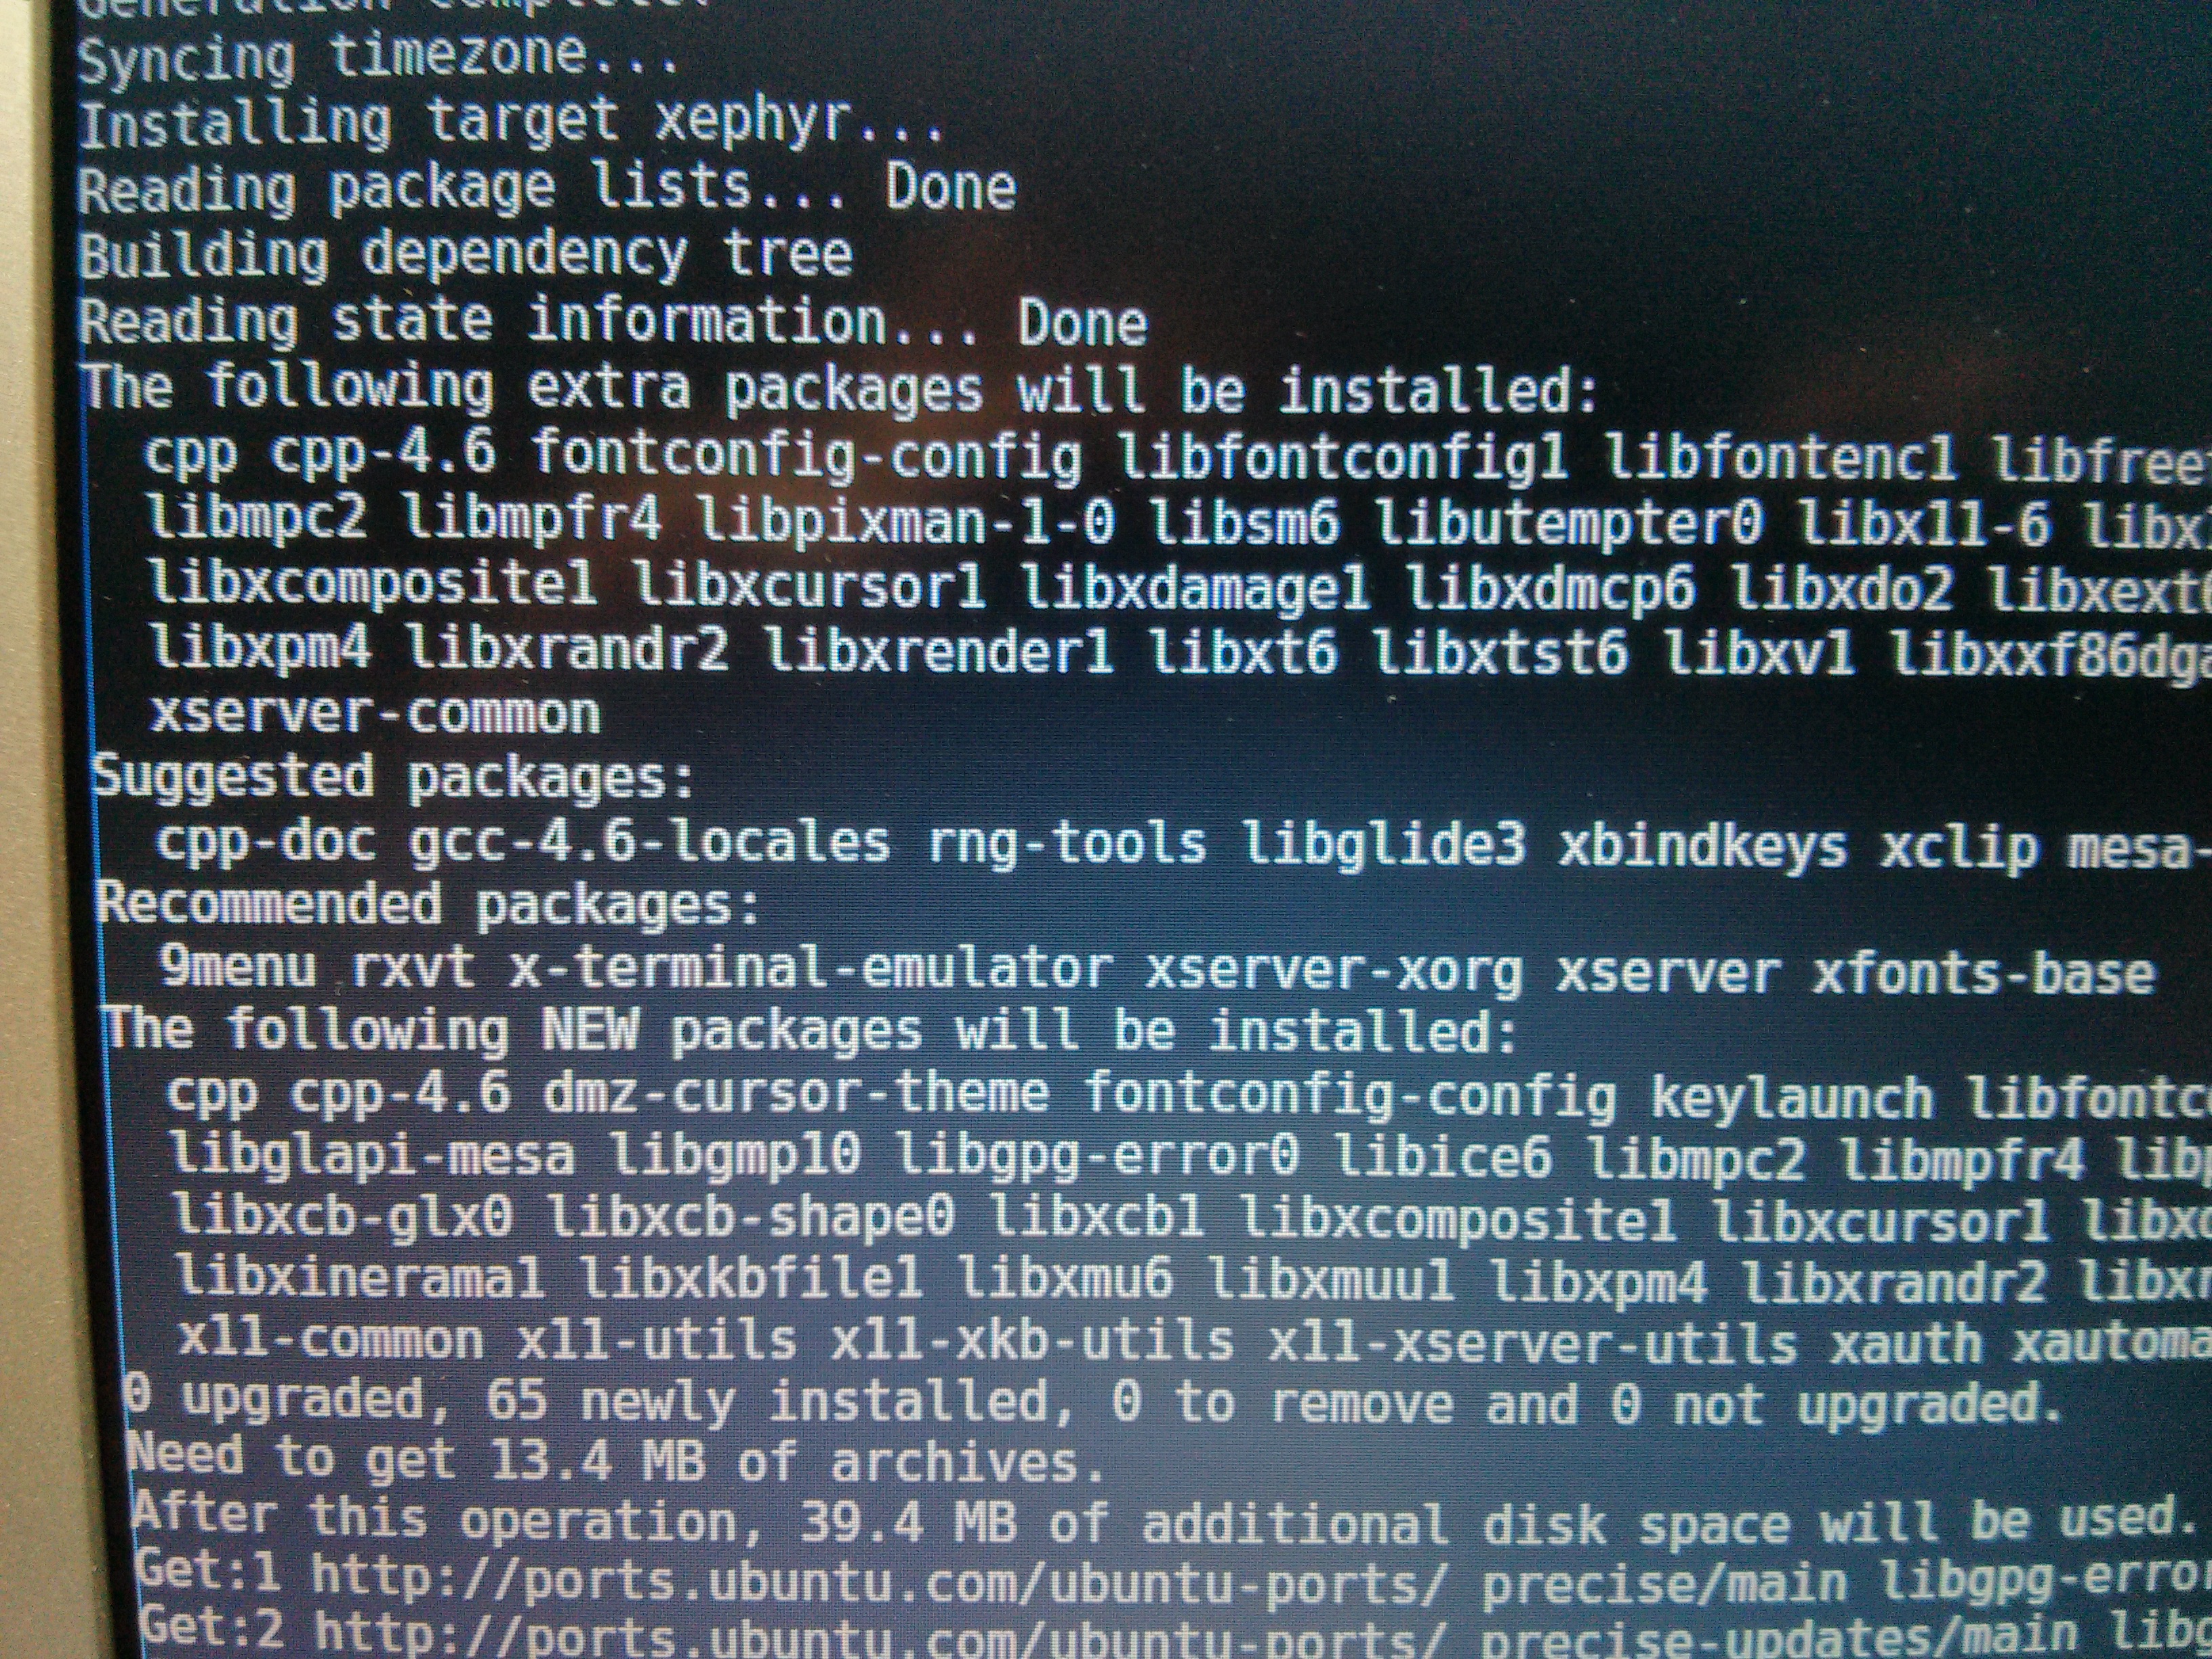
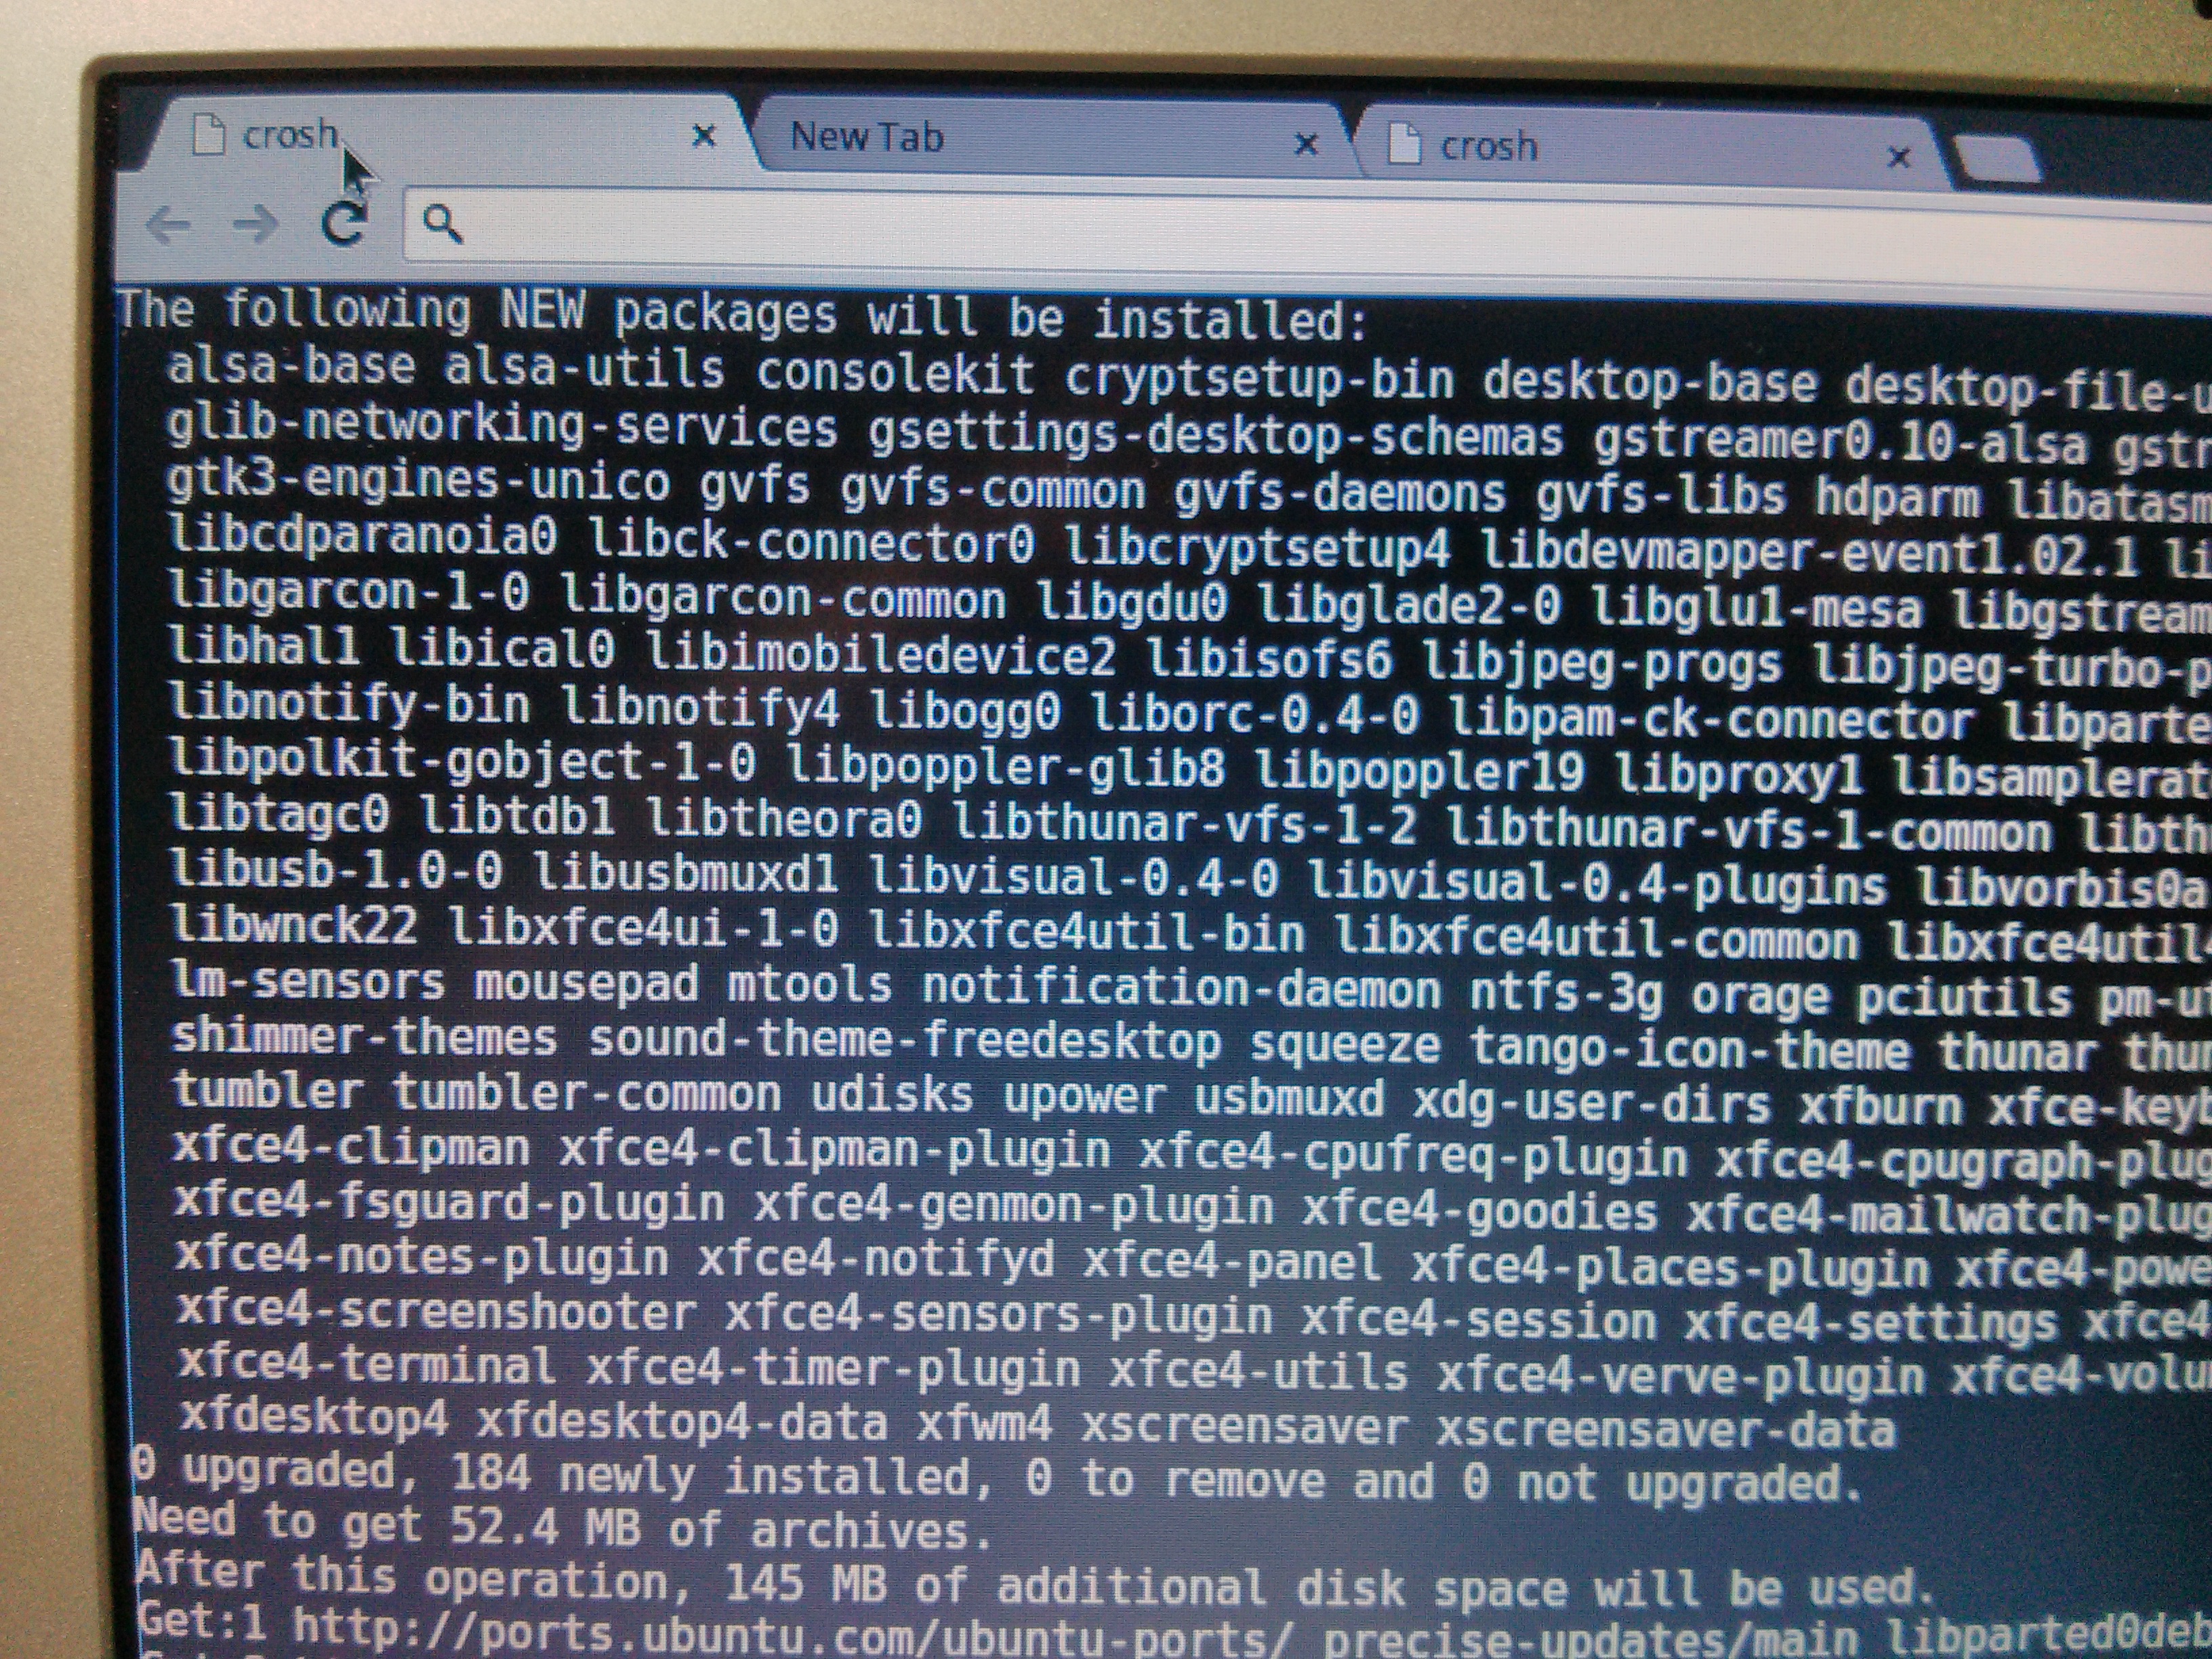
sudo sh -e ~/Downloads/crouton -t xfce
 |
 |
 |
 |
 |
 |
 |
 |
 |
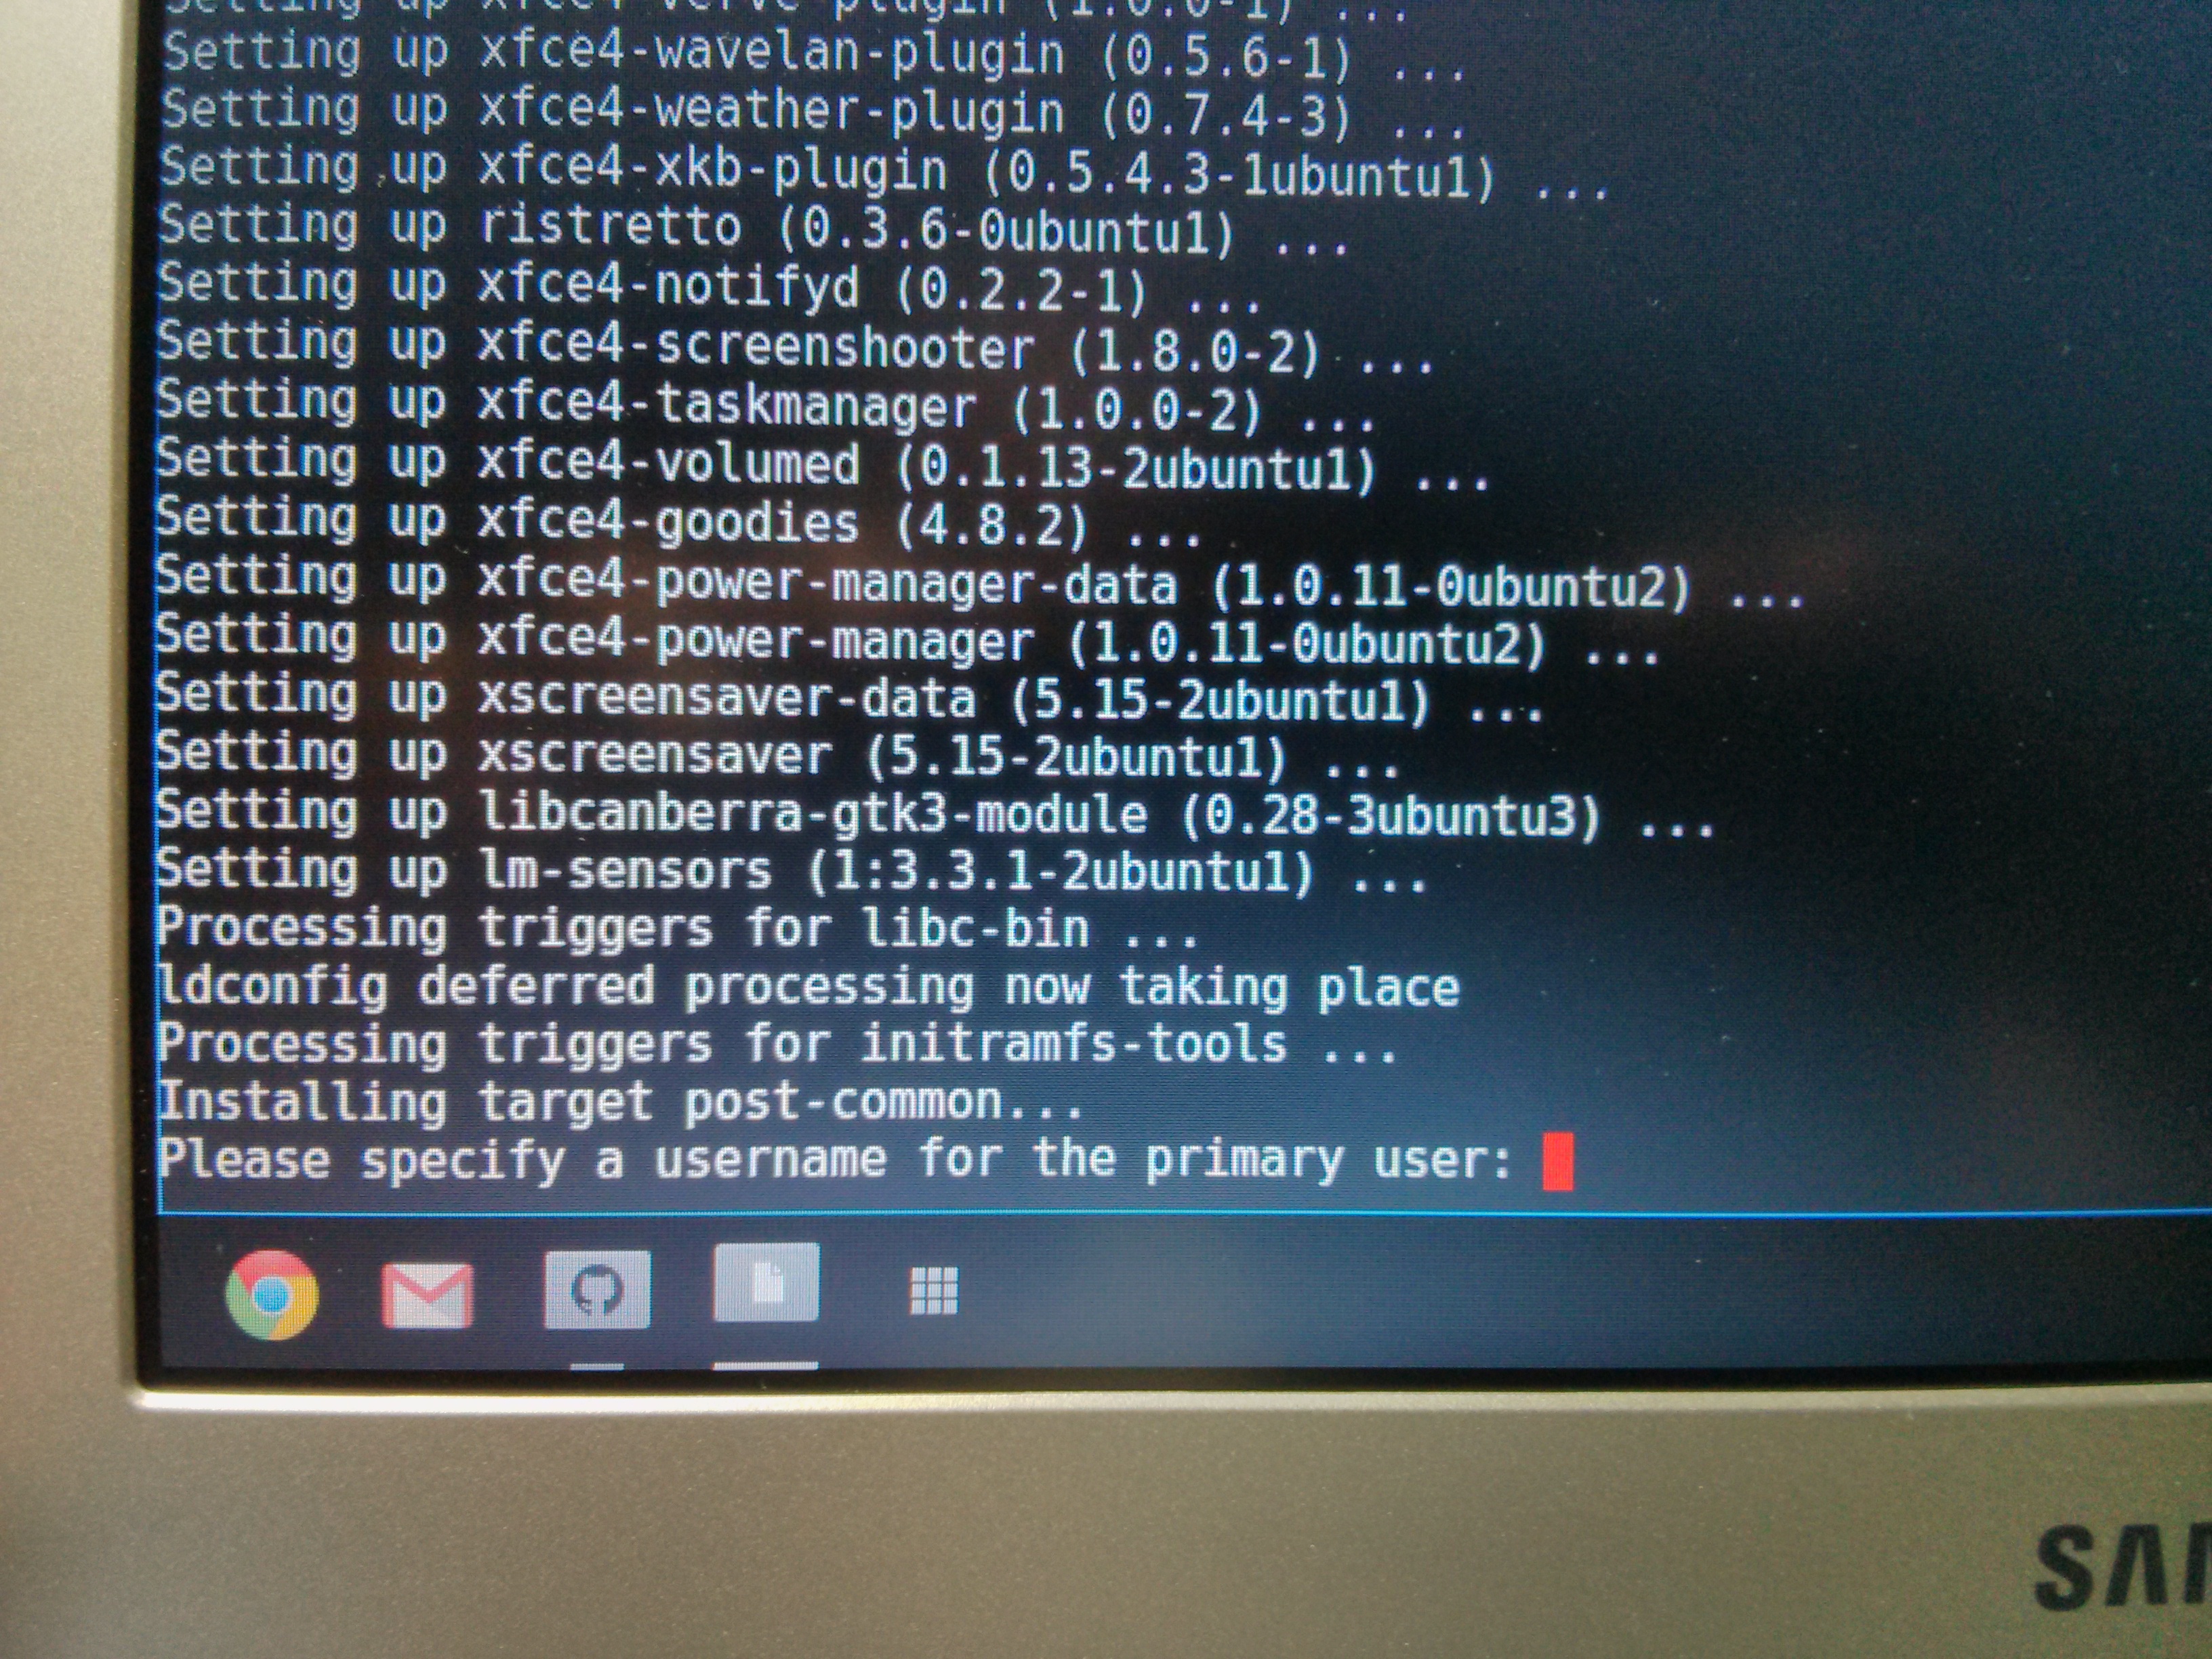
Towards the end of the installation, we are asked for the username of the primary user for the new Linux installation
 |
 |
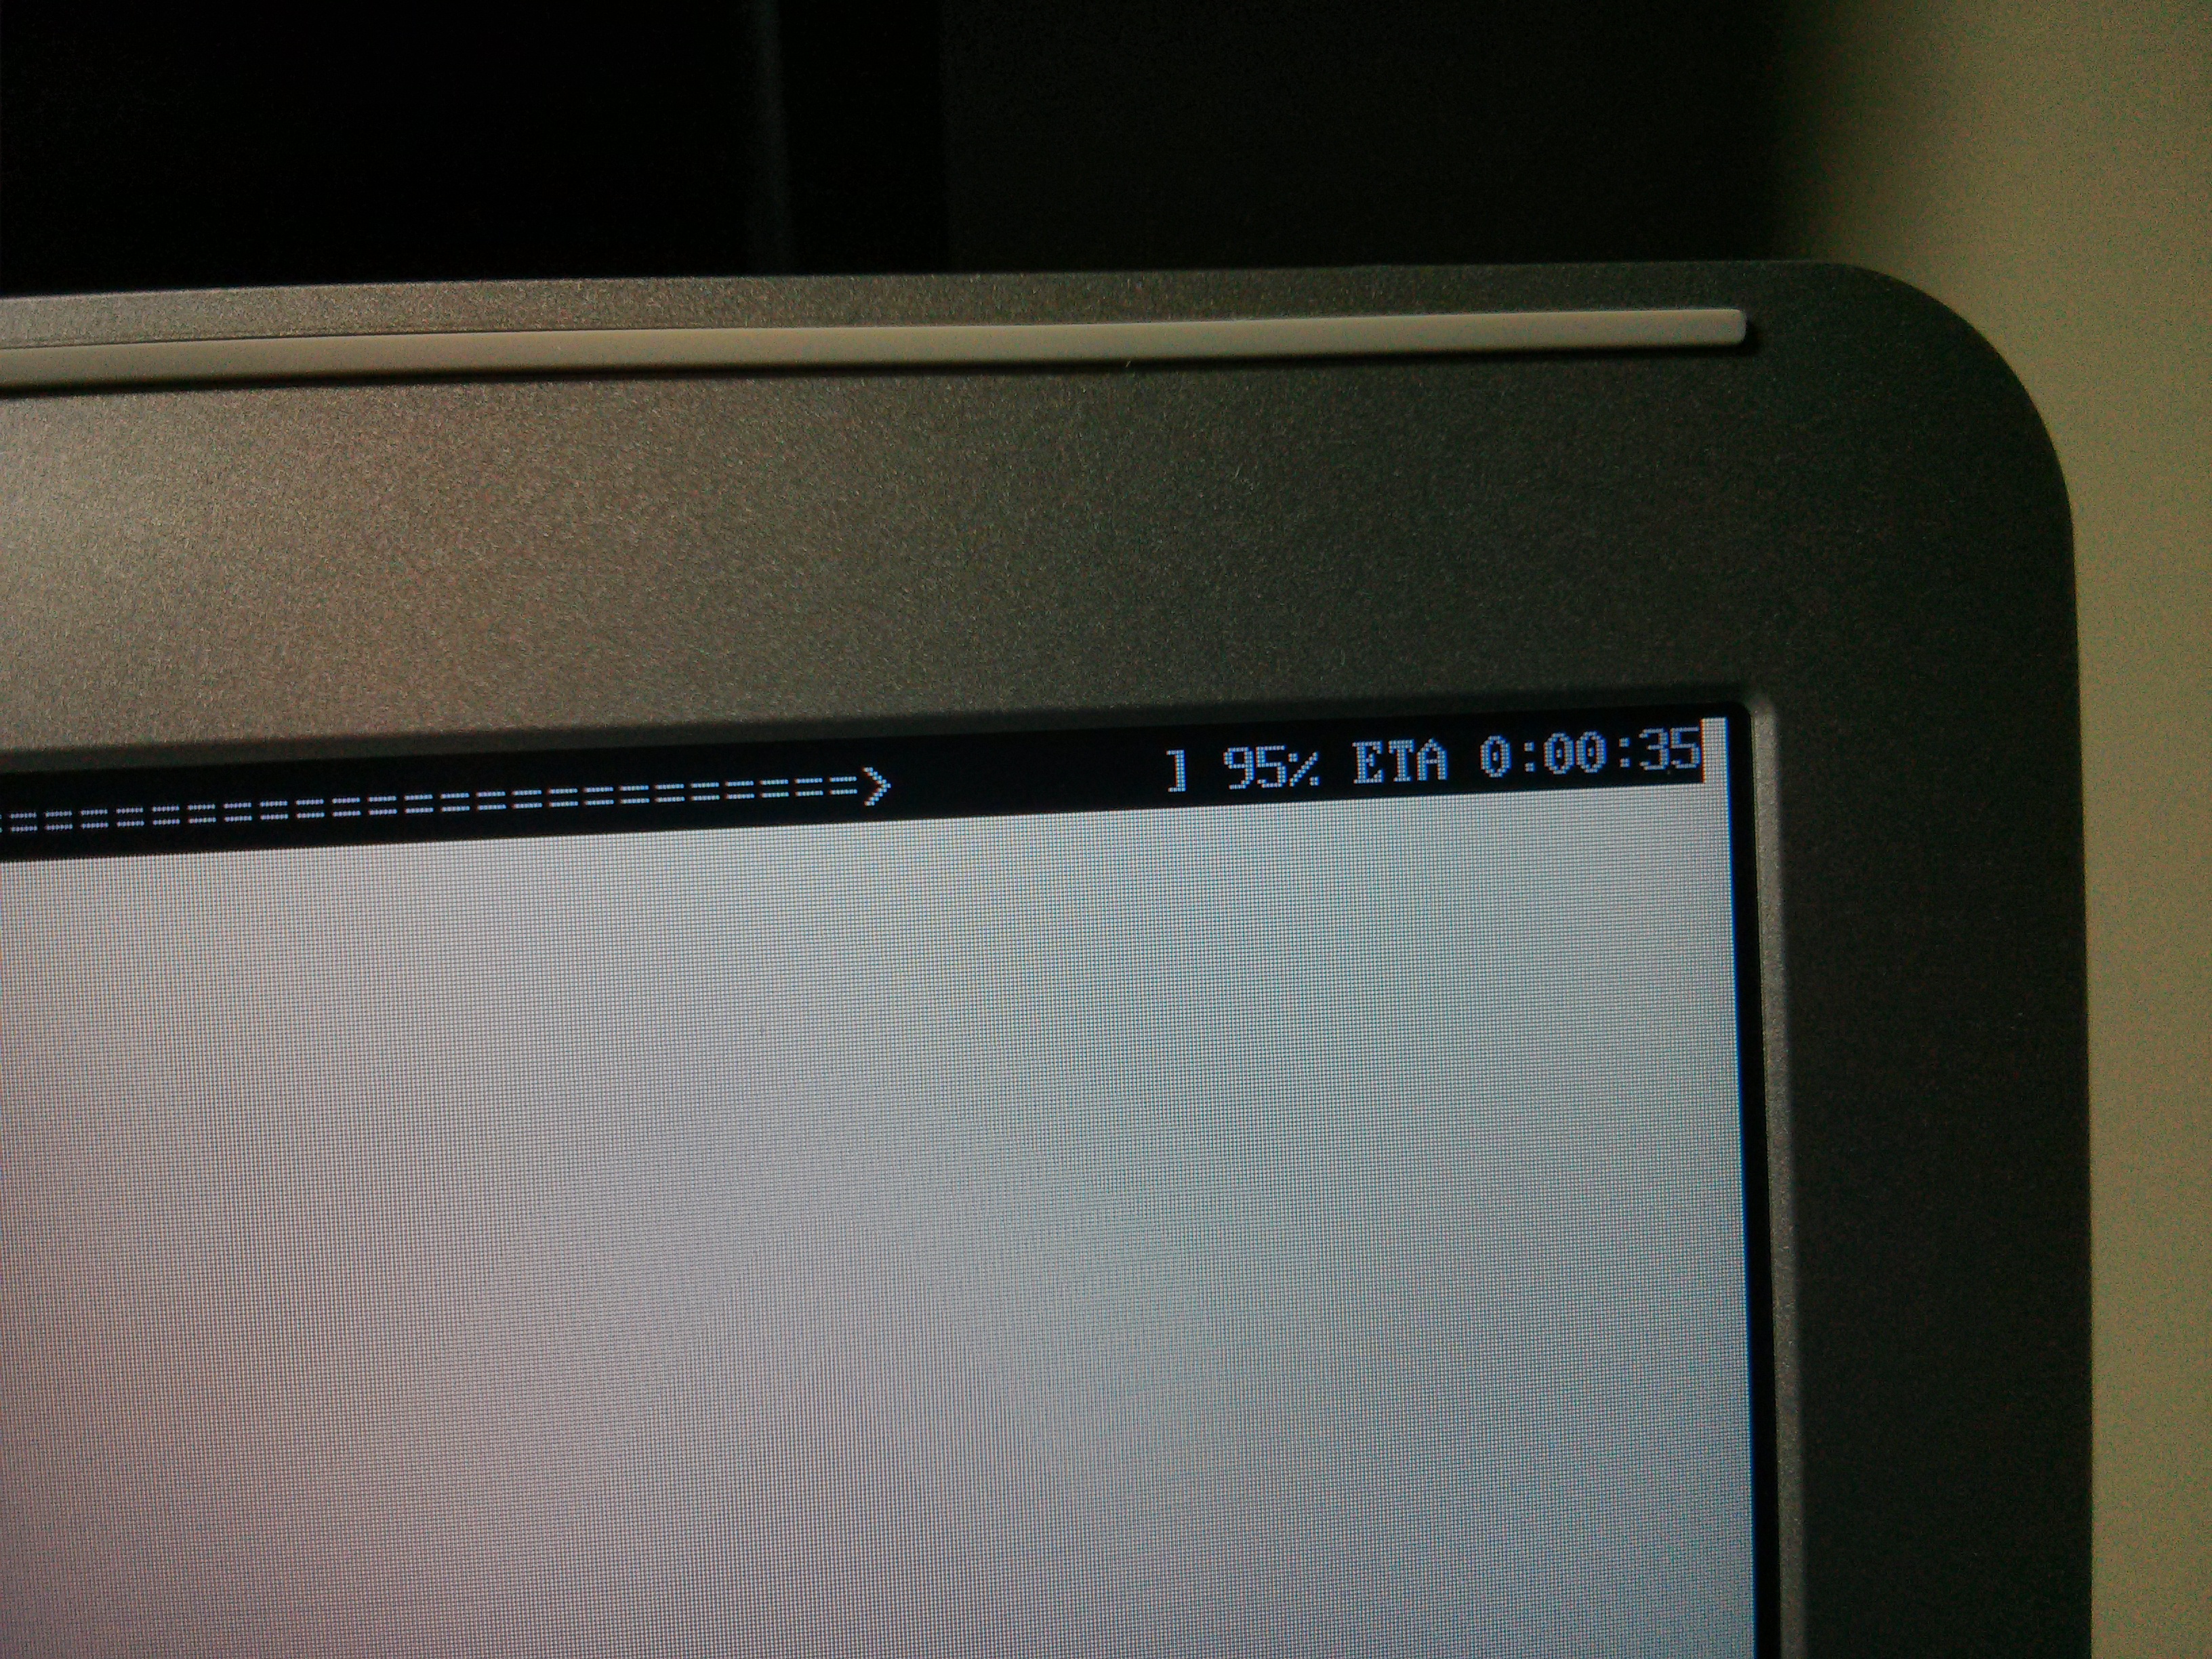
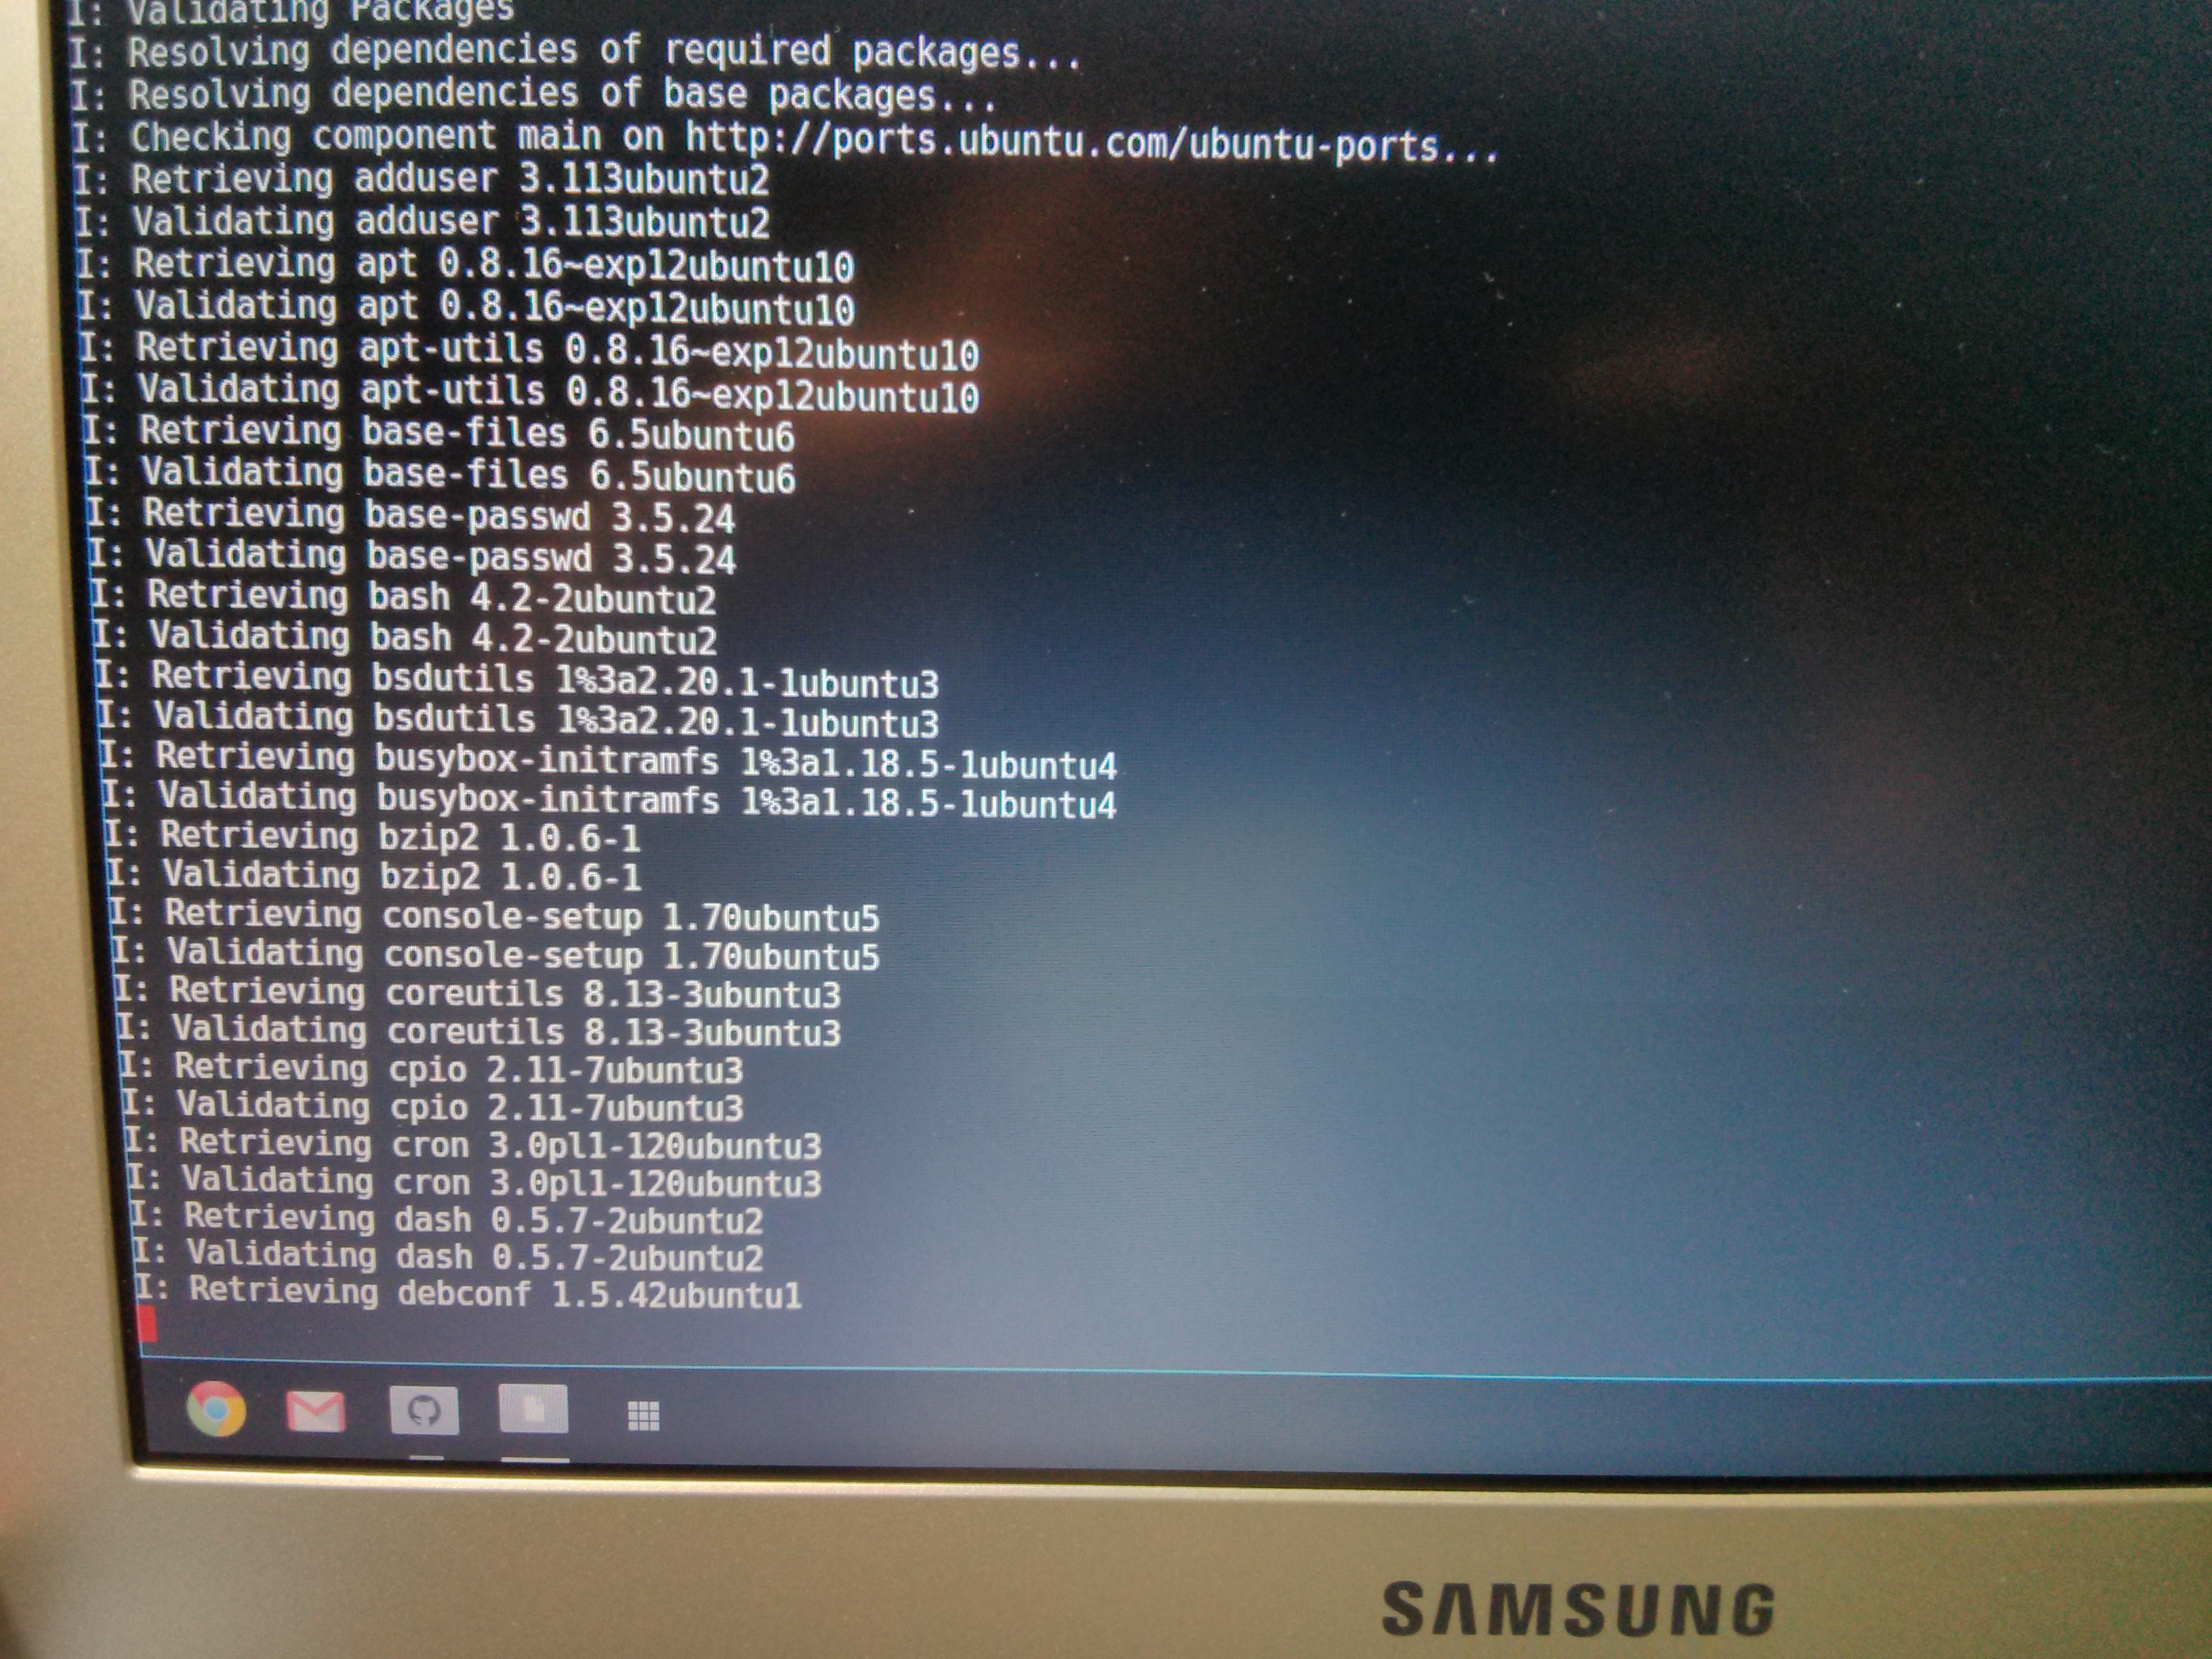
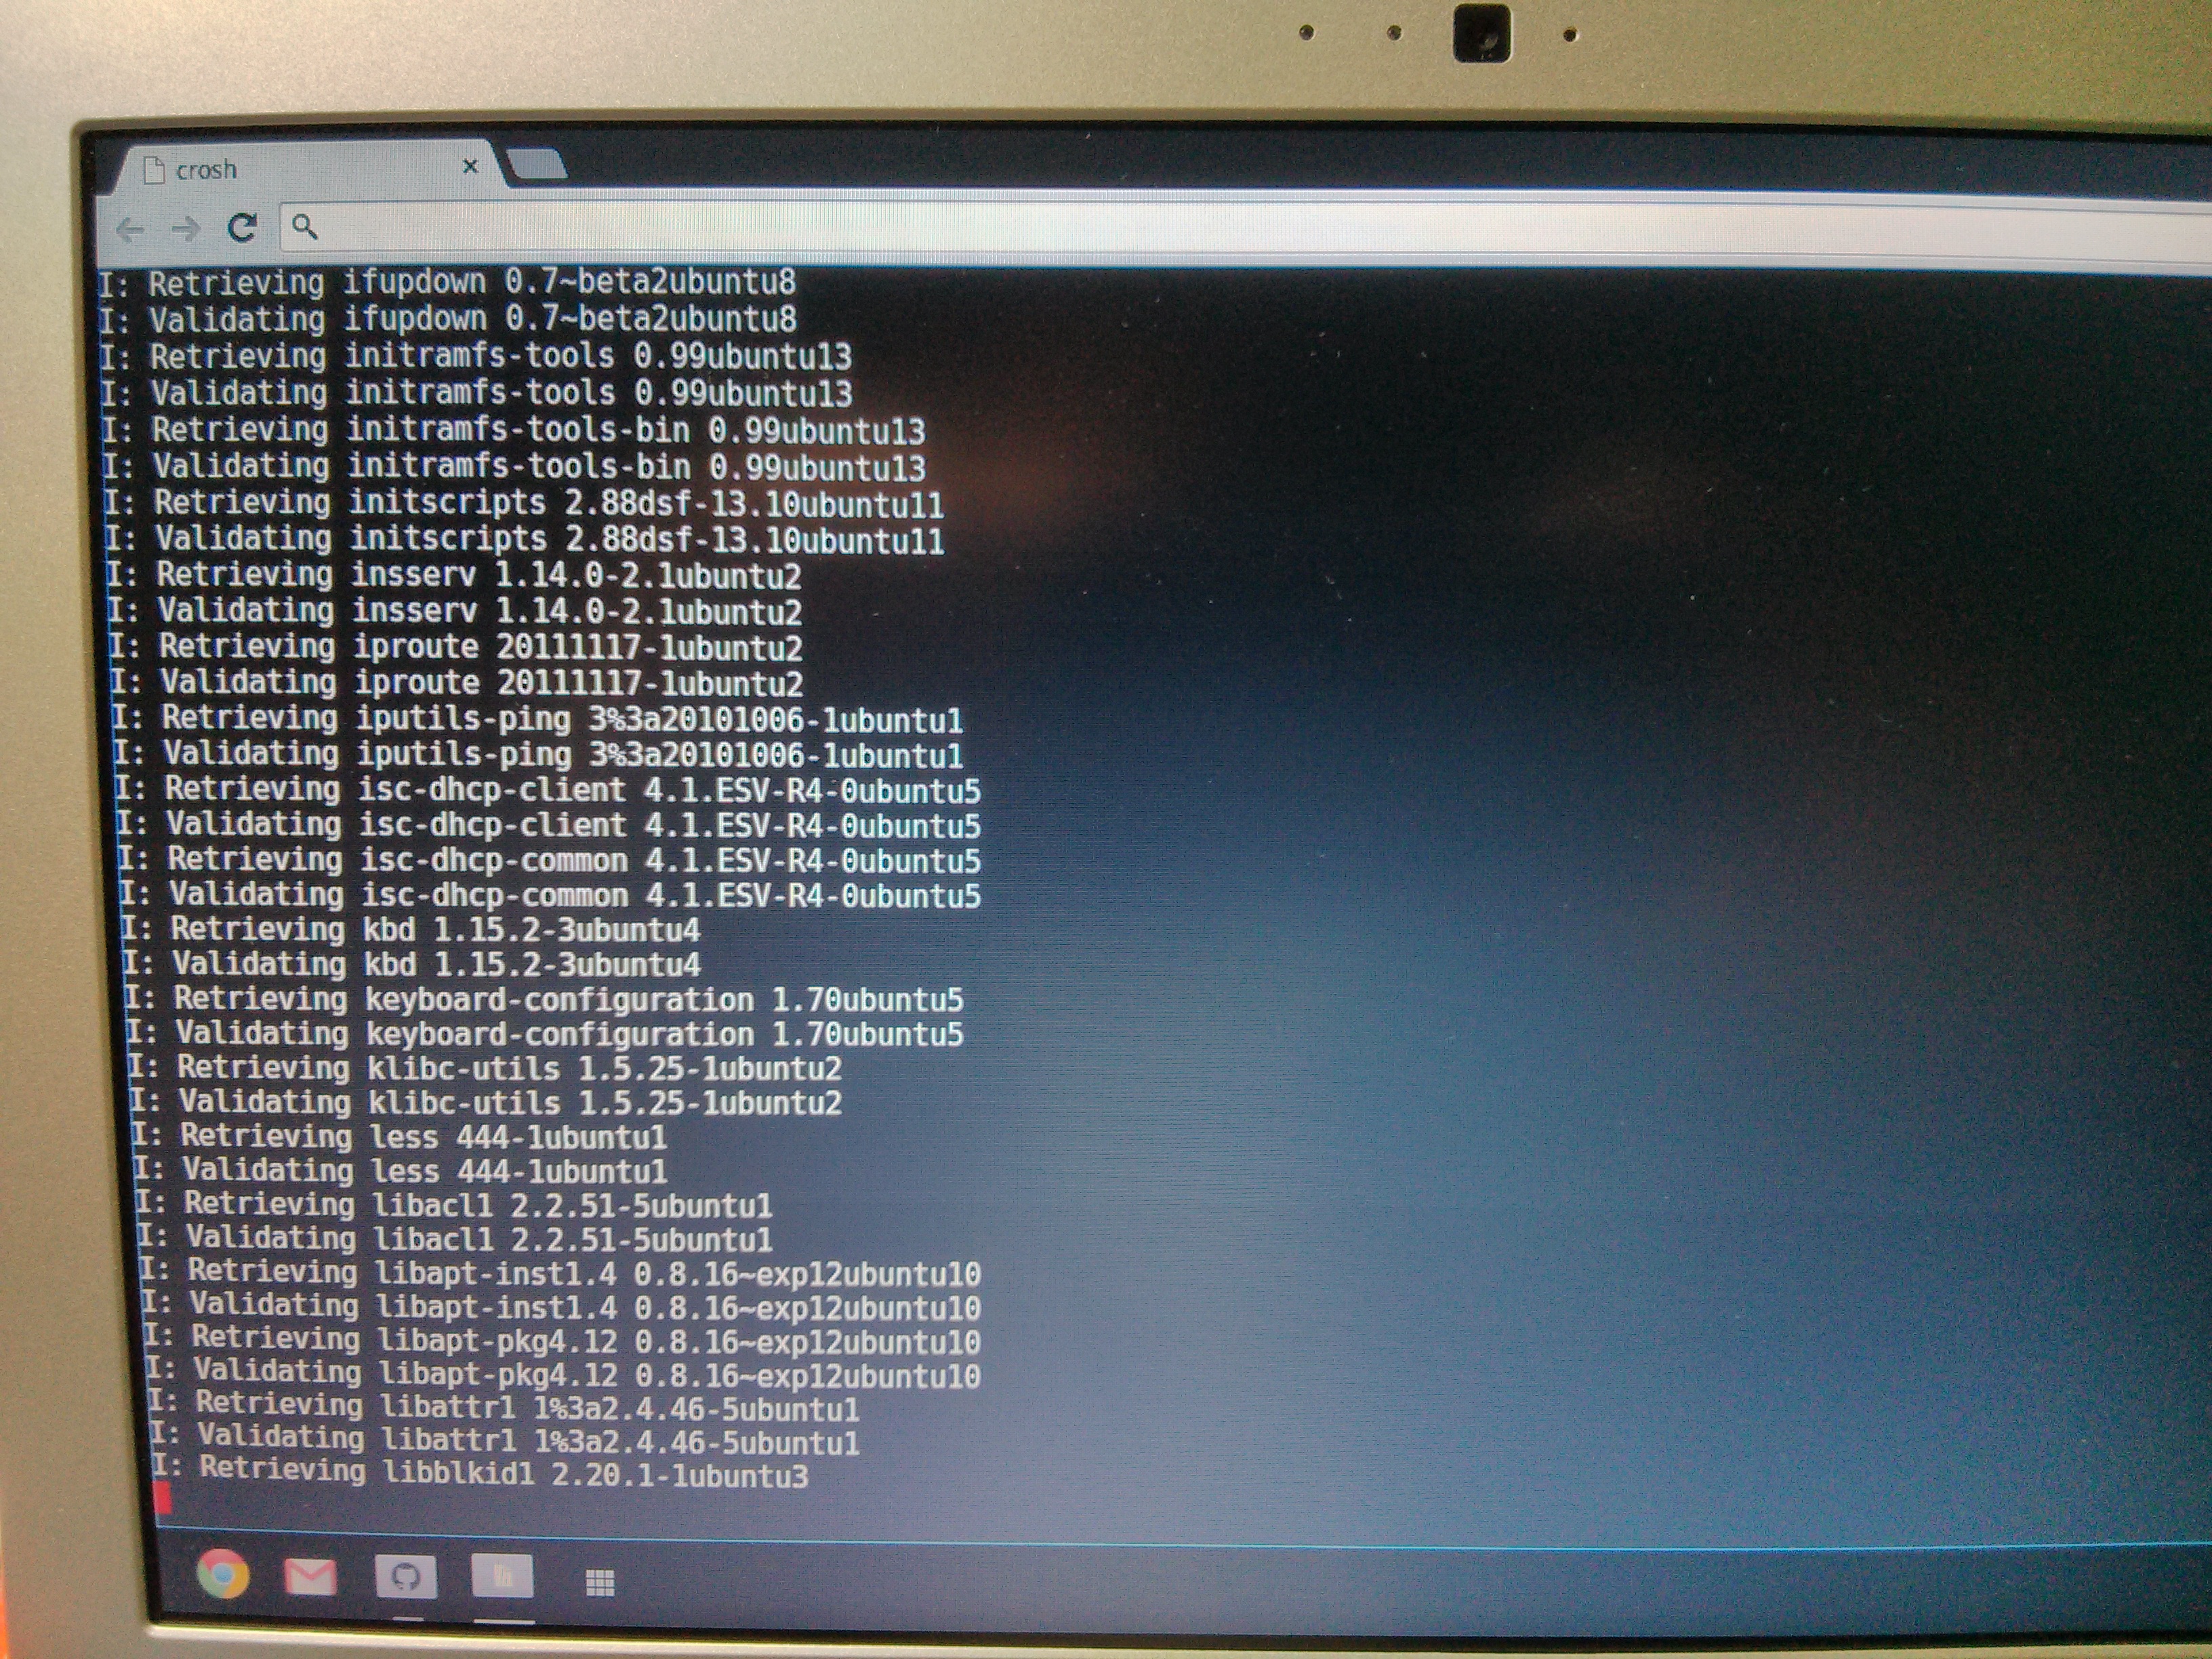
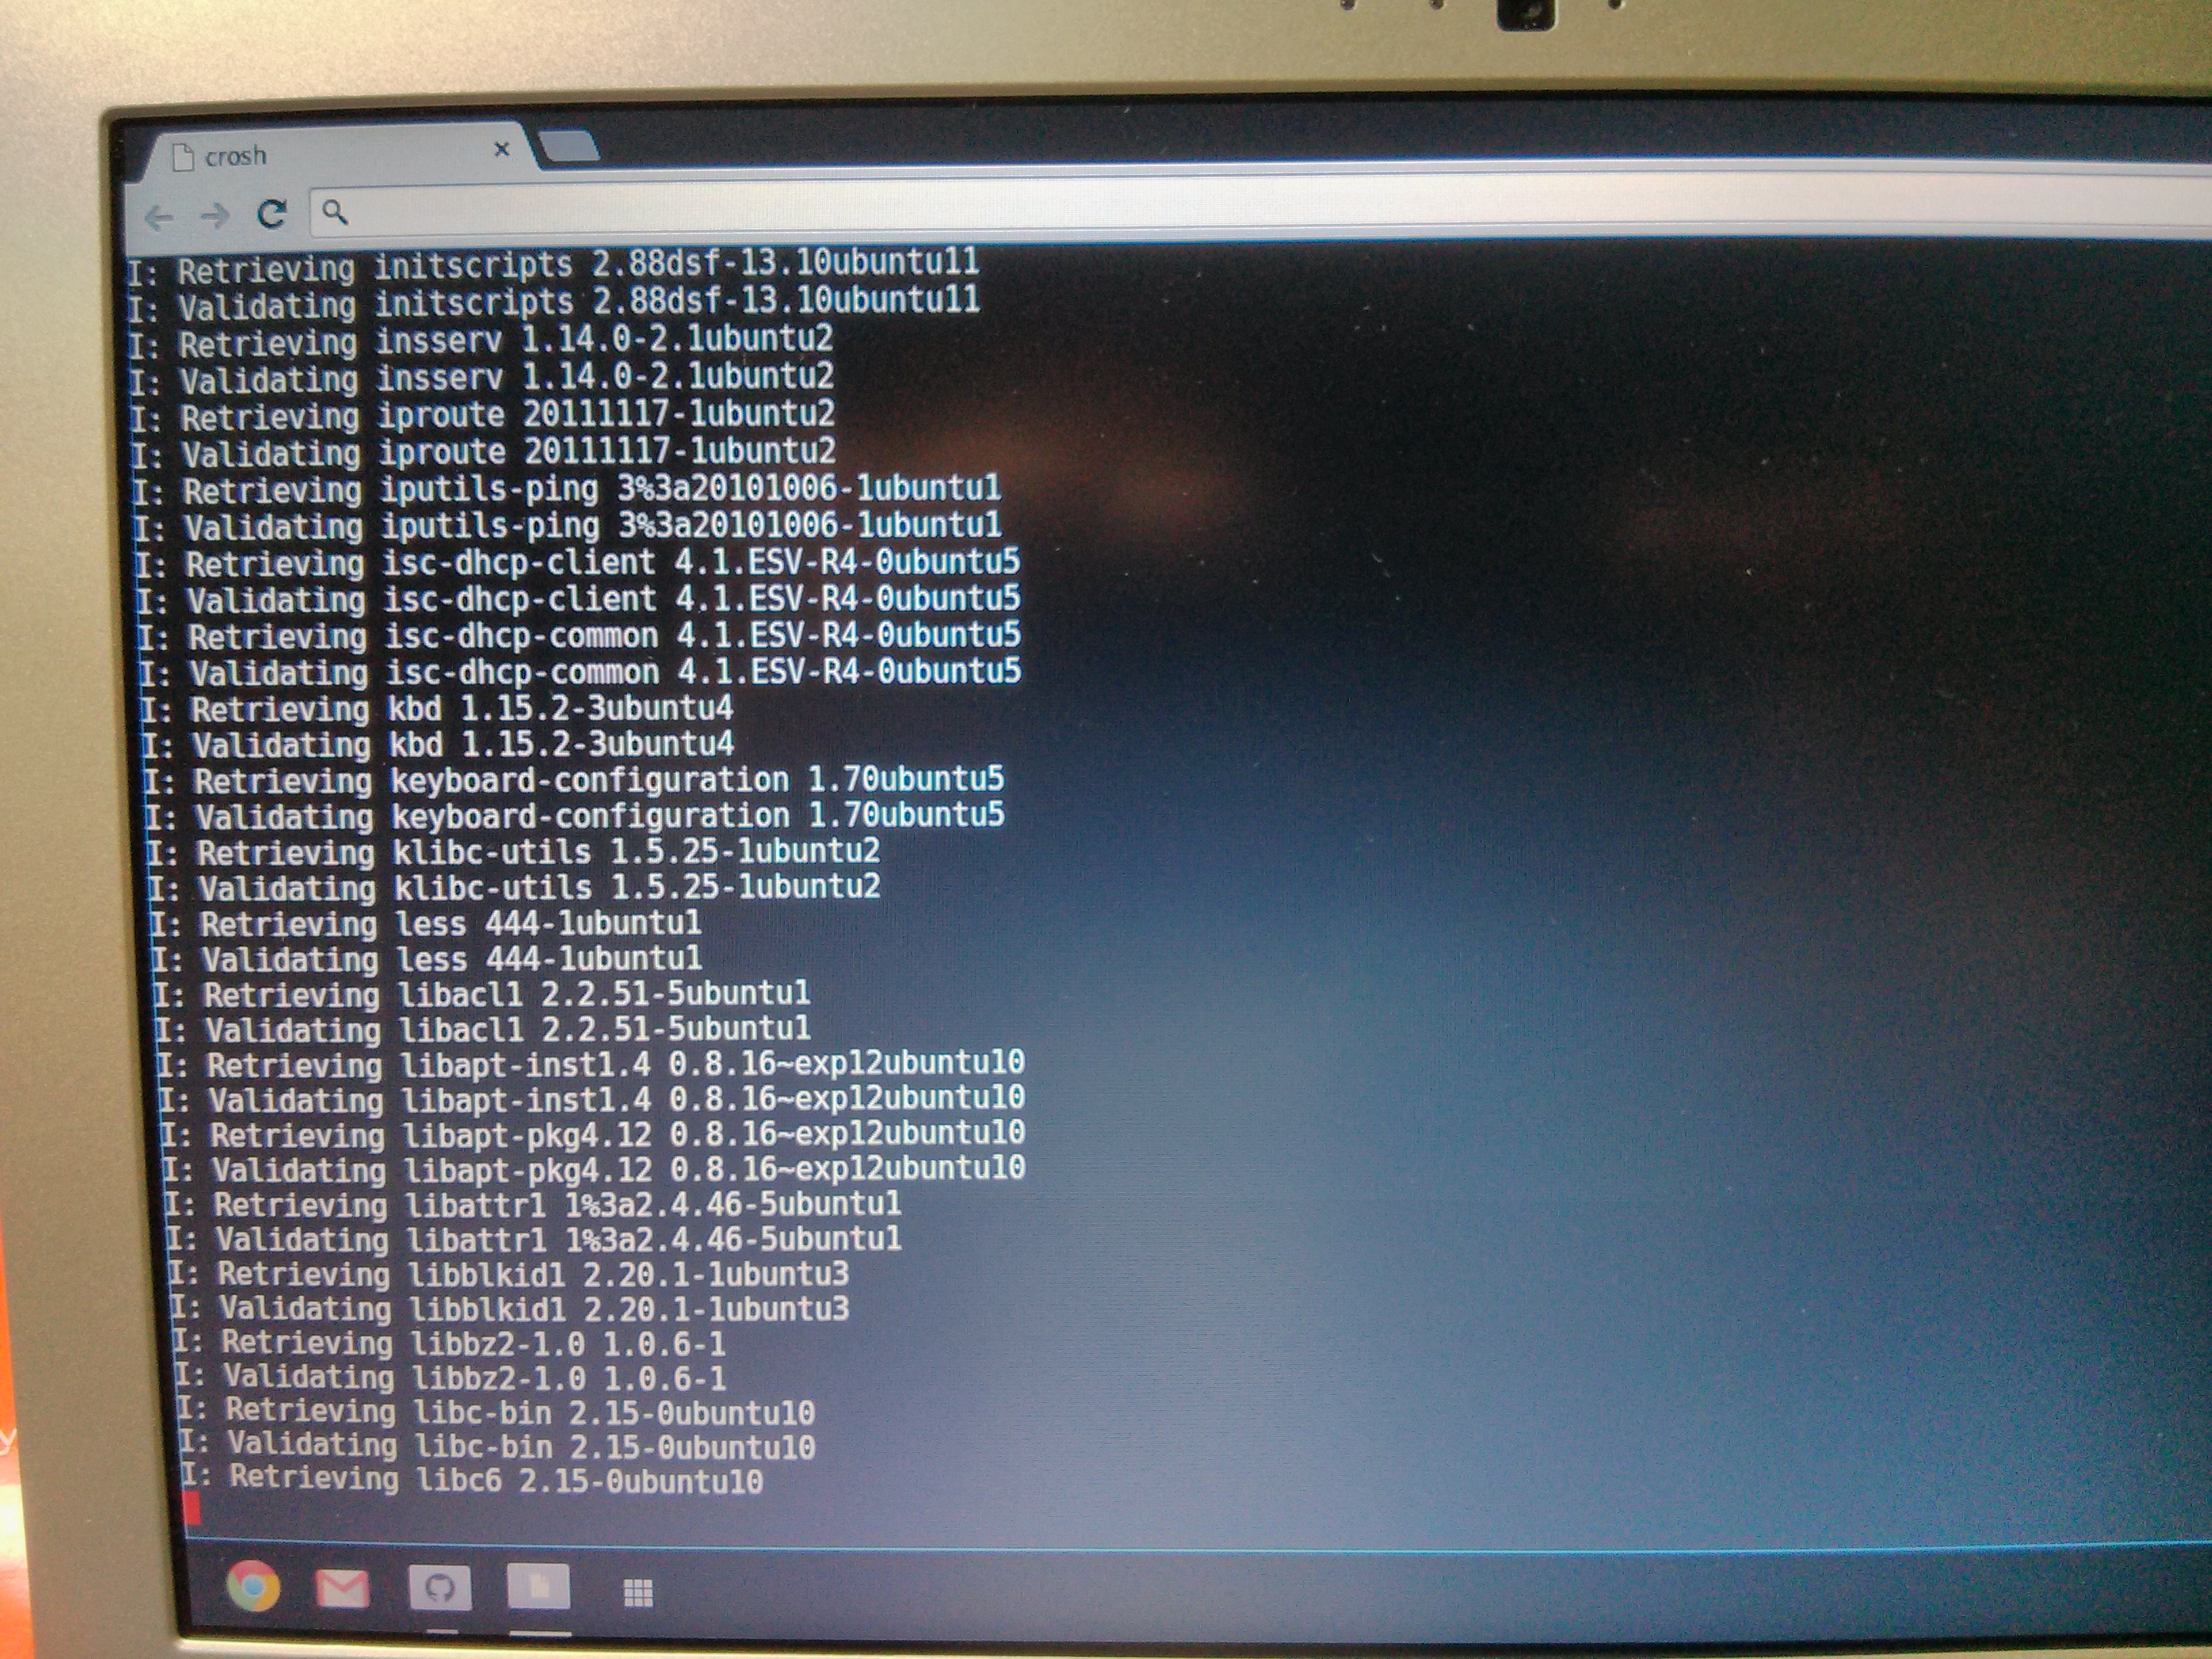
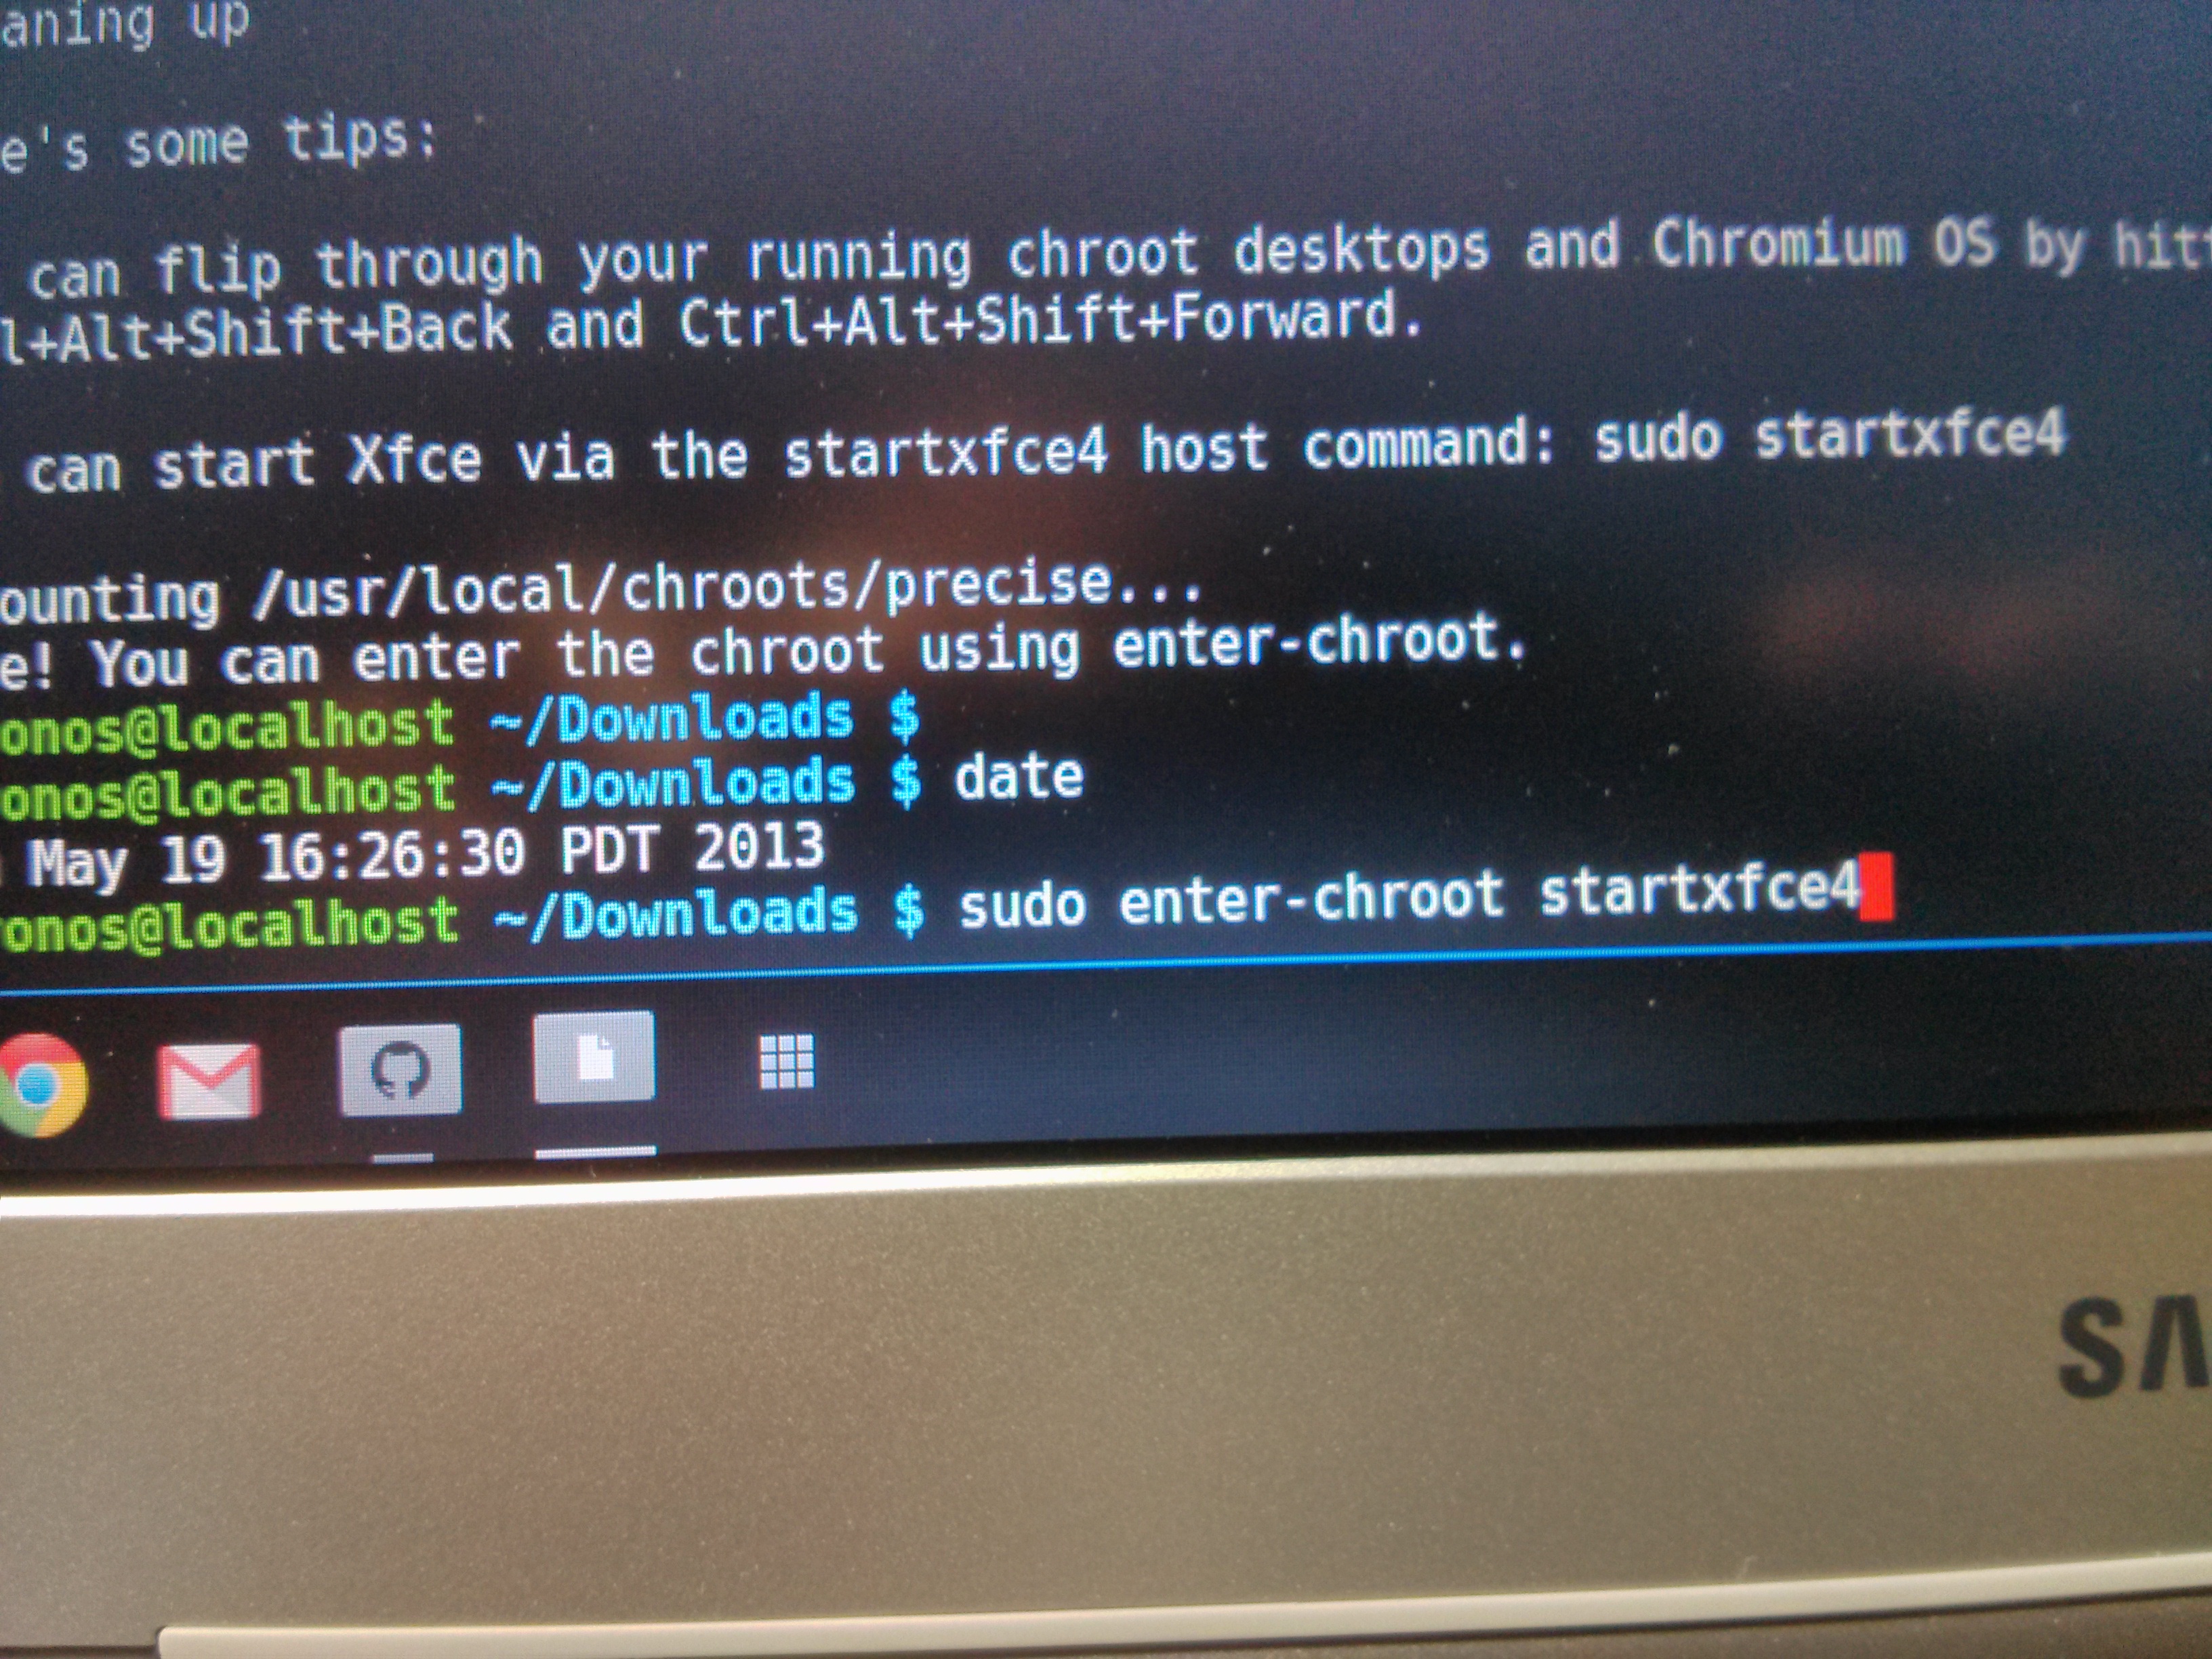
This concludes the installation of Crouton in the chroot environment, that took about 1 hour 20 minutes.
We can now launch the Xfce Desktop environment inside the chroot with the command:
sudo enter-chroot startxfce4
or simply
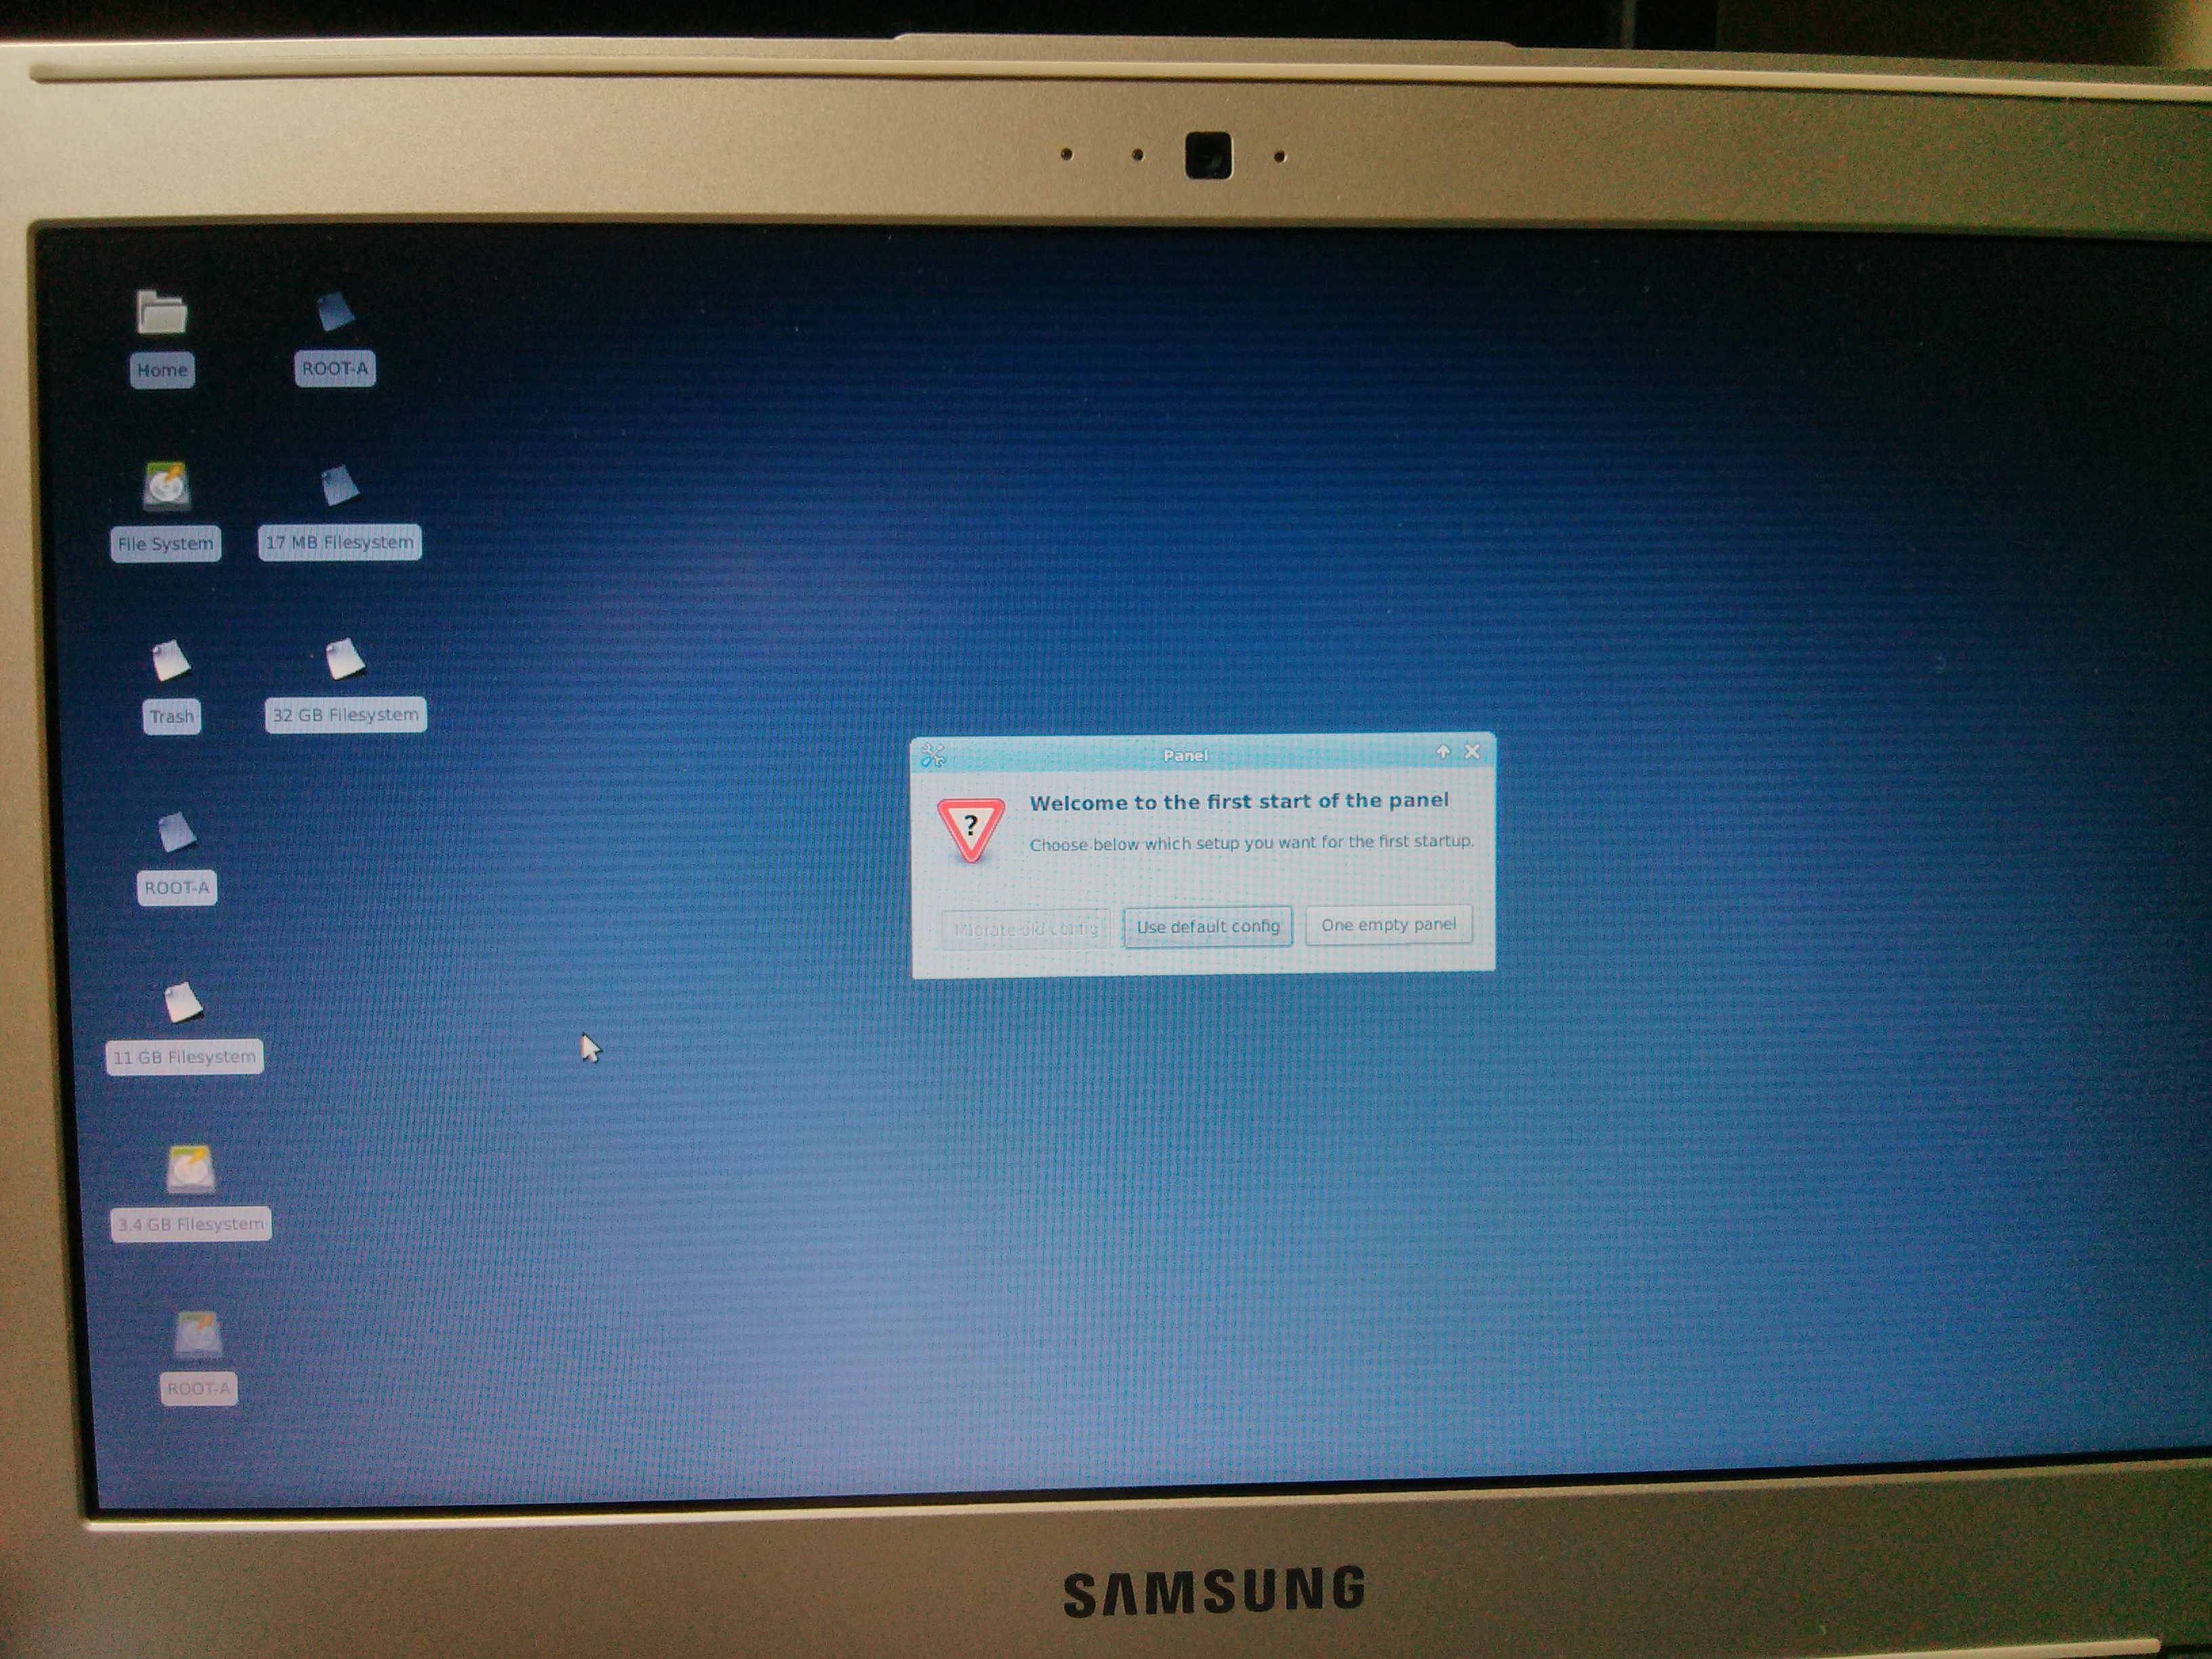
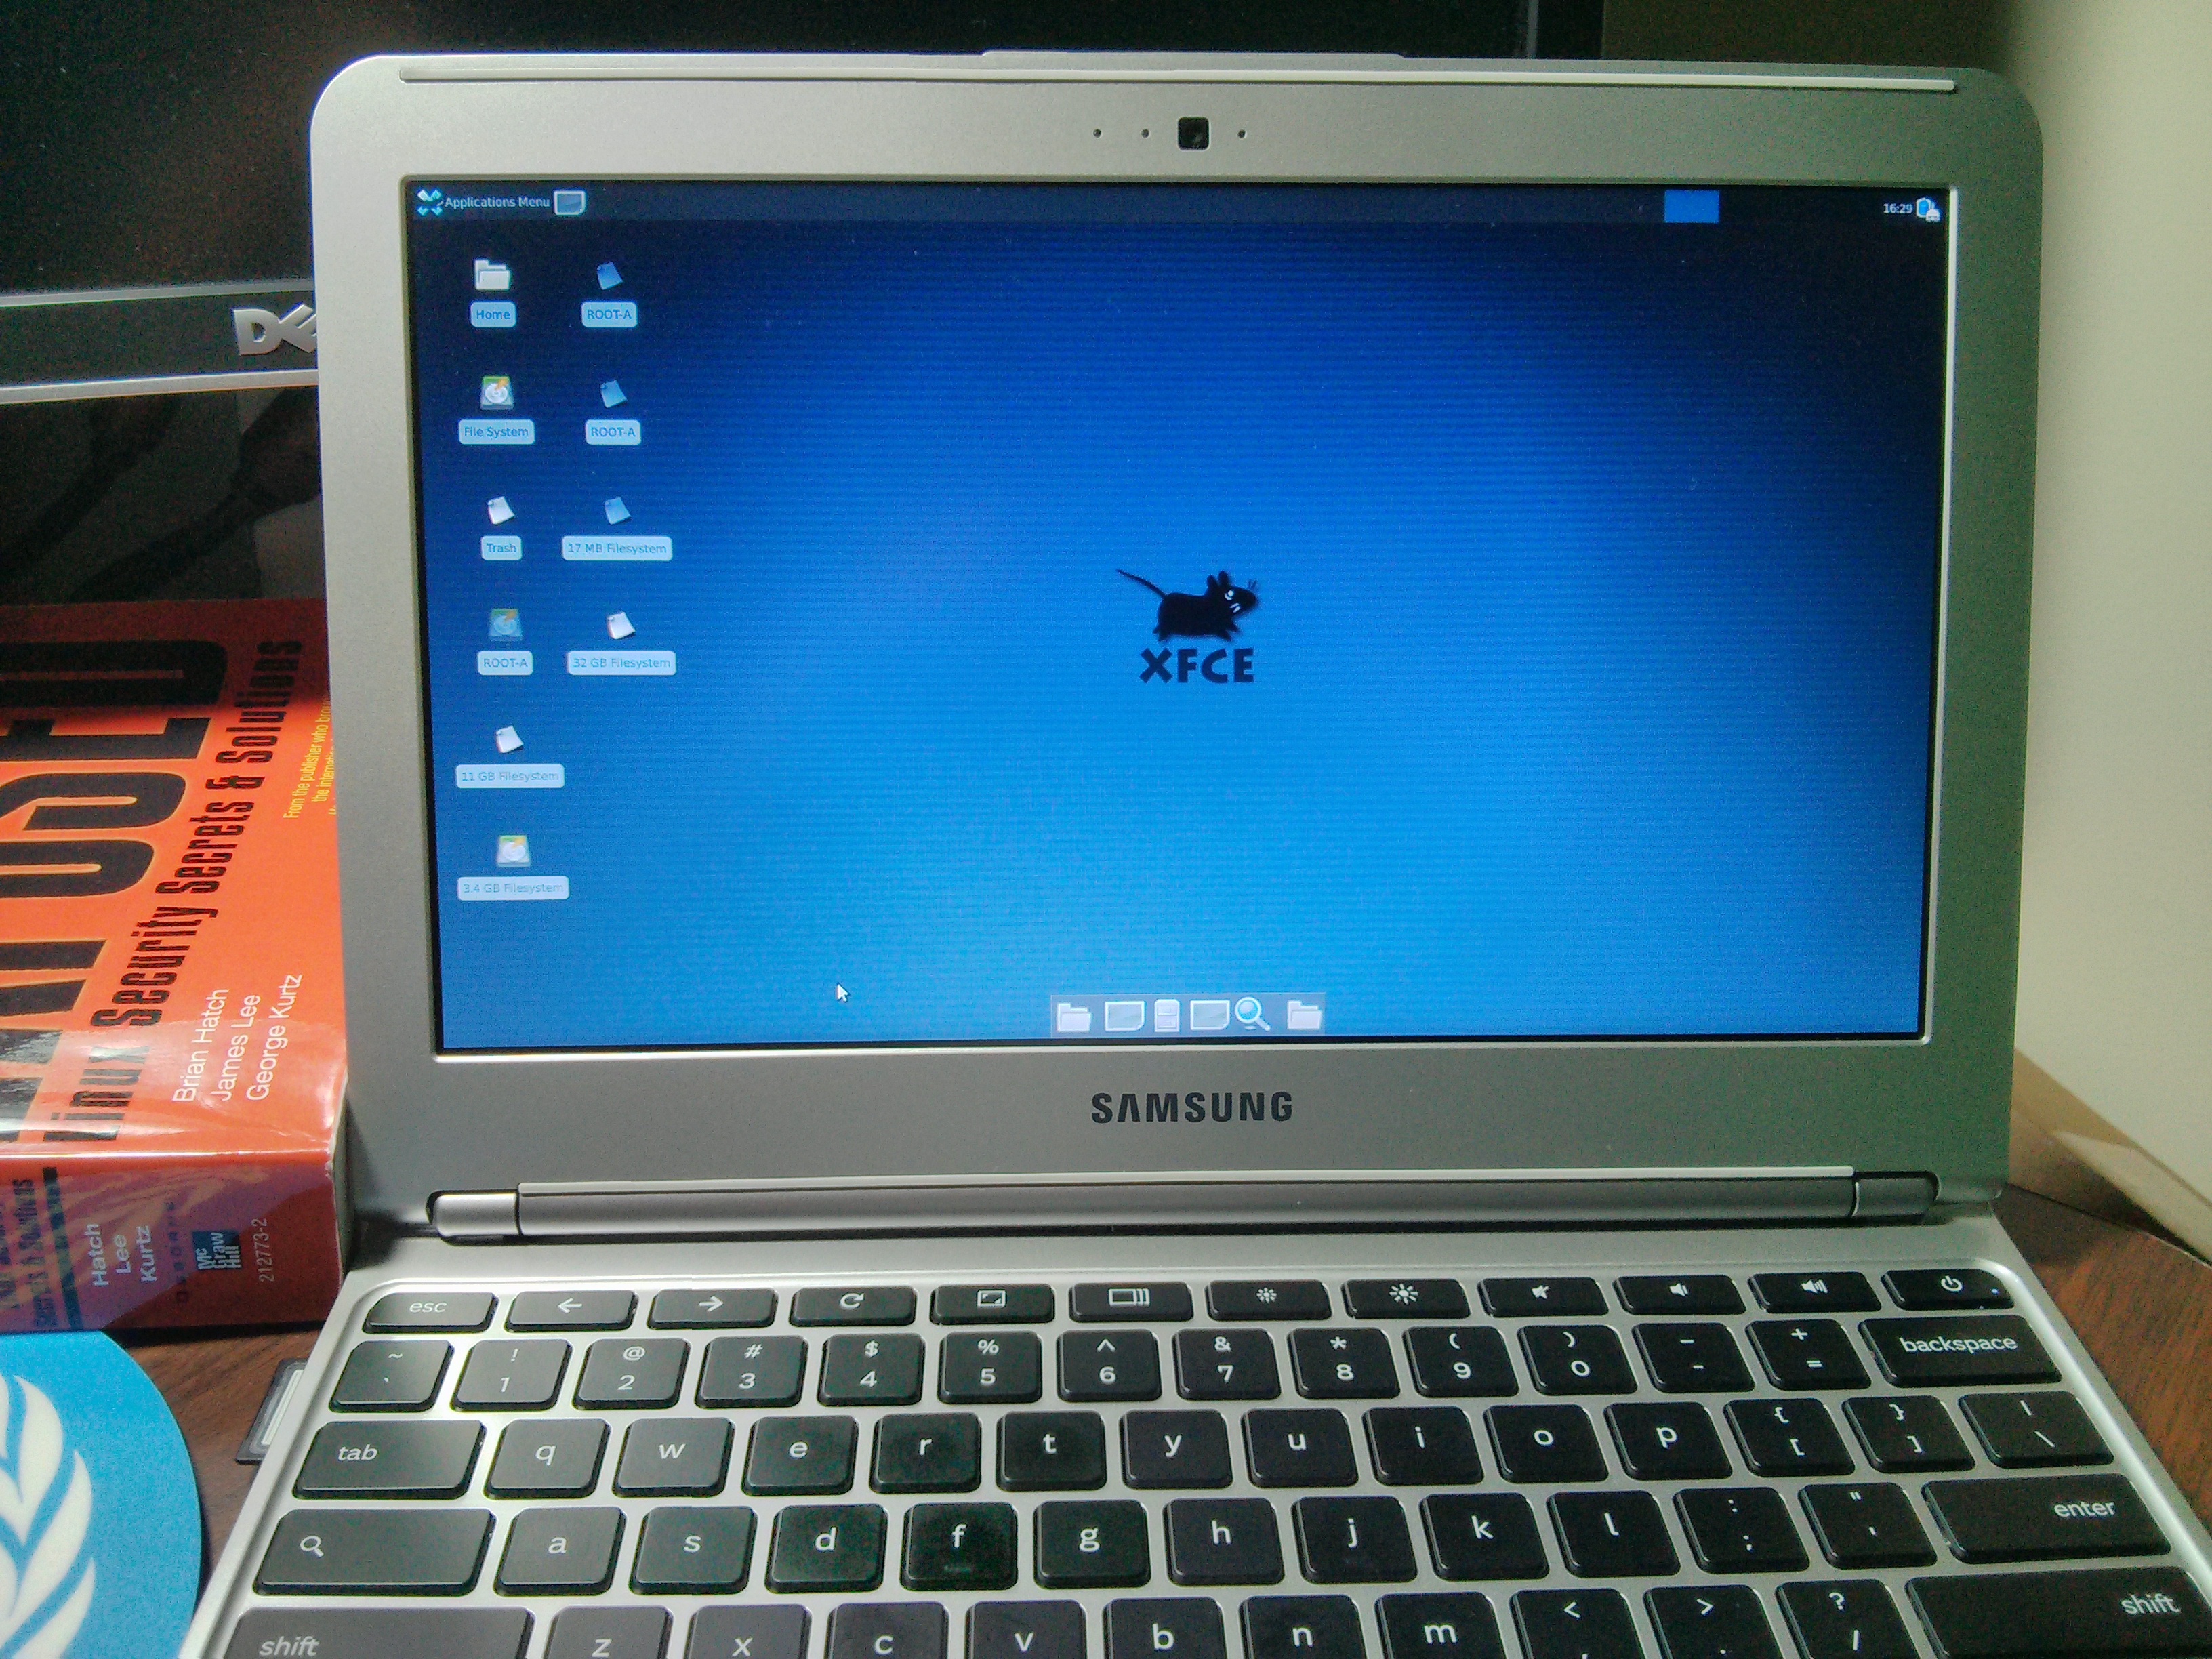
sudo startxfce4
this will bring up the Xfce Desktop:
 |
 |
 |
 |
ChromeOS or Crouton?
Why choose, when you can have both ?
One of the beautiful things about Crouton is that it is one-keyboard-shortcut away from ChromeOS.
The magic key combinations are:
CTRL + SHIFT + ALT + ==> and CTRL + SHIFT + ALT + <==
These key combination will switch the Chromebook from a ChromeOS environment to a full Linux environment with the Xfce desktop.
Note that this is just switching the DISPLAY!
In fact both system are running at the same time.
Now what ?
What can we do with a brand new Linux installation in a laptop with a powerful ARM-based System on a Chip ?
Let’s see how it stack up against what we did with the Raspberry Pi…
Stay tuned…
Great post! I ordered one today — can’t wait to install Crouton on it 🙂