CDash using Amazon’s Simple Queue Service

One of CDash’s main strengths is making it easy to find problems occurring in your software project. Testing clients make this possible by uploading their results to CDash. CDash parses these results, stores them in a database, and presents them in a user-friendly format.
There are a few different ways CDash’s parsing step can take place. The simplest method is synchronous parsing. This means that CDash parses its input data as it is uploaded. A drawback of this approach is that CDash can get bogged down when many clients are submitting simultaneously, such as when nightly build results are rolling in. When CDash gets backed up like this, testing clients can also get slowed down while they wait for a response from the CDash server.
To alleviate these problems, we implemented the concept of asynchronous parsing. Rather than expecting CDash to parse submissions immediately, they are added to a queue that CDash can work through later.
In addition to CDash’s built-in asynchronous feature, we are pleased to announce that CDash can now use external Message Queue (MQ) systems for asynchronous parsing. This is made possible by the Bernard background processing library. Benefits of using a proper MQ for CDash submissions include less stress on the database, better monitoring tools, and more opportunities for scaling to meet demand. This blog post will show how to setup CDash to use Amazon’s Simple Message Service (SQS) to handle build/test submissions.
Step 1: create a new queue
Direct your web browser to http://console.aws.amazon.com/sqs and click on the Create New Queue button.
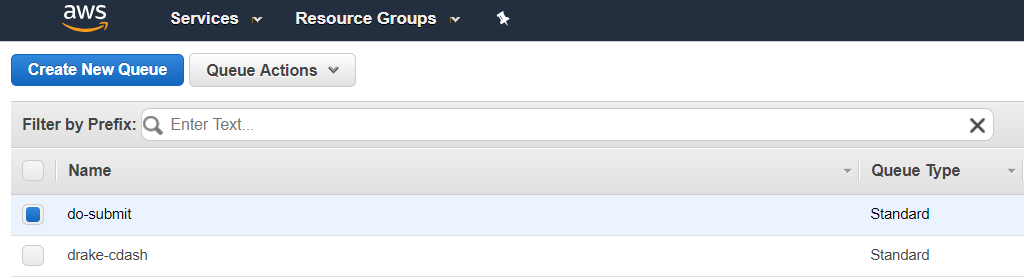
By default, CDash expects this queue to be named do-submit. See here for instructions if you’d prefer to use a different name for your CDash queue.
Step 2: make sure the web user has access to the queue
Let’s assume your web server is run by the user www-data and its home directory is /var/www. Create a file /var/www/.aws/credentials with the following contents:
[cdash]
aws_access_key_id = YOUR_AWS_ACCESS_KEY_ID
aws_secret_access_key = YOUR_AWS_SECRET_ACCESS_KEY
Only the www-data user should have read access to this file.
Step 3: configure CDash to use the SQS queue
There are two settings you will need to modify to turn on SQS support in CDash. First, In your CDash directory, edit config/queue.php. Towards the bottom of the file you should see an entry for Driver::SQS. Enable this option and set your profile name and region of choice. Here’s an example of what this section should look like once you’re done.
Driver::SQS => [
    'enabled' => true,
    'profile' => 'cdash',
    'region' => 'us-east-1',
    'version' => 'latest',
],
Notice how the profile here matches the header in the AWS credential file created in step 2. Once that’s done, add the following line to your config.local.php file:
$CDASH_BERNARD_SUBMISSION = true;
Step 4: activate CDash’s message consumer
By default, Bernard’s consume() function enters an infinite loop checking for new messages on the queue. Therefore, all that’s left to do is start this loop! The simplest way to do so is to visit <my-cdash-url>/submissionConsumer.php with your web browser. However, this approach is not robust to crashes, system restarts, etc.
Instead, we’ll use systemd to begin this process at system startup time.
Sample systemd configuration
Here is sample content for the file /etc/systemd/system/cdash-consumer@.service
[Unit]
Description=CDash input consumer #%i

[Service]
Type=simple
User=www-data
WorkingDirectory=/var/www/cdash
Restart=on-failure
RestartSec=5s
ExecStart=/usr/bin/php /var/www/cdash/public/submissionConsumer.php

[Install]
WantedBy=multi-user.target
As you can see, this simple script will use command-line PHP to execute submissionConsumer.php. If the script crashes, it will be automatically restarted after 5 seconds. The @ in the title and the %i in its contents means that this script is parameterized. This allows us to enable multiple submission processes to consume messages from CDash’s queue.
If we wanted to have four such processes begin running at system startup time, we would run:
$ systemctl enable cdash-consumer@1
$ systemctl enable cdash-consumer@2
$ systemctl enable cdash-consumer@3
$ systemctl enable cdash-consumer@4
Note that this only schedules these jobs to run at system startup time, it actually doesn’t start running them immediately. To do so, specify the start option instead.
$ systemctl start cdash-consumer@1
$ systemctl start cdash-consumer@2
$ systemctl start cdash-consumer@3
$ systemctl start cdash-consumer@4
Follow-up steps
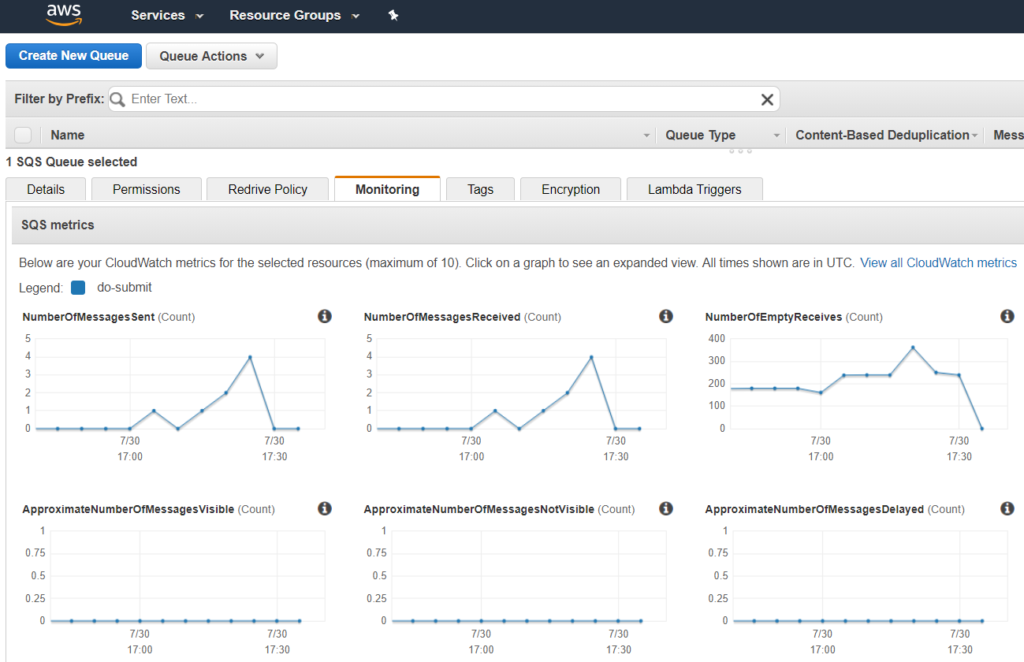
Once you have CDash setup to use SQS, you can benefit from Amazon’s nice monitoring tools. Select your queue from the AWS console and click on the Monitoring tab to view metrics on how your CDash queue is performing.
A nice side-effect of this change is that we no longer assume that CDash the website and CDash the data parser live on the same machine. This decoupling makes it possible to spin up additional EC2 images to parse input data when your queue grows too large. See here for instructions on how to create an auto-scaling group of EC2 instances that monitors your SQS queue.
If have an example for CDash using redis or CDash using Rabbitmq?