Raspberry Pi likes Open Source

| Index To the Series |
| 1. Raspberery Pi likes Open Source |
| 2. Cross-Compiling for Raspberry Pi |
| 3. Cross-Compiling ITK for Raspberry Pi |
| 4. Raspberry Pi likes VTK |
| 5. Raspberry Pi likes Node.js |
The Raspberry Pi:
 A fully functional computer for $35.
with
- ARM Processor
- 512 Mb RAM
- 2 USB ports
- HDMI Video output
- 4Gb SD Memory Card (added)
- Audio output
- Open pins for driving devices
Originally developed with the goal of stimulating the teaching of basic computer science in schools, it is simply hard to ignore…
It may look small today…
but it has the Desktop Computer specifications for which we wrote the Insight Toolkit (ITK) back in 1999.
After being in the waiting list for several months,
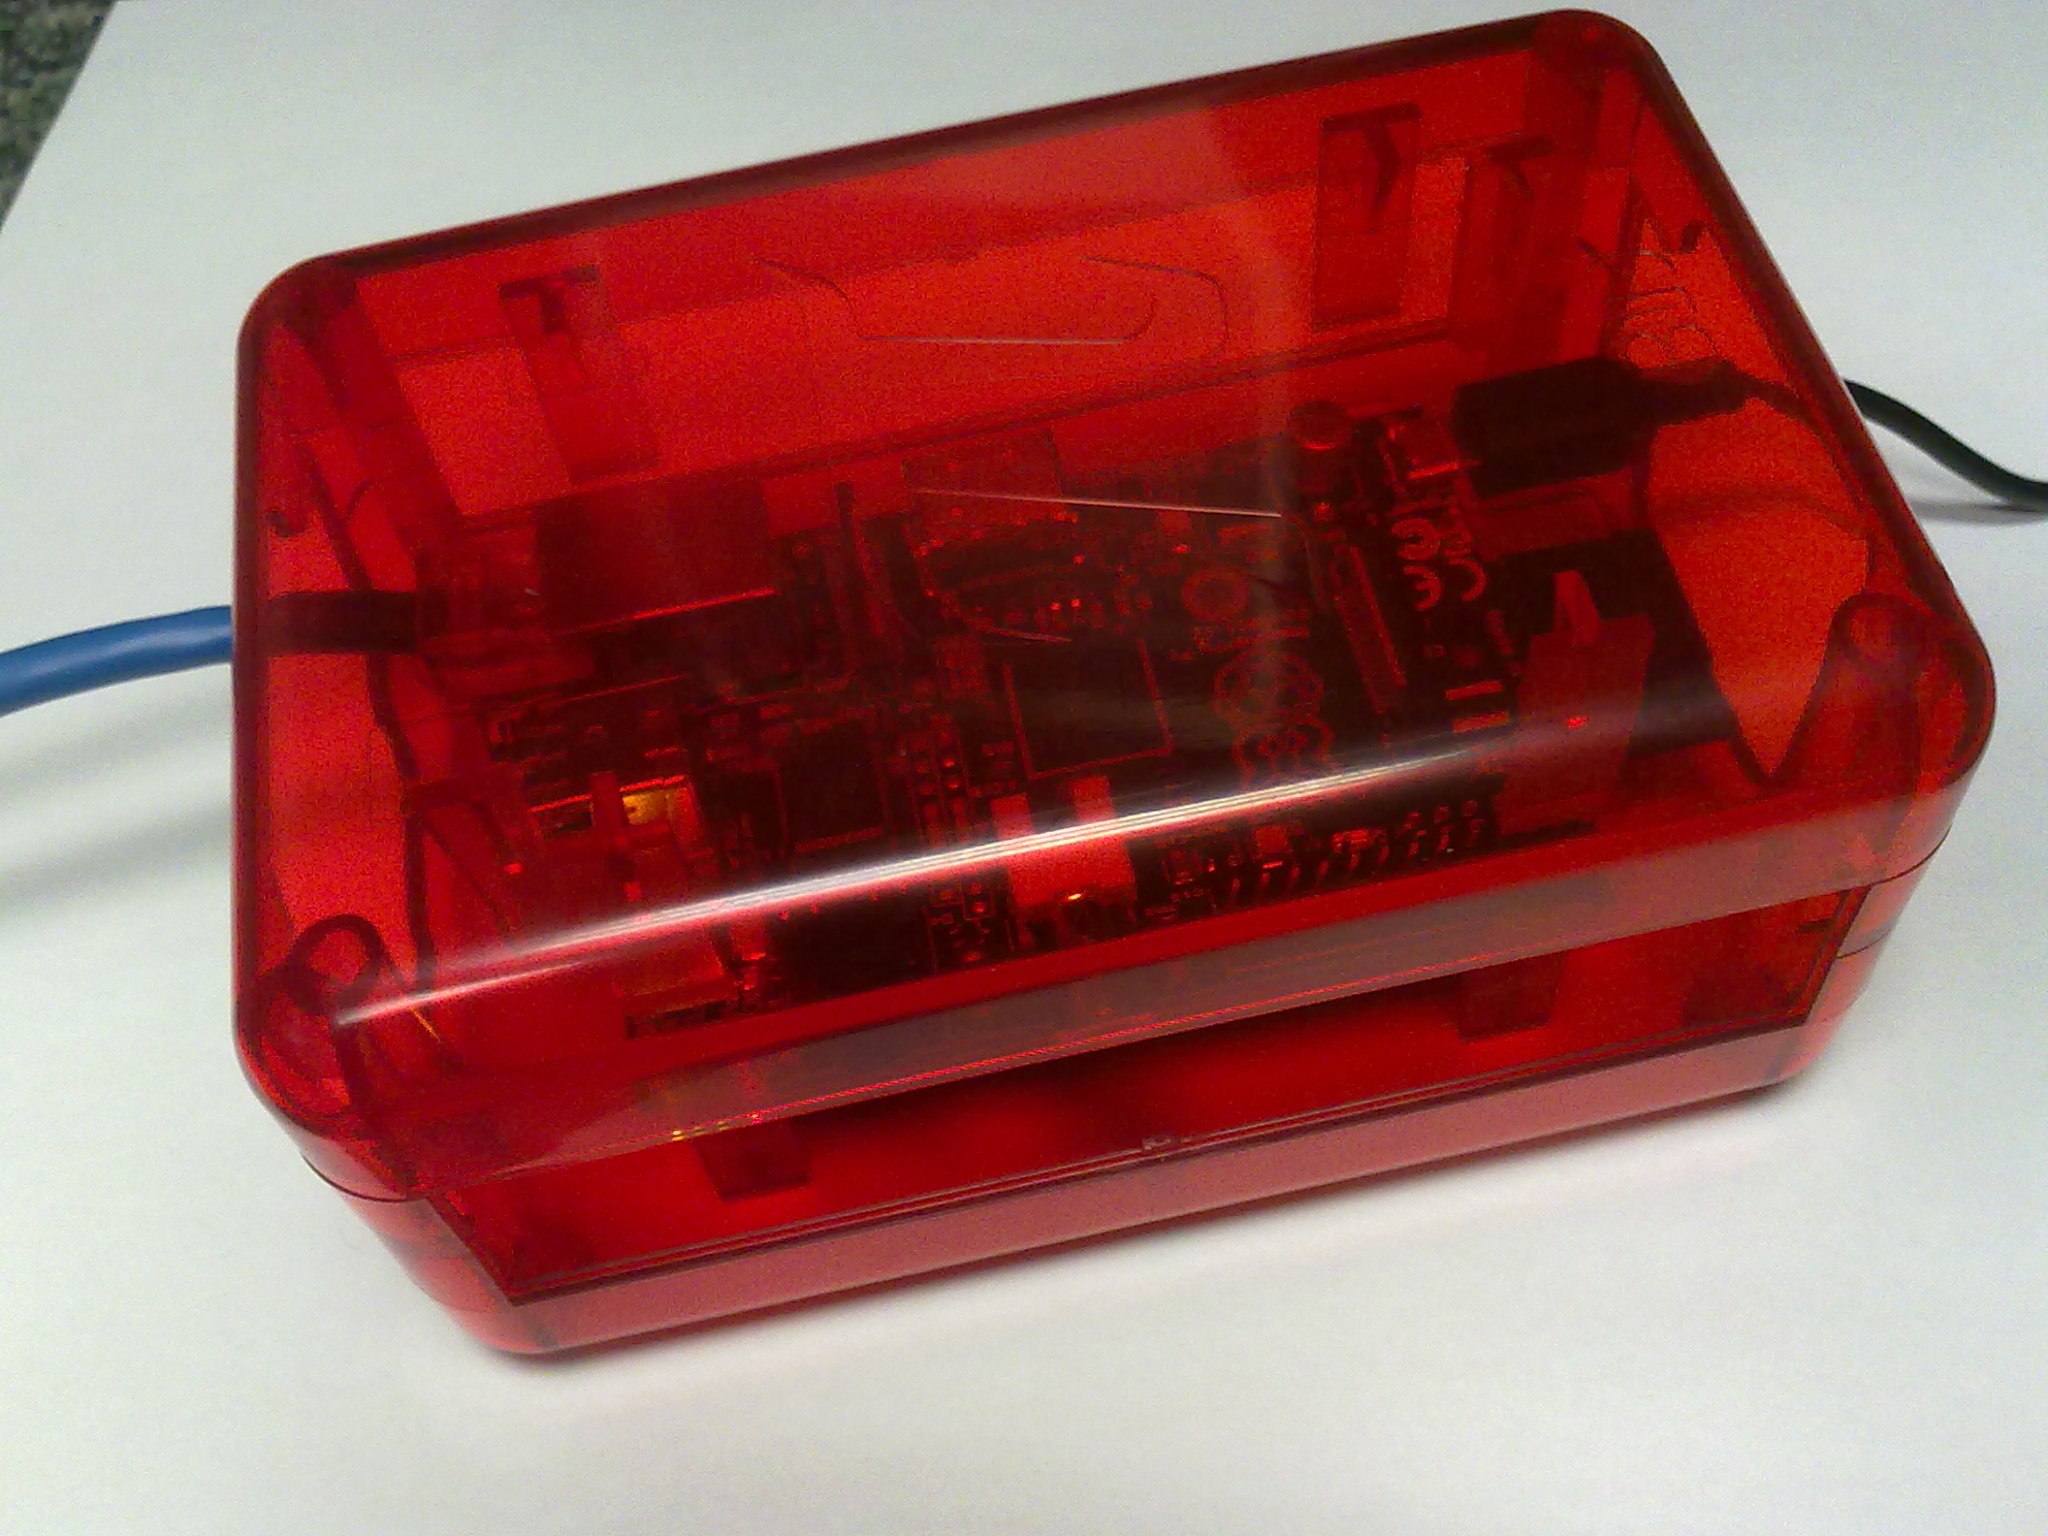
finally our little Raspberry Pi box made it to our Kitware office.
Here it is in all its glory:
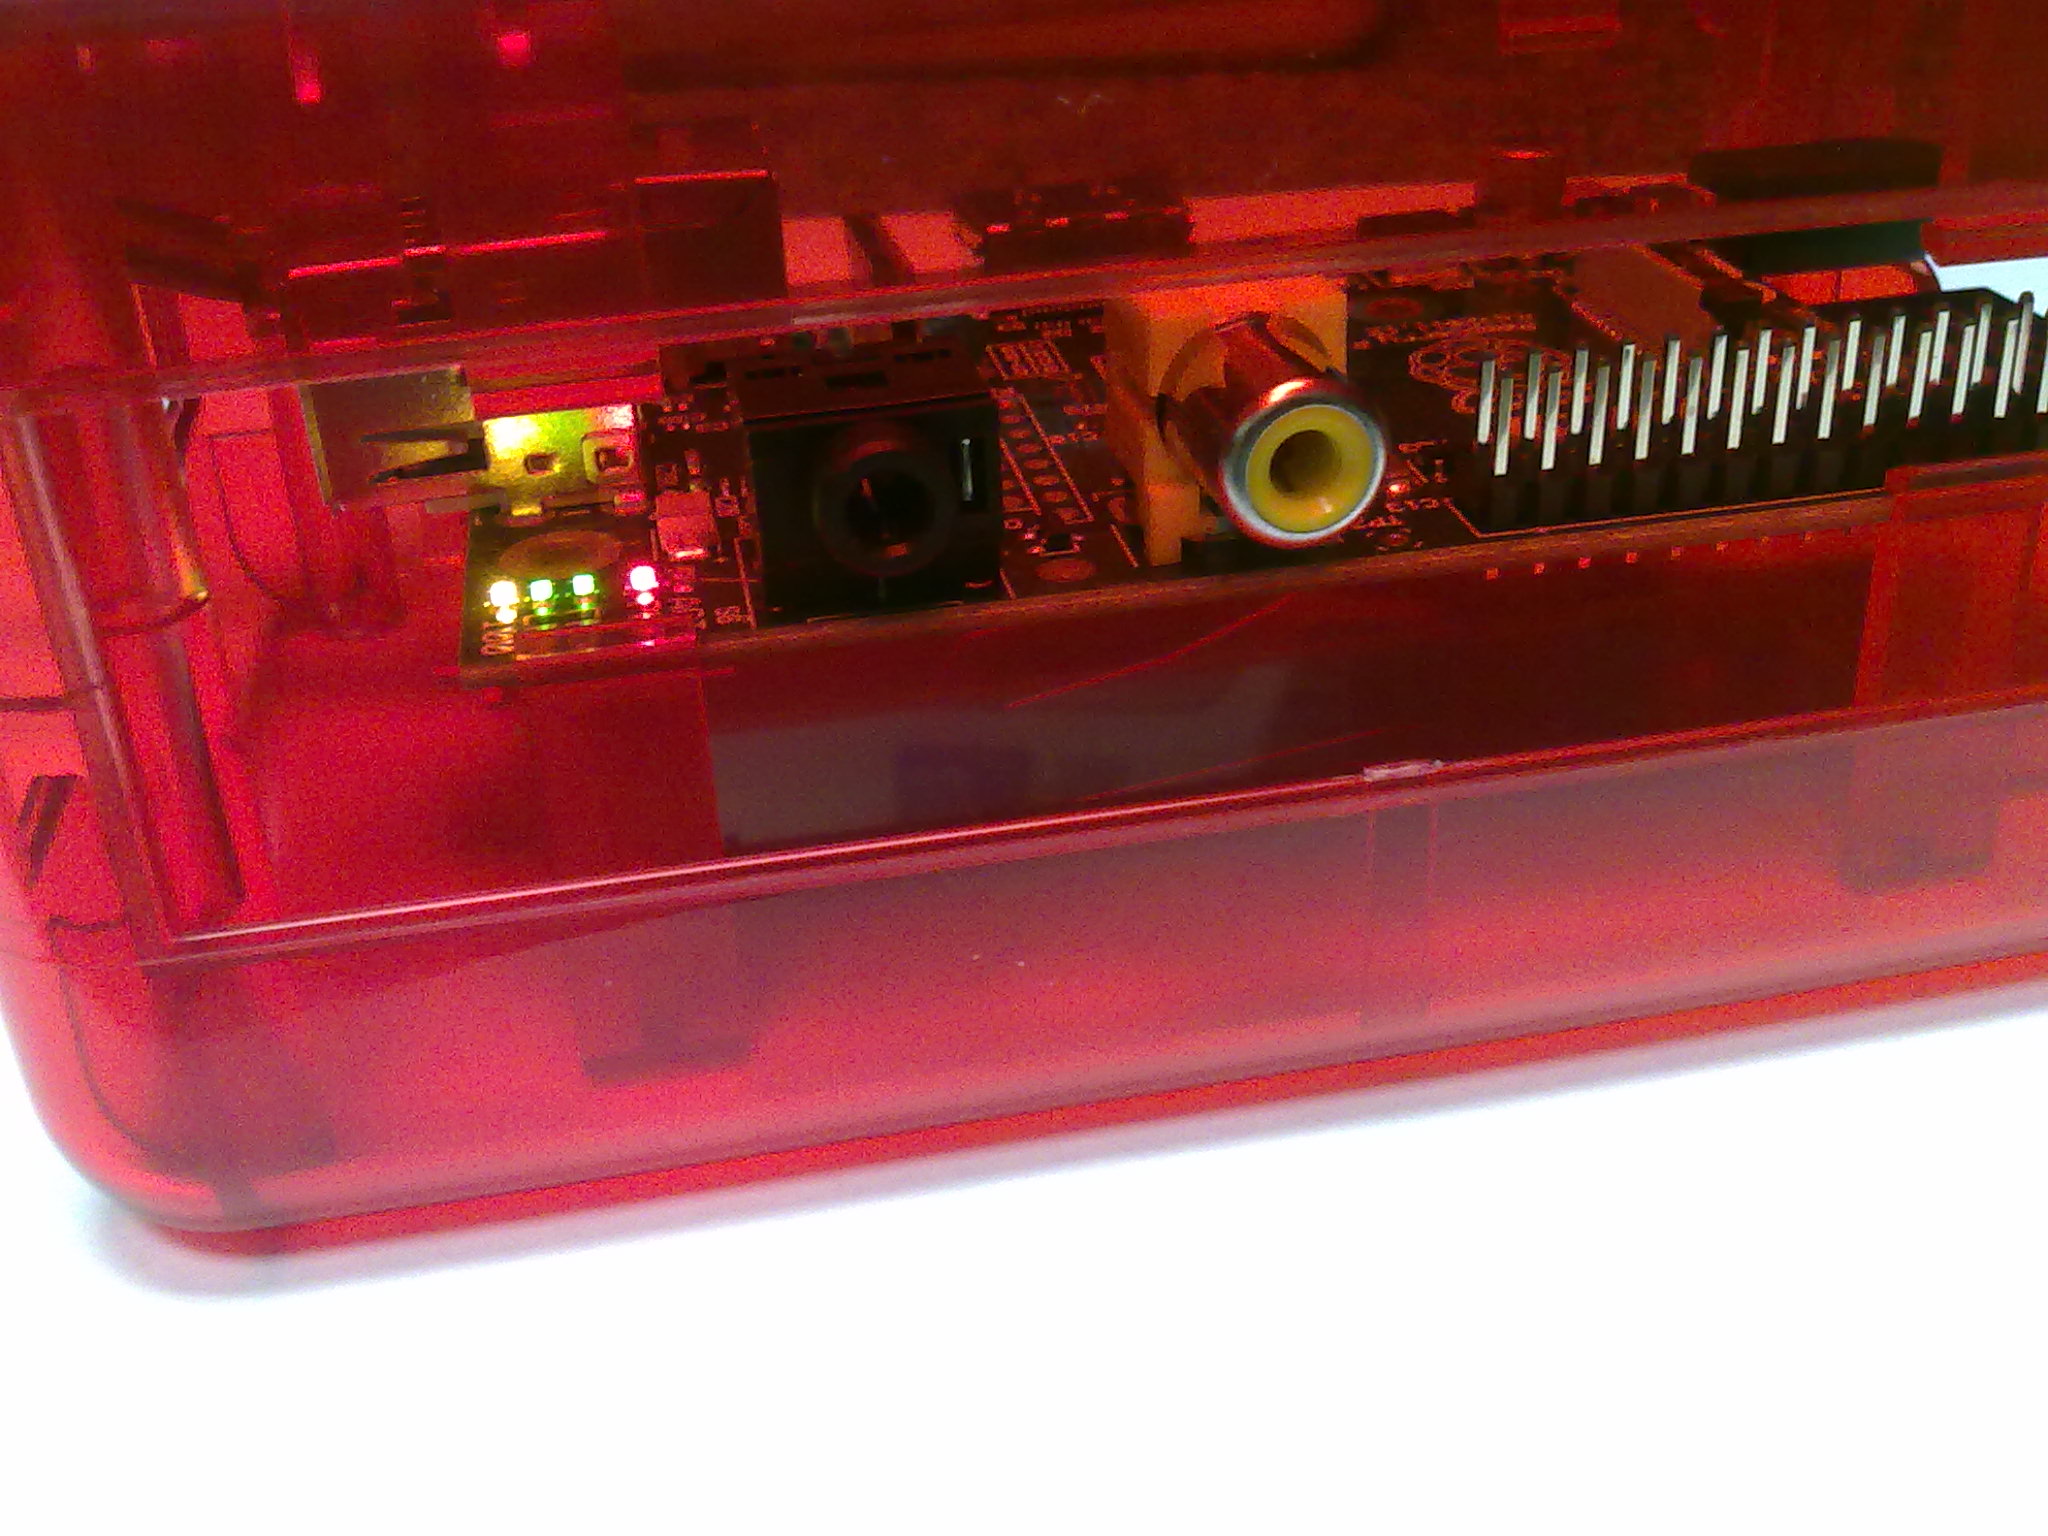
Very important: as any real computer, it has blinking LEDs of Happiness:
 So.. what can one do with it ?
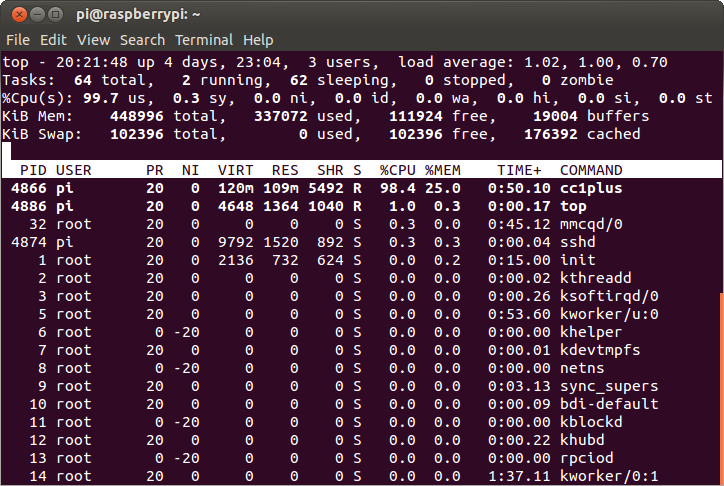
Since we got it with a Linux installation, we can simply start with an SSH login into it.
Then we download the latest release of CMake: 2.8.10.
and build it from source:
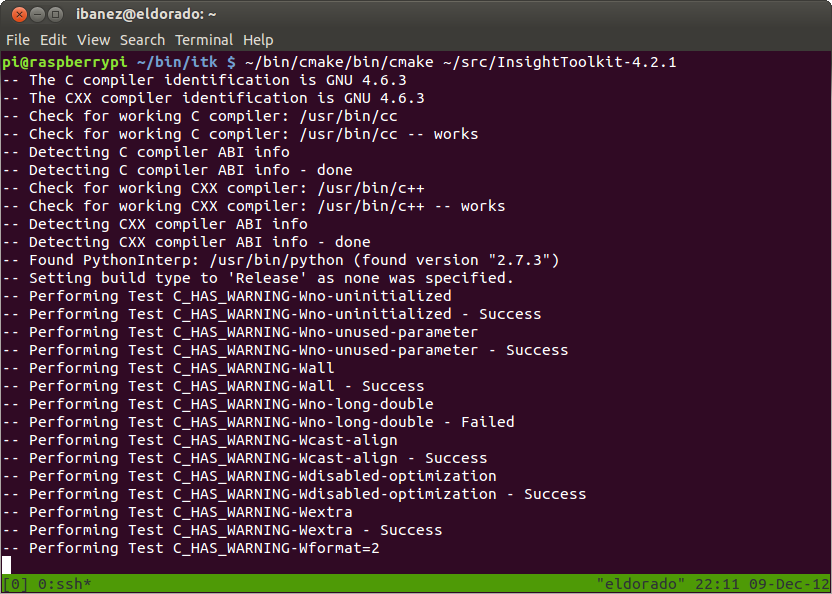
 very obediently, gcc start crunching CMake code:
and after 37 minutes it finished the configuration step.
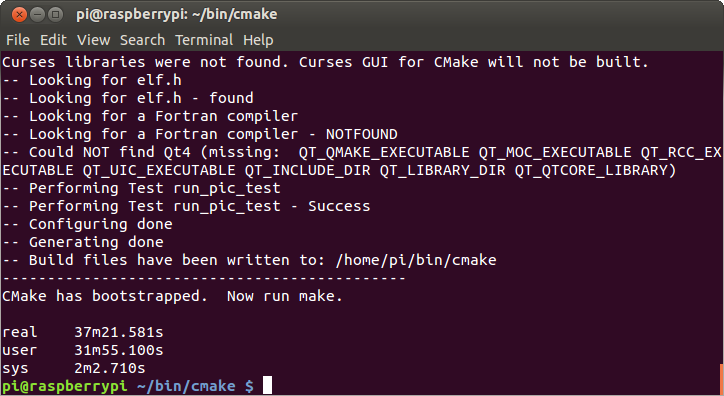
No point in being a Grinch about the compilation time.
Remember this is an ARM processor, not a Quad Core i7. 🙂
As usual we go then for the Make command,
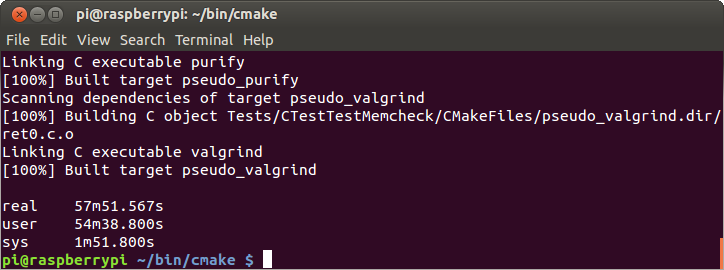
This time it takes 57 minutes to complete the build of CMake.
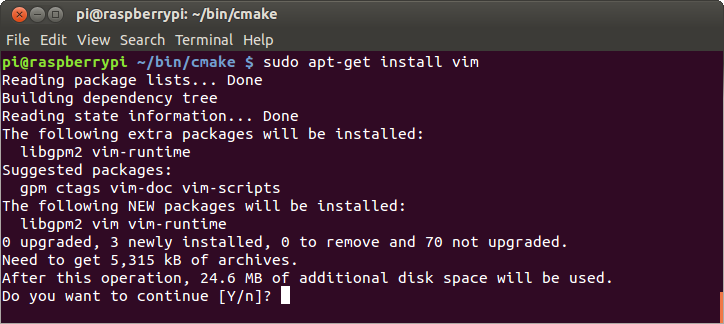
Then move onto installing Vim,
since no computer on earth can be complete without Vim 🙂
(besides, needed to edit the CMakeCache.txt file to set the SITE name).
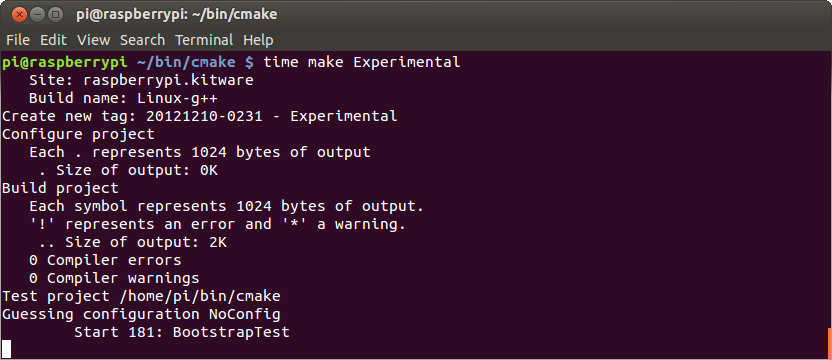
and finally, as good Open Source citizens,
we submitted a build to the CMake Dashboard
 One hundred minutes later…
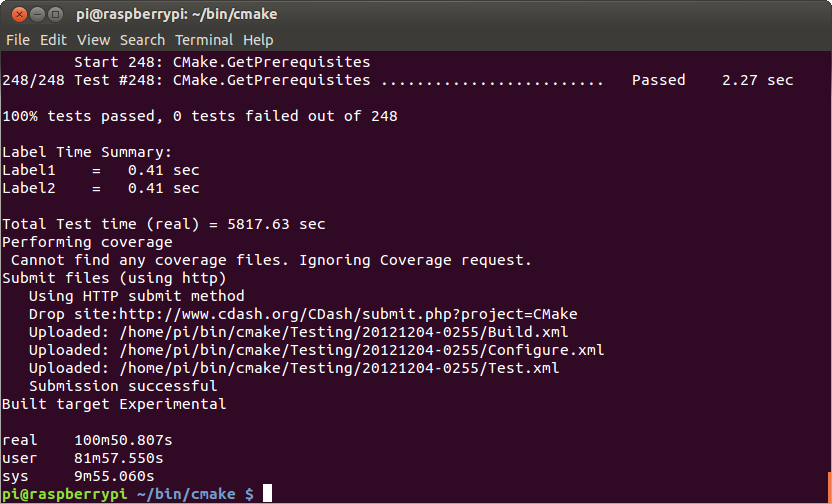
Here is your Raspberry Pi: Experimental Build
You are welcome CMake !
Or rather we should say… Thank You CMake !
since now we are ready to start building the Insight Toolkit.
We start by downloading the most recent release: ITK 4.2.1.
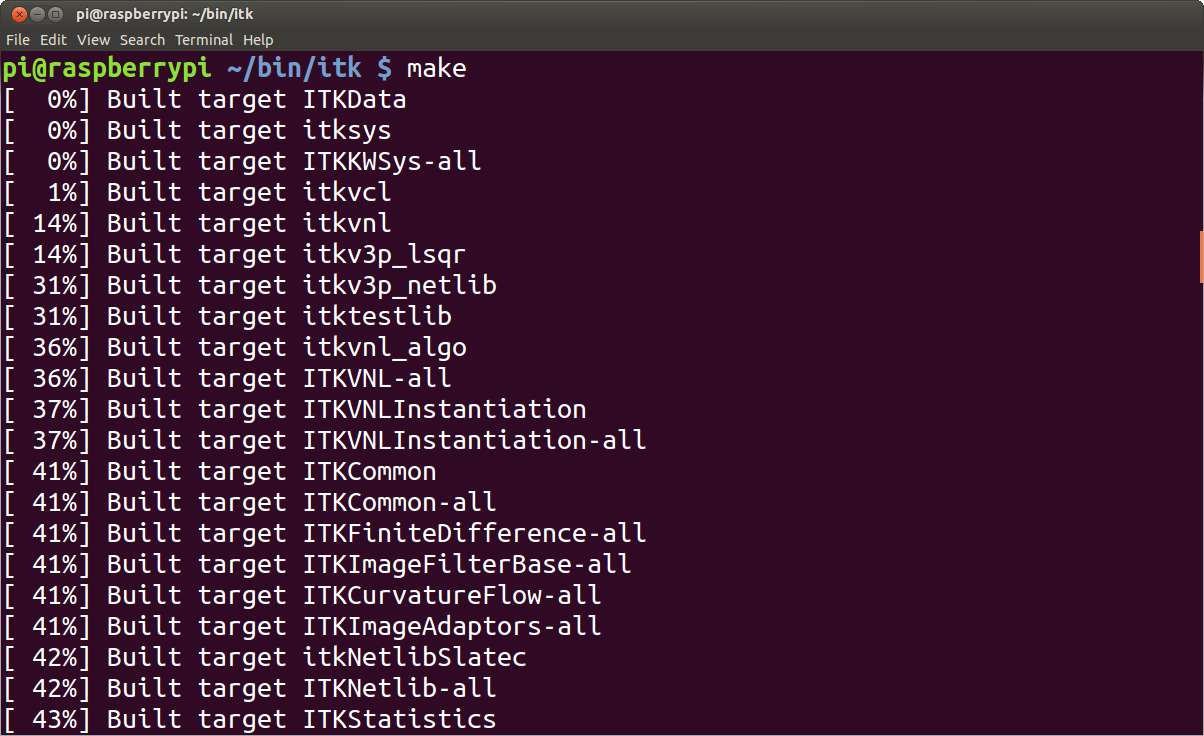
and proceed to configure it with our freshly built CMake:
mm,… it took four days…
and it was still going on….
given that by default all the modules, tests and examples are enabled.
We had to restart the build with Testing and Examples disabled.
 and several hours later…
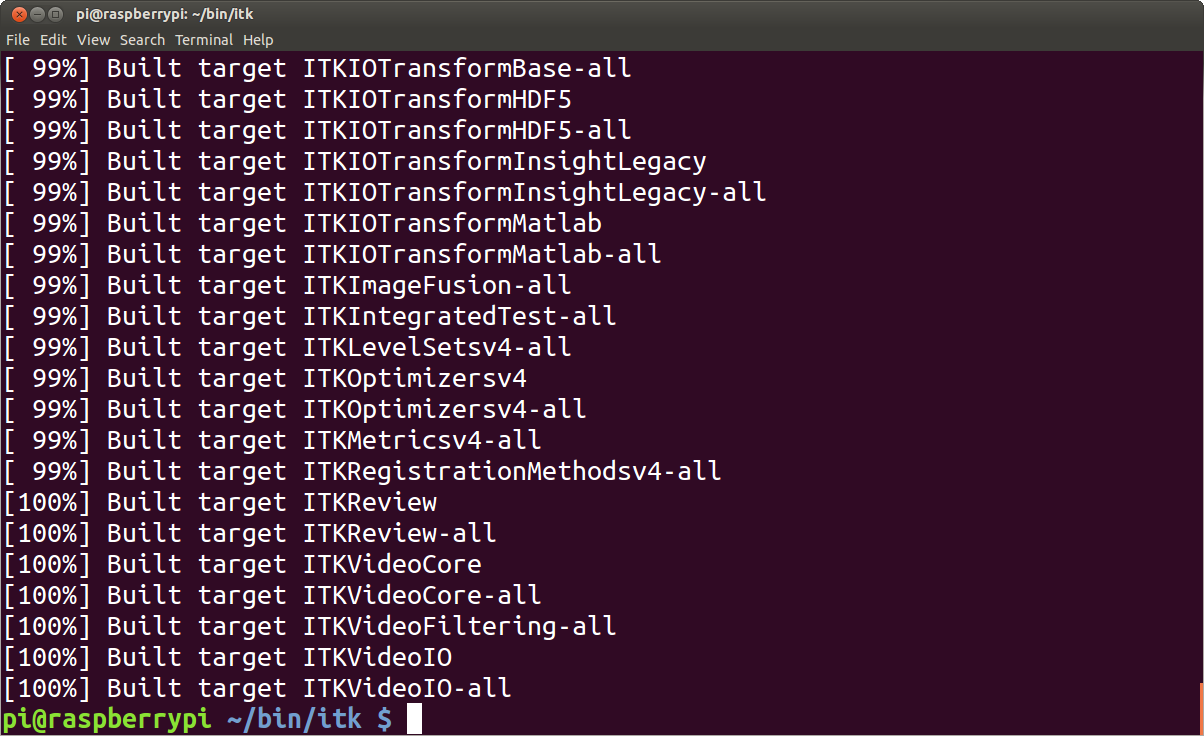
The good news: It Builds All !!
The bad news: It may take more than what you are willing to wait.
Therefore, here is the motivation to pursue Cross-Compilation, where we will compile the code in a standard Desktop or Laptop, but generate code that target the architecture of the Raspberry Pi.
What!!!!???
All the CMake tests passed on the first Raspberry Pi dashboard ever!!!
Unheard of.
Awesome — thanks Luis.
Iti is an awesome little machine and excellent value! Where else can you get a machine like this with a relatively complere debian installation?
I can confirm the Cmke experiene, Luis. Wih respect to Boost, it takes about 4h to build boost 1.52 on it. I also set up cross compilation toolchain on a Linux machine. Then use rsync on the host machine (Ubuntu) to sync when you update the RasperryPi.
I used Crosstools-NG to build the cross compiler which was fairly straitforward, make sure you set hardware FP support.. This means you can use the latest version of gcc.
It was really easy to set up the CMake Toolcahin file, I just used the example one with a few simple mods. The really nice thing about CMake is you have two side-by side build directories, one for cross-compilation builds and one for native builds.
I have some note that I can make available.
I must get a case and wireless dongle for mine!
Andrew,
That’s great to hear.
I’ll appreciate pointers to what you did to cross-compile.
I’m trying to do that right now, and I’m running into conflicting versions on how to do it.
Got the tool chain from:
https://github.com/raspberrypi/tools
but I’m not finding it as straightforward as I was expecting.
Also installed in my laptop the Ubuntu Linux packages
* gcc-4.7-arm-linux-gnuabihf
* gcc-4.7-arm-linux-gnuabi
and with those, I’m also missing something that probably should be obvious…
Could you please share your notes on how you went about the cross-compilation ?
Once I repeat the process, I’ll put together a follow up blog post.
Thanks
Here are my notes (apologies for being a bit scrappy):
———————————-
Using crosstools at http://crosstool-ng.org/
See http://www.bootc.net/archives/2012/05/26/how-to-build-a-cross-compiler-for-your-raspberry-pi/
You may need the following packages to build crosstool:
bison, flex, gperf, texinfo, gawk, libtool, automake, subversion.
Download crosstool-ng from the project web site. I’ve used version 1.15.2 as that was the latest when I wrote this.
Unpack the tarball and cd into the unpacked directory, then run ./configure –prefix=/usr/local/cross. You can pick somewhere else instead of /usr/local/cross but that’s where I like to keep it.
Run make and sudo make install.
Make sure /usr/local/cross/bin is in your $PATH. e.g: export PATH=$PATH:/usr/local/cross/bin
Right, so that’s crosstool-ng installed and ready to build a toolchain for you. Next, to actually create your Raspberry Pi toolchain:
Create a directory somewhere in your home directory that crosstool-ng will use as a staging ground. This will contain your toolchain configuration, downloaded files, and intermediary build results. This is not where your final toolchain will end up, and does take up quite a lot of space (3.5GB and up for me). cd into your chosen directory.
Run ct-ng menuconfig. You should see the ct-ng configuration menu.
Go into Paths and misc options. Enable Try features marked as EXPERIMENTAL. This is important.
While you’re there you may want to change your Prefix directory. I like to put all my toolchains in /usr/local/cross/x-tools/${CT_TARGET} instead of ${HOME}/x-tools/${CT_TARGET}.
Go back to the main menu and select Target options.
Change the Target architecture to arm. Leave Endianness set to Little endian and Bitness set to 32-bit.
Go back to the main menu and select Operating system (skip Toolchain options, the defaults are fine).
Change Target OS to linux.
Go back to the main menu and select Binary utilities.
Change binutils version to 2.21.1a or whichever is the latest that isn’t marked as experimental. Probably unnecessary but I prefer this.
Go back to the main menu and select C compiler.
Enable the Show Linaro versions (EXPERIMENTAL) option.
In the gcc version field, choose the linaro-4.6-2012.07 (EXPERIMENTAL) compiler. You’re free to choose a different one but I know this one works well. I do recommend the Linaro versions over the vanilla ones for the RPi.
All the other settings are fine left at their default values. Exit the configuration tool and save your changes.
Do this:
sudo bash
export PATH=$PATH:/usr/local/cross/bin
unset LD_LIBRARY_PATH
ct-ng build
Go away and make a coffee, etc… This bit will take some time.
You should end up with a freshly baked arm compiler ready for building kernels (and other things) for your Raspberry Pi in your Prefix directory you chose above.
Just add your compiler directory to your $PATH and start compiling. If you used my preferred prefix directory, you would want to add /opt/cross/x-tools/arm-unknown-linux-gnueabi/bin.
export PATH=$PATH:/usr/local/cross/x-tools/arm-unknown-linux-gnueabi/bin
Verify the compilers exist:
arm-unknown-linux-gnueabi-gcc –version
arm-unknown-linux-gnueabi-g++ –version
Now build a test program (C++) and call it HelloWorldRPi.cpp
arm-unknown-linux-gnueabi-g++ -o HelloWorldRPi HelloWorldRPi.cpp
Copy it across to tthe raspberrypi and run it.
Setting up files for cross compiling.
On the RaspberryPi install rsync
Create a folder on the cross compiling machine called say: ~/RaspberryPi
cd to this folder and do the following:
rsync -rl pi@raspberrypi.bigpond:/lib .
rsync -rl pi@raspberrypi.bigpond:/usr .
You can then use CMake to set up a cross compiling toolchain with a file like this:
#——————————————————————————
# this one is important
SET(CMAKE_SYSTEM_NAME Linux)
#this one not so much
SET(CMAKE_SYSTEM_VERSION 1)
# specify the cross compiler
SET(CMAKE_C_COMPILER /usr/local/cross/x-tools/arm-unknown-linux-gnueabi/bin/arm-unknown-linux-gnueabi-gcc)
SET(CMAKE_CXX_COMPILER /usr/local/cross/x-tools/arm-unknown-linux-gnueabi/bin/arm-unknown-linux-gnueabi-g++)
# where is the target environment
SET(CMAKE_FIND_ROOT_PATH /usr/local/cross/x-tools/arm-unknown-linux-gnueabi/ /home/amaclean/RaspberryPi)
# search for programs in the build host directories
SET(CMAKE_FIND_ROOT_PATH_MODE_PROGRAM NEVER)
# for libraries and headers in the target directories
SET(CMAKE_FIND_ROOT_PATH_MODE_LIBRARY ONLY)
SET(CMAKE_FIND_ROOT_PATH_MODE_INCLUDE ONLY)
#——————————————————————————
Useful commands:
arm-unknown-linux-gnueabi-ldd –root /home/amaclean/RaspberryPi asio/tutorial/daytime1/asio_tutorial_daytime1
CMake and Eclipse
You can set up the cross compiling tool chain to work with Eclipse CDT in just the same way as the makefile method, however select “Eclipse CDT4 – Unix Makefiles” instead of “Unix Makefiles” and then import the project into Eclipse.
————————————–
Error when bootstrapping CMake:
problem while running make
on my RaspberryPi, I just ran update and upgrade today (March 12 2014) and tried
~/cmake-2.8.12.2/configure
and it fails. error above. any ideas?
Run bootstrap and see what the error is.
cmakewizard.o: file not recognized: File truncated
collect2: ld returned 1 exit status
make: *** [cmake] Error 1
———————————————
Error when bootstrapping CMake:
Problem while running make
———————————————
Log of errors: /home/pi/bin/cmake/Bootstrap.cmk/cmake_bootstrap.log
———————————————
Ivan,
Two ideas come to mind:
a) Your SD card may be full (out of memory)
or
b) The CMake build was corrupted.
Did you started this as a fresh clean build ?
re-downloaded the tar.gz, ran bootstrap;make;make install and it all worked. Must have been corrupted at some point but it works fine now!
Ivan, thanks for letting us know.